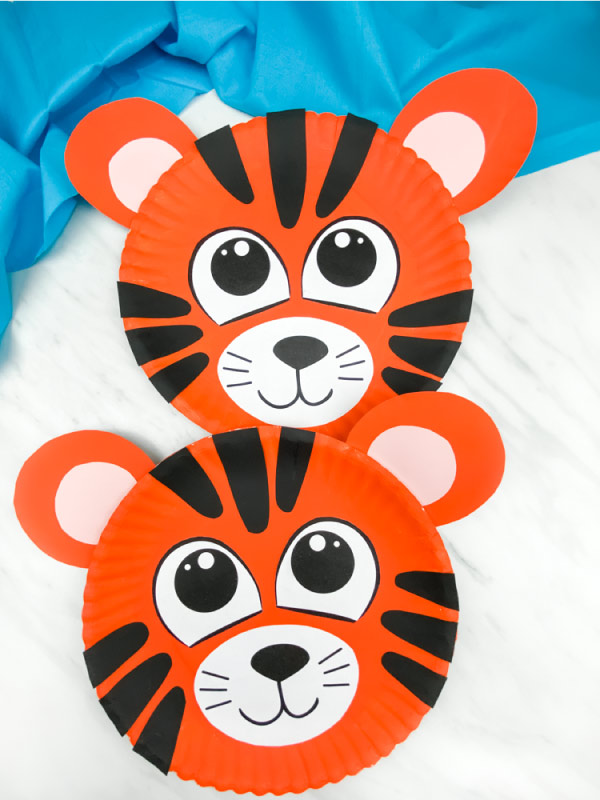
Paper Plate Tiger Craft
All activities require adult supervision. By using this site, you agree to our terms of use. This post may contain affiliate links. As an Amazon Associate and a participant in other affiliate programs, I earn a commission on qualifying purchases. Read our disclosure policy.

There’s nothing more classic than paper plate crafts for kids!
They are a fun way to pass the time at home or at school and it actually helps children develop necessary skills too.
They’ll have a chance to work on fine motor skills with painting, work on scissor skills when they cut out the template pieces and work on concentration and focus when listening to or reading the directions!
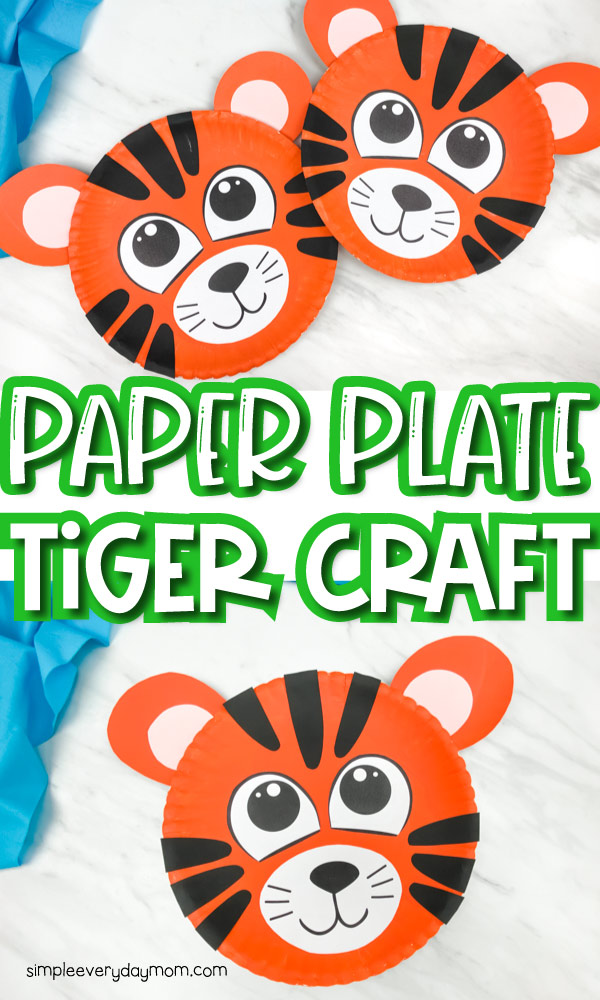
We’ve made lots of paper plate crafts in the past and today we’re sharing this easy tiger craft. We’re betting your kids will love creating this cute paper plate tiger!
Check out our simple directions below or watch our quick tutorial to see how fun this zoo animal craft is!
Tiger Craft For Preschool
Supplies
- Paper plates
- Orange paint
- White cardstock
- Colored cardstock (pink, orange and black)
- Glue stick
- Paintbrush
- Tape
- Scissors
- Tiger template (download form located at the end of this post)
Related: Paper Plate Unicorn Craft
Directions
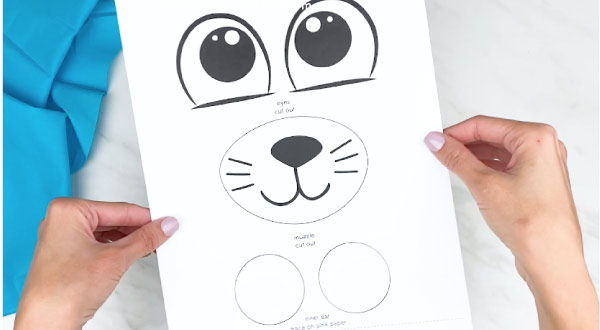
Download the free tiger template, print and cut out the pieces.
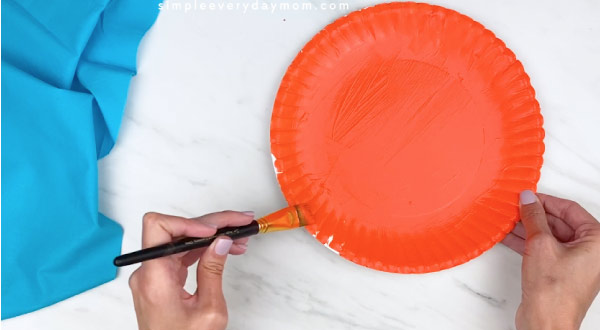
Paint the white paper plate in a thin coat of orange paint. Let dry completely before you move on.
Decide whether you want the tiger’s ears to be made out of a paper plate or card stock. If you’ll be making them out of the paper plate, paint a second plate orange.
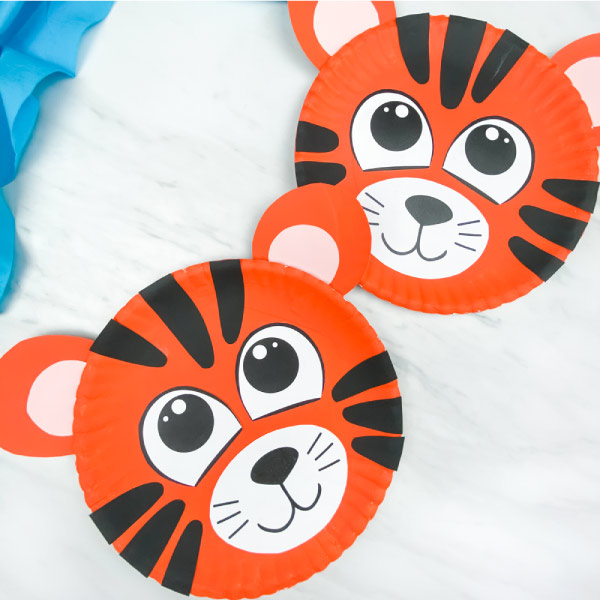
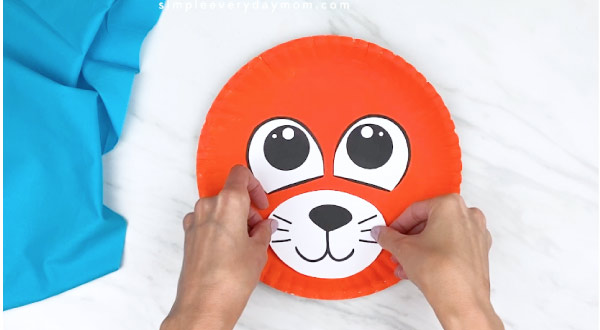
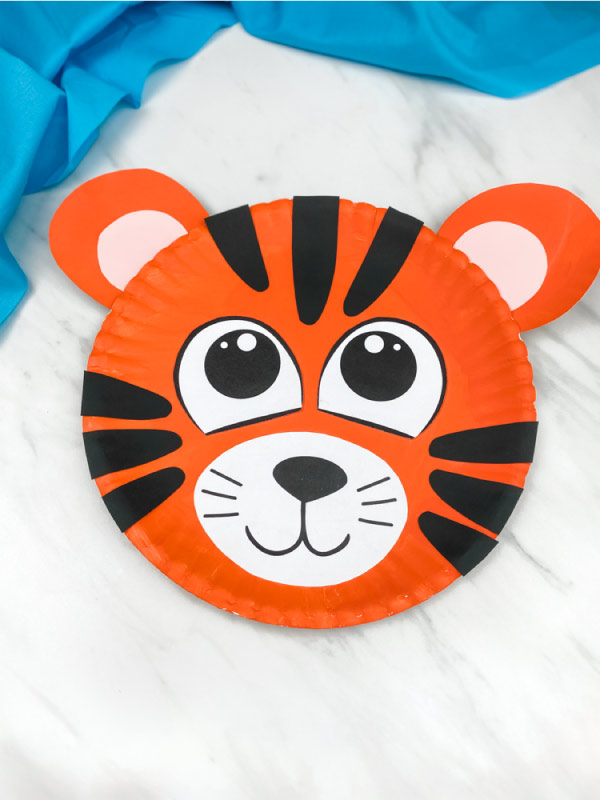
Glue the eyes onto the orange paper plate, just a few inches below the top of the plate.

Place the muzzle area just below the eyes, like in the pictures. Glue in place.
Position the tiger’s stripes around the paper plate. Group them in 3’s and glue them above the eyes and on both sides of the face. Cut off any of the black paper the extends past the edge of the paper plate.

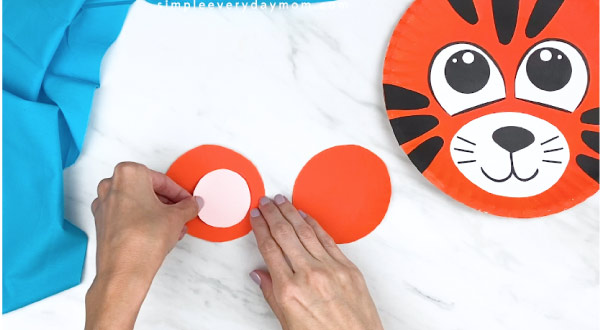
Trace the tiger’s ears on the second paper plate (or on the orange cardstock) and cut out. Glue the pink inner ear onto the orange outer ears.
Use double sided tape or loop a piece of regular tape and place on the bottom of the tiger’s ears. Tape to the back of the paper plate, just outside the top stripes.
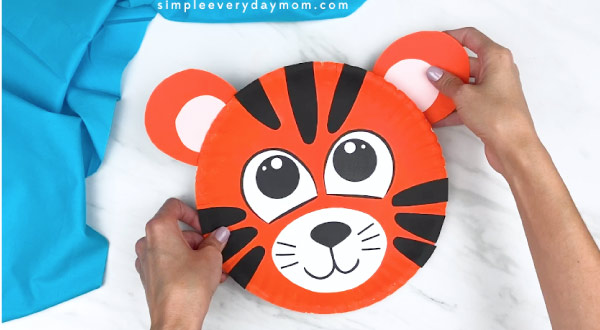
Now your child has an adorable paper plate tiger!
Do you want to keep your kids entertained all year long with fun animal crafts? We’ve got you covered! Our animal craft book has 52 weeks of unique & adorable animal crafts for kids. Watch your child’s creativity blossom as they improve fine motor skills!
Share With Us
Did you make this easy tiger craft with your child or students? We love seeing how they turn out!
All you need to do is take a picture of your completed project and post it to our Facebook page or join our private Facebook group and share it in there!
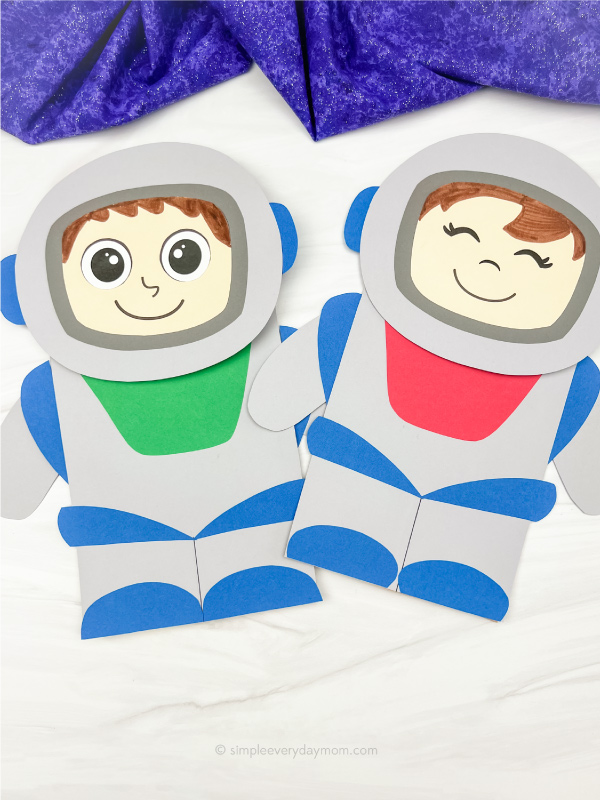
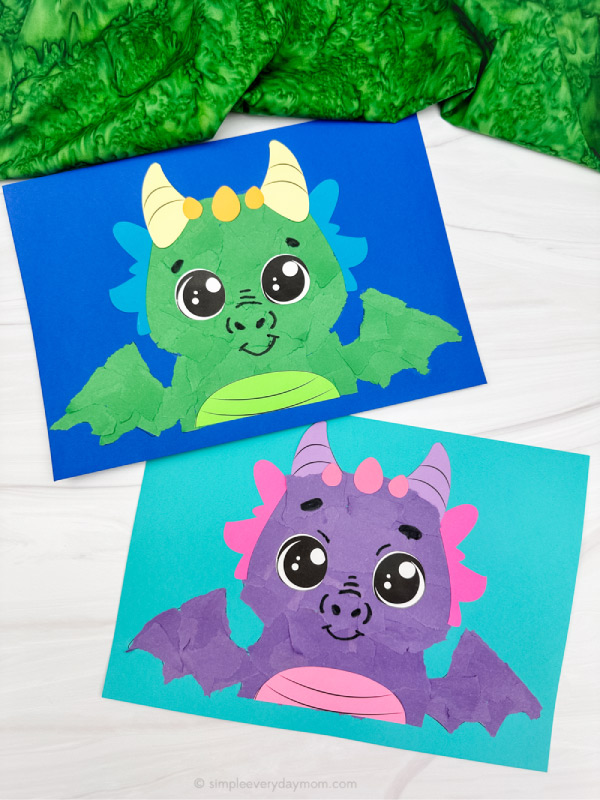
More Fun Kids’ Crafts
Get Our Favorite Paper Plate Crafts!
Paper Plate Tiger Craft
Video
Equipment
- Scissors
- Paintbrush
Materials
- Paper plates
- Orange paint
- White cardstock
- Colored cardstock pink, orange and black
- Glue stick
- Tape
- Tiger template download form located at the end of this post
Instructions
- Download the free tiger template, print and cut out the pieces.
- Paint the white paper plate in a thin coat of orange paint. Let dry completely before you move on.
- Decide whether you want the tiger’s ears to be made out of a paper plate or card stock. If you’ll be making them out of the paper plate, paint a second plate orange.
- Glue the eyes onto the orange paper plate, just a few inches below the top of the plate.
- Place the muzzle area just below the eyes, like in the pictures. Glue in place.
- Position the tiger’s stripes around the paper plate. Group them in 3’s and glue them above the eyes and on both sides of the face. Cut off any of the black paper the extends past the edge of the paper plate.
- Trace the tiger’s ears on the second paper plate (or on the orange cardstock) and cut out. Glue the pink inner ear onto the orange outer ears.
- Use double-sided tape or loop a piece of regular tape and place on the bottom of the tiger’s ears. Tape to the back of the paper plate, just outside the top stripes.
Did you make this?
Don’t forget to leave a comment below and make sure to follow on Pinterest, Facebook and TikTok for more!
Free Tiger Template

Meet Sam
Sam is the crafter and founder of Simple Everyday Mom. She has been featured in Oprah Mag, Good Housekeeping, The Spruce Crafts, Country Living, The Bump, and more.


I would to buy your craft book.
Hi! I’m not sure which one you mean, but you can browse through them all here: https://shop.simpleeverydaymom.com/collections/crafts
Please can I get the template
Since you’re already an email subscriber, all you need to do is enter your email in the form at the end of any post and it’ll automatically redirect you to the download page 🙂
I will do this activity for my students on Friday.
I need the printable tiger face.
thank you.
Of course! All you need to do is enter your email in the form at the end of the post and the link will be sent to you ?
Please can you send link for the tiger plate craft template
Yes! All you need to do is enter your email in the form at the end of this post to have the link sent to you ?
Where is the tiger face printable?
To get the template, all you need to do is enter your email in the form at the end of the post to have the link sent to you ?
Excellent
thank you