Easter Chick Craft For Kids [Free Template]
All activities require adult supervision. By using this site, you agree to our terms of use. This post may contain affiliate links, sponsored links, and ads. As an Amazon Associate and participant in other affiliate programs, I earn from qualifying purchases.. Read our disclosure policy.
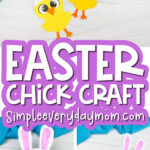
What’s cuter than little bunnies running around during Easter? Well, you might think nothing, but just image little chicks running around with bunny ears on their heads!
Yeah, that’s probably not going to happen in real life, but that’s exactly why we made this Easter chick craft. It’s just too cute to pass up!
Besides being adorable, this chick craft idea is great for little ones who are working on cutting skills, following directions, and fine motor skills.
This craft will help them with all of those things, plus it’s fun too!
Watch our quick video tutorial below and be sure to grab the free printable template.
Chick Craft Idea
Supplies
- Colored cardstock or construction paper
- Scissors
- Glue
- Markers
- Chick template (enter your email in the form at the end of this post to have the link sent to you)
Directions
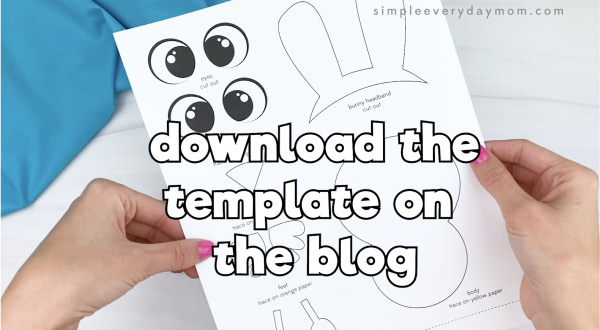
Download the chick template, print, and cut out the pieces you need.
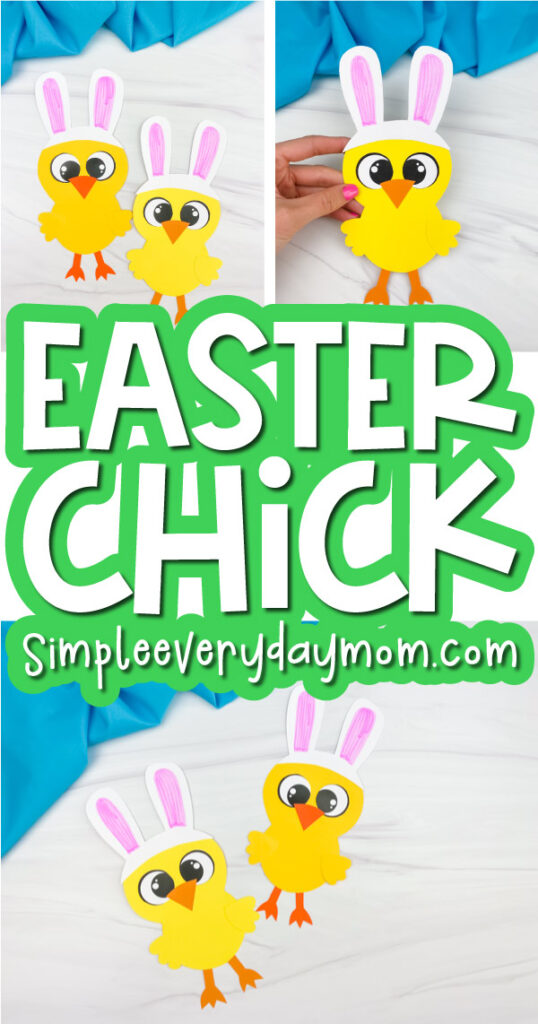
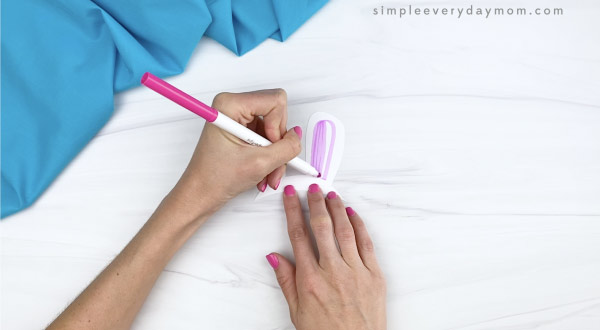
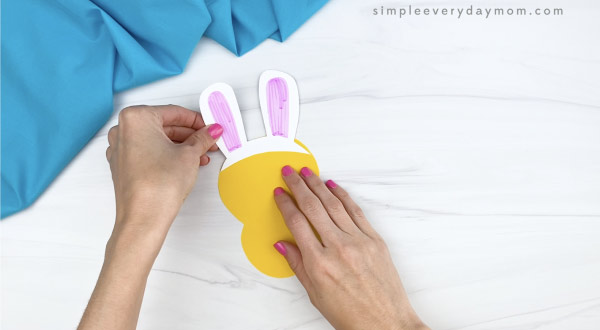
Use a pink marker to draw the inner ears on the bunny headband.
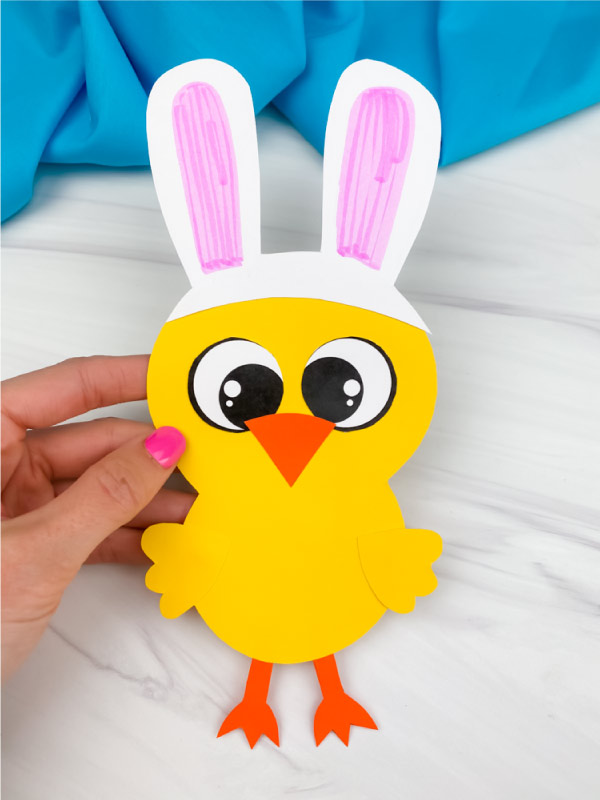
Glue the bunny headband to the top of the chick’s head.
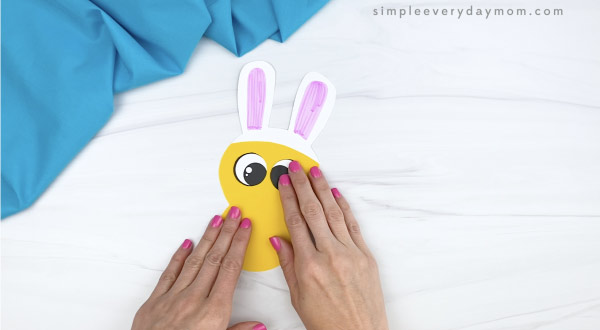
Position the eyes just below the headband, one on each side and glue them in place.
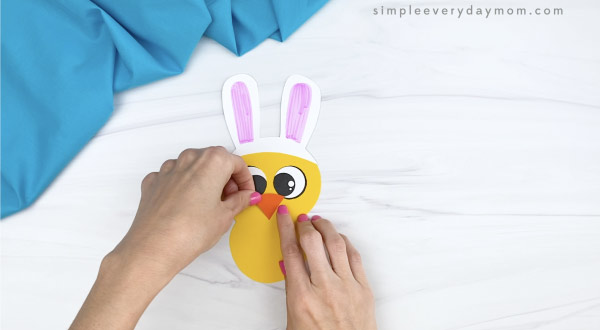
Place the beak in between and slightly overlapping the bottom of the eyes and glue to secure.
Take the wings and glue them on each side of the body.
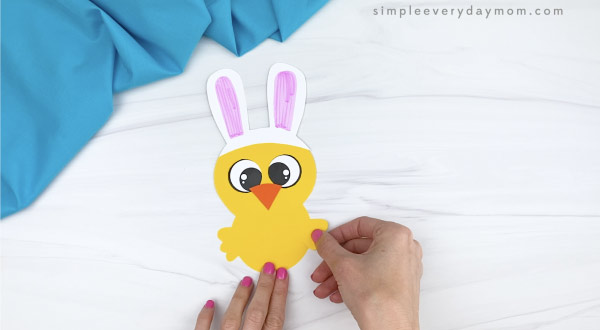
Finish off the chick by gluing the feet to the bottom of the body, on the back side.
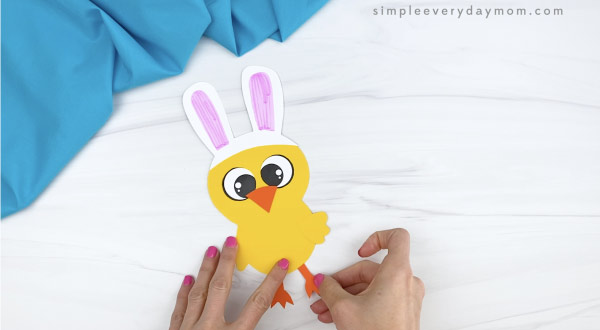
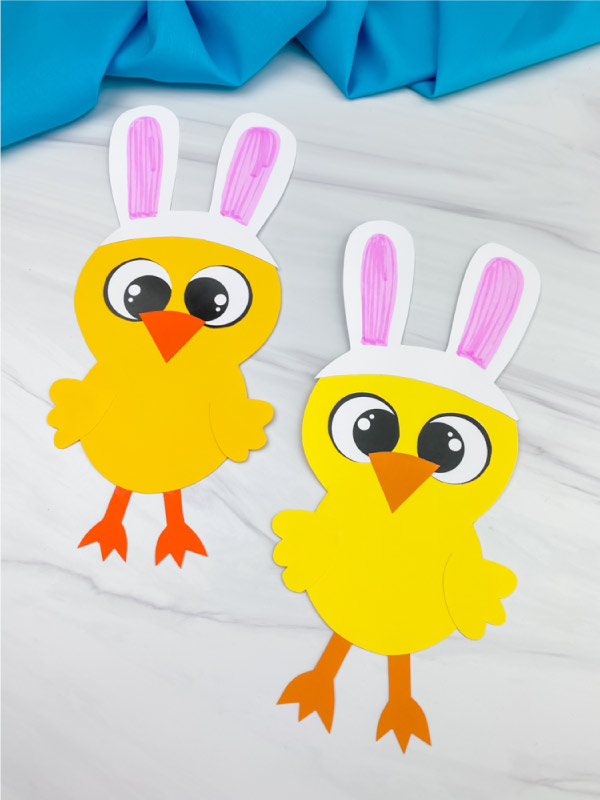
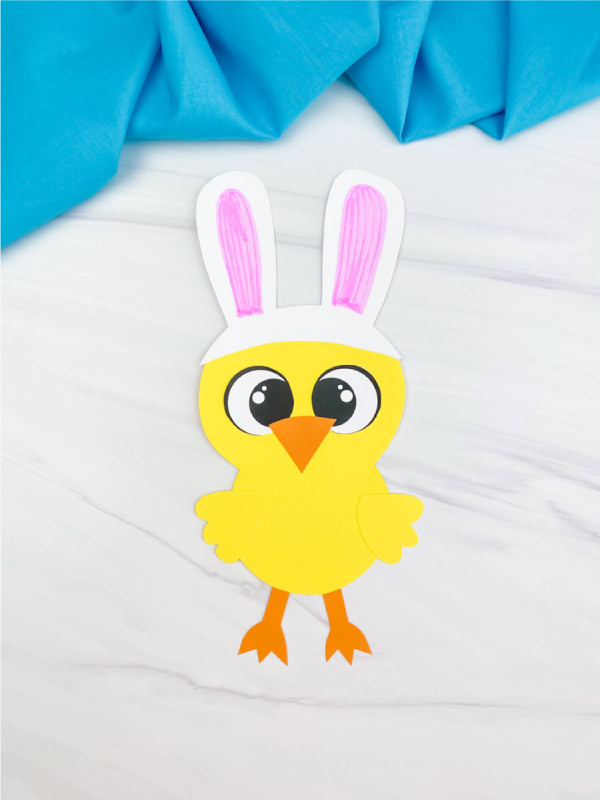
Now your child is done and has an adorable Easter chick craft to display!
More Easter Ideas For Kids


Happy Easter Mouse – Everyone knows Mouse from the classic If You Give A Mouse A Cookie book, but now he’s back and ready to celebrate Easter! Kids will love watching him as he goes on an Easter egg hunt!
Pete the Cat: Big Easter Adventure – Join Pete as he races to help the Easter bunny just in time for Easter! This is another new classic kids rate as a must-have!
It’s Not Easy Being A Bunny – Follow PJ the bunny as he tries to discover what kind of animal he’d rather be instead of a bunny! It’s a silly story with a great lesson.
For more fun Easter crafts try any of our favorites below:
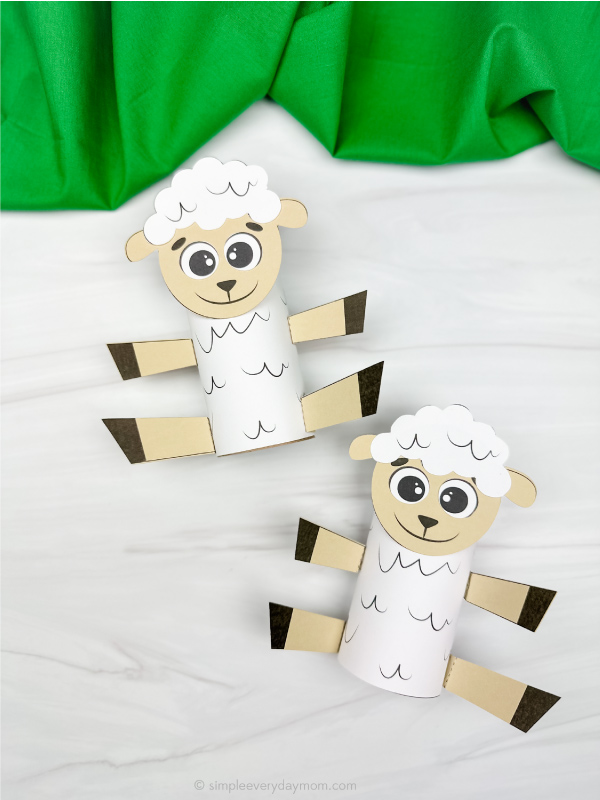
- Easter Sheep Craft – Turn a sheep into an Easter sheep with this easy craft!
- Handprint Easter Bunny Craft – Make a festive Easter bunny with your child’s hand when you make this cute craft.
- Paper Plate Chick Craft – Grab that stack of paper plates lying around and turn it into a plump, little chick!
If sensory play is one of your kid’s favorite try out this Easter sensory bin. It’s great for kids who love exploratory play and who are working on color matching. This Easter play dough kit is another fun option!
Share With Us
Did you make this activity with your kids or students? We’d love to feature them on our social media!
For a chance to have your child’s project featured, simply snap a picture of the completed project and post it to our Facebook page, email it to us directly by clicking here, or use #simpleeverydaymom on your social media!
Easter Chick Craft For Kids
Video
Materials
- Colored cardstock or construction paper
- Scissors
- Glue
- Markers
- Chick template
Instructions
- Download the chick template, print, and cut out the pieces you need.
- Use a pink marker to draw the inner ears on the bunny headband.
- Glue the bunny headband to the top of the chick’s head.
- Position the eyes just below the headband, one on each side, and glue them in place.
- Place the beak in between and slightly overlapping the bottom of the eyes and glue to secure.
- Take the wings and glue them on each side of the body.
- Finish off the chick by gluing the feet to the bottom of the body, on the back side.
Did you make this?
Don’t forget to leave a comment below and make sure to follow on Pinterest, Facebook and TikTok for more!
Free Easter Chick Template

Meet Sam
Sam is the crafter and founder of Simple Everyday Mom. She has been featured in Oprah Mag, Good Housekeeping, The Spruce Crafts, Country Living, The Bump, and more.


I love it very much and my kids are waiting for doing it, I am waiting for a template. Thank you very much.
Thank you so much! Hope you and the kids have a blast with it—template’s coming your way soon!
Love the activities
Thanks, Lacy!