Cute Paper Plate Chick Craft [Free Template]
All activities require adult supervision. By using this site, you agree to our terms of use. This post may contain affiliate links. As an Amazon Associate and a participant in other affiliate programs, I earn a commission on qualifying purchases. Read our disclosure policy.
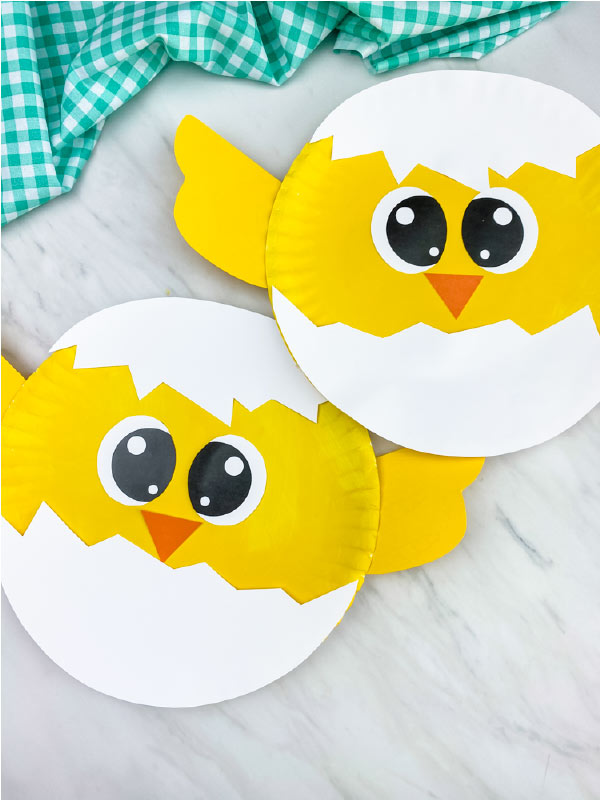
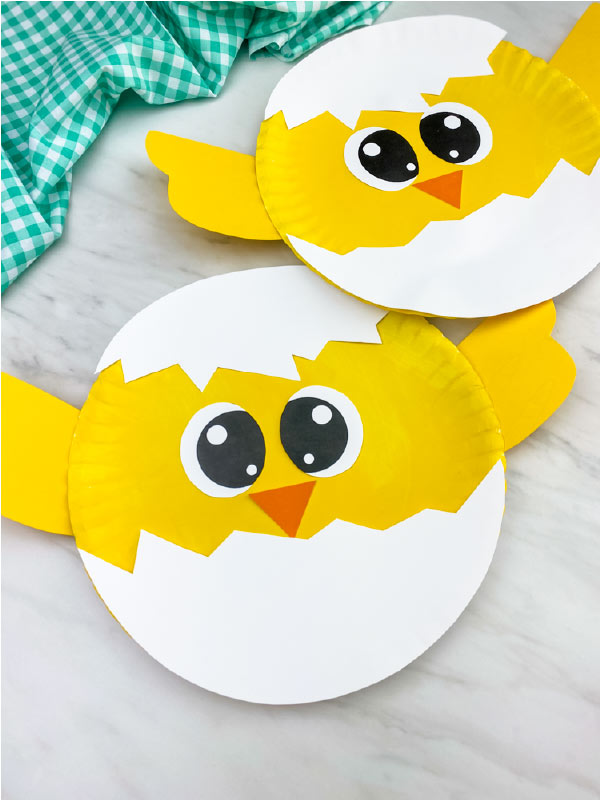
If your kids want a cute spring craft idea, this paper plate chick craft is perfect!
This little hatching chick can be used for lots of different occasions. It’s perfect as an easy chick craft idea for springtime or even for farm animal unit studies.
We’ve included a free printable template for this chick so you can make it without any problems. Your kids can make it at home or in the classroom! Because there aren’t many pieces, this craft is great for preschool, kindergarten, and elementary children.
Read our directions or watch our quick video to see how to make it with your kids or students!

Easter Chick Craft
Here’s a tip: if you don’t want to use yellow paint for the wings, no worries! Simply grab some yellow cardstock instead and skip painting the second paper plate. It’s easy and fun to make, perfect for an afternoon with the kids.
So, what are you waiting for? Let’s grab those supplies and get ready to make some adorable paper plate chicks that will chirp right into the cuteness zone of your crafting collection!
Supplies
- Paper Plates
- Yellow paint
- Yellow card stock (optional)
- Orange card stock
- White card stock
- Paintbrush
- Scissors
- Glue stick
- Double-sided tape (optional)
- Chick template (click the “click here to get your freebies” image at the end of the post)
Directions
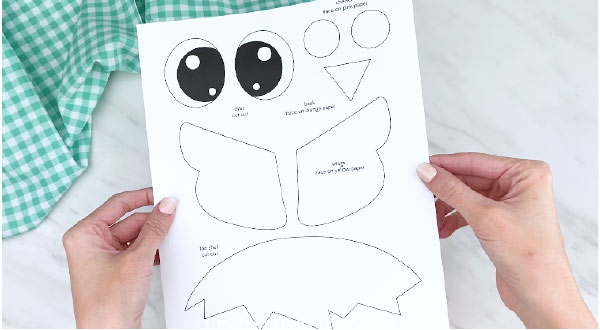
Start by downloading and printing the template. Once the template is printed, gather the materials for this fun activity. Get those scissors ready, and let’s help the kids bring this chick to life!
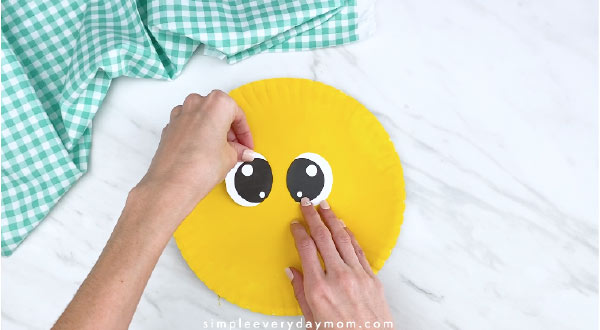
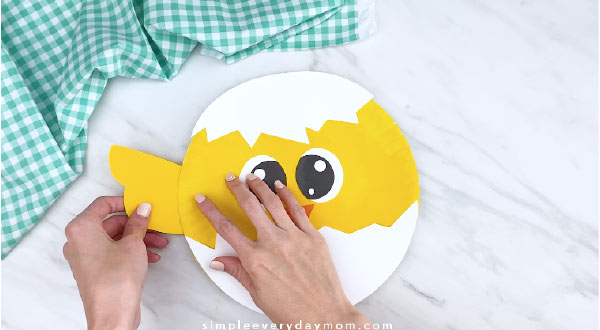
First, encourage your child to glue the eyes in the middle of the paper plate.
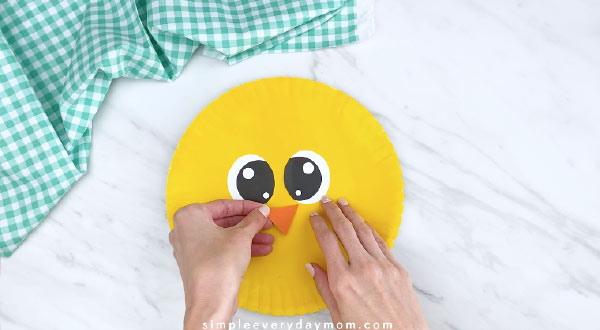
Next, help your child to glue the orange beak just below the eyes.
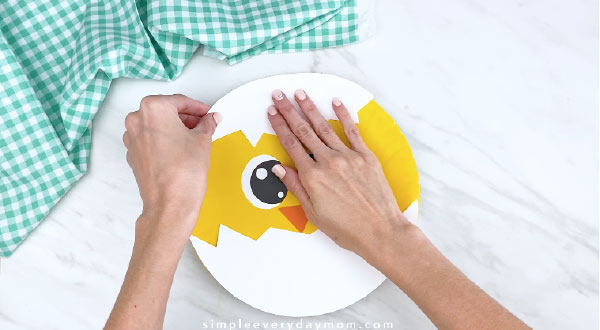
Glue the lower egg piece to the front of our chick.

Now, for the upper egg piece. Tape it to the top of the chick’s head.
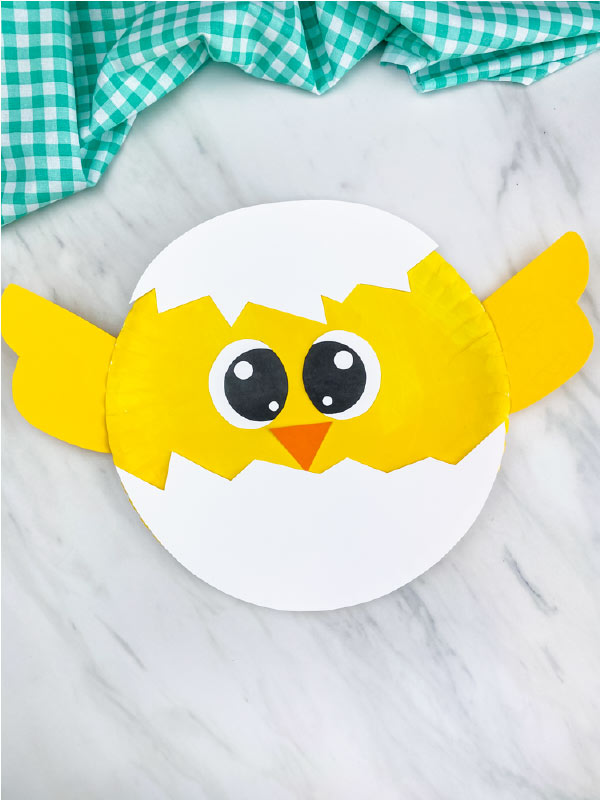
Finally, guide your child to glue the wings on both sides of the paper plate.
And there you have it! Isn’t our chick just the cutest? Why not continue the fun and explore our paper plate crafts for more creative adventures?
More Easter Activities For Kids


Happy Easter Mouse – Everyone knows Mouse from the classic If You Give A Mouse A Cookie book, but now he’s back and ready to celebrate Easter! Kids will love watching him as he goes on an Easter egg hunt!
Pete the Cat: Big Easter Adventure – Join Pete as he races to help the Easter bunny just in time for Easter! This is another new classic kids rate as a must-have!
It’s Not Easy Being A Bunny – Follow PJ the bunny as he tries to discover what kind of animal he’d rather be instead of a bunny! It’s a silly story with a great lesson.
Easter Crafts With Paper
Crafting is another activity we can’t get enough of! They’re fun for kids to do and help them practice fine motor skills, following directions, creativity, and hand-eye coordination! Add in some more Easter children’s crafts below.
Related: Easter Bunny Activity Sheets
Toilet Paper Roll Easter Bunny Craft: This fun recycled Easter craft decoration is perfect for kids. They’ll love making these adorable toilet paper roll bunnies for the holiday!
Paper Easter Egg Craft For Kids: This simple activity will keep your kids busy and exercise their creativity. It’s a seasonal early childhood education project that they’ll be proud of afterward, too!
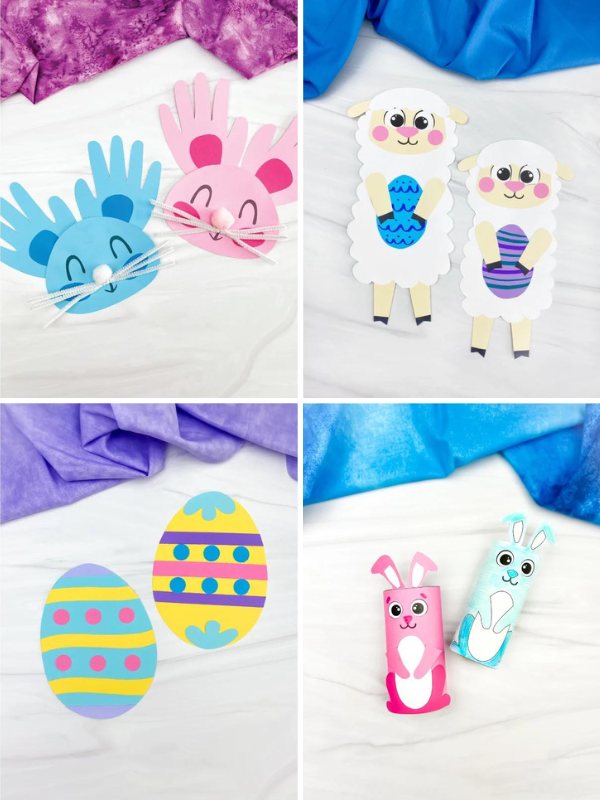
Easter Sheep Craft: This sheep paper craft is a great activity for kids. It’s easy and perfect if you want to keep them busy on this holiday! This craft can be done by preschoolers, kindergarteners, and early elementary school students.
Handprint Bunny Craft: This adorable idea lets your little one turn their hand into a fuzzy friend with some simple cutting and sticking. It’s a delightful, low-mess activity perfect for kids who love getting creative without messing their hands!


Easter Free Printables
In search of a fun yet educational activity for your little ones? Try out these festive Easter worksheets! Not only are they free, but they’re perfect for boosting fine motor skills, fostering letter recognition, and much more.
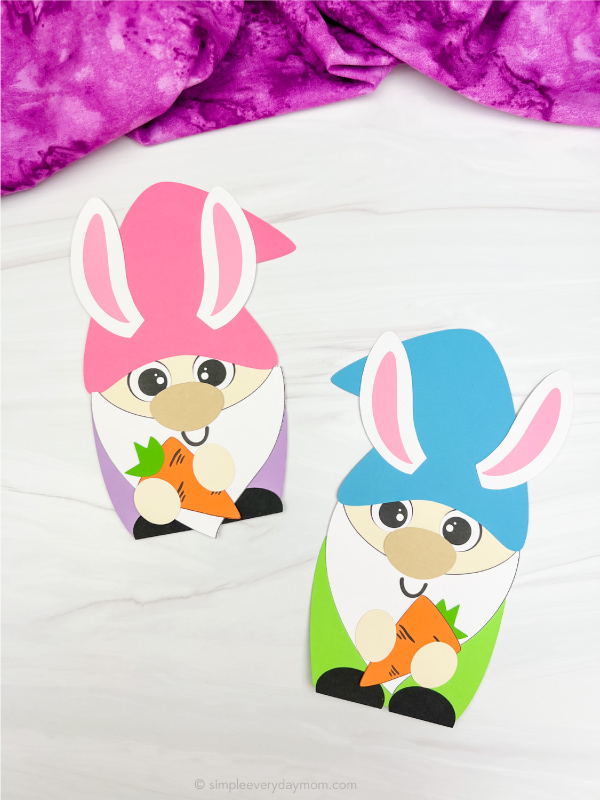
Try this Easter Bunny Paper Craft
These Easter bunny dot-to-dot printables will help kids practice counting and fine motor skills. With easy-to-follow circles, they’ll be too busy coloring in the pictures to notice that you’re sneaking some learning into their playtime!
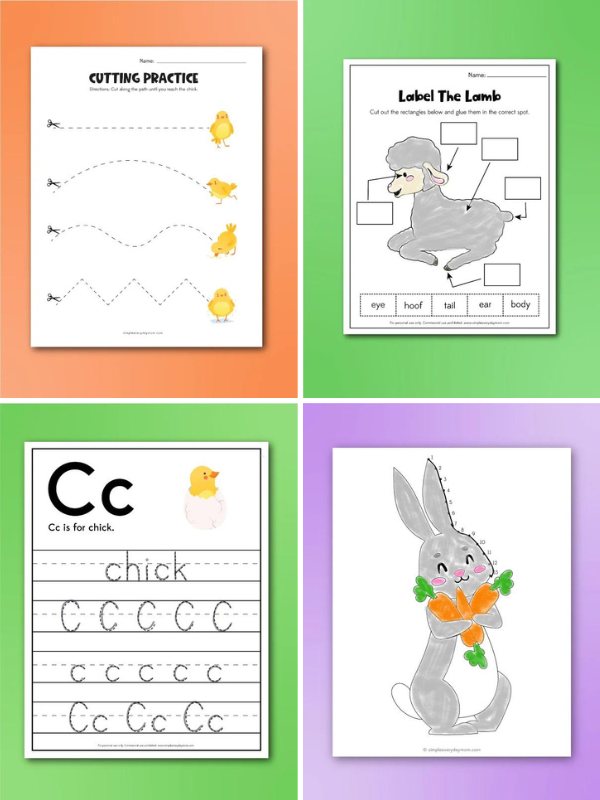
Ready to unleash the cuteness overload? Let’s get those scissors snipping! Our chick cutting worksheets are the cutest. Your little ones will have a blast cutting along those dotted lines, counting, and matching!
We’re turning playtime up a notch with Easter play dough mats. These are a hands-on hit for exploring new shapes, exploring colors, and practicing fine motor skills. Scoop up these printables and watch the kids hop into a world of creativity and learning.
Share With Us
Did you make this activity with your kids or students? We’d love to feature them on our social media!
For a chance to have your child’s project featured, simply snap a picture of the completed project and post it to our Facebook page, email it to us directly by clicking here, or use #simpleeverydaymom on your social media!
More Easter Ideas For Kids
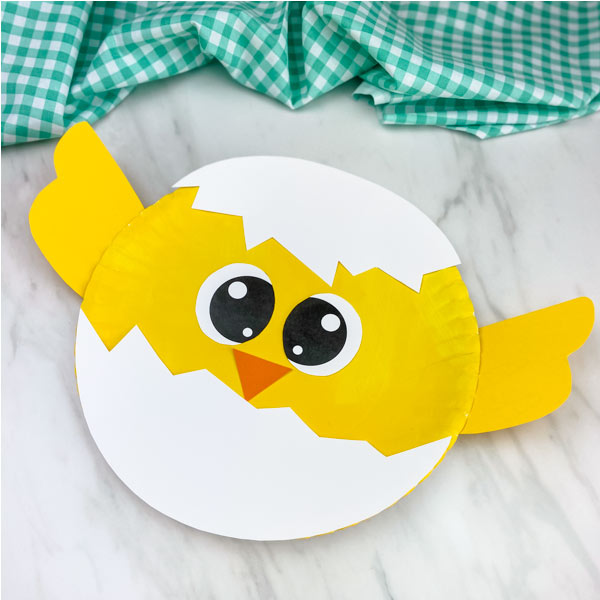
Paper Plate Chick Craft
Video
Equipment
- Scissors
- Paintbrush
Materials
- Paper Plates
- Yellow paint we used this one
- Yellow card stock optional
- Orange card stock
- White card stock
- Glue stick
- Double-sided tape optional
Instructions
- Download the chick template, print, and cut out the pieces you need.
- Begin by gluing the eyes in the middle of the paper plate.
- Next, glue the orange beak just below the eyes.
- Glue the lower egg piece to the front of our chick.
- Now, for the upper egg piece. Tape it to the top of the chick’s head.
- Finish off by gluing the wings on both sides of the paper plate.
Did you make this?
Don’t forget to leave a comment below and make sure to follow on Pinterest, Facebook and TikTok for more!
Free Chick Craft Template


Meet Sam
Sam is the crafter and founder of Simple Everyday Mom. She has been featured in Oprah Mag, Good Housekeeping, The Spruce Crafts, Country Living, The Bump, and more.


I would like the template please
This chick craft is so cute!
Thanks so much!
Please send me the template. I know you said to just enter your email, but this is the only place on this page where you can enter an email. Thanks.
It’s above the comments section, under the heading titled “Chick Template”. If you’re not able to see it, it most likely means you have a firewall blocking it from appearing. If you can allow the page or try from a personal device, you should be able to see it. Also, some readers say they’re not able to see it on Chrome, but they can on other browsers. You may be able to try that as well ◡̈ Please let me know if you have any questions!
please help me with the template
Of course! All you need to do is enter your email in the form at the end of this post to have the link sent to you 🙂
this looks like a cute idea
Thanks, Shannon!
Cute! Thanks
You’re welcome! Thank you for stopping by!
This craft does not have a template linked.
If you enter your email in the form at the end of the post, just above the comments, the link will be sent to you 🙂
So cute!
Thanks!
Hello..
what size paper plate do you use?
Thank you
I just grab the standard ones from the store by me, but they measure 9″ in diameter.
These are adorable!!!! My kindergarteners will love this craft as we are hatching chicks in our classroom! 🙂
Thanks, Aimee!
Can’t wait to try this
Yay! So glad!
This craft looks amazing I think my residents will enjoy doing it. I love the step by step instructions. I would love to get more craft ideas sent to my email please if possible. I do activities with residents in my nursing center every month.
Thank You,
Cathy McMillian
Of course! If you enter your email in any of the forms, you’ll be added to the weekly email 🙂
Very cute cradt
Thanks!
good
You ‘ve got marvelous ideas… Thanks for sharing them.
You’re so welcome!