This easy frog craft for kids makes the perfect springtime activity!
We originally made this easy kids’ craft to give to Mom on Mother’s Day, but it works just as well for Father’s Day or for a loved one’s birthday.
And, if you didn’t already know, we love animal crafts, so it fits in perfectly!
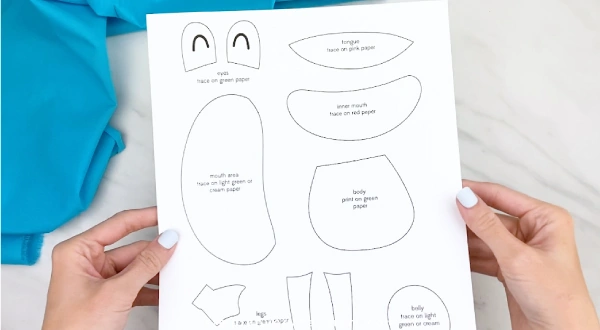
If you’re worried about making this craft, don’t worry – we’ve included a free printable template so you don’t have to do any drawing.
All you need to do is print it out on colored paper, cut, and get crafting.
Read our simple directions or watch our quick video tutorial to learn how to make this frog card craft with your kids or students.
Frog Craft Idea

This post may contain affiliate links. As an Amazon Associate and a participant in other affiliate programs, I earn a commission on qualifying purchases. Read our disclosure policy.
Aren’t homemade cards the best?
Parents and grandparents love them because they’re just so sweet and sentimental. We love them because they are cheap, quick, and fun to make.
You probably already have everything you need to make this frog card in your craft closet. Take a look at the supplies below.
Supplies
- Colored card stock (in light green, green, pink and red)
- Black marker
- Scissors
- Glue stick (this one is our favorite for thick paper)
- Frog template (download form located at the end of the page)
Directions
Download the frog template, print, and cut out the pieces.
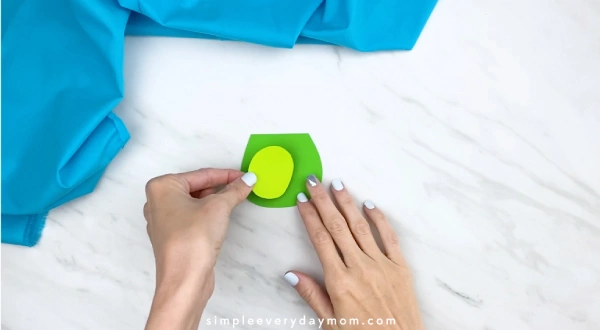
Place the light green belly on the frog’s body and glue in place.
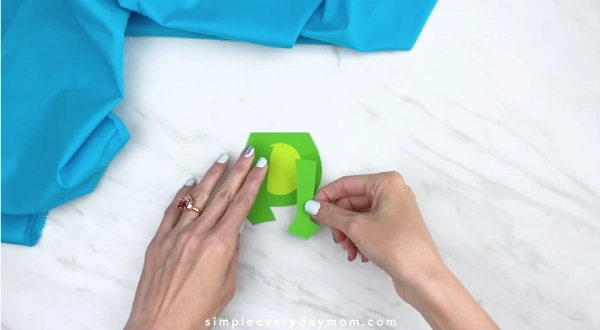
Place the frog’s front legs on either side of the belly and glue down. Glue the frog’s back legs on either side of the front legs. See the picture below for reference.
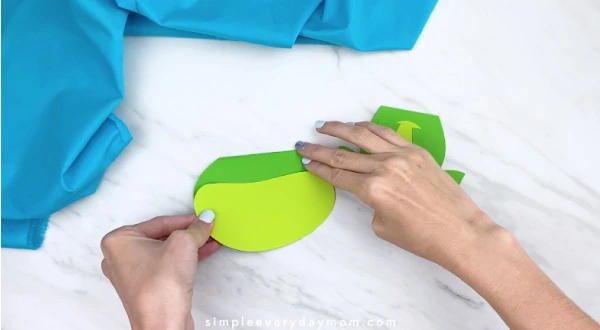
Position the light green mouth area on the bottom part of the frog’s face and glue. Trim off the excess paper.
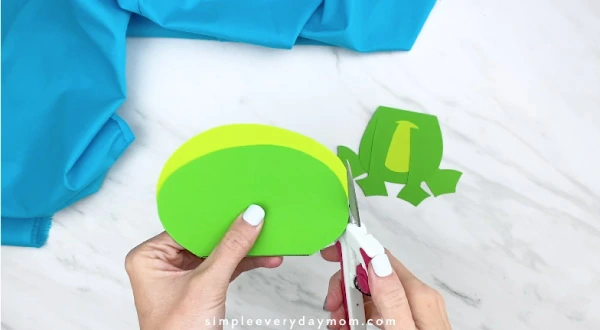
Glue the pink tongue onto the red mouth and trim off any excess paper. Place the completed mouth in the middle of the face, where the light green paper is. Glue in place.
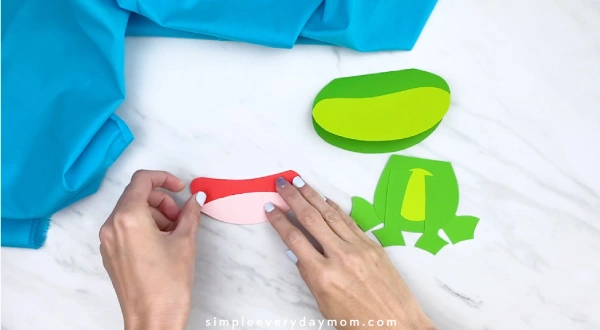
Glue the frog’s eyes to the top, backside of the head.
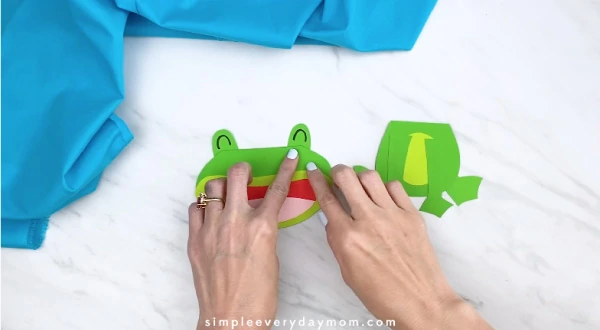
Take the completed frog face and glue it to the body.
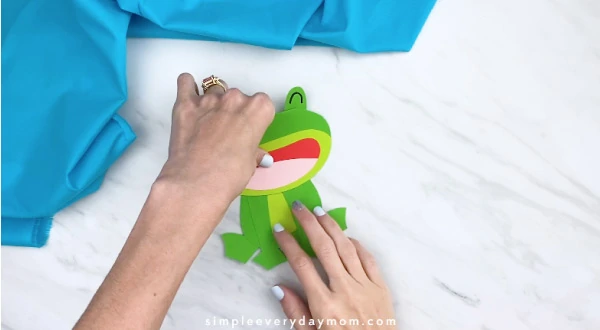
Open up the frog’s face to write your special message inside!
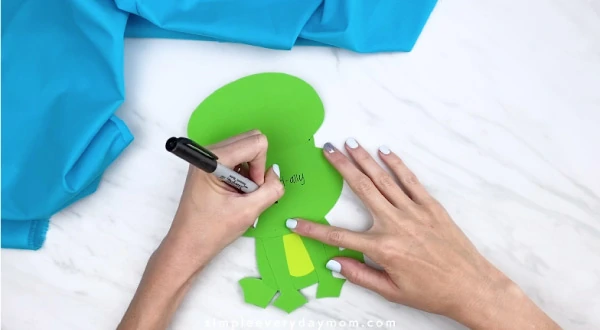
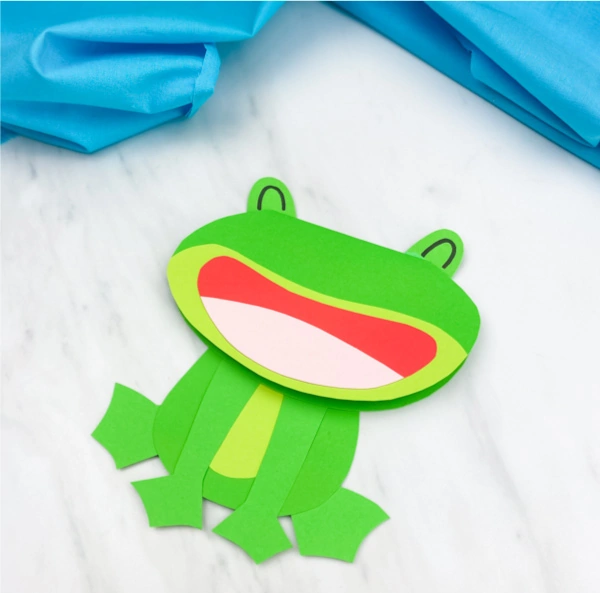
Isn’t that frog’s expression so happy? It goes perfectly with spring!
If you don’t need a handmade card, you can always make this frog craft without the card part. Simply trace the head onto a flat piece of paper instead of a folded one and you’re all set.
Related: Frog Headband Craft For Kids
Make This Craft With Young Kids
We love making kids crafts that can work with a wide variety of ages. That way, if you have multiple kids, they can all work on it together.
If this craft has too many steps for your child, here are some ways you can adapt it to make it even more simple.
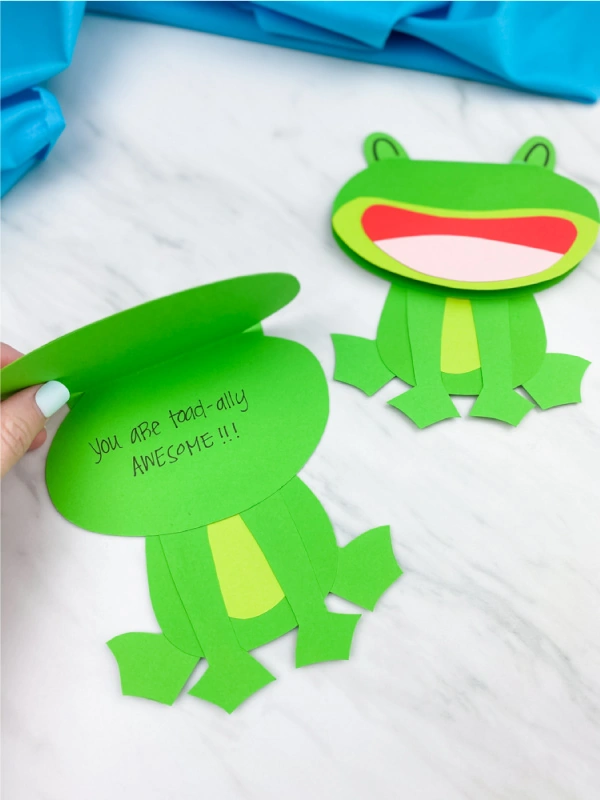
First, you can cut out the pieces ahead of time. If your child can use scissors properly, this is an excellent way for them to sharpen up their scissor skills. But, if they haven’t learned that yet, just cut out the template and have the pieces ready to go.
Secondly, consider assembling part of the craft for them. You can still involve them in it by asking for the parts of the body. Questions like, “Can you help me find the frog’s leg?” will help them feel helpful.
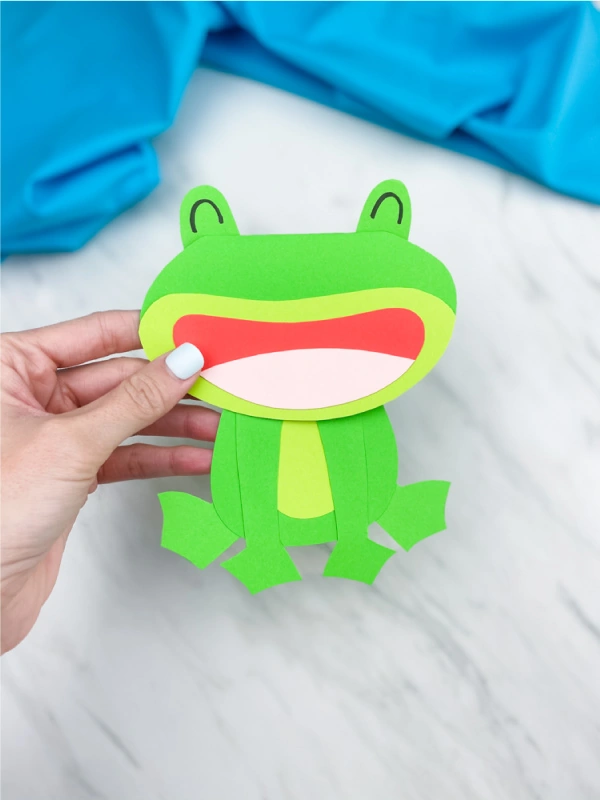
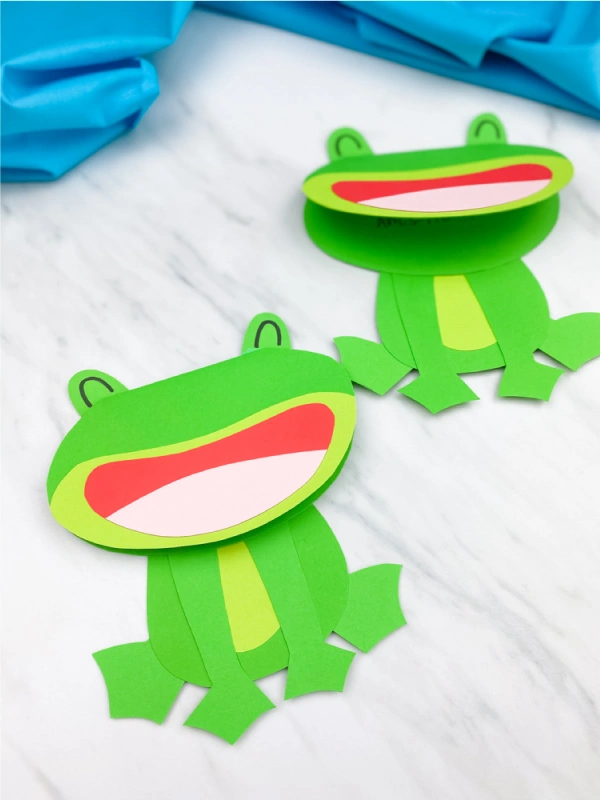
Finally, you can skip the body part altogether and just make the head! This will save you lots of steps and cutting. It’s a great option for young preschoolers.
Share With Us
Did you end up making this cute frog craft with your kids or students?
We wanna see it! Snap a quick picture of your completed project and post it to our Facebook page or join our private Facebook group and share it in there!
More Animal Ideas For Kids
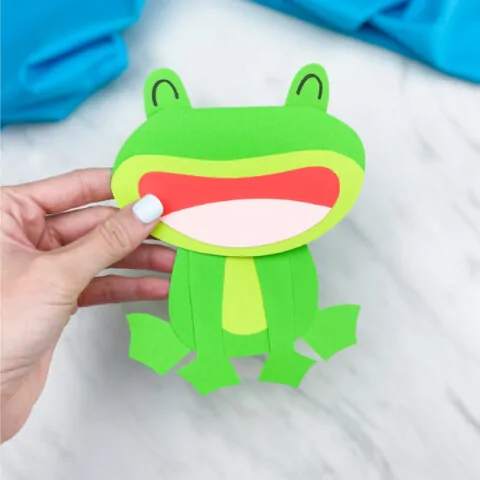
Frog Card Craft For Kids
Make this easy frog card craft with the kids! It's a simple spring activity they'll enjoy!
Materials
- Colored card stock (in light green, green, pink and red)
- Black marker
- Glue stick (this one is our favorite for thick paper)
- Frog template (download form located at the end of the page)
Tools
- Scissors
Instructions
- Download the frog template, print and cut out the pieces.
- Place the light green belly on the frog's body and glue in place.
- Place the frog's front legs on either side of the belly and glue down. Glue the frog's back legs on either side of the front legs. See the picture below for reference.
- Position the light green mouth area on the bottom part of the frog's face and glue. Trim off the excess paper.
- Glue the pink tongue onto the red mouth and trim off any excess paper.
- Place the completed mouth in the middle of the face, where the light green paper is. Glue in place.
- Glue the frog's eyes to the top, backside of the head.
- Take the completed frog face and glue it to the body.
- Open up the frog's face to write your special message inside!
Free Frog Template

Sam is the crafter and founder of Simple Everyday Mom. She has been featured in Oprah Mag, Good Housekeeping, The Spruce Crafts, Country Living, The Bump and more. Read more.

G
Thursday 13th of July 2023
This looks like a lovely activity
Sam
Thursday 13th of July 2023
Oh, thanks!
Adele
Friday 9th of June 2023
Love all the cute iddeas
Sam
Saturday 10th of June 2023
Thanks!
Patt Bray
Sunday 28th of August 2022
I was looking for the finger puppets for the book I don't want to be a frog?
Sam
Monday 29th of August 2022
Oh, sorry, that's not available anymore :(
Josie
Friday 5th of August 2022
Thank you for this free template!
Sam
Saturday 6th of August 2022
You're welcome!