Ladybug Pumpkin Disguise Craft for Kids [Free PDF Template]
All activities require adult supervision. By using this site, you agree to our terms of use. This post may contain affiliate links, sponsored links, and ads. As an Amazon Associate and participant in other affiliate programs, I earn from qualifying purchases.. Read our disclosure policy.
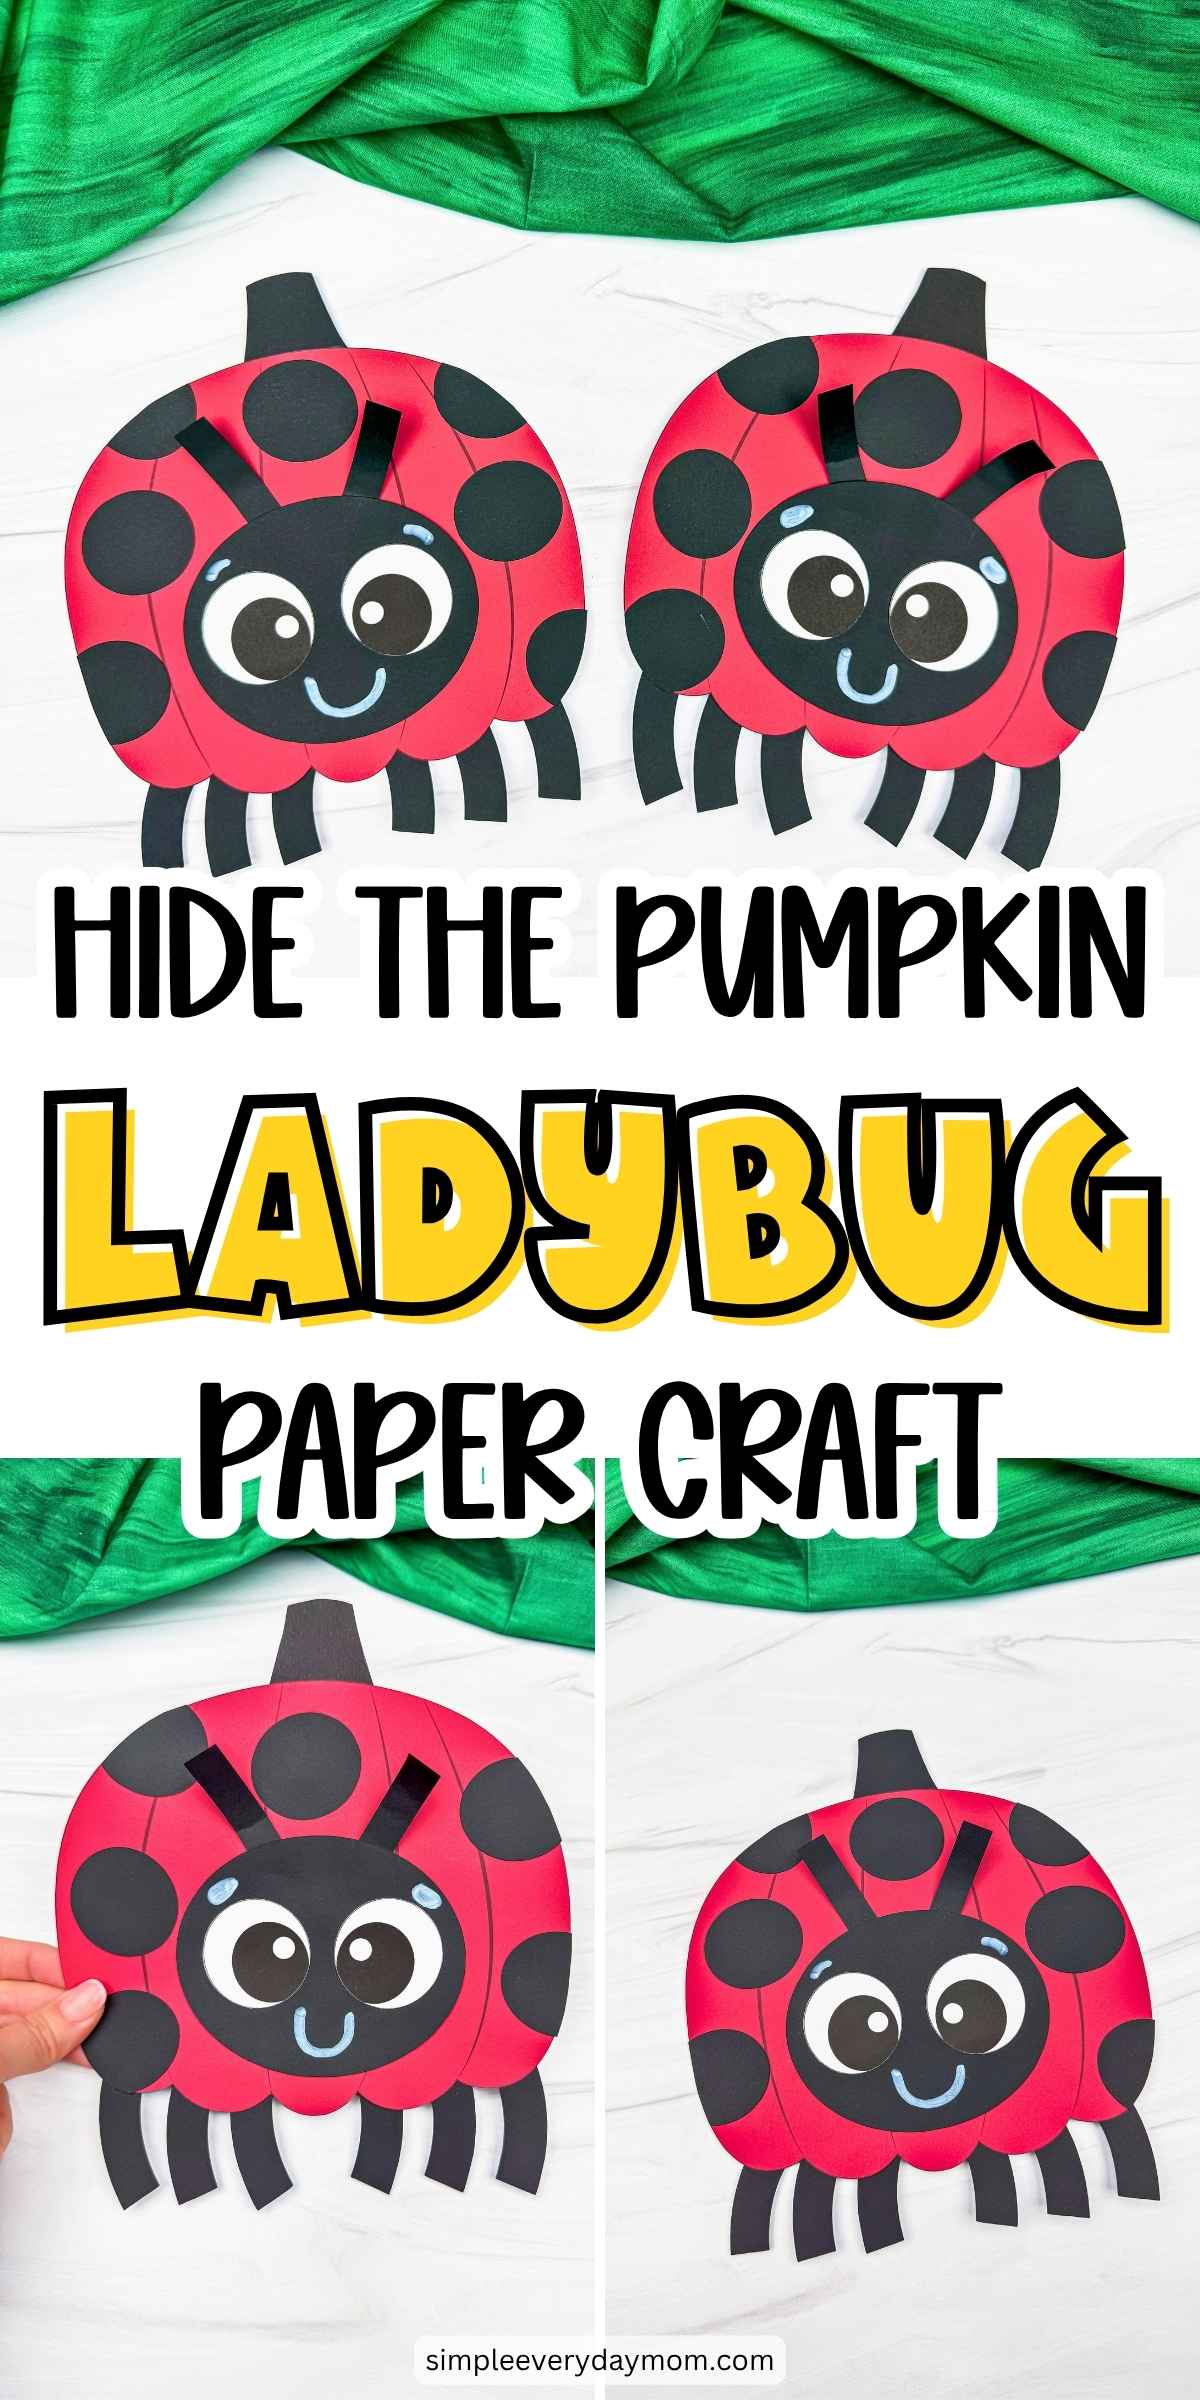
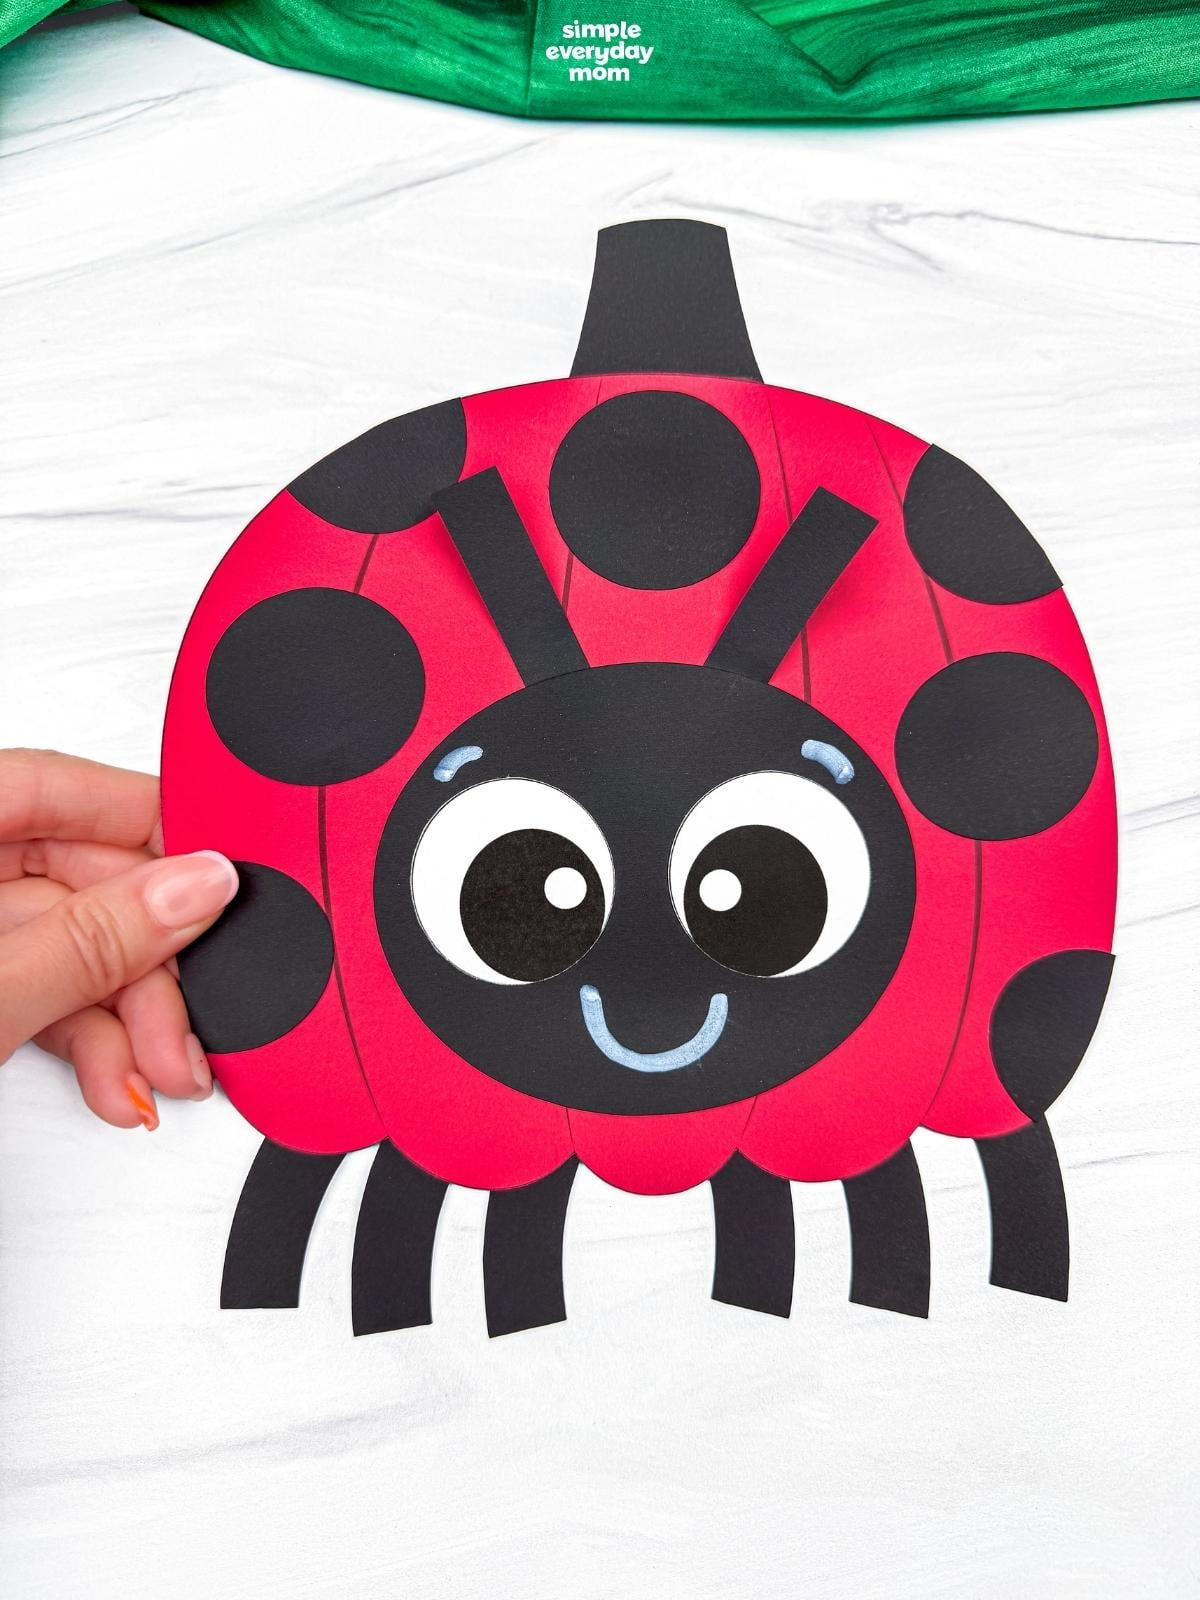
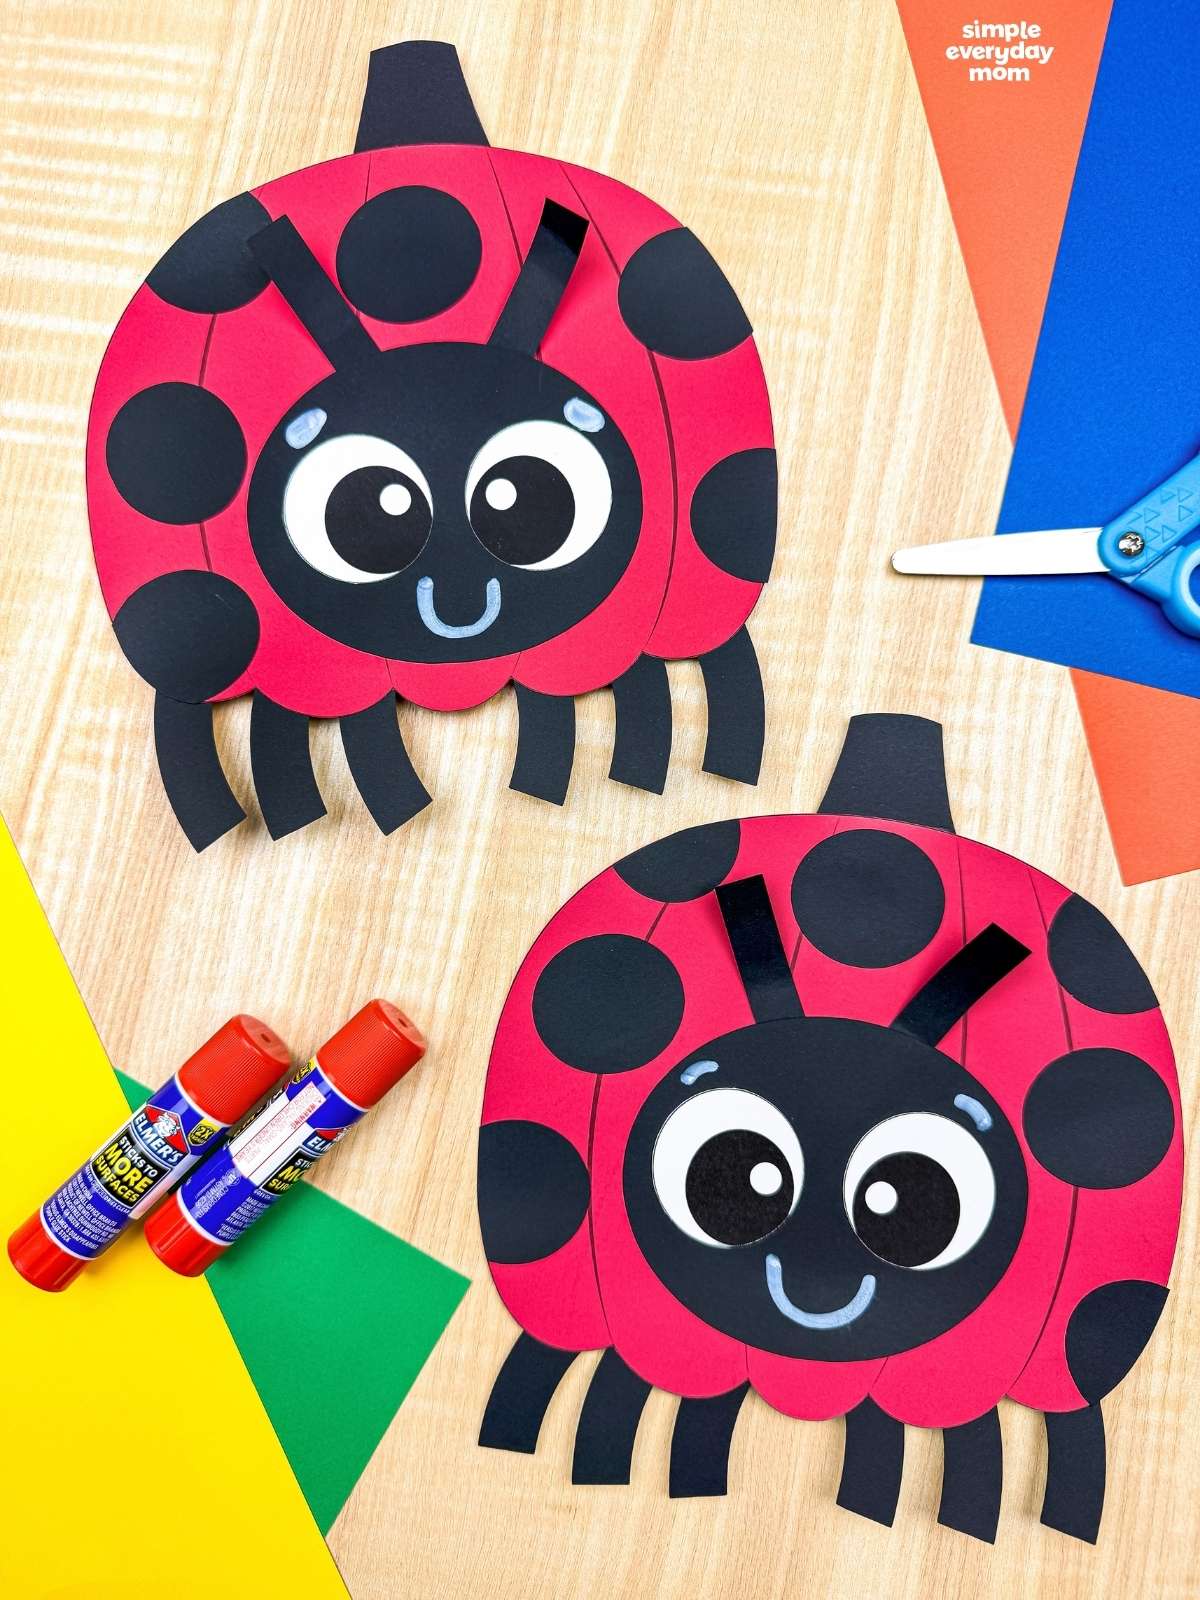
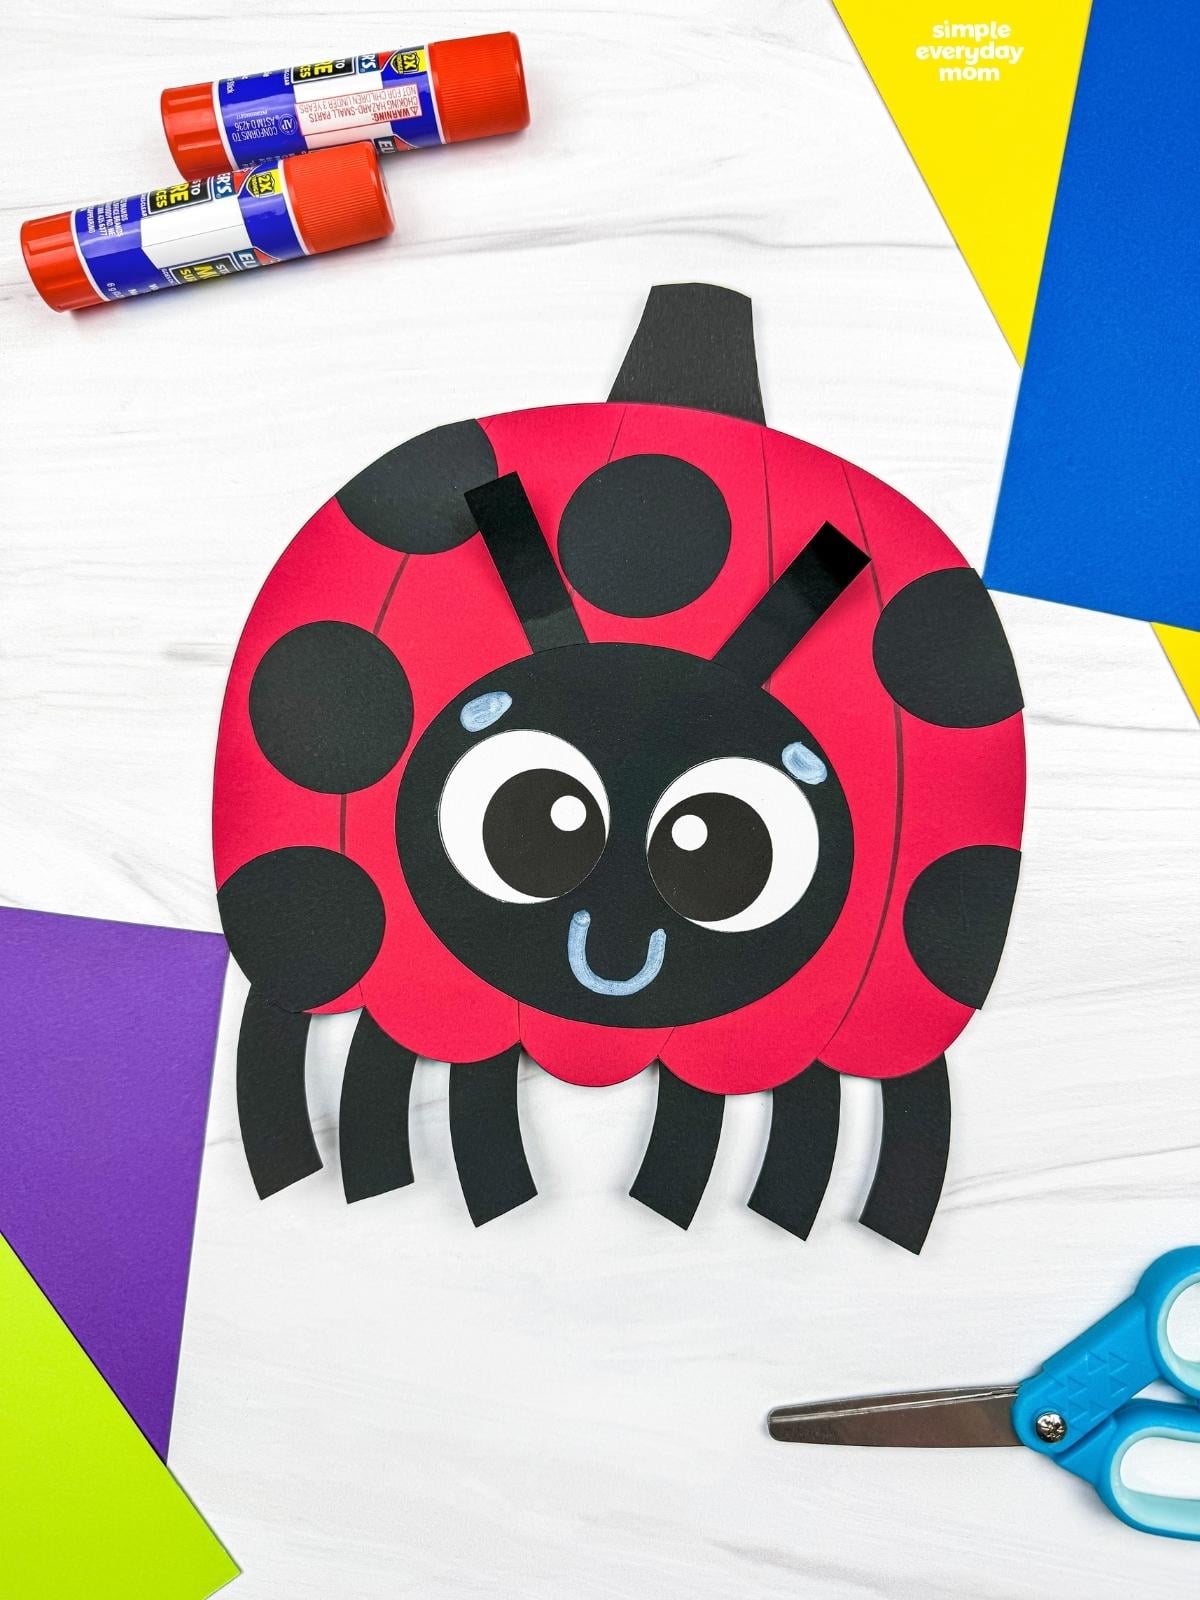
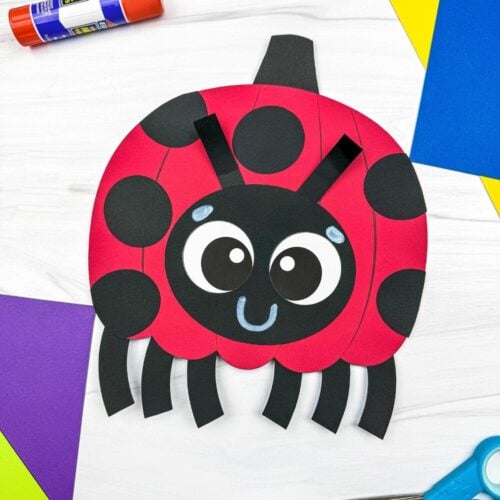
A pumpkin pretending to be a ladybug is exactly the kind of Halloween disguise I can get behind. This ladybug pumpkin disguise craft turns the usual orange pumpkin into a bright red bug with oversized eyes, black spots, antennae, and six little legs. Kids ages 5-7 can put the whole disguise together in about 20-30 minutes.
Pumpkins can dress up as just about anything, so there’s no reason to stop at a ladybug. Our pumpkin crafts for kids have even more ways to turn them into Halloween characters and fall projects.
Good To Know
- Themes: Pumpkin disguise project, Halloween, fall
- Activity: Cut and assemble ladybug pieces to disguise a pumpkin with spots, wings, antennae, legs, and a face
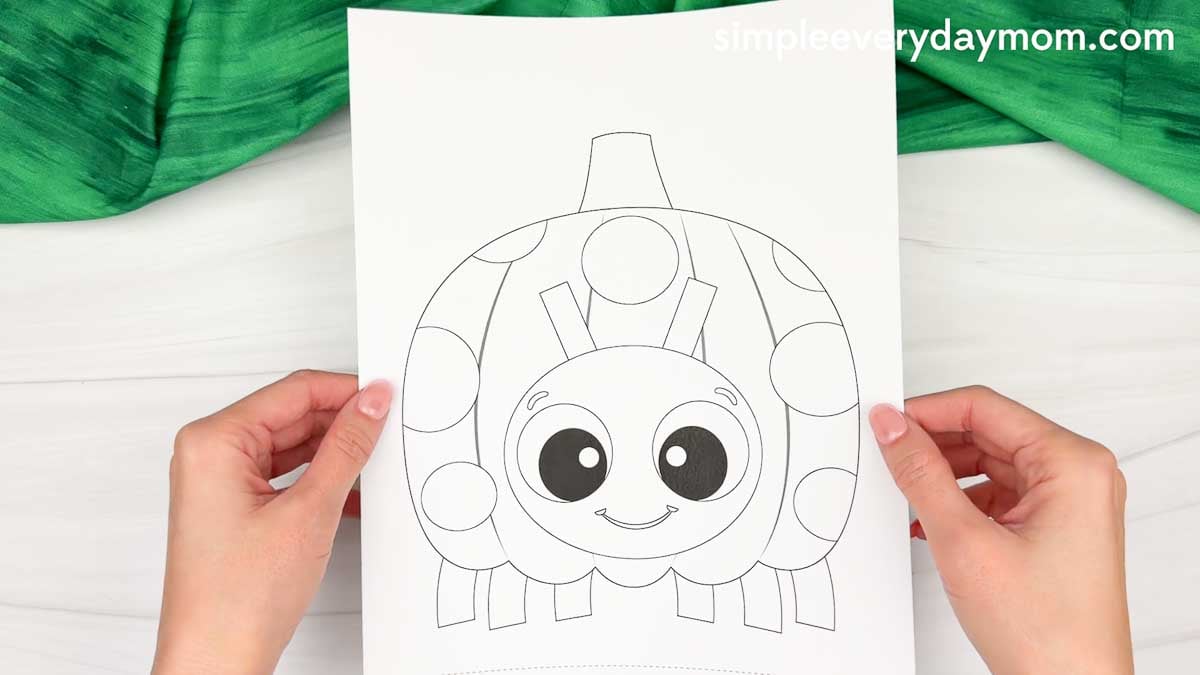
- Templates: Includes a free printable ladybug pumpkin disguise template
- Ages: Preschool through first grade
- Time: 20-30 minutes
- Skills: Cutting, gluing, shape placement, spatial awareness, scissor control, and fine motor practice
Hide the Pumpkin as a Ladybug
Those big black spots are what really sell the disguise. Add the round ladybug face over the pumpkin, then the antennae and legs, and suddenly the pumpkin underneath almost disappears. The stem poking out at the top is the funny little giveaway.
Kids get to work with several different shapes as they build the disguise, and there’s plenty of cutting and gluing along the way. Figuring out where all those spots and legs belong gives them something to think about too, especially when they’re trying to make their ladybug look balanced.
The finished project has a lot going on visually, but the individual pieces are simple and easy to recognize. Once that big red pumpkin body and black face are together, the rest of the ladybug details fall into place pretty quickly.
Supplies
- Colored cardstock or construction paper
- Scissors
- Glue
- Crayola Bold & Bright marker
- Ladybug pumpkin disguise template (click the “click here to get your freebies” image at the end of the post)
Directions
Start by printing the template, then gather the materials for this fun activity. Get those scissors ready, and let’s help the kids bring this ladybug pumpkin to life!
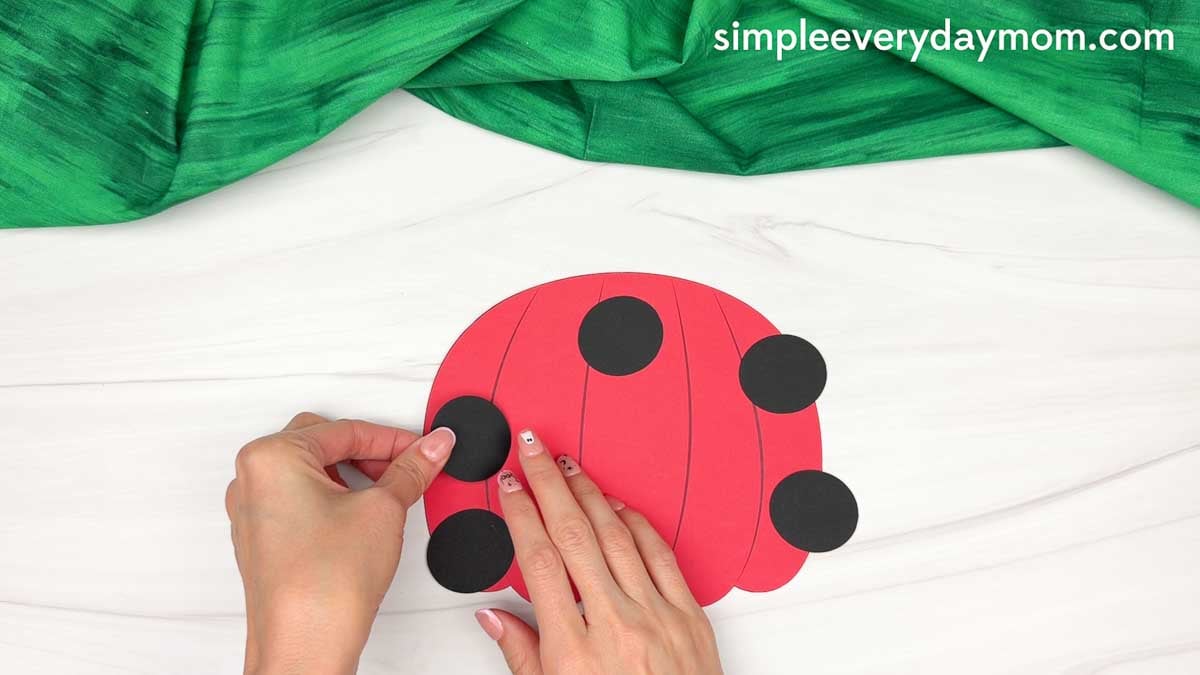
Take the spots and glue them around the pumpkin body. Let your child spread them out across the pumpkin to create the ladybug’s classic spotted look.
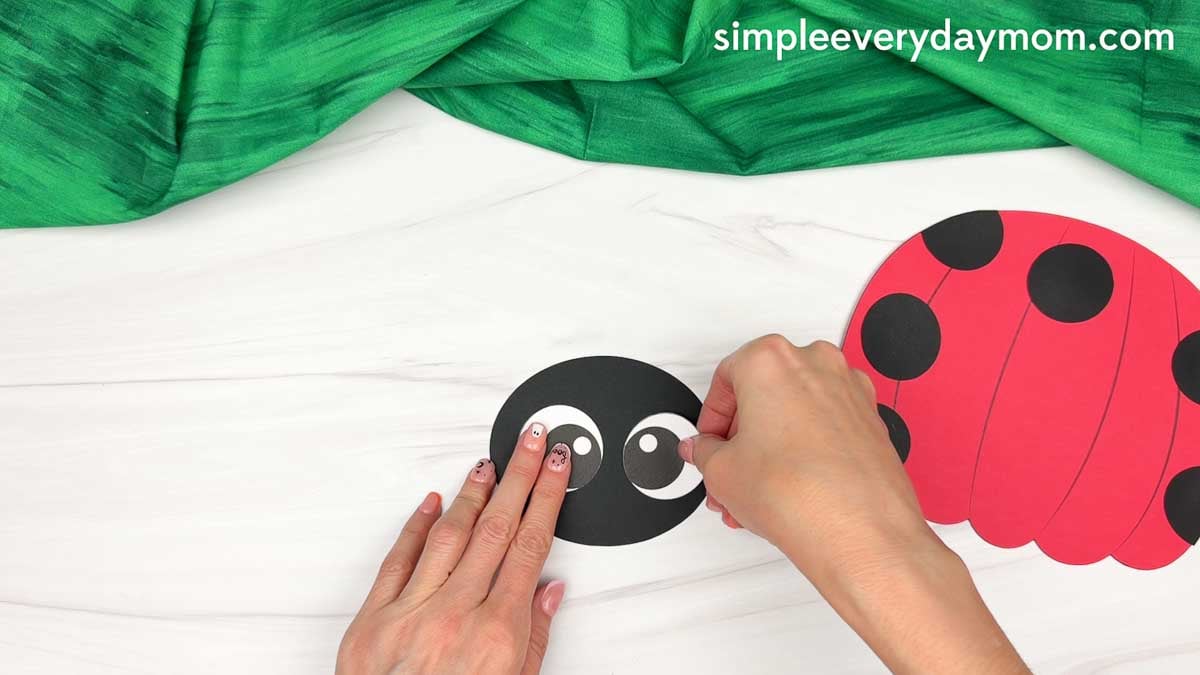
Grab the head and glue the eyes side by side near the center.
Use a bold & bright marker to draw a happy smile below the eyes. Let your child choose the expression they want their ladybug to have and talk about how different expressions can show different feelings.
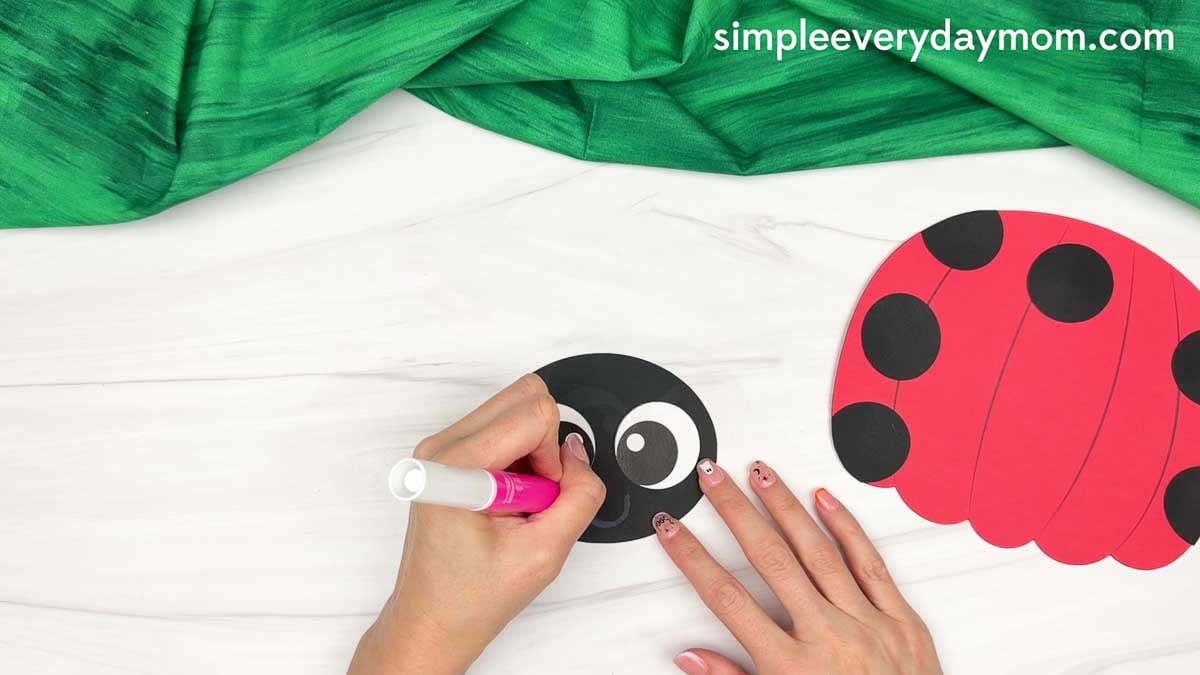
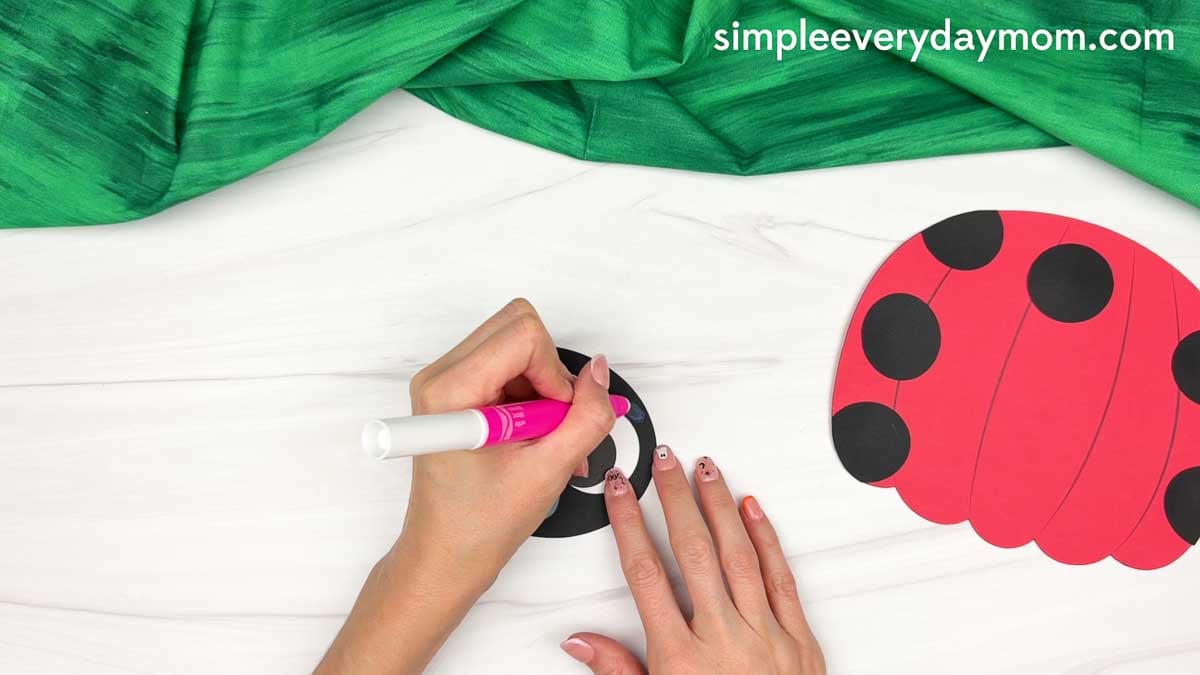
Add the eyebrows above the eyes with the same marker. These little details give the ladybug even more personality, so kids can have fun making the expression their own.
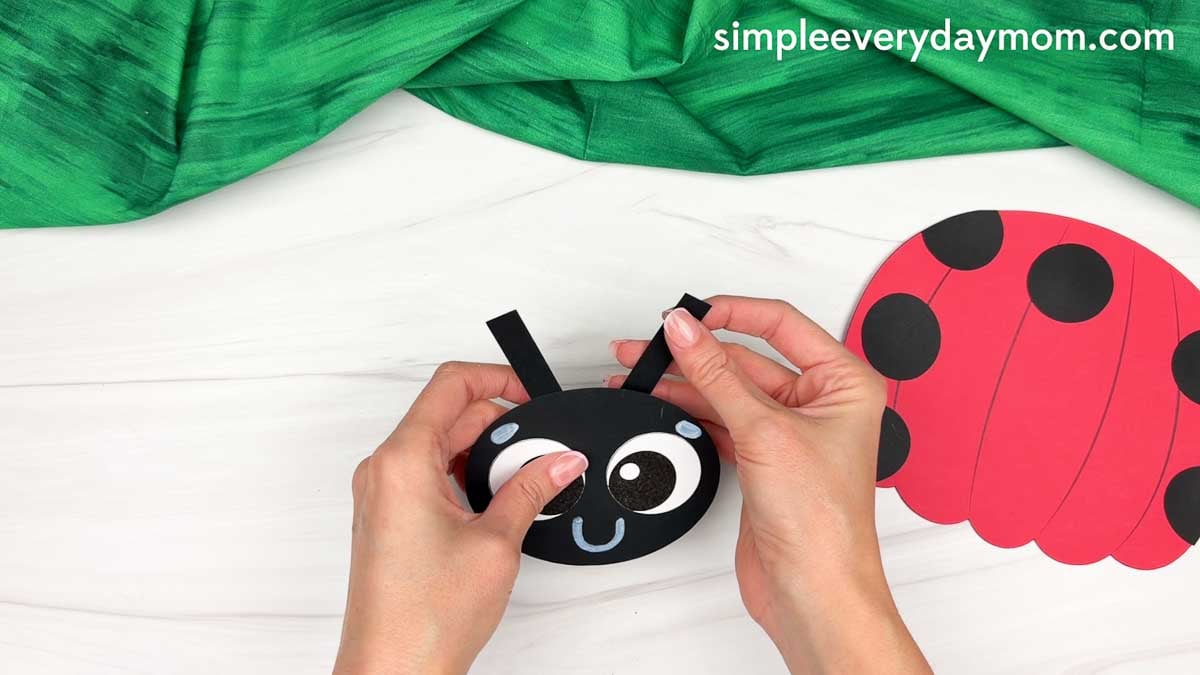
Take the two antennae and glue them to the back and top of the head so they stick up above it. Fold the top end of each antenna slightly to give them a little extra dimension.
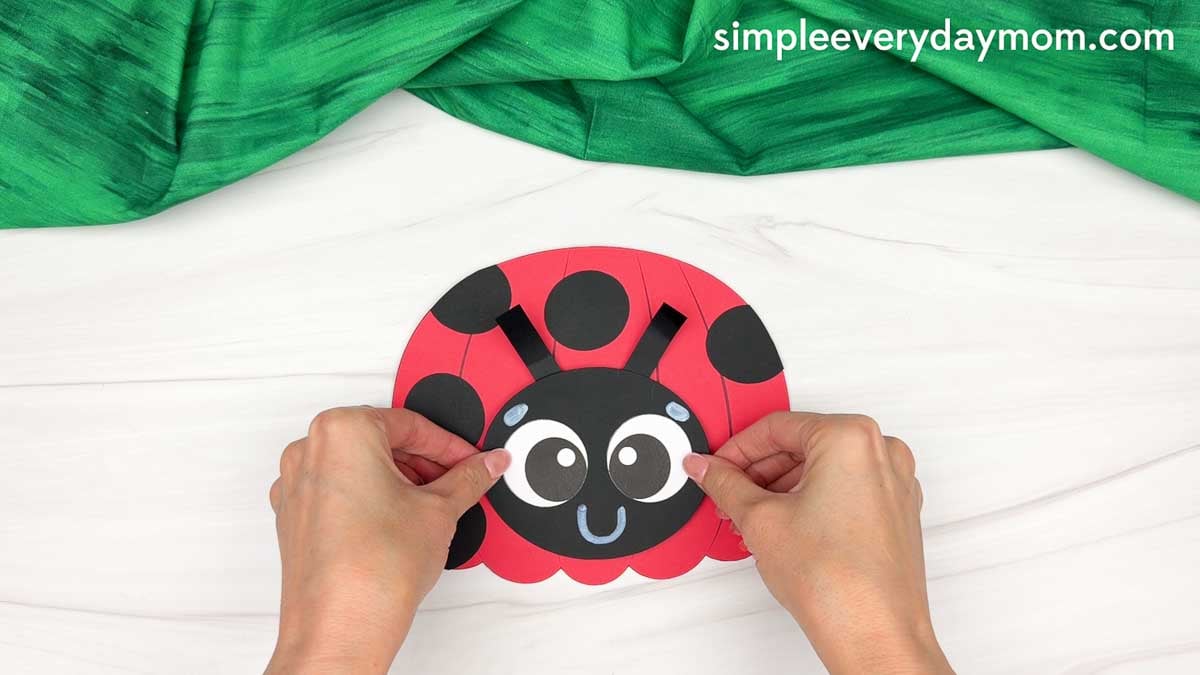
Glue the completed head onto the lower center of the pumpkin body. Your pumpkin disguise is really starting to look like a ladybug!
Glue the stem to the back and top center of the pumpkin body so it peeks out above the pumpkin.
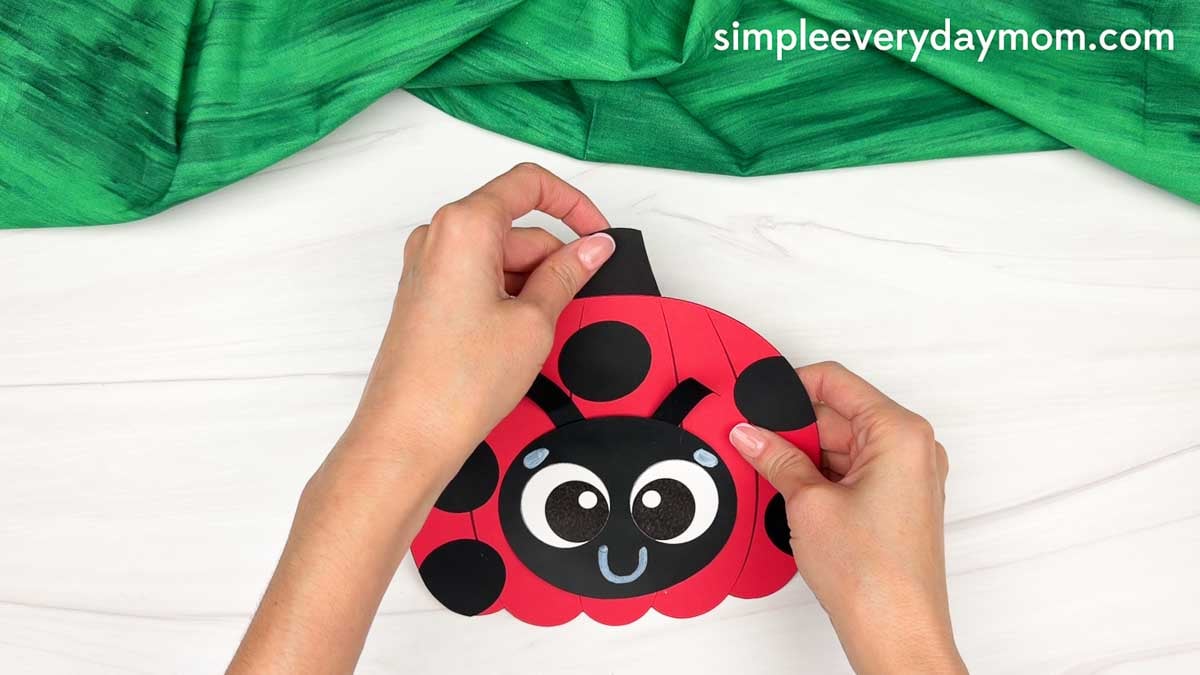
Take the right leg pieces and glue them along the bottom right.
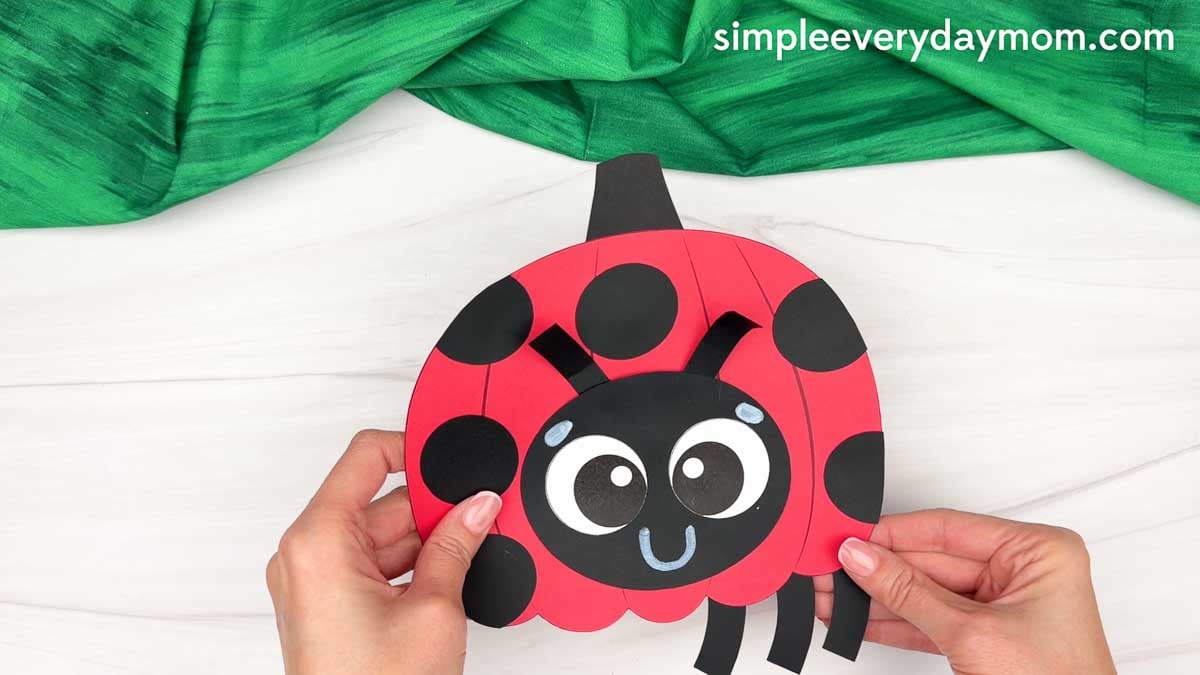
Finally, glue the left leg pieces along the bottom left of the pumpkin body. Position them so they peek out from underneath, then your ladybug pumpkin disguise is complete!
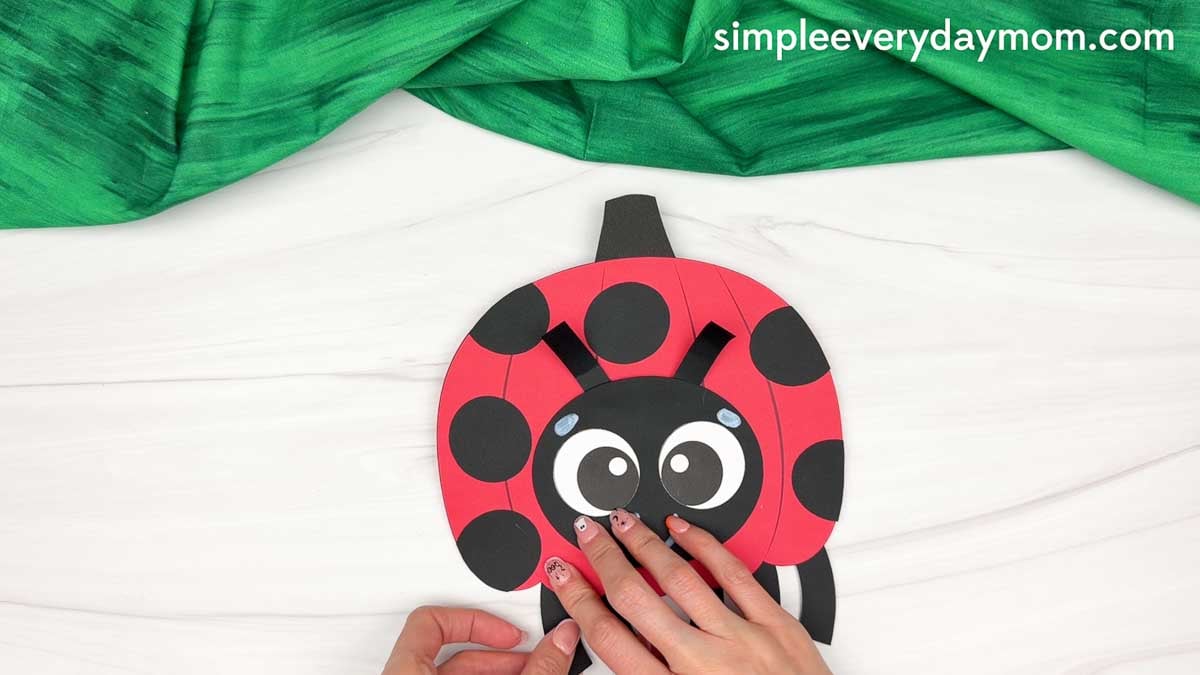
From arranging the spots to adding the final legs, kids get plenty of hands-on practice while having fun hiding the pumpkin as a cute ladybug. Take a look at the related crafts and activities below for more ideas that fit right into seasonal lesson plans or themed activity days.
Halloween Books for Children


Room On The Broom: This has to be one of our favorite Halloween books of all time! The story follows a witch and her cat as they happen upon some animals who help the witch. There’s danger, mystery, and friendship in this adorable children’s story.
The Good, The Bad, And The Spooky: Halloween is the Bad Seed’s favorite holiday, but when he can’t come up with the perfect costume, he decides trick-or-treating should be postponed for everyone! Kids will love following his funny quest to find a show-stopping costume before the big night. With plenty of humor and Halloween fun, this is a great seasonal read for fans of The Bad Seed and the Food Group series.
Ten Timid Ghosts: This is a fun countdown book about a witch who moves into a haunted house where 10 ghosts already live. The witch scares the ghosts out one by one until they devise a scheme to get her out of their house. This Halloween children’s book is good for kids who love rhyming stories!
Creative Spooky Season Crafts
Vampire Disguise A Ghost Craft – Give a friendly ghost a spooky makeover with a vampire disguise! This Halloween activity is a fun way for kids to practice important skills and creative thinking while also turning a ghost into a charming little vampire. Grab our free template and a handful of supplies to get started!
Skeleton Halloween Craft – There’s something especially fun about building a skeleton one bone section at a time. Kids assemble the skull, ribs, hips, arms, and legs on a background page, so it feels a little like putting together a very Halloween-ish puzzle.
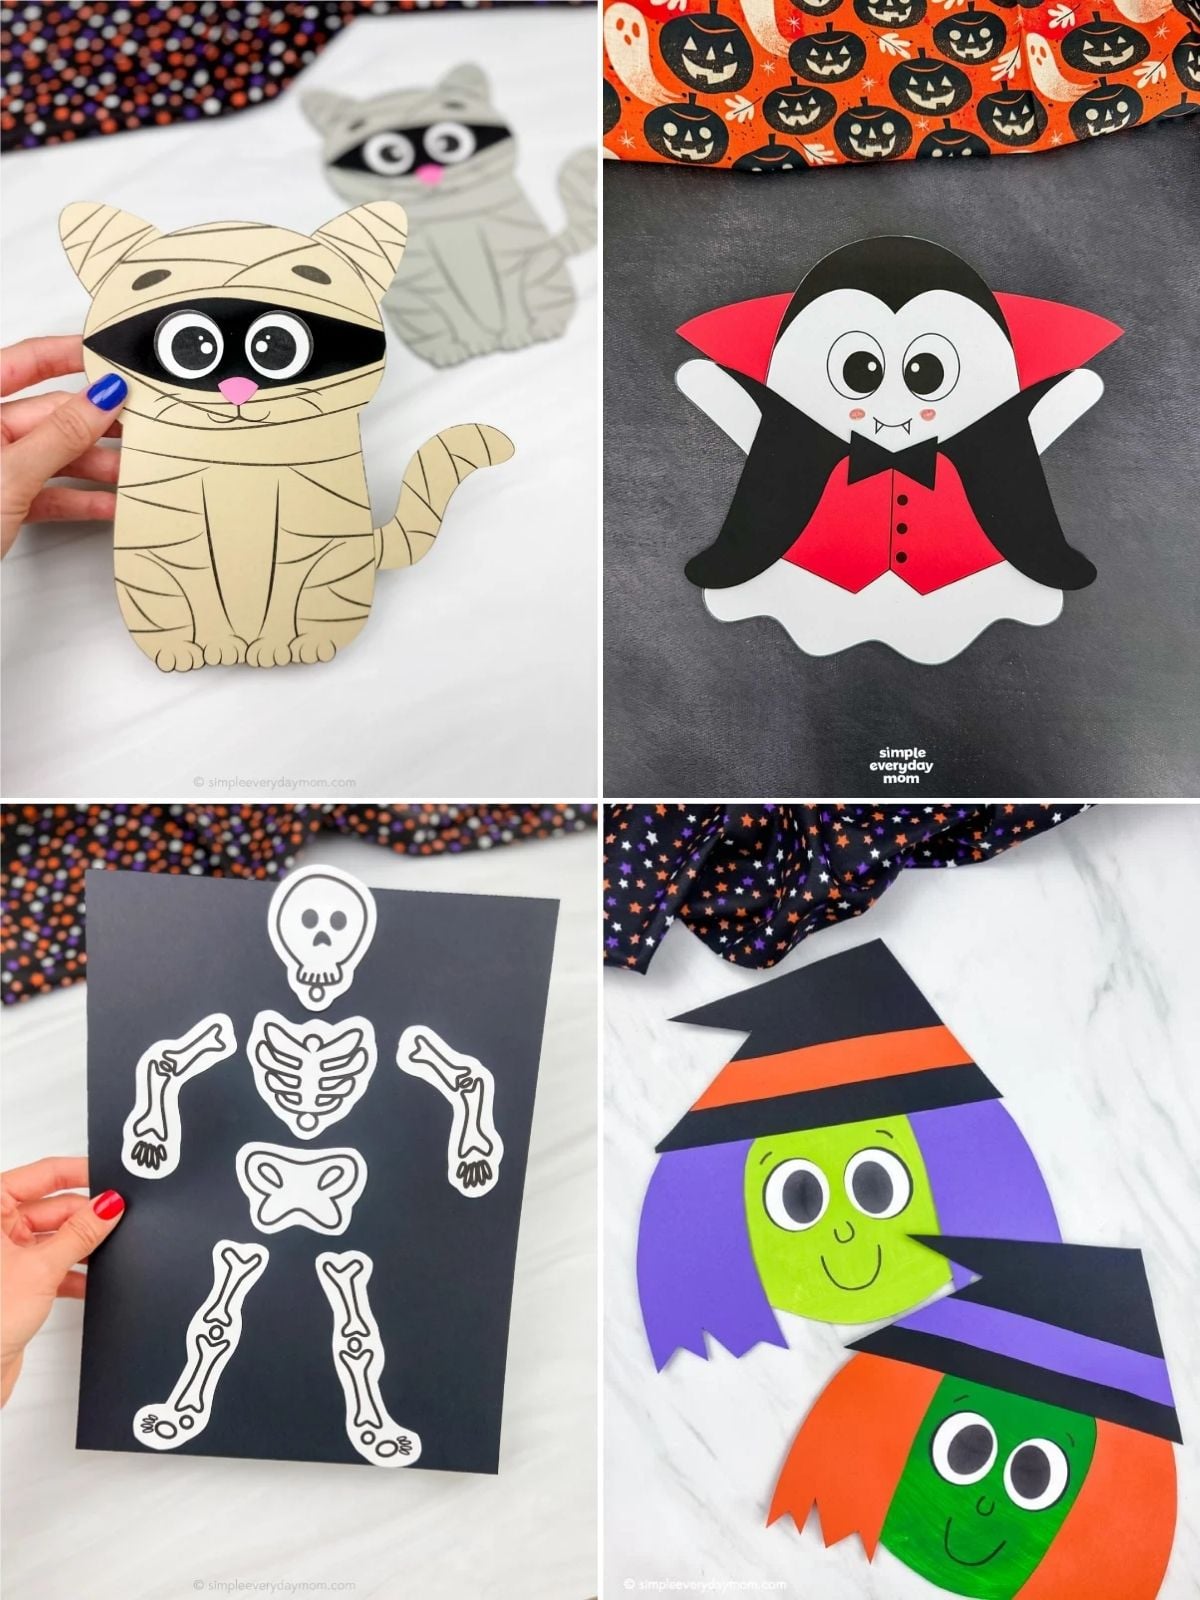
Witch Paper Plate Craft – The face is where kids really get to have some fun with this witch. After the green paper plate, orange hair, and hat are in place, they draw the eyebrows, nose, and smile themselves. Silly witch? Grumpy witch? That part is completely up to them.
Cat Mummy Craft – Turn a cute kitty into a spooky Halloween mummy! Kids can piece together this cat mummy for a purr-fectly fun project using our free template. We also have a color, cut and paste version available for your younger kiddos, too. This easy Halloween cat adds just the right amount of spooky-cute charm to the season.


Fun Halloween Learning Pages
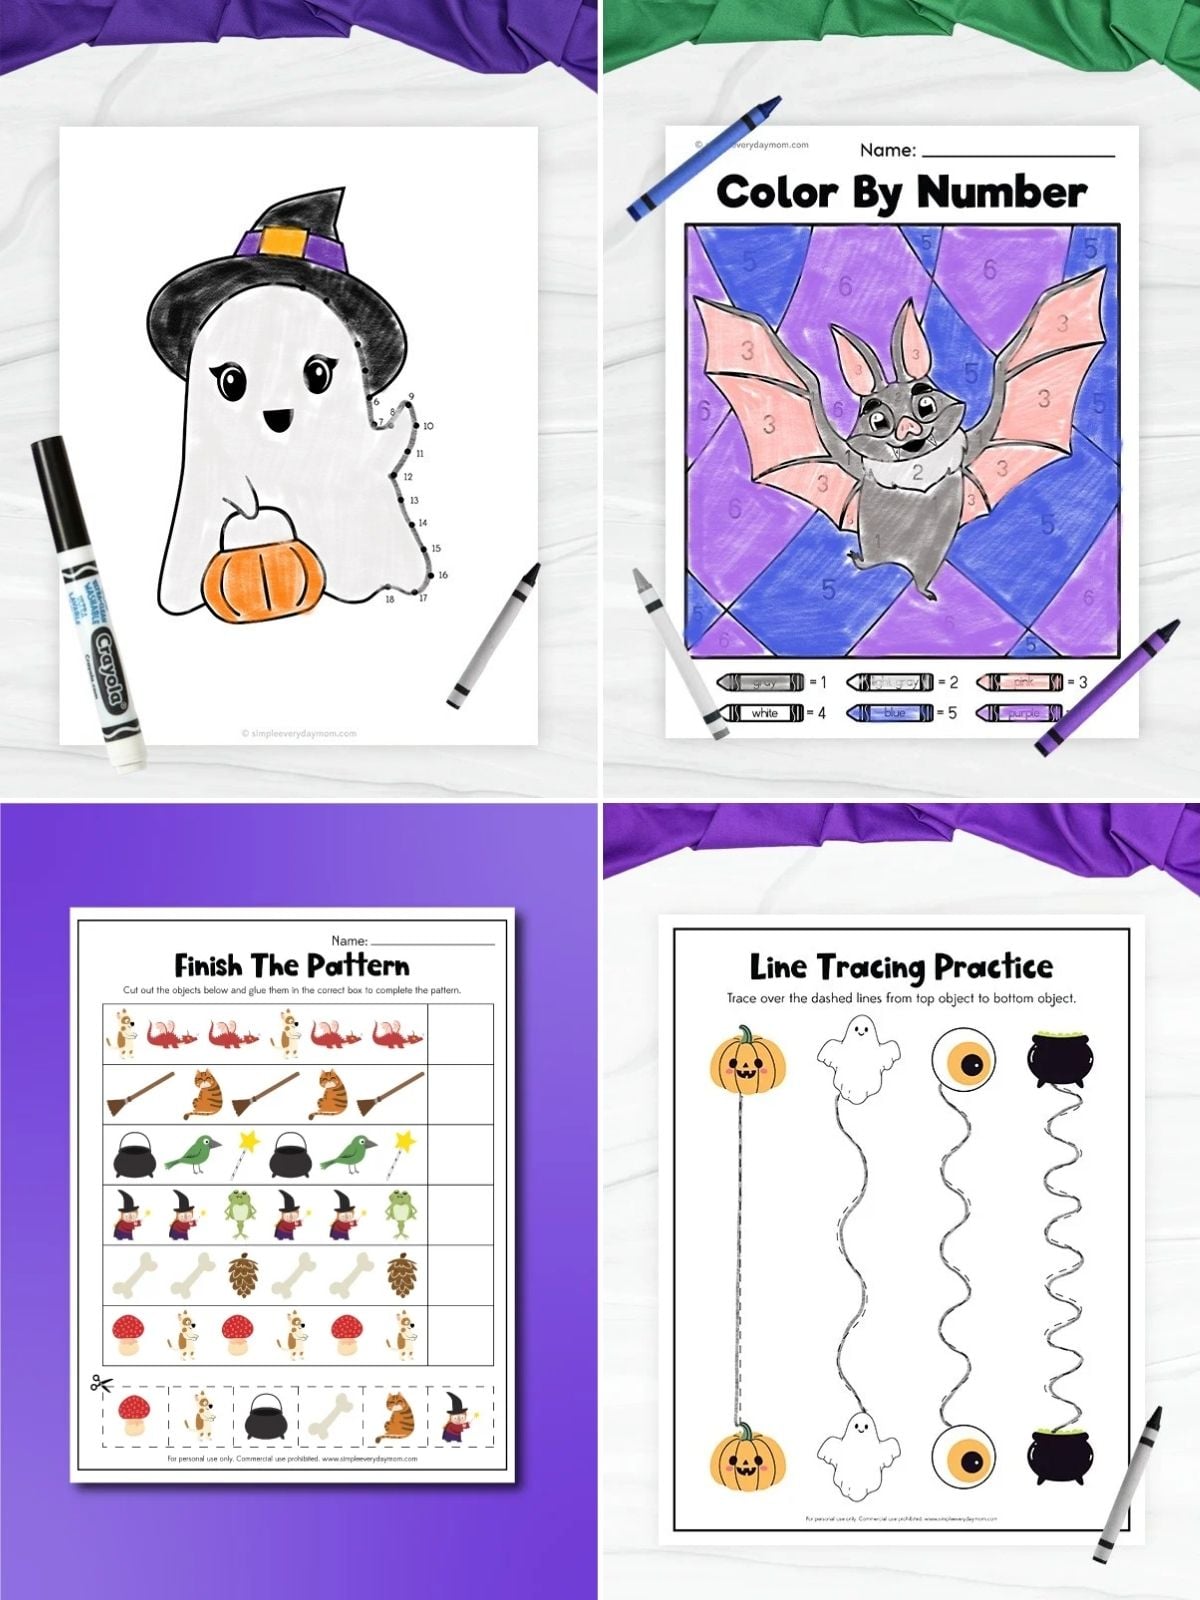
Take a magical ride through learning with these Room on the Broom worksheets! Kids will trace different paths, label the witch, complete picture patterns, and hunt for uppercase and lowercase ‘Dd’s.
The character flashcards add more fun with a memory game that also increases their vocabulary. These Halloween worksheets help strengthen fine motor skills, pattern recognition, letter recognition, and visual discrimination while bringing the story to life.
Your little witches and wizards can practice important pre-writing skills with our Halloween tracing worksheets. The Cc for Crow page helps children recognize and trace uppercase and lowercase C, and the Trace the Hat page strengthens pencil control and hand-eye coordination.
Additional line tracing worksheets have kids follow straight, wavy, and zigzag paths to Halloween characters to build fine motor skills and prepare their hands for writing.
Let kids color their Halloween decorations using these bat color by numbers pages! They’ll follow the number guide to choose the right colors and reveal four cute bats, including a sleeping, smirking, hanging, and happy bat.
These pages will give children practice with number recognition and coloring inside the lines strengthens fine motor skills, pencil control, and hand-eye coordination.
Halloween fun begins one dot at a time with our Halloween dot to dot printables! Kids will count and connect the dots to reveal a waving ghost, black cat with a pumpkin basket, and jack-o-lantern wearing a witch hat.
Once their spooky pictures appear, they can color them in to bring their Halloween friends to life. These Halloween connect the dots also help children practice number recognition, counting, hand-eye coordination, and fine motor skills.
Share With Us
Did you make this activity with your kids or students? We’d love to feature them on our social media!
For a chance to have your child’s project featured, simply snap a picture of the completed project and post it to our Facebook page, email it to us directly by clicking here, or use #simpleeverydaymom on your social media!
Ladybug Pumpkin Disguise Craft
Video
Materials
- Colored cardstock or construction paper
- Scissors
- Glue
- Crayola Bold & Bright marker
- Ladybug pumpkin disguise template
Instructions
- Print the template and gather the materials for this fun activity.
- Begin by gluing the spots around the pumpkin body.
- Glue the eyes side by side onto the head.
- Using a Crayola bold & bright marker, draw a smile below the eyes and add the eyebrows above them.
- Glue the antennae to the back and top of the head.
- Glue the completed head onto the lower center of the pumpkin body.
- Glue the stem to the back and top center of the pumpkin body.
- Finally, glue three legs along each side of the bottom of the pumpkin body so they peek out underneath.
Did you make this?
Don’t forget to leave a comment below and make sure to follow on Pinterest, Facebook and TikTok for more!
Free Ladybug Pumpkin Disguise Template


Meet Sam
Sam is the crafter and founder of Simple Everyday Mom. She has been featured in Oprah Mag, Good Housekeeping, The Spruce Crafts, Country Living, The Bump, and more.