Haunted House Torn Paper Craft for Kids [Free PDF Template]
All activities require adult supervision. By using this site, you agree to our terms of use. This post may contain affiliate links, sponsored links, and ads. As an Amazon Associate and participant in other affiliate programs, I earn from qualifying purchases.. Read our disclosure policy.
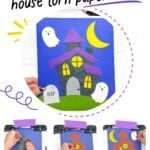
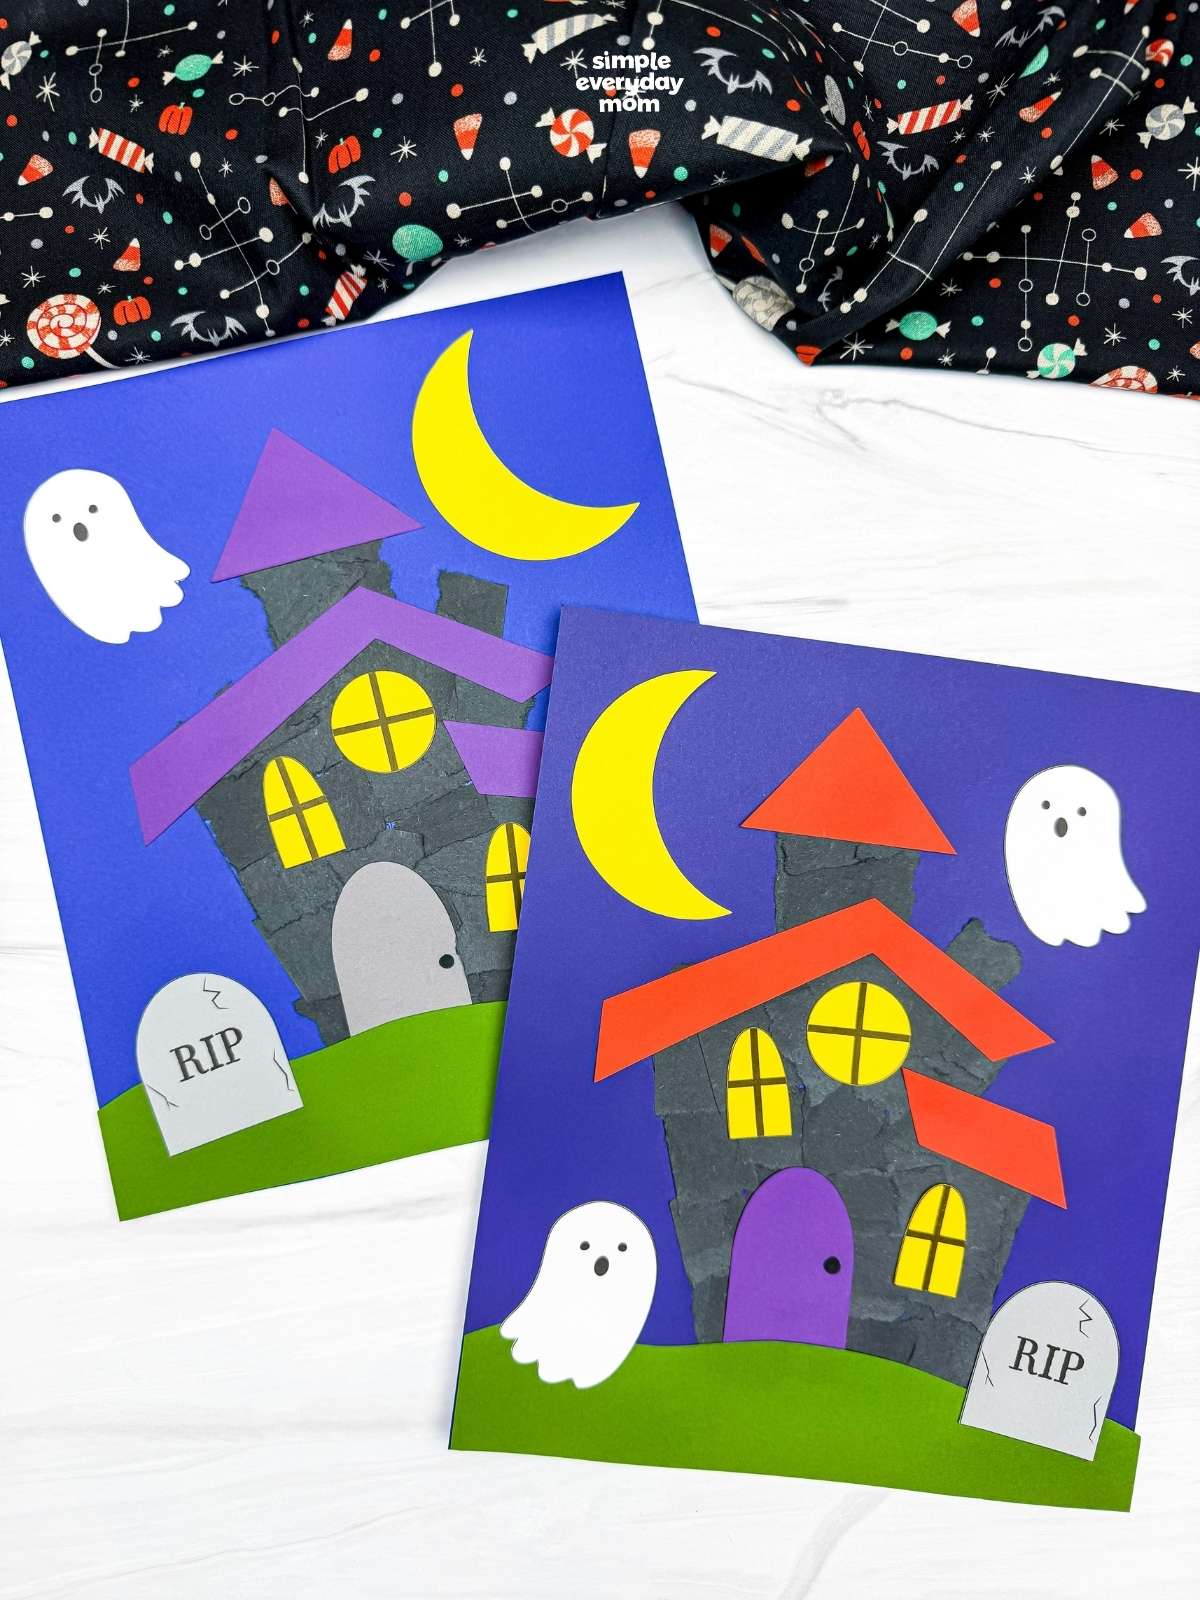
Tearing paper is usually the thing kids are told not to do, which is exactly why this one is so satisfying. This haunted house torn paper craft lets 4-7 year olds rip black paper on purpose, then turn all those uneven pieces into a crooked Halloween house in about 25-35 minutes.
And once the ghosts and haunted houses start showing up, it’s pretty easy to stay on that theme. Our Halloween crafts for kids have plenty of other not-too-spooky projects that work well for October.
Good To Know
- Themes: Halloween, haunted house, torn paper, paper craft
- Activity: Tear paper to build a haunted house, then add the roof, windows, door, ghosts, moon, grass, and tombstone
- Templates: Includes a free printable haunted house craft template
- Ages: Preschool through first grade
- Time: 20–30 minutes
- Skills: Paper tearing, gluing, cutting, shape placement, spatial awareness, and fine motor practice
Halloween Fine Motor Craft
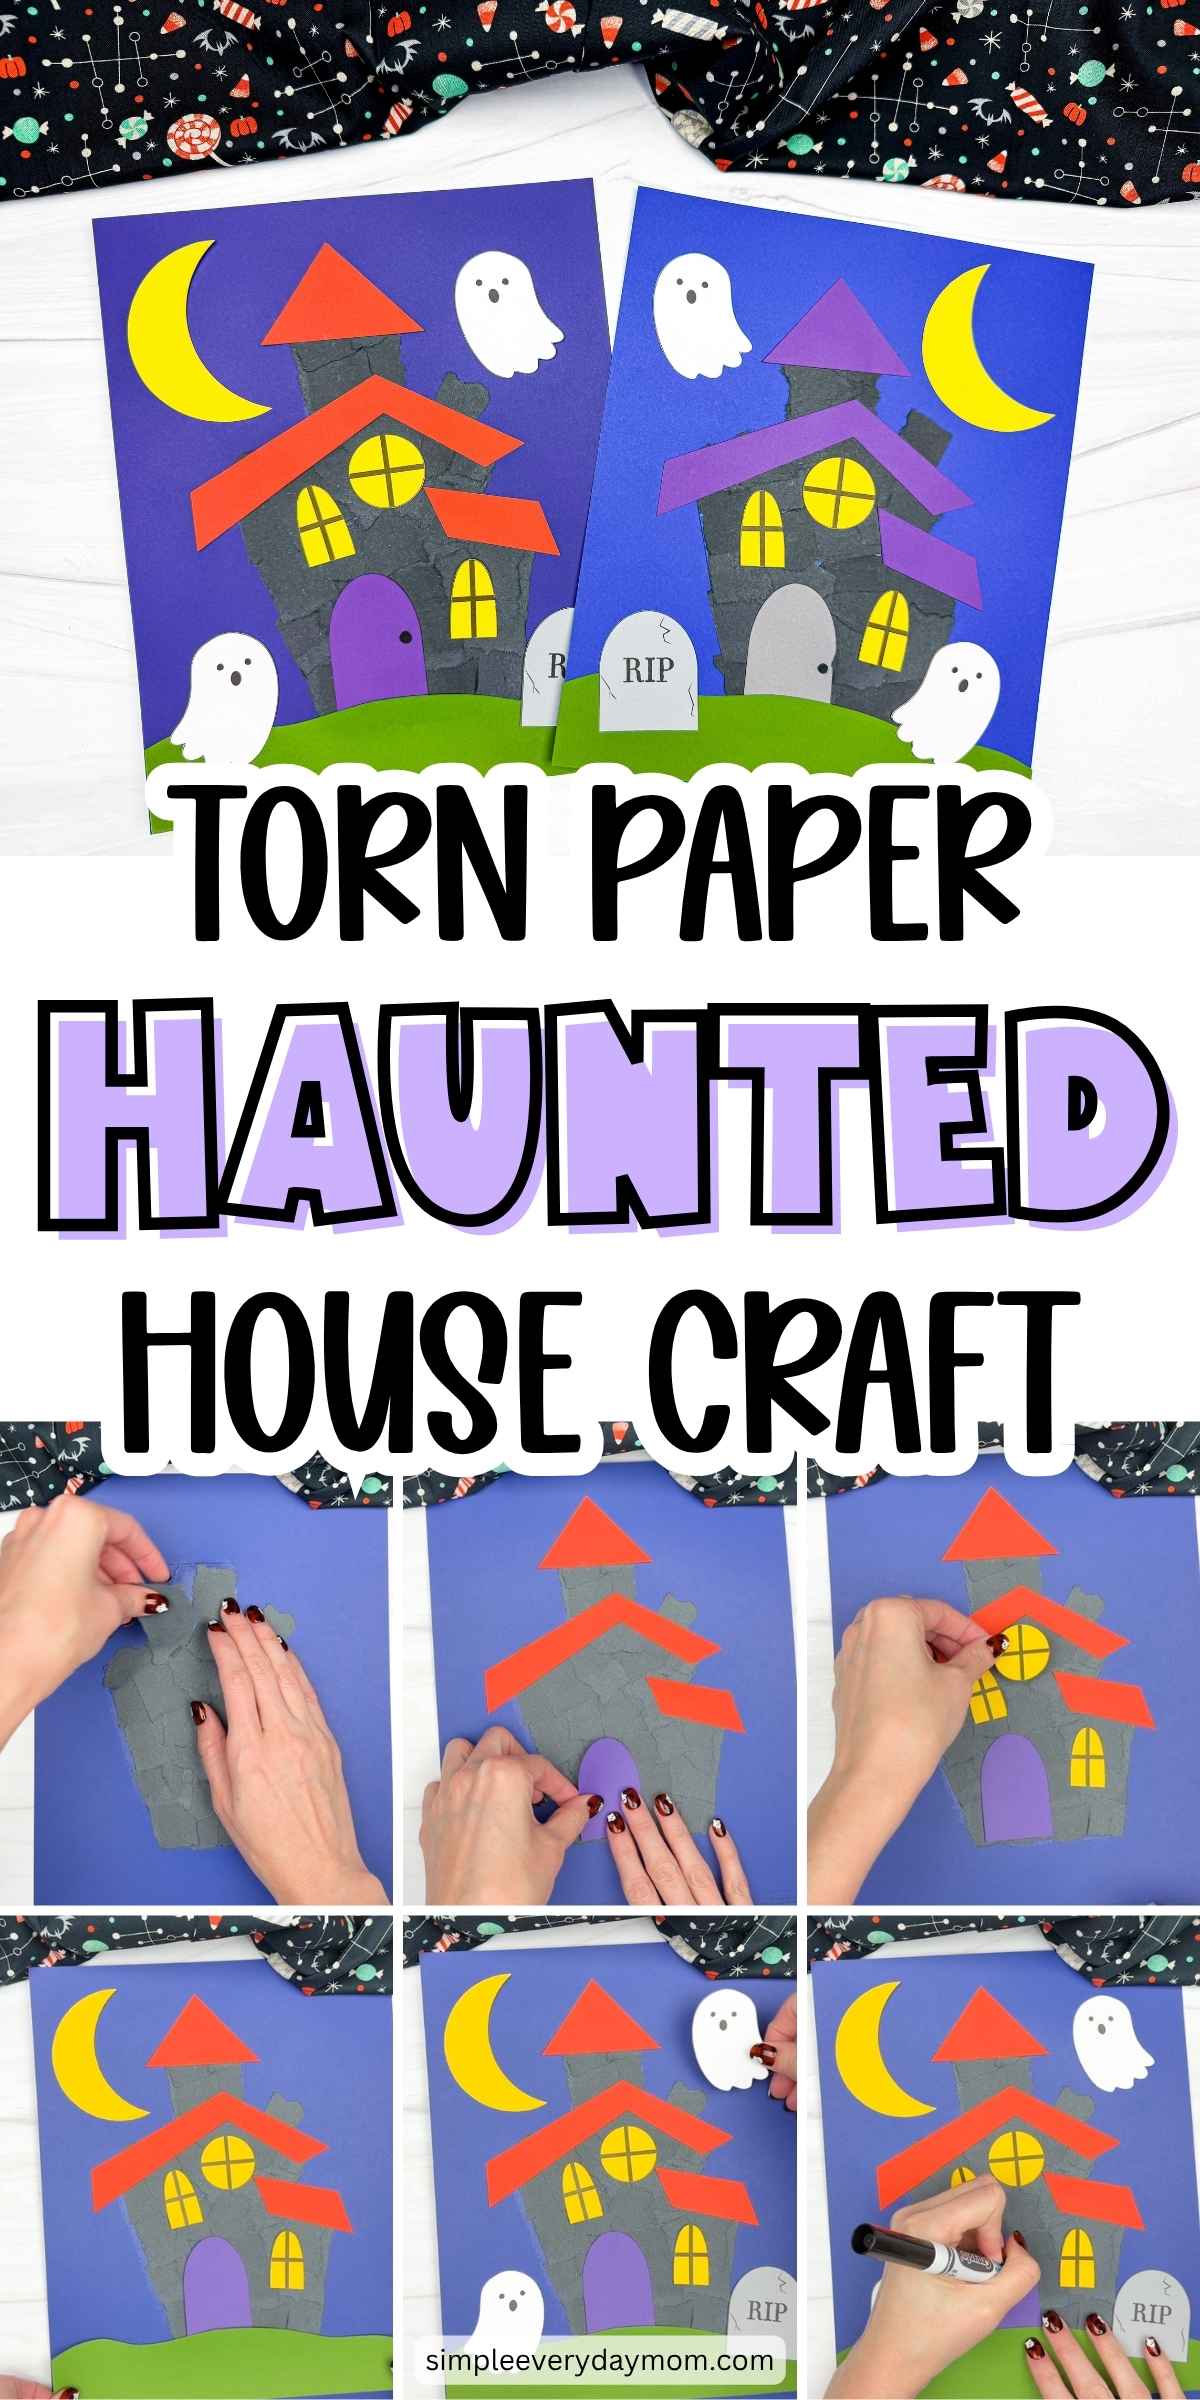
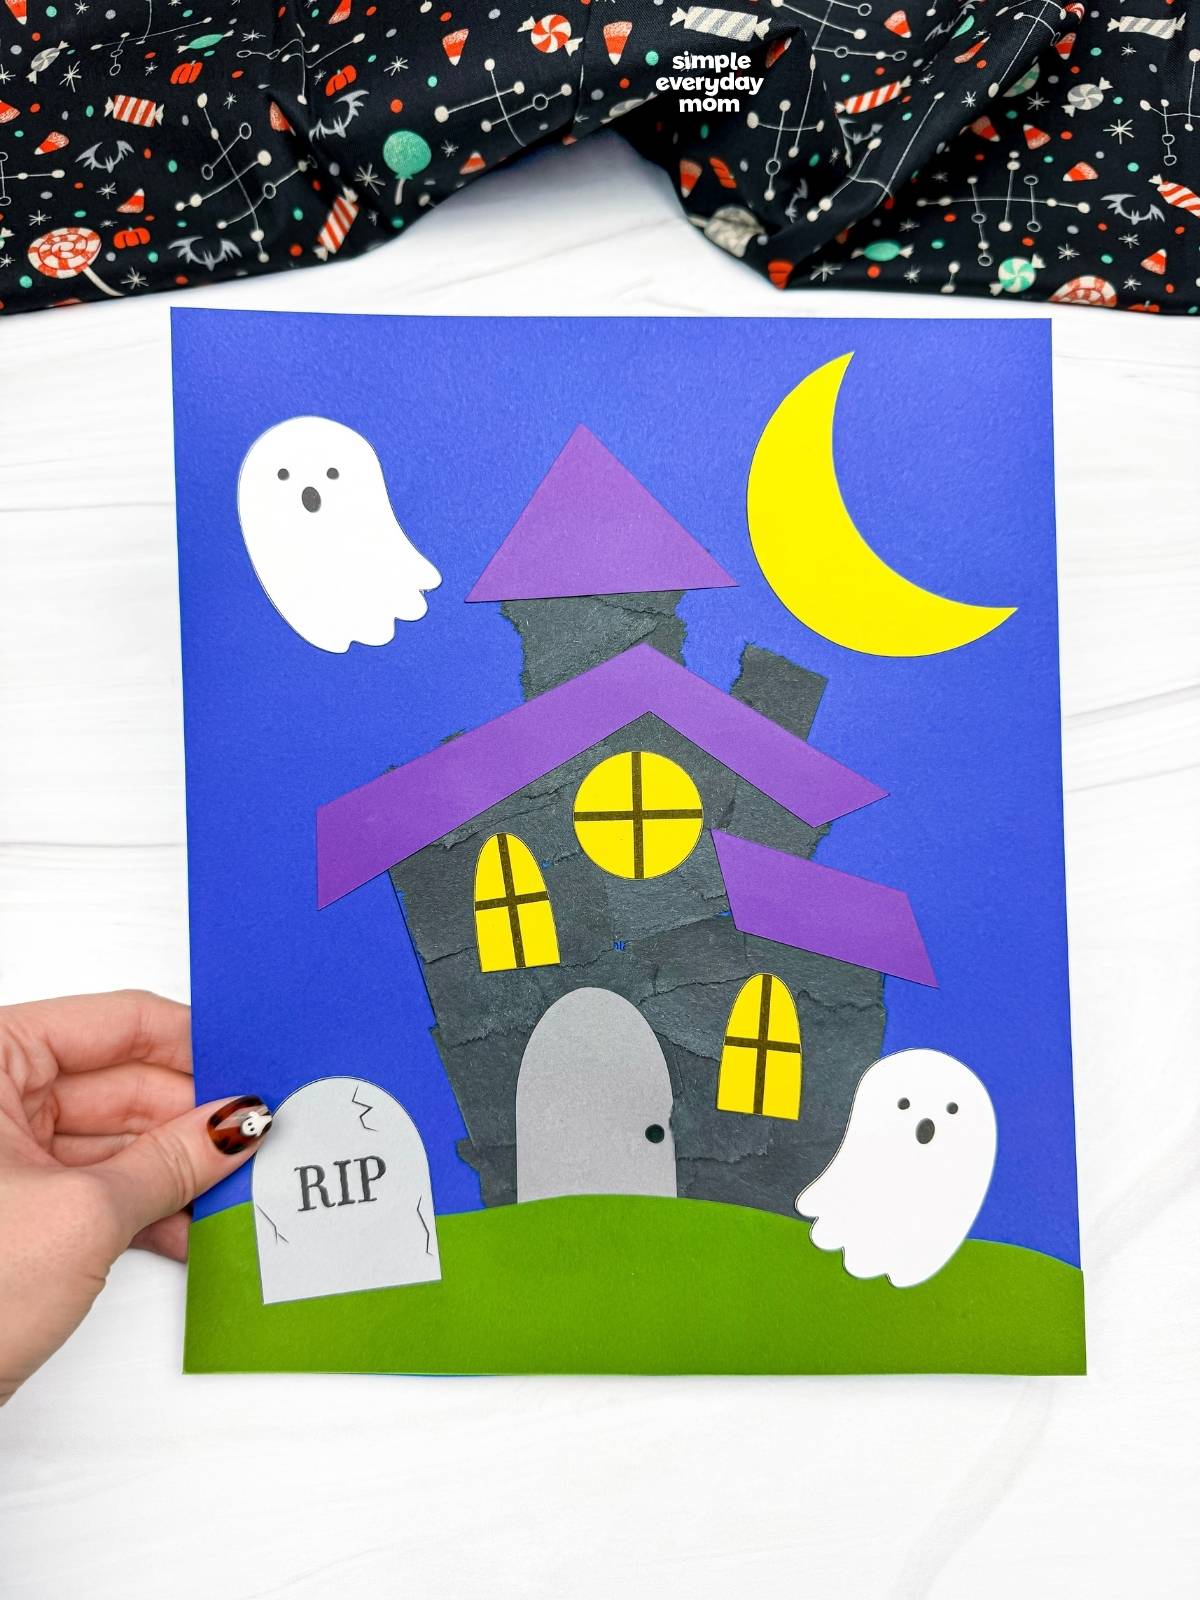
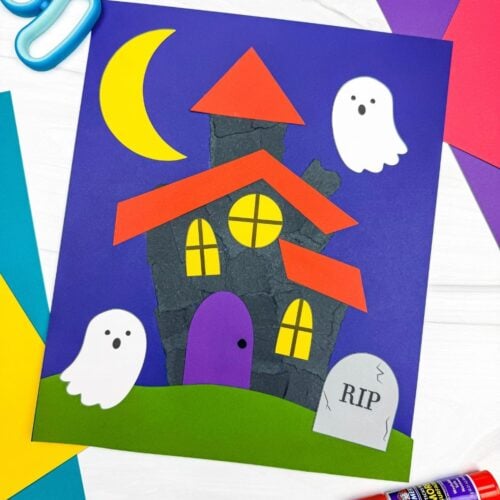
The torn paper is what gives the house its best detail. Those rough edges make the walls look old and cracked without kids having to carefully cut every piece to match. Then the bright windows, orange roof, ghosts, moon, and tombstone stand out against all that dark paper.
Kids get to decide how those torn pieces overlap and where each Halloween detail belongs, so the house doesn’t need to look perfectly straight. In fact, a slightly lopsided haunted house feels pretty appropriate here. All that tearing, arranging, and gluing gives their hands plenty to do while they build the scene.
The larger pieces help pull everything together once the torn-paper house is finished. Kids can add the roof, windows, door, ghosts, and other details to turn a pile of ripped paper into something that very clearly reads as Halloween.
Supplies
- Colored cardstock or construction paper
- Scissors
- Glue
- Marker
- Haunted house torn paper template (click the “click here to get your freebies” image at the end of the post)
Directions
Start by printing the template, then gather the materials for this fun activity. Get those scissors ready, and let’s help the kids bring this haunted house to life!
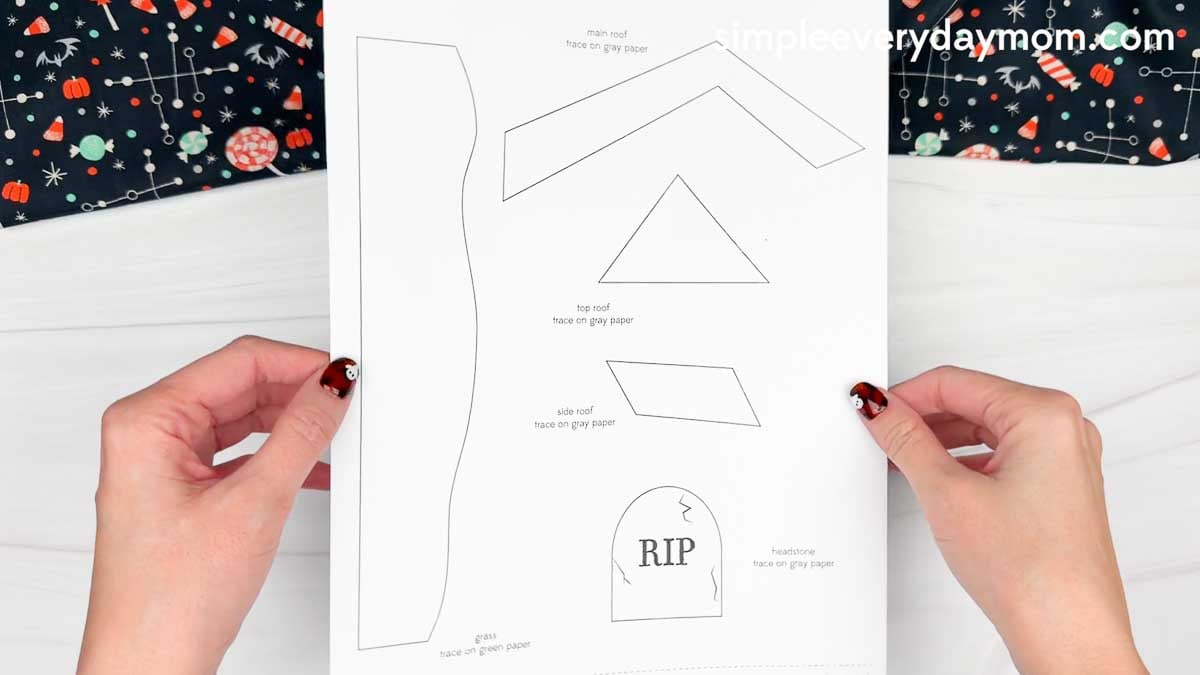
Let your child tear the black paper into small pieces and glue them onto the background paper to build the haunted house. Tearing paper is a great way to work those little hand muscles and practice fine motor skills.
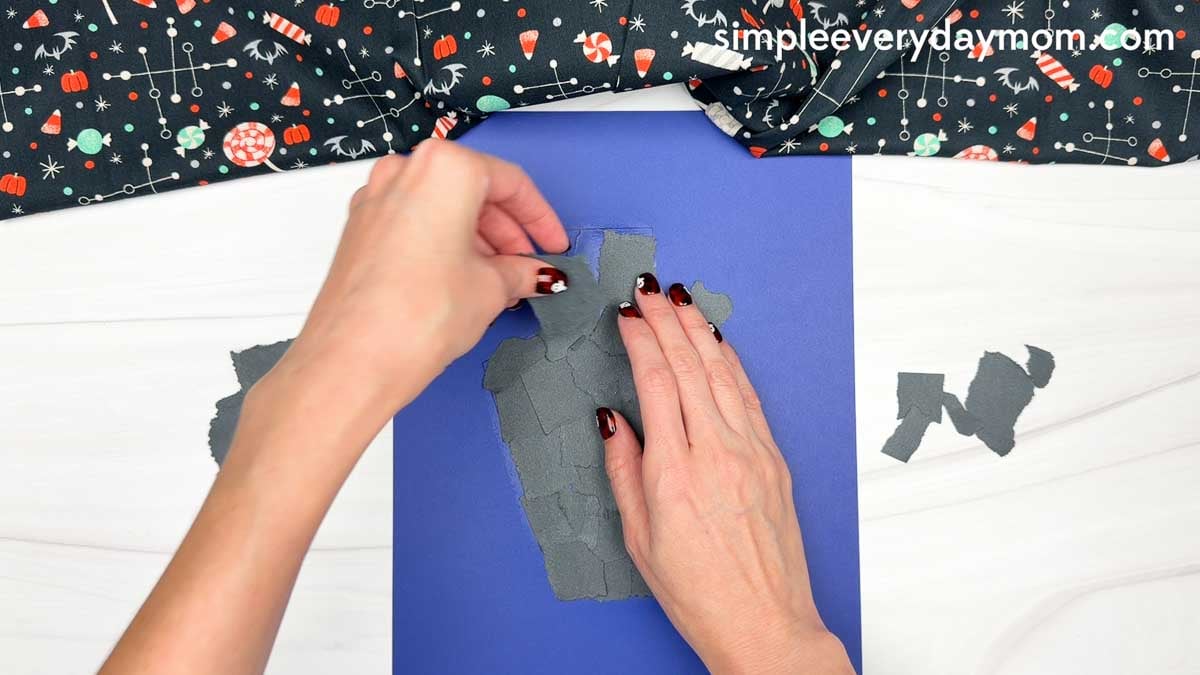
Grab the three roof pieces. Start with the top roof and glue it onto the flat edge at the very top of the house. Take the main roof and glue it across the upper part of the house, lining up the longer section with the left slanted edge and the shorter section with the right slanted edge.
Glue the side roof along the slanted edge on the middle right side of the house, lining up the edges.
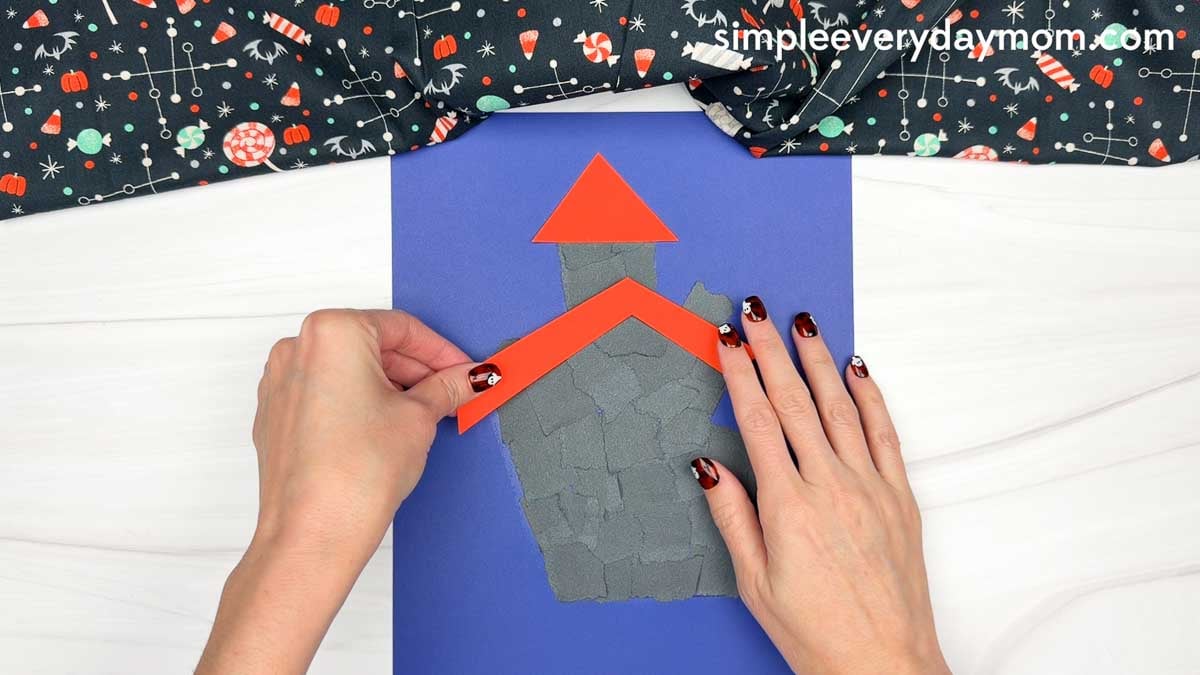
Take the door piece and glue it onto the bottom center of the haunted house.
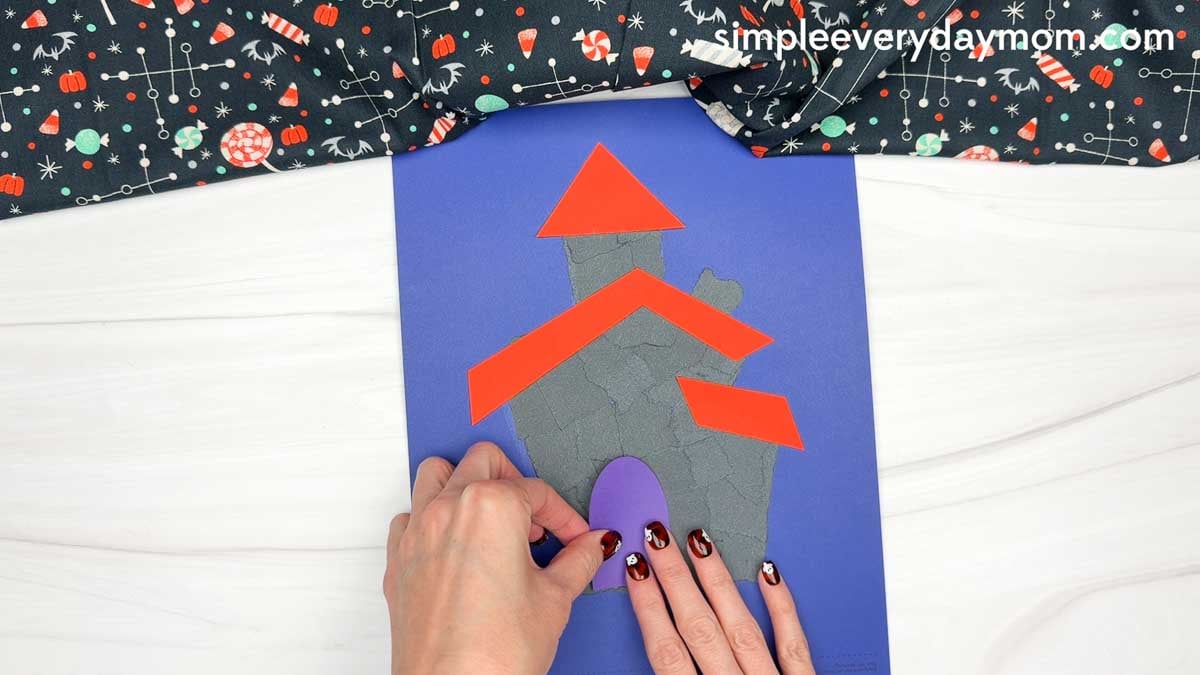
Grab one of the windows and glue it onto the right side of the haunted house.
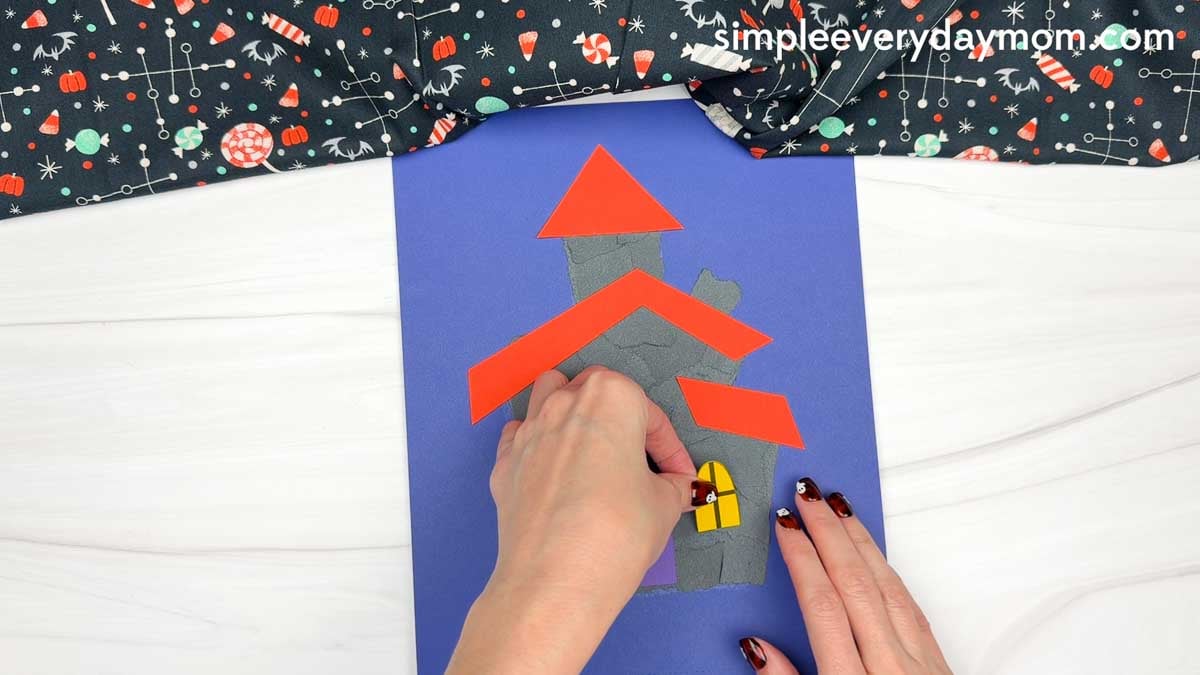
Glue the round window near the upper center and the remaining window on the left side so the house starts to look bright and spooky. This is a fun chance to talk about shapes as kids compare the round and arched windows
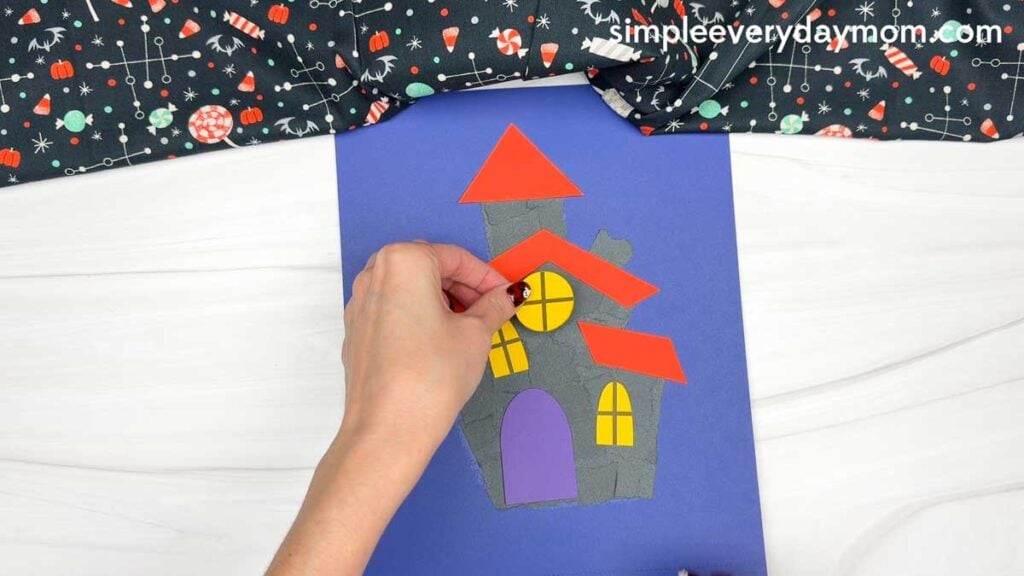
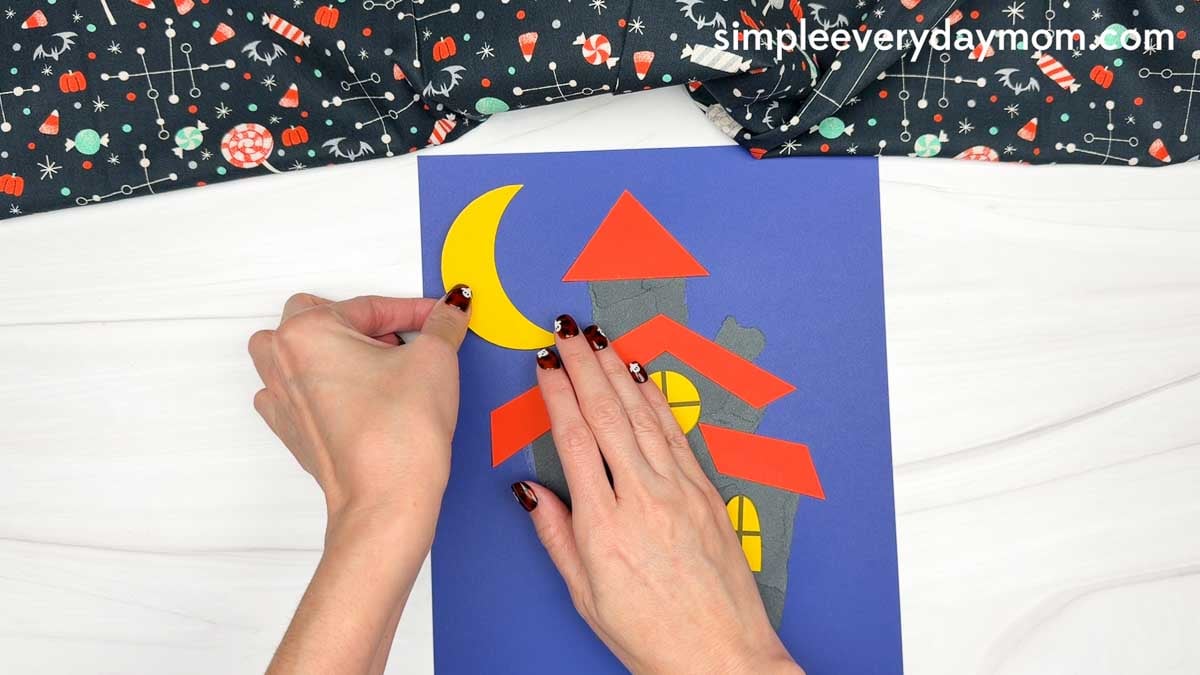
Glue the moon onto the background paper beside the top of the haunted house. Let your child choose the open spot where it looks best and talk about what the sky might look like on a spooky Halloween night.
Take the grass piece and glue it along the bottom of the background paper so it overlaps the bottom of the haunted house.
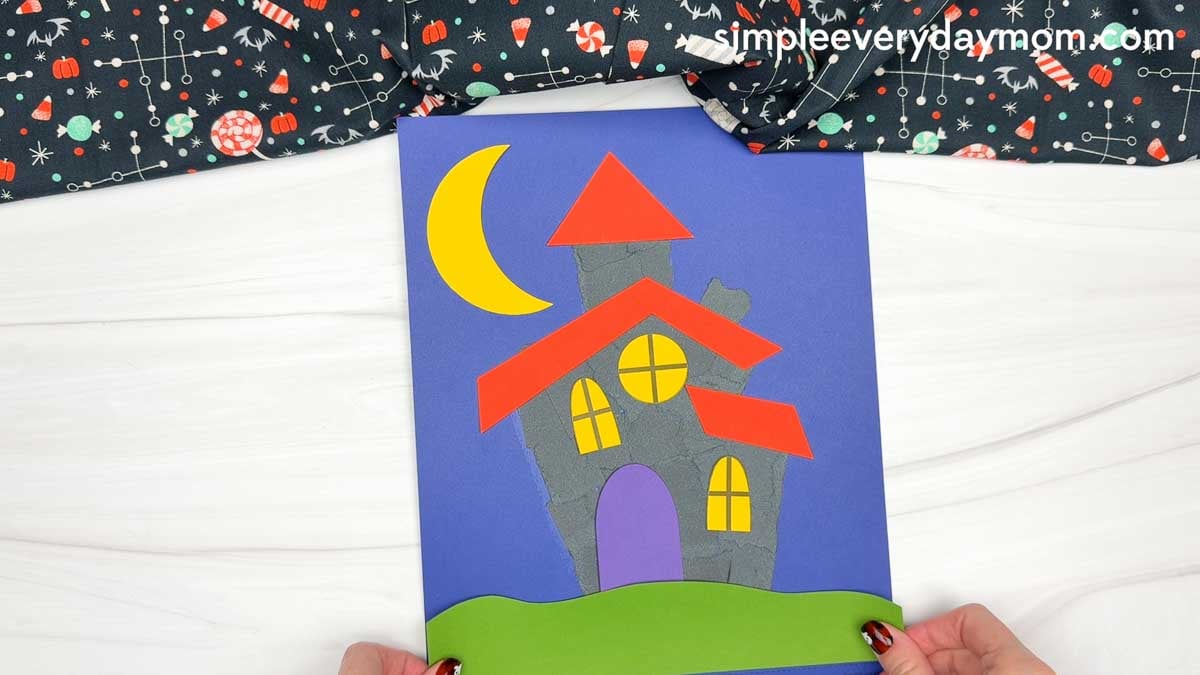
Grab the headstone and glue it onto the grass beside the haunted house.
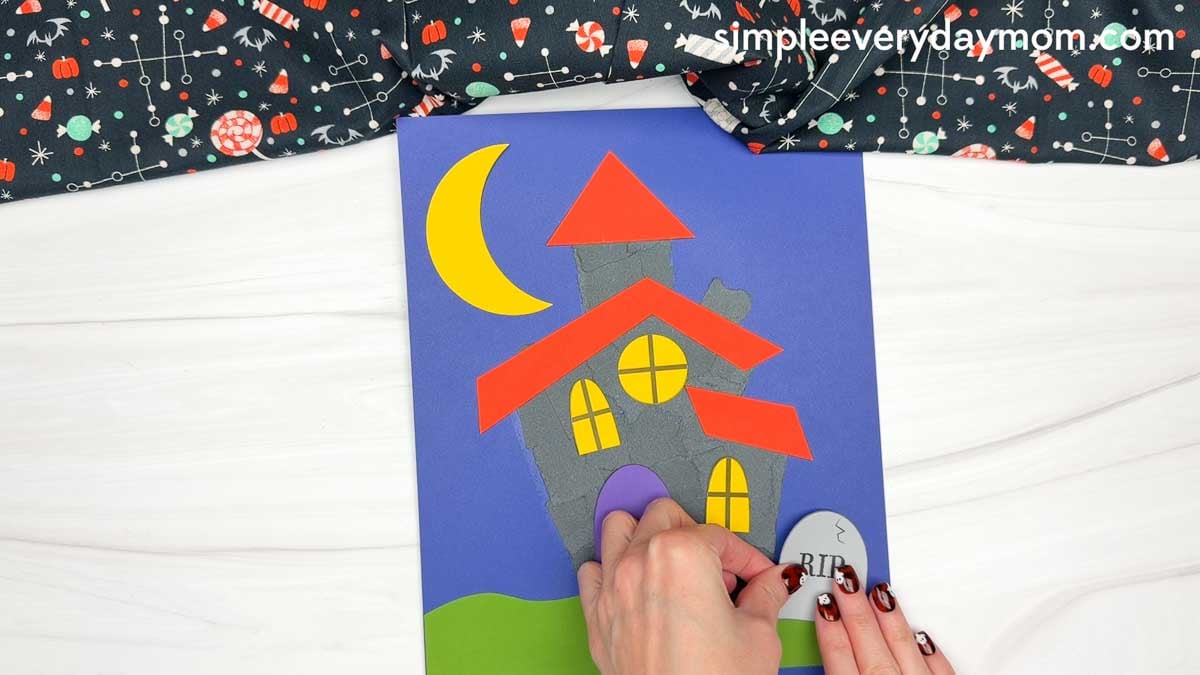
Let’s add the ghosts! Glue one near the grass and another above the house so they look like they are floating through the scene. Let your child decide where each ghost should go for a little extra creativity.
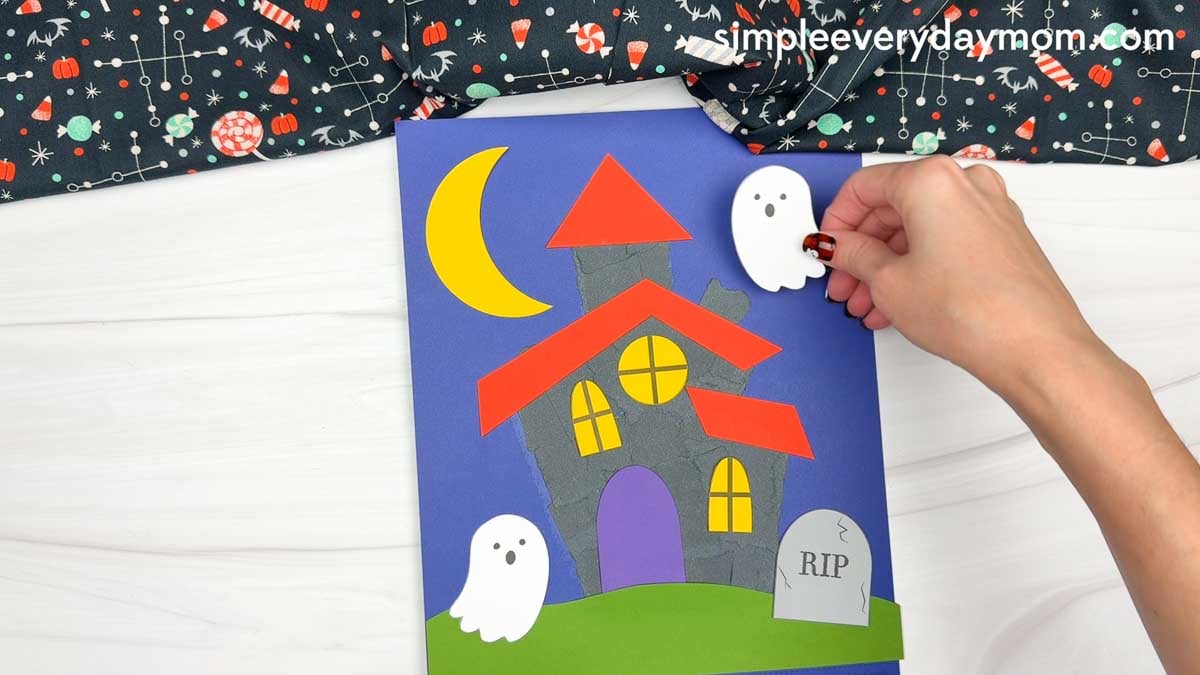
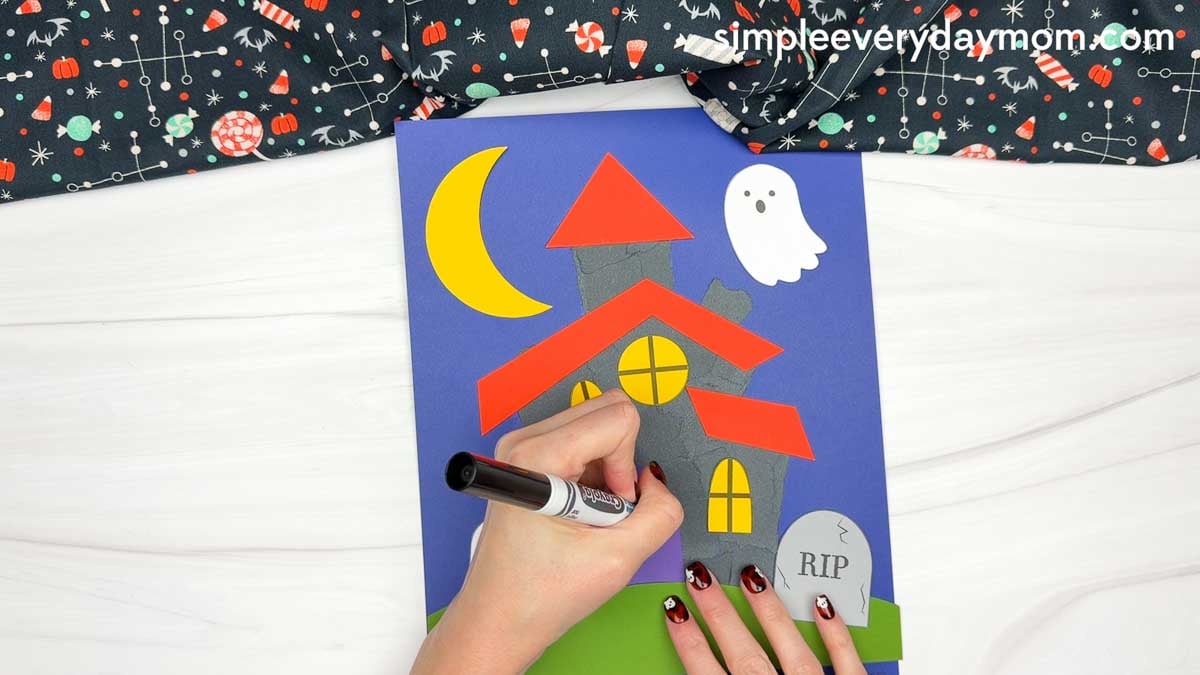
Finish the craft by using a black marker to add a small doorknob to the door. Once that final detail is in place, your child’s torn paper haunted house is ready for some spooky Halloween fun!
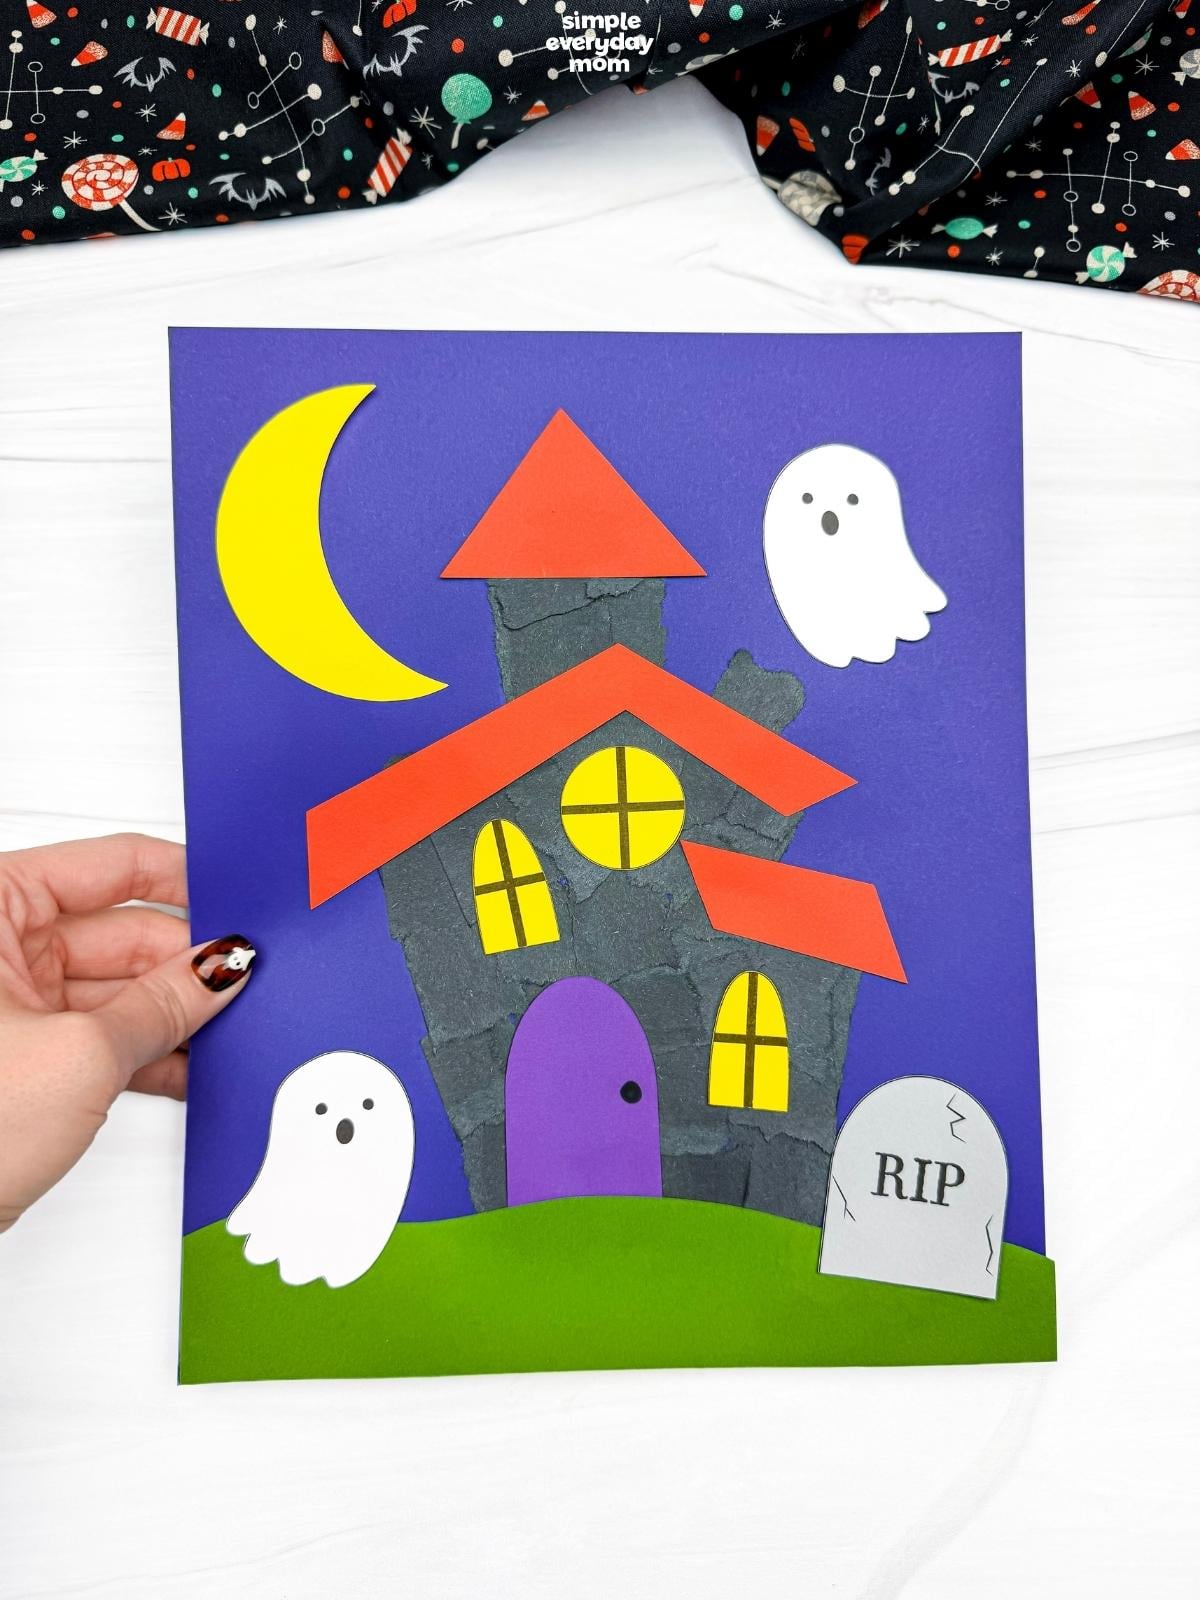
Kids will have so much fun tearing, gluing, and arranging the pieces as they bring their own spooky haunted house to life, building fine motor skills while encouraging creativity and creating something they’ll be proud to show off!
Want to keep the Halloween fun going? Check out the related crafts and activities below for more kid-friendly ideas to fill your classroom, homeschool, or family craft time!
Halloween Books for Children


Room On The Broom: This has to be one of our favorite Halloween books of all time! The story follows a witch and her cat as they happen upon some animals who help the witch. There’s danger, mystery, and friendship in this adorable children’s story.
5 Minute Spooky Stories: We love Disney’s 5-minute storybooks and this one is perfect for Halloween! See how all your favorite Disney characters celebrate this spooky holiday.
Ten Timid Ghosts: This is a fun countdown book about a witch who moves into a haunted house where 10 ghosts already live. The witch scares the ghosts out one by one until they devise a scheme to get her out of their house. This Halloween children’s book is good for kids who love rhyming stories!
Classic Halloween Paper Projects
Haunted House Paper Bag Craft – A plain lunch bag gets a pretty dramatic Halloween makeover with this idea. Kids add windows with ghosts peeking through, then draw cracks and spiderwebs right onto the bag. Stuffing it with paper at the end lets the finished house stand up on its own, which is a fun change from a flat paper project.
Paper Plate Witches Brew Craft – The googly eyes floating around in the potion are what sell this one for me. Kids turn a painted paper plate into a cauldron, then arrange bones, a skull, and bubbling brew around the top. There’s plenty of room to make the potion look as weird as they want it to.
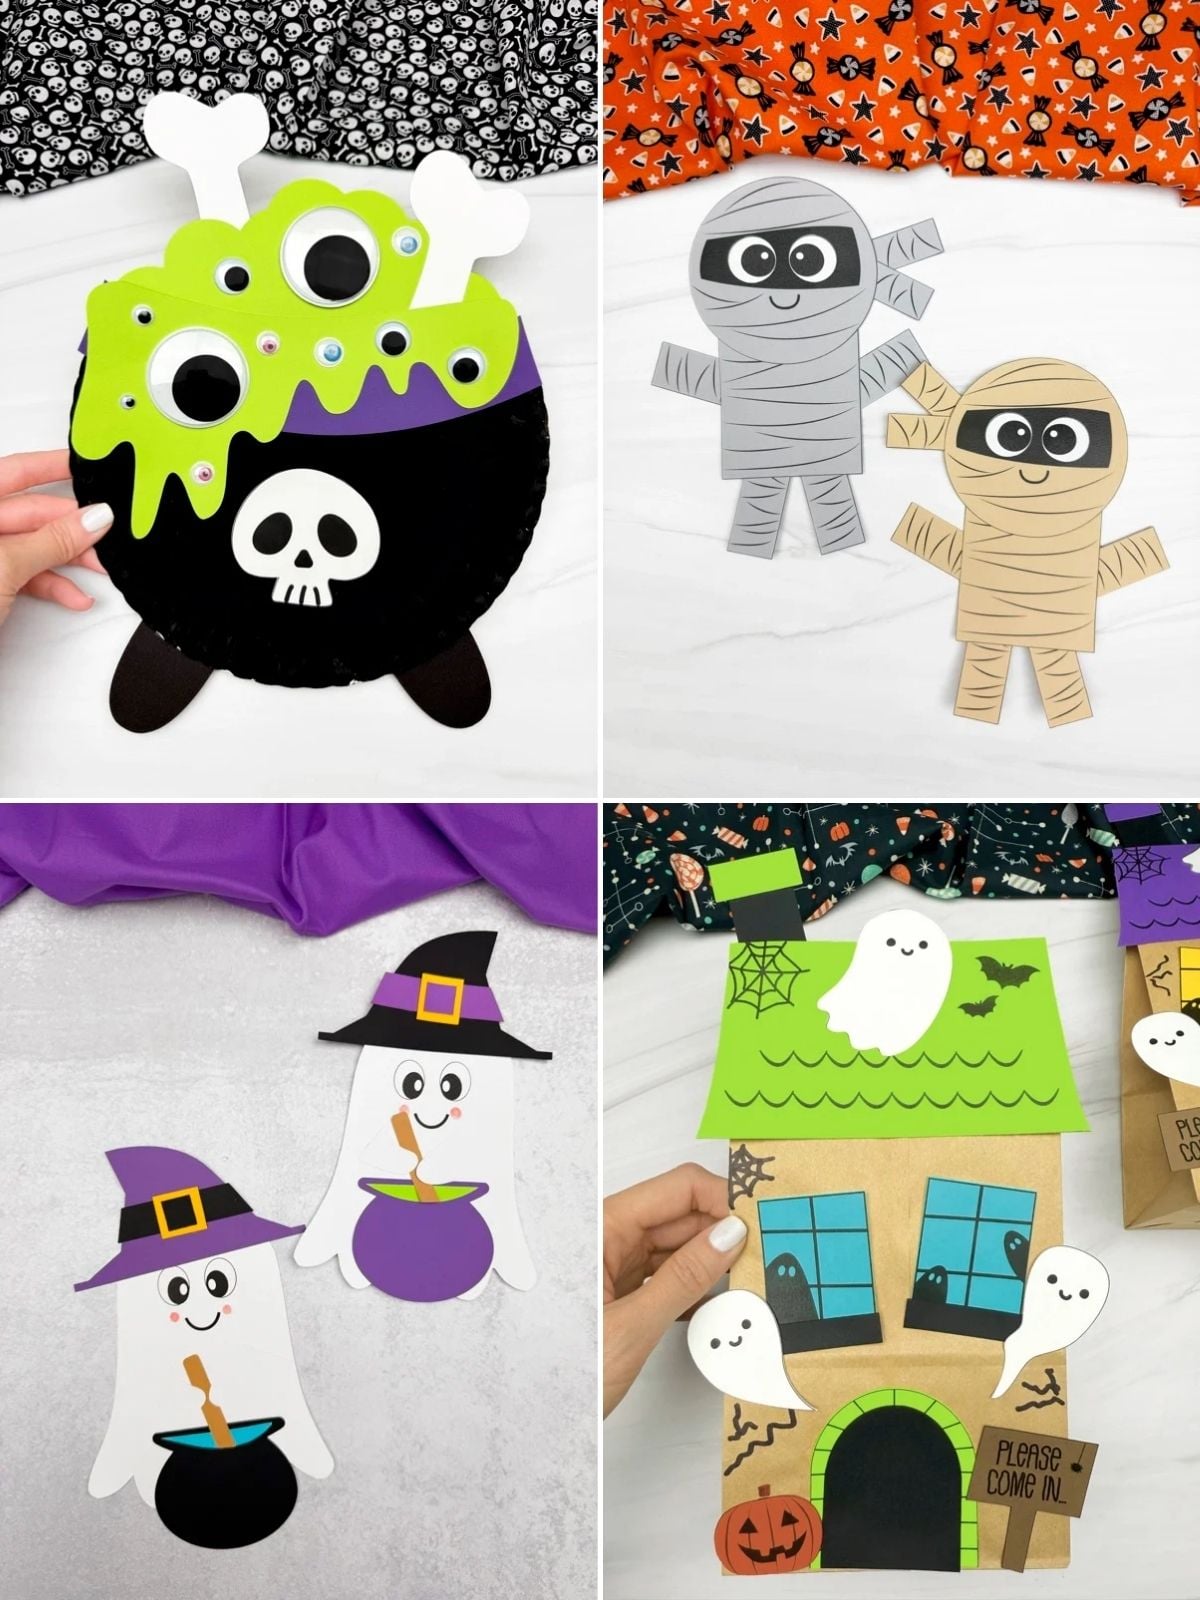
Mummy Shape Craft – Circles and rectangles suddenly look a lot less basic when they become a mummy. Kids build this project from simple shapes, then layer narrow strips across the head for that wrapped-up look. They can even angle the arms and legs differently, which gives each mummy a little personality.
Witch Ghost Craft – Kids will create a friendly little ghost dressed as a witch, complete with a pointy hat and a cauldron filled with a magical brew. This festive activity is a fun way to practice scissor skills and fine motor skills while also creating a ghostly Halloween decoration.


Spooky Season Printables
Following a curvy line with scissors is challenging enough, but following a witch’s broomstick across the page is much better. These Halloween cutting practice worksheets include different cutting paths along with a monster matching page where kids pair the correct bodies and heads. That mummy, zombie, and skeleton setup is a clever way to make the cutting actually lead somewhere.
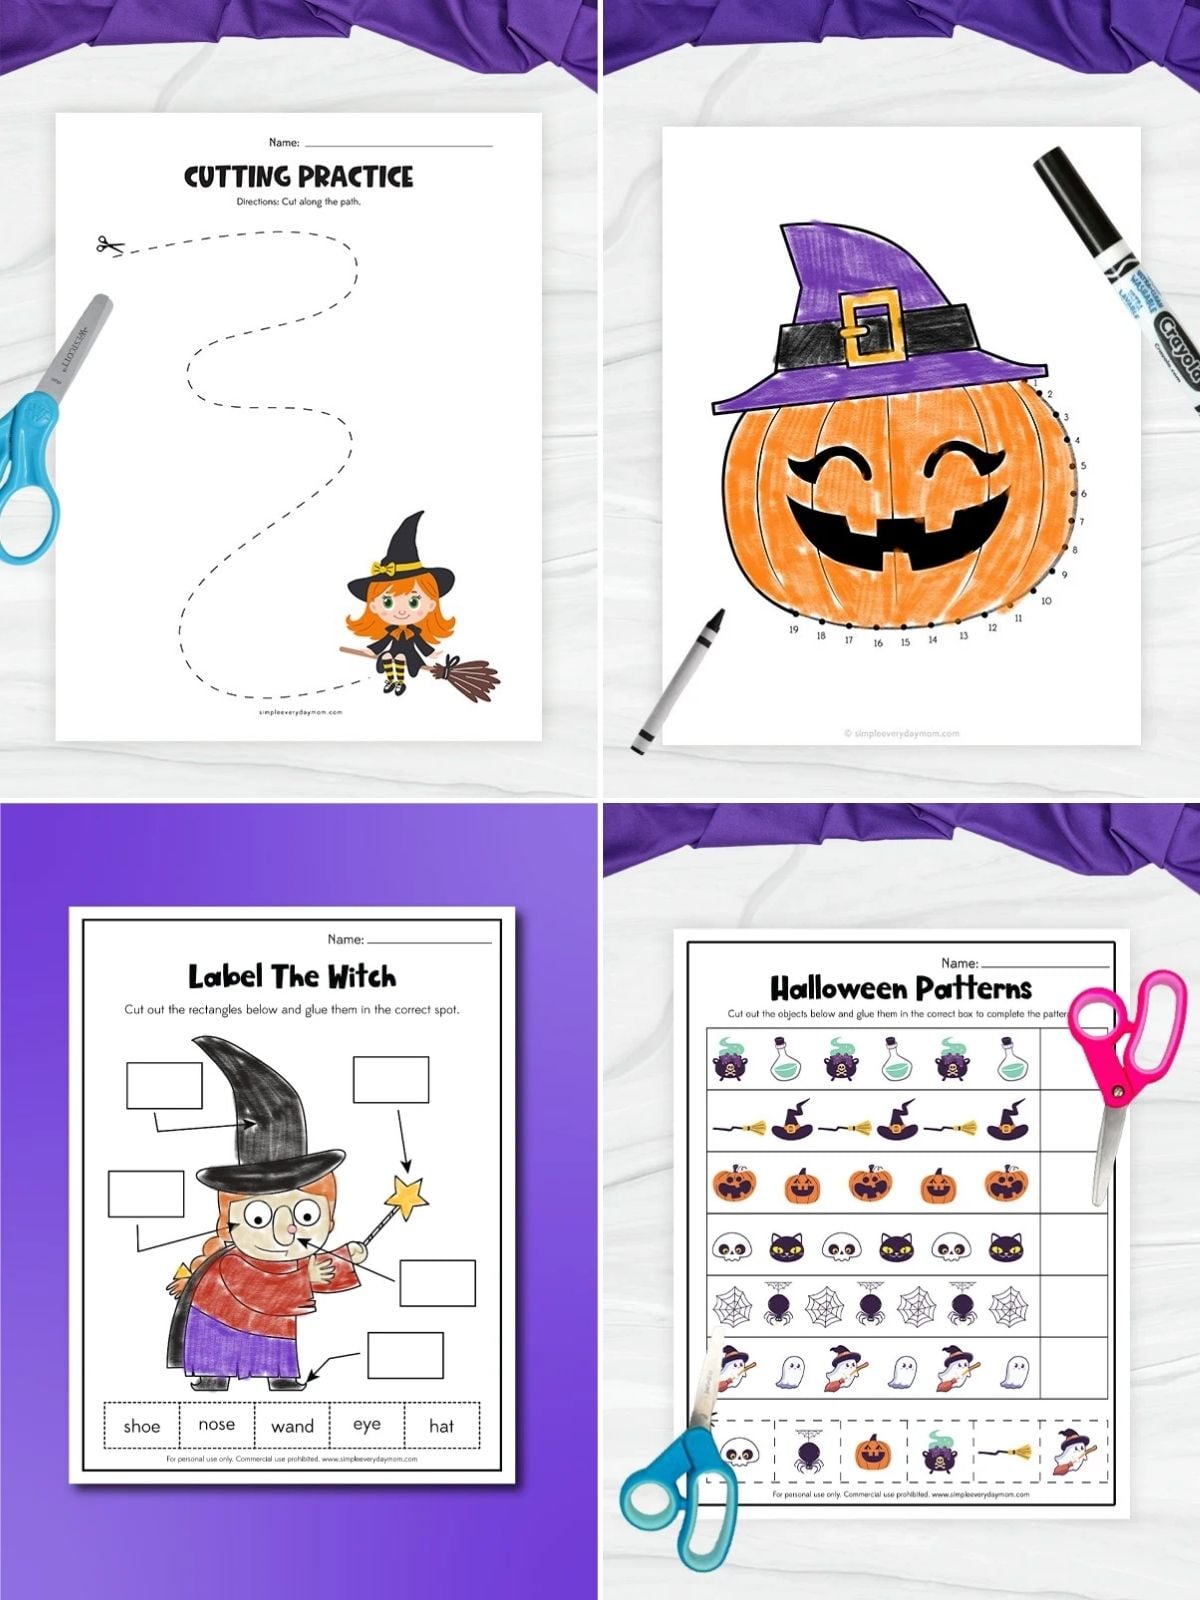
These Halloween theme printables cover quite a bit, but the pattern page is especially fitting for this age. Kids study rows of pumpkins, potions, and spiders to figure out what comes next, so it feels more like solving a little Halloween puzzle than completing another worksheet.
Dot-to-dots are simple, and that’s honestly part of their appeal. With these Halloween dot to dot printables, kids connect the numbers until a ghost, black cat, or pumpkin appears, then they can color the finished picture. Watching the character take shape one line at a time is the whole fun of it.
Room on the Broom already gives kids plenty of characters to talk about, so the Room on the Broom worksheets make an easy follow-up after reading. One page has kids label the witch, while another uses the story characters for pattern practice. I especially like when the book is still doing some work after storytime is over.
Share With Us
Did you make this activity with your kids or students? We’d love to feature them on our social media!
For a chance to have your child’s project featured, simply snap a picture of the completed project and post it to our Facebook page, email it to us directly by clicking here, or use #simpleeverydaymom on your social media!
Haunted House Torn Paper Craft
Video
Materials
- Colored cardstock or construction paper
- Scissors
- Glue
- Marker
- Haunted house torn paper template
Instructions
- Print the template and gather the materials for this fun activity.
- Begin by tearing the paper into small pieces and gluing them inside the haunted house outline to fill the house.
- Glue the top roof onto the flat edge at the very top of the house.
- Glue the main roof across the upper part of the house, lining up the longer section with the left slanted edge and the shorter section with the right slanted edge.
- Gue the side roof along the slanted edge on the middle right side of the house.
- Look for the door piece and glue it onto the bottom of the house.
- Grab the windows and glue it onto the house, placing the round window near the upper center and the remaining windows on each side.
- Glue the moon onto the background beside the top of the house.
- Glue the grass along the bottom of the background.
- Look for the headstone and glue it onto the grass beside the house.
- Glue the ghosts around the haunted house to complete the spooky scene.
- Finally, use a marker to add a doorknob and any extra details to the haunted house.
Did you make this?
Don’t forget to leave a comment below and make sure to follow on Pinterest, Facebook and TikTok for more!
Free Haunted House Torn Paper Craft Template


Meet Sam
Sam is the crafter and founder of Simple Everyday Mom. She has been featured in Oprah Mag, Good Housekeeping, The Spruce Crafts, Country Living, The Bump, and more.