Free Printable Mummy Name Craft for Kindergarten
All activities require adult supervision. By using this site, you agree to our terms of use. This post may contain affiliate links, sponsored links, and ads. As an Amazon Associate and participant in other affiliate programs, I earn from qualifying purchases.. Read our disclosure policy.
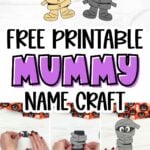
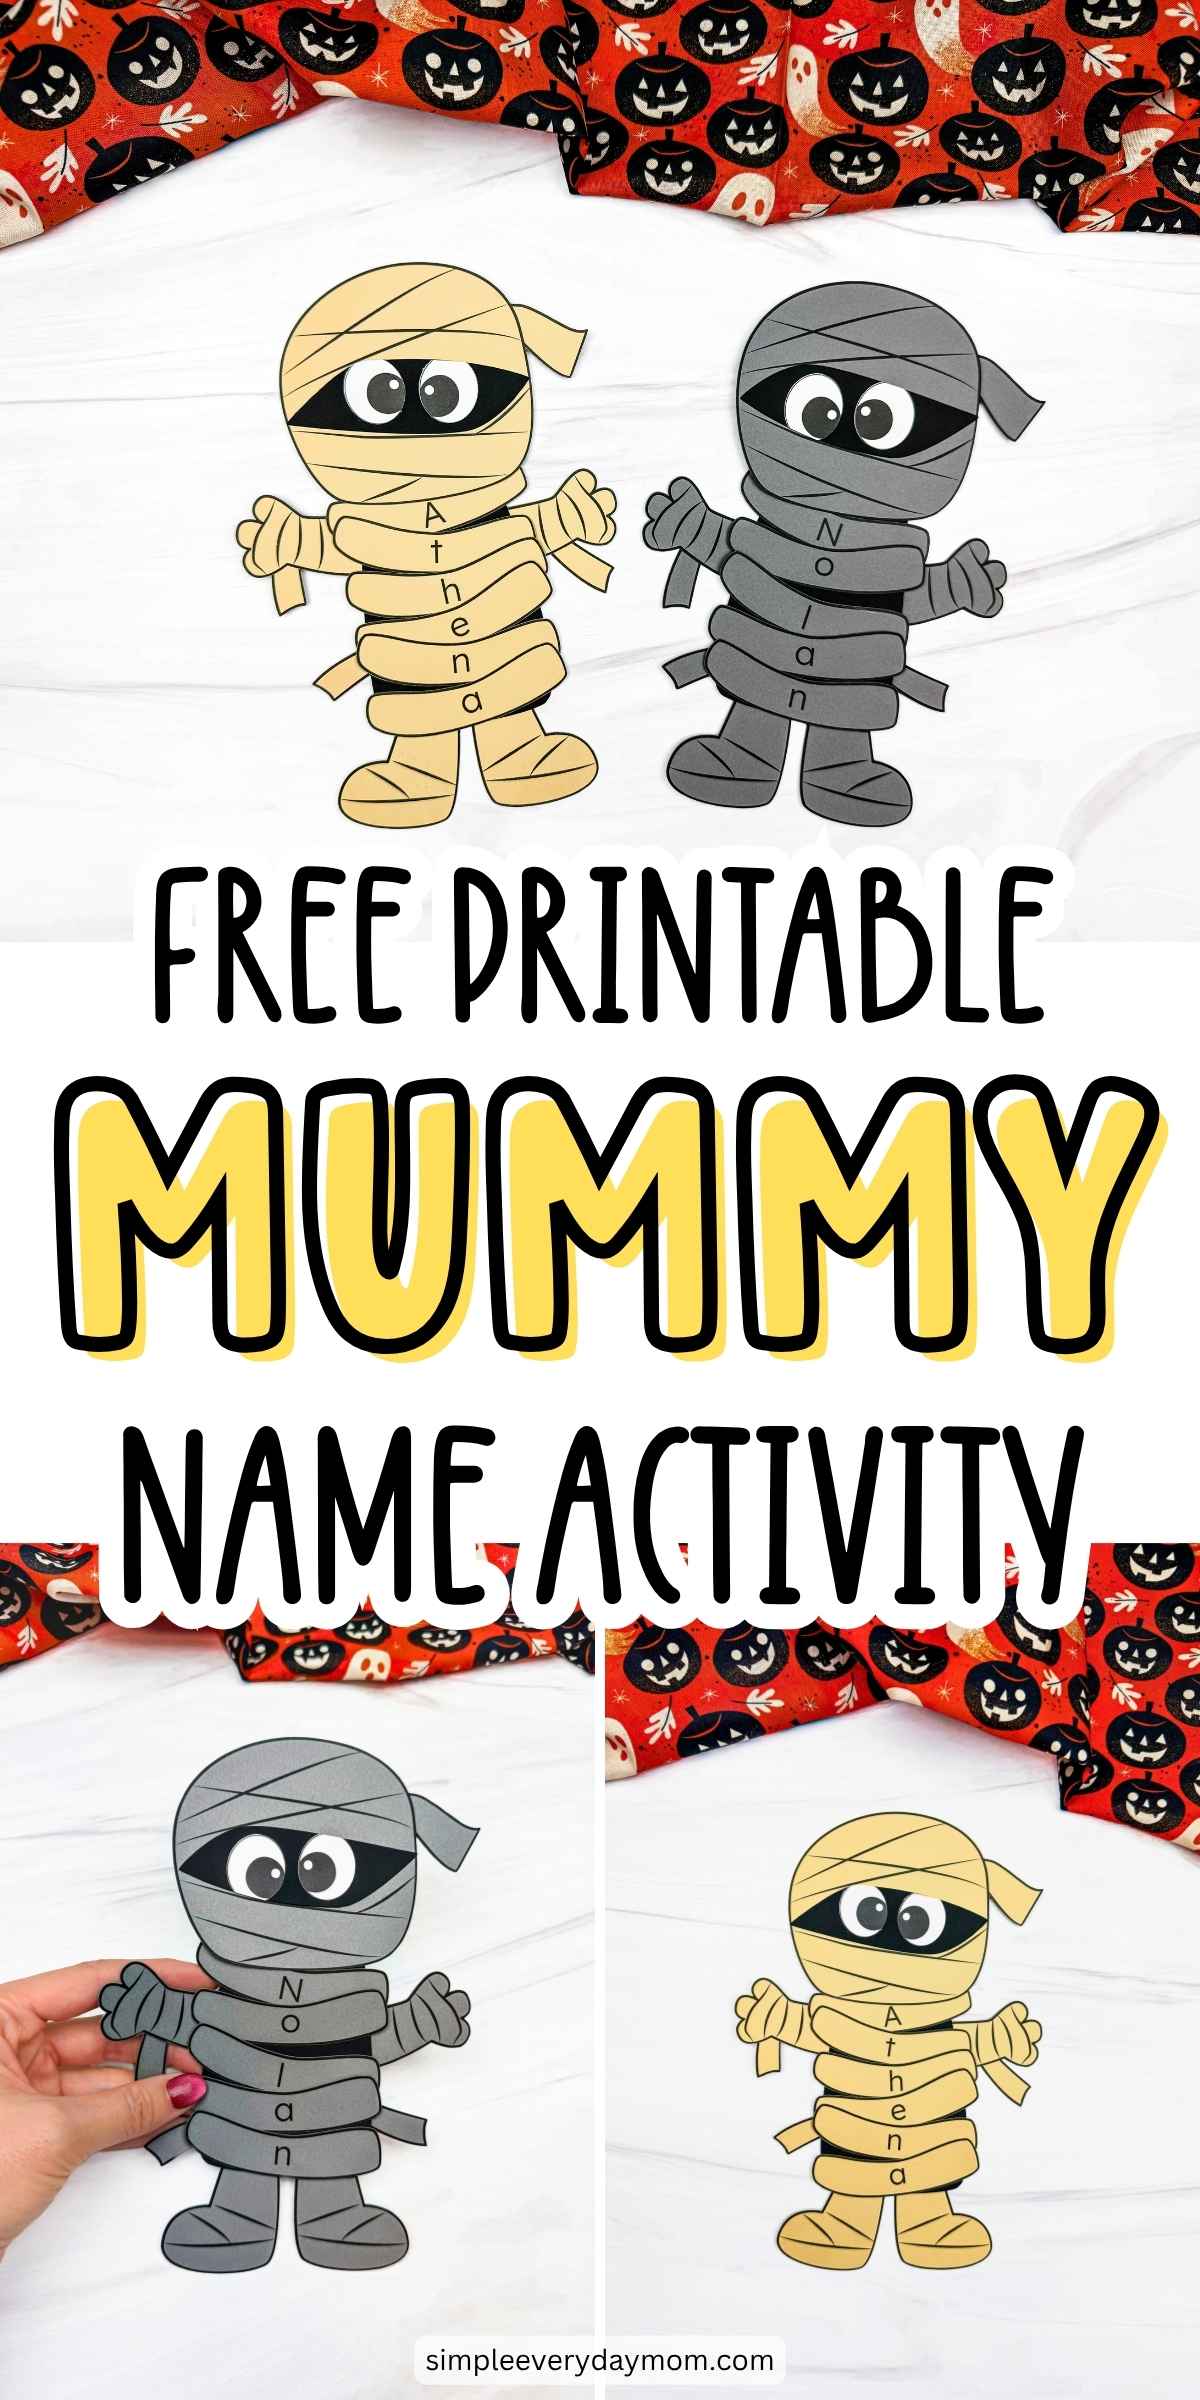
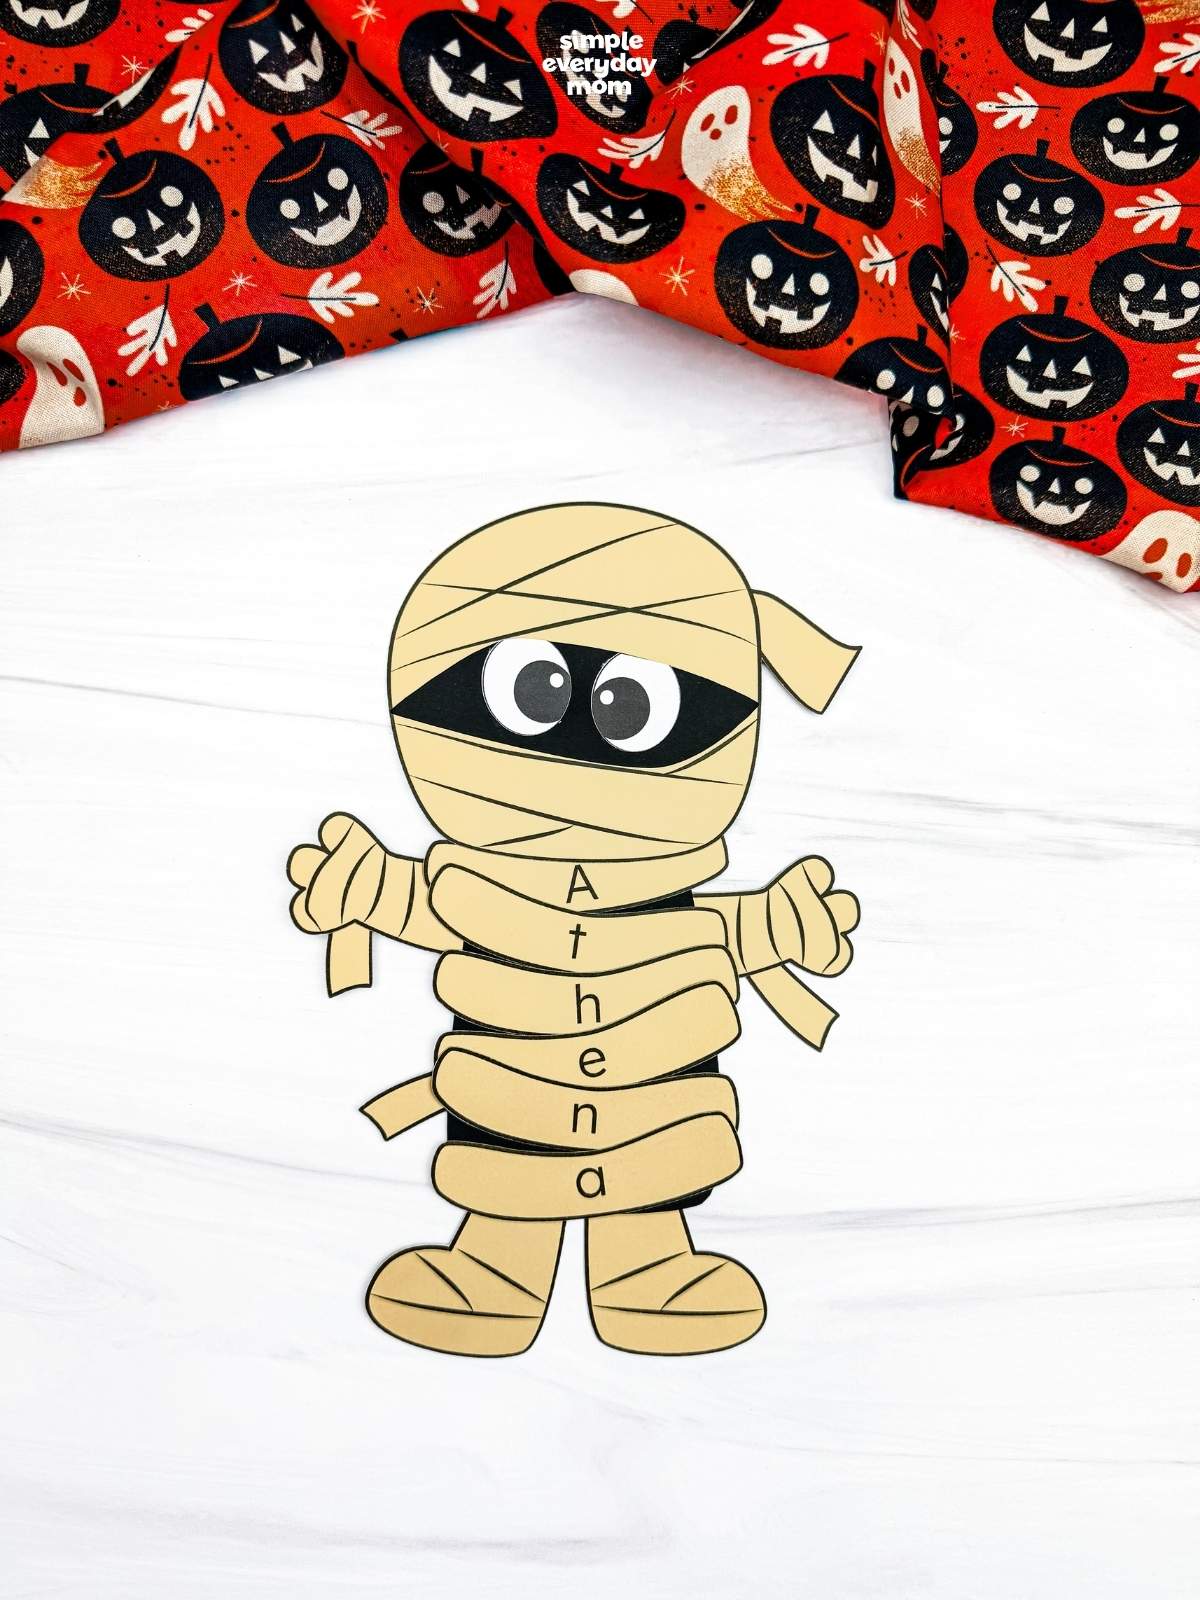
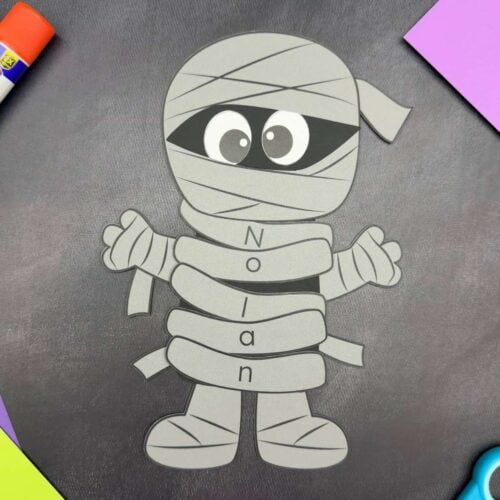
There’s something extra fun about turning a kid’s name into part of the mummy’s bandages. This mummy name craft has preschoolers, pre-K, and kindergarten kids build their own wrapped-up Halloween character in about 20–30 minutes, with each letter of their name running right down the mummy’s body.
Mummies are hard to leave at just one project, especially once October rolls around. Our Halloween crafts for kids have plenty of other seasonal characters kids can make once this one is finished.
Good To Know
- Themes: Halloween, mummies, name recognition, October crafts
- Activity: Kids cut out and assemble a mummy, then arrange the bandage strips to spell their name
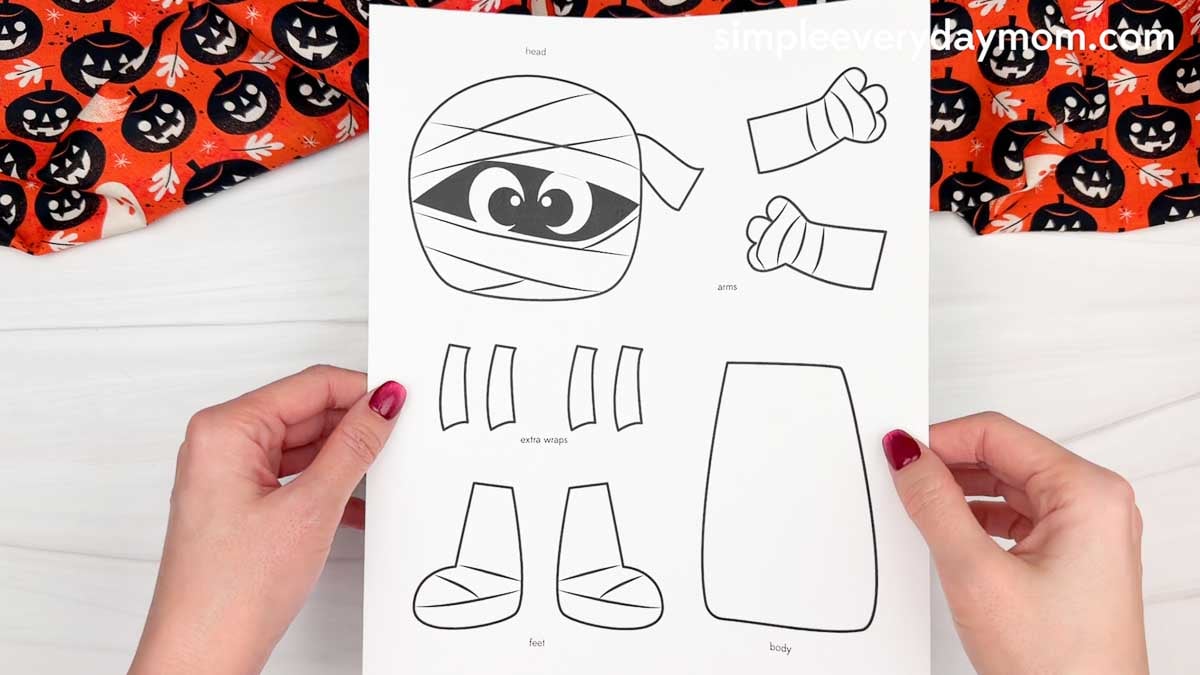
- Template: Includes a free printable mummy name craft template with the head, arms, hands, legs, feet, and bandage strips for spelling names.
- Ages: Preschool through kindergarten
- Time: 20-30 minutes
- Skills: Fine motor skills, scissor skills, letter recognition, name spelling, letter sequencing, hand-eye coordination, and gluing
A Hands-On Halloween Literacy Activity For Kids
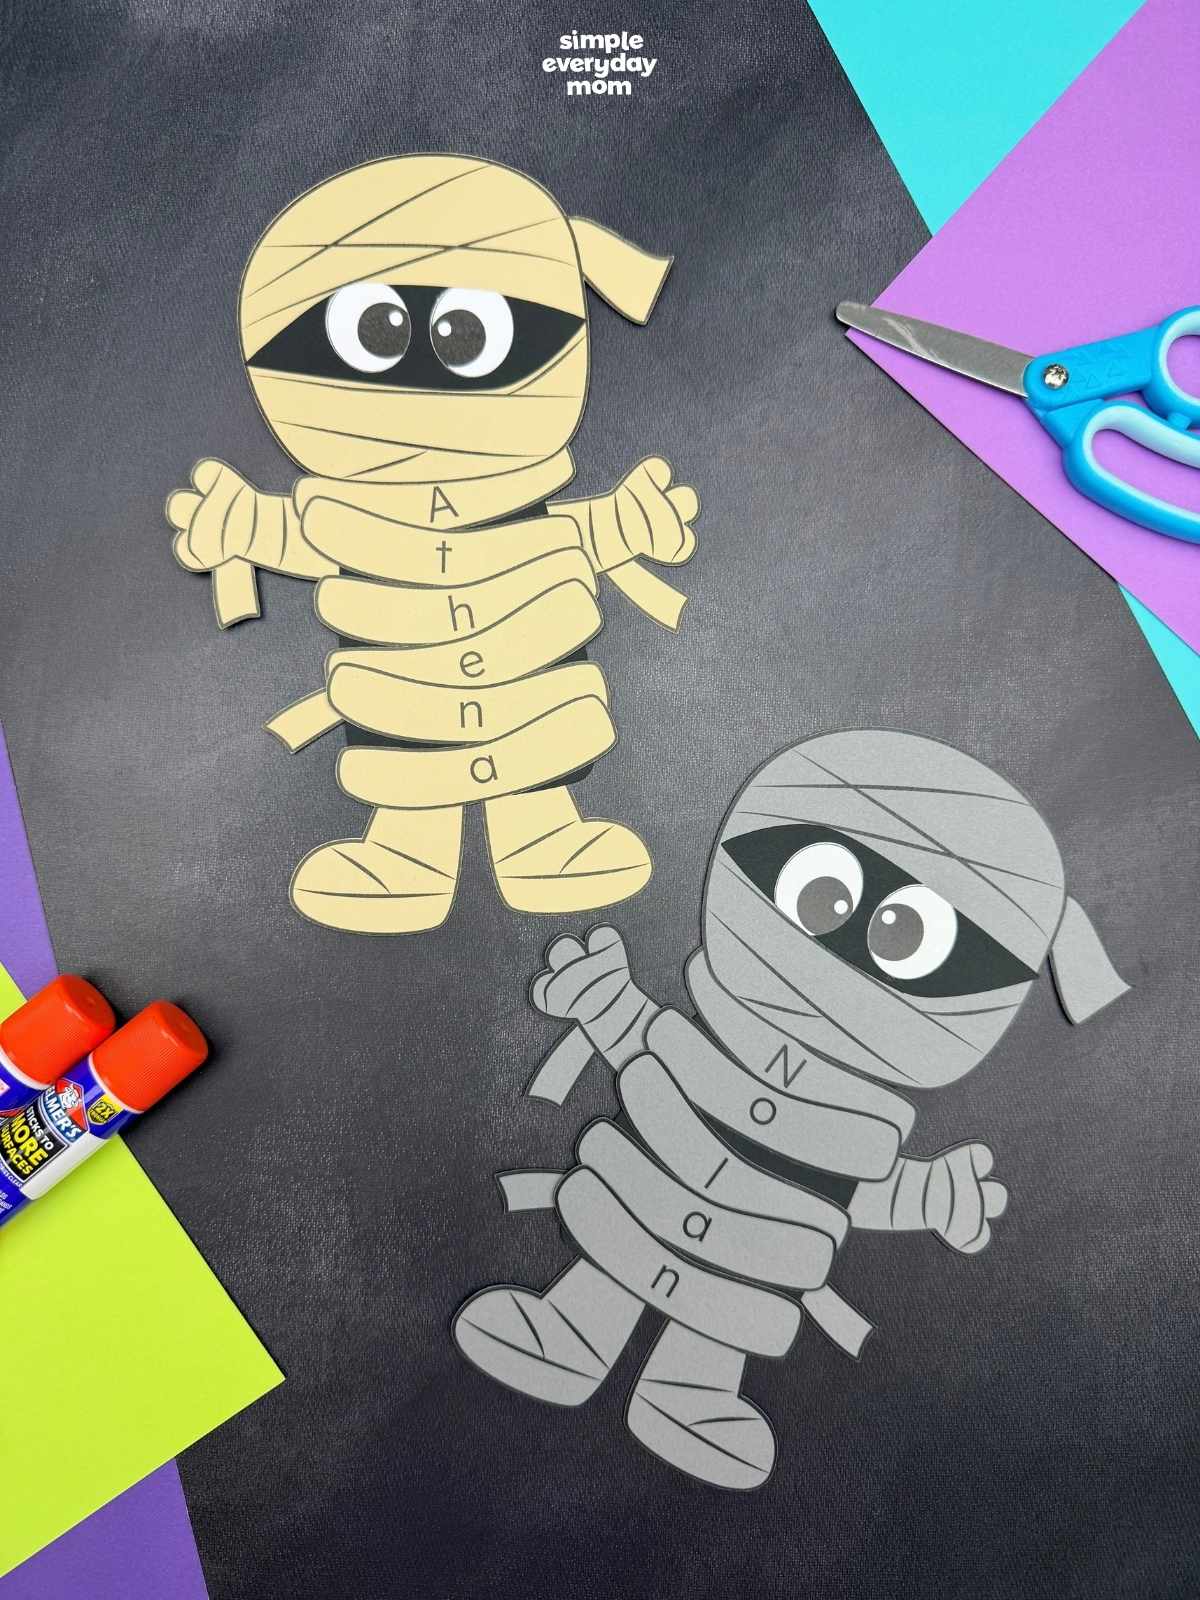
Kids can choose classic beige wraps, go with spooky gray, or pick another color entirely. Then comes the important part: arranging the lettered strips in the right order to spell their name. Those big googly-style eyes peeking out between the wraps make the finished mummy even better.
All that cutting and gluing gives kids fine motor practice while they work, but spelling their own name is what makes this project especially useful for early learners. They get to recognize the letters, put them in sequence, and check their work as the mummy comes together.
The printable pieces also take the guesswork out of creating the mummy shape, so kids can focus on assembling and personalizing theirs. Once everything is cut out, it’s mostly a matter of arranging the pieces and deciding exactly how wonky those mummy wraps should look.
Supplies
- Colored cardstock or construction paper
- Scissors
- Glue
- Mummy name template (click the “click here to get your freebies” image at the end of the post)
Directions
Start by printing the template, then gather the materials for this fun activity. Get those scissors ready, and let’s help the kids bring this friendly mummy to life!
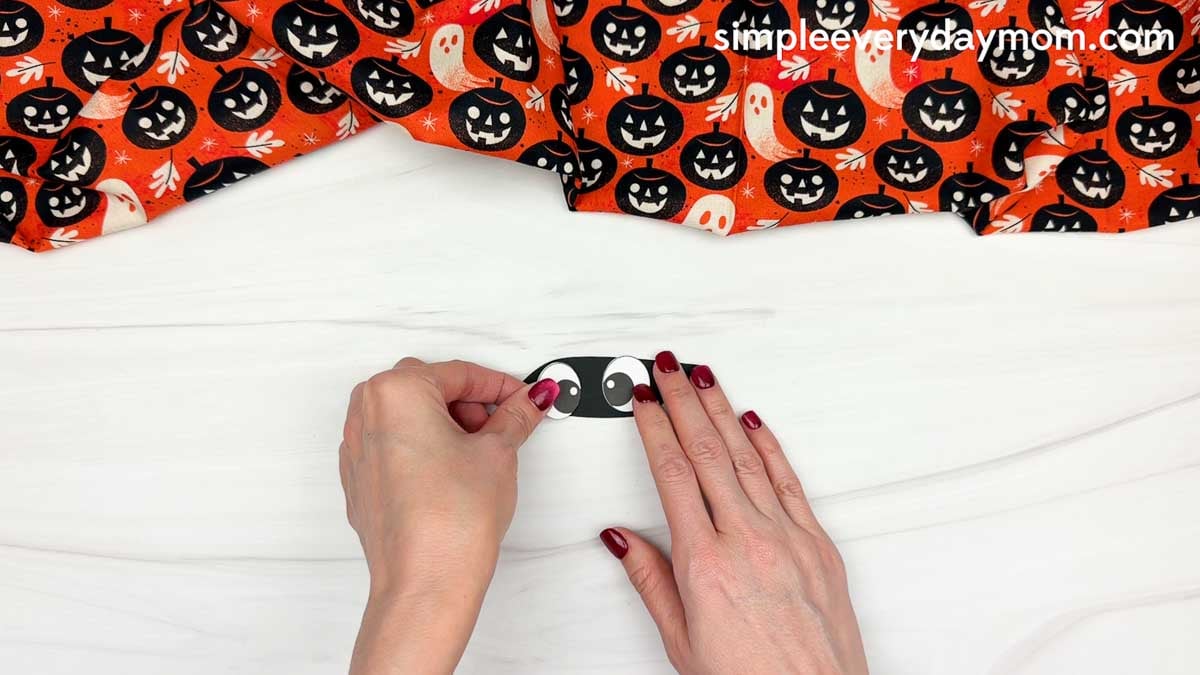
Grab the eye slit piece and glue the eyes onto the center.
Take the head piece and glue the eye slit across the center, lining it up with the opening between the mummy’s wraps. Your mummy now has a face!
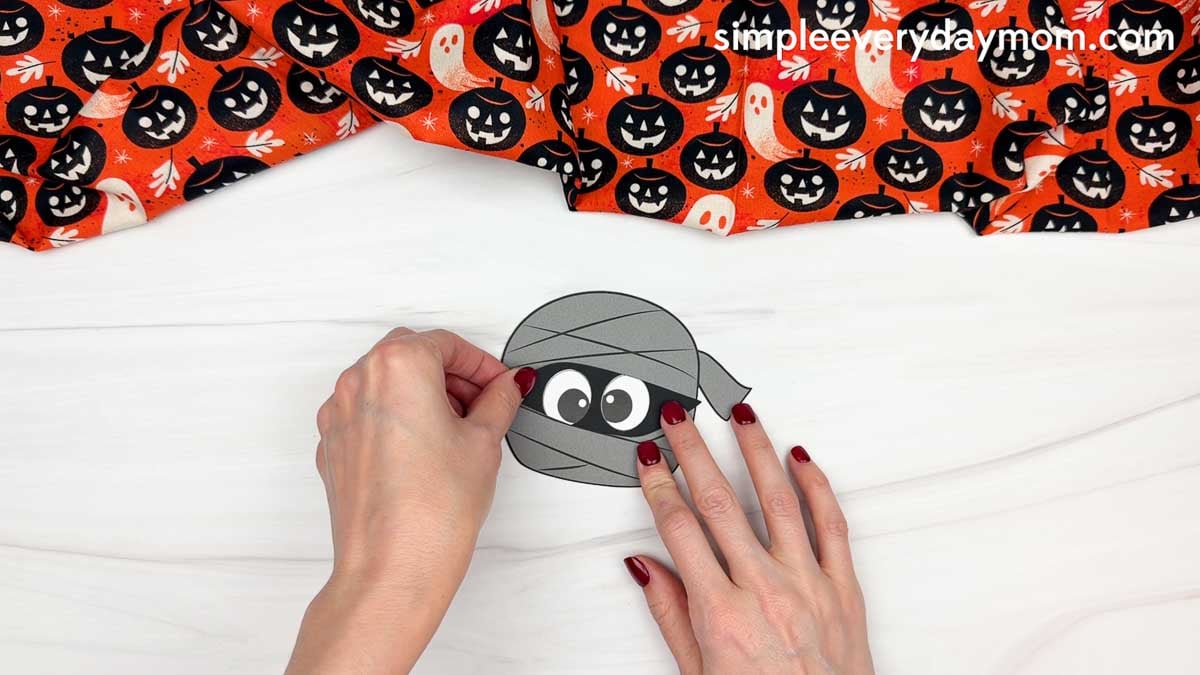
Grab the body and the wrap letters that spell your child’s name. Help them arrange the letters in the correct order from top to bottom, then glue each wrap onto the body, overlapping them slightly.
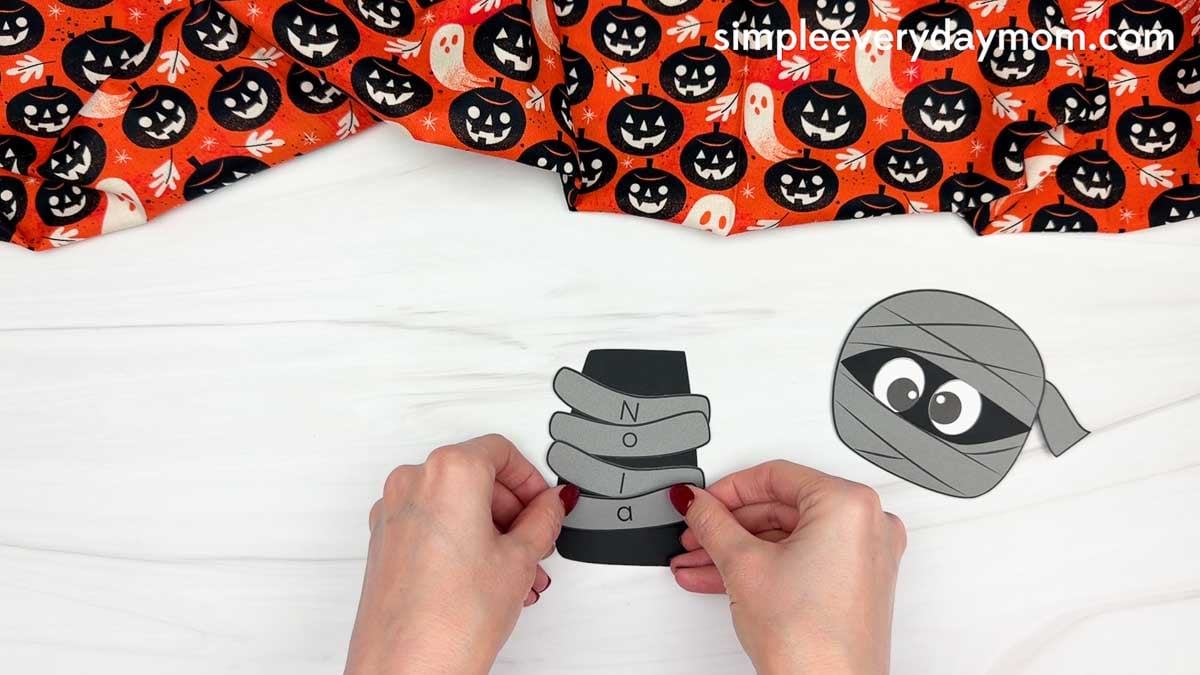
Glue the finished head to the top center of the body, just above the first lettered wrap. Your little mummy is starting to come together!
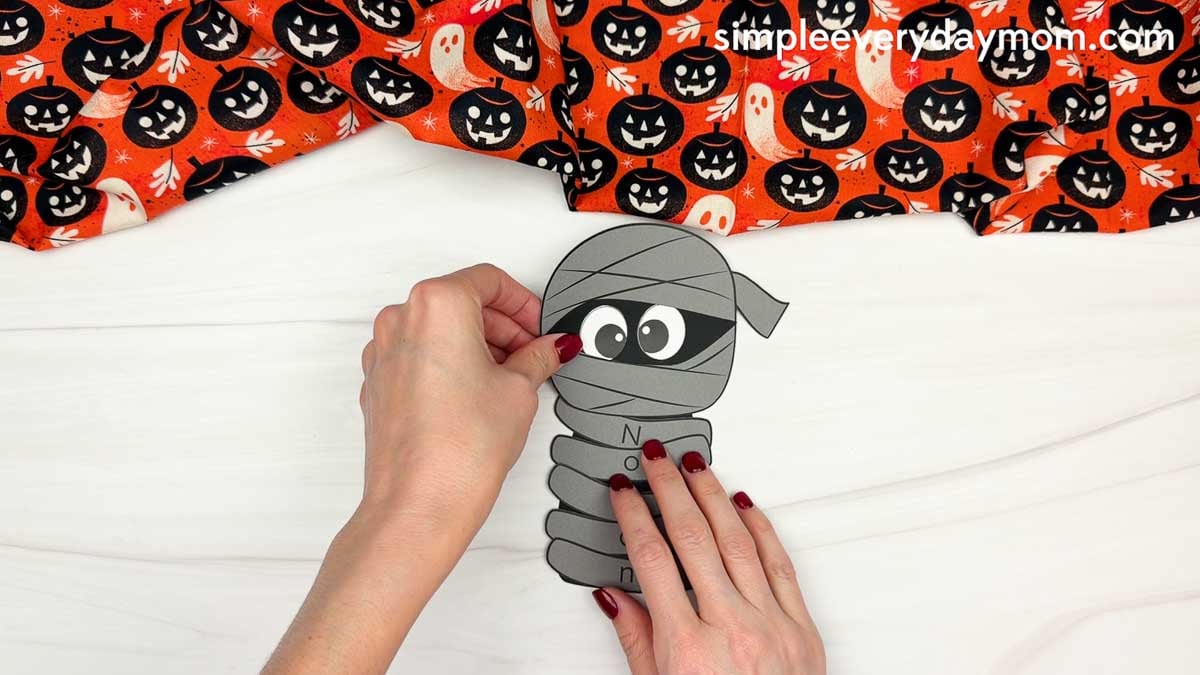
Find the two feet pieces and glue them behind the bottom of the body, placing one on each side so they peek out underneath the wraps.
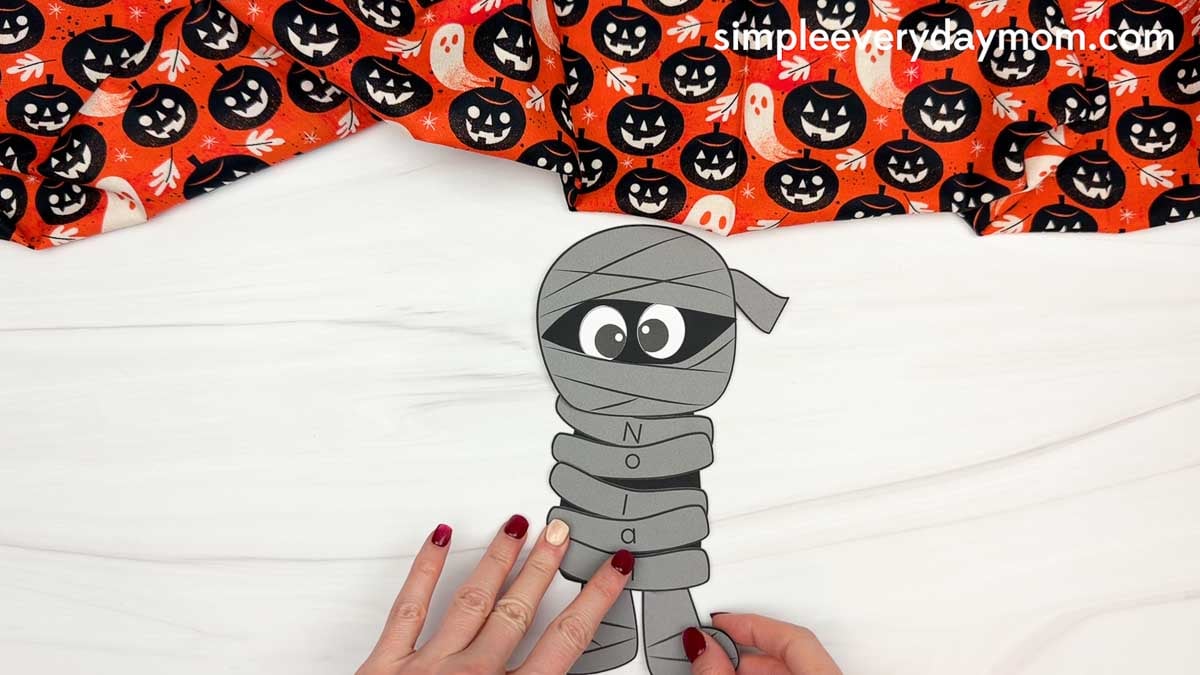
Glue the arms to each side of the mummy’s body, just below the head. Position them so the hands stick out to the sides, making your mummy look like it’s ready to give a big Halloween hug!
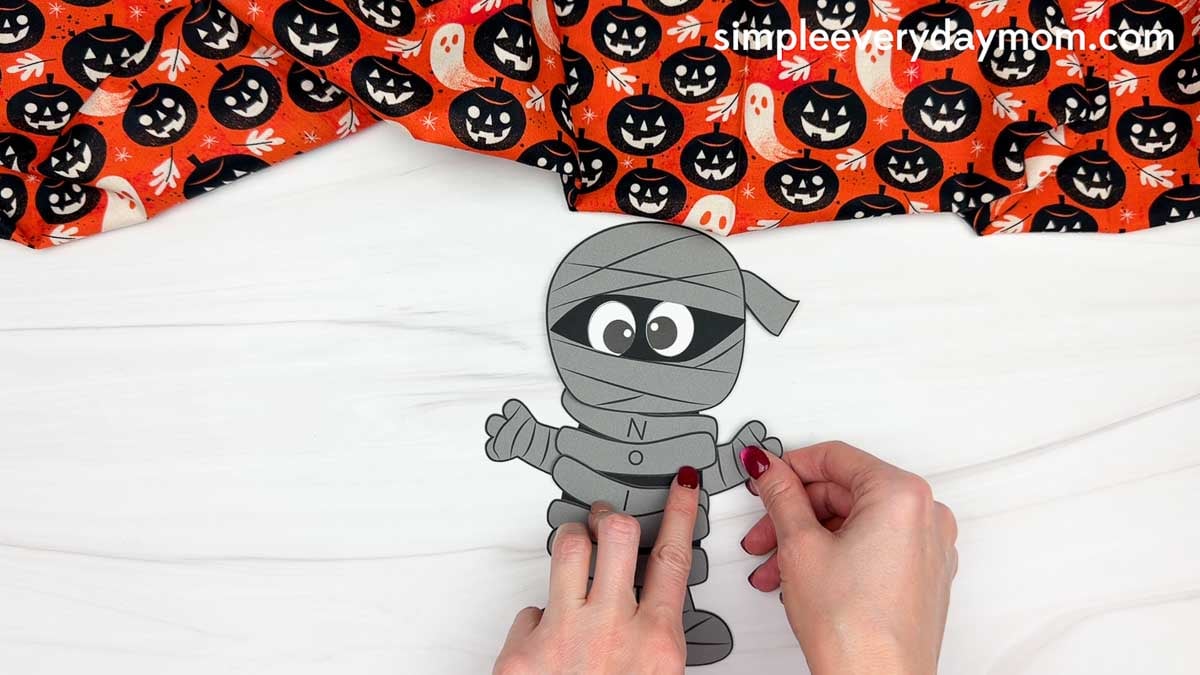
Finally, take the extra wraps and glue them along the sides of the mummy’s body so they peek out from behind the lettered wraps.
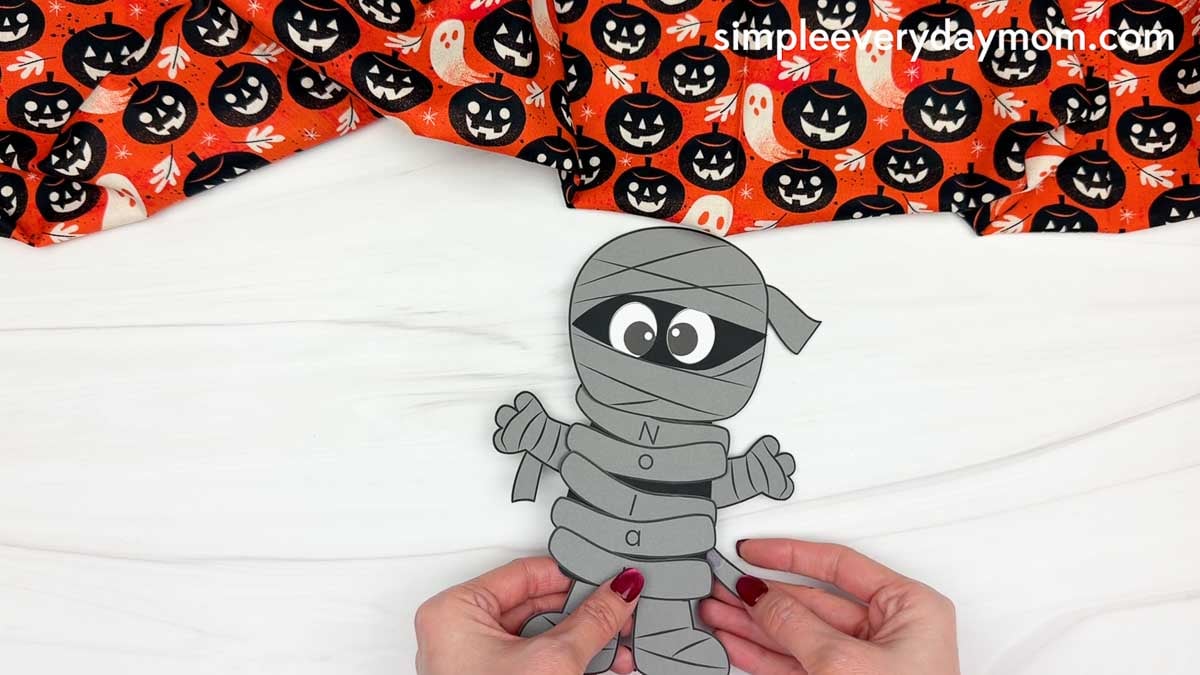
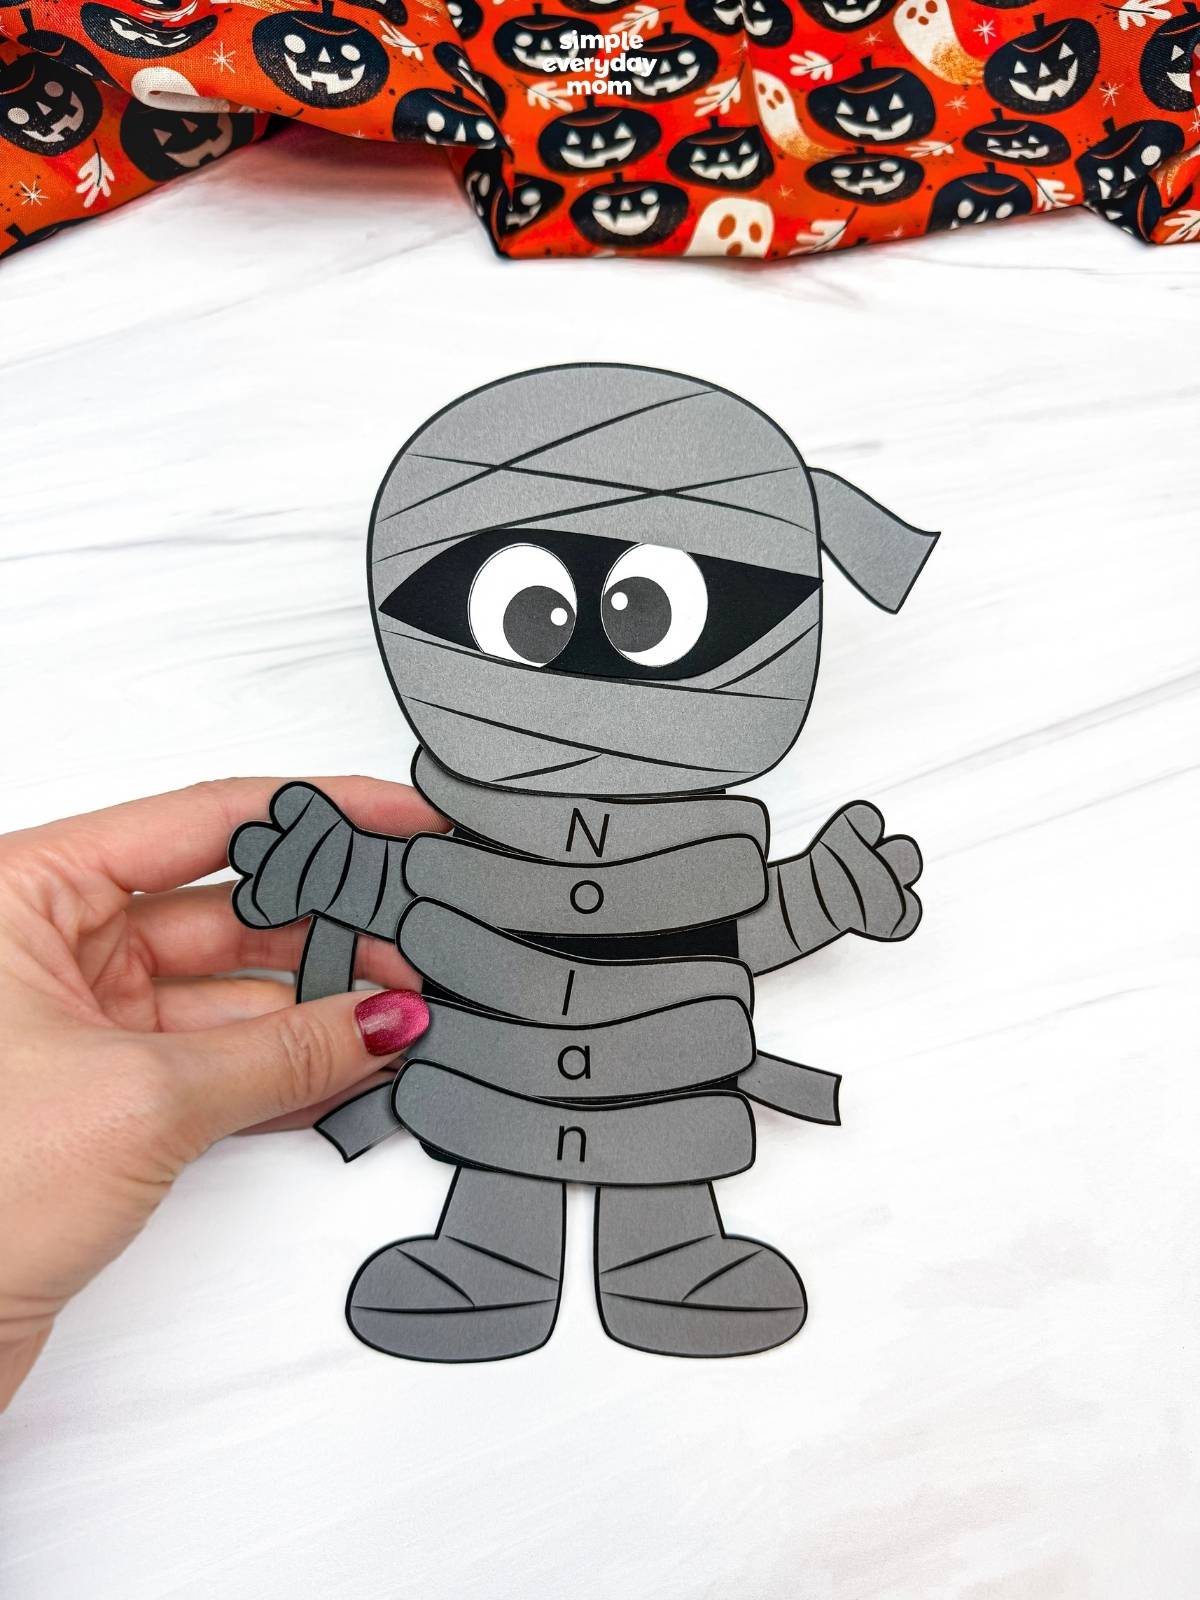
And there you have it, a cute little mummy with your child’s name on it! Arranging the lettered wraps gives kids a fun way to practice name recognition, letter sequencing, and fine motor skills.
Need more ideas for your October activities? Take a look at the related Halloween crafts and printables below to add more hands-on fun to your classroom lessons or family craft time.
Halloween Books for Children


Room On The Broom: This has to be one of our favorite Halloween books of all time! The story follows a witch and her cat as they happen upon some animals who help the witch. There’s danger, mystery, and friendship in this adorable children’s story.
The Good, The Bad, And The Spooky: Halloween is the Bad Seed’s favorite holiday, but when he can’t come up with the perfect costume, he decides trick-or-treating should be postponed for everyone! Kids will love following his funny quest to find a show-stopping costume before the big night. With plenty of humor and Halloween fun, this is a great seasonal read for fans of The Bad Seed and the Food Group series.
Ten Timid Ghosts: This is a fun countdown book about a witch who moves into a haunted house where 10 ghosts already live. The witch scares the ghosts out one by one until they devise a scheme to get her out of their house. This Halloween children’s book is good for kids who love rhyming stories!
Easy Crafts for Halloween
Haunted House Shape Craft: A haunted house is one of those crafts that actually looks better when everything is a little crooked. Kids build this one from simple geometric shapes, adding uneven towers, pointed roofs, windows, and fringed grass to make their own spooky house.
Mummy Shape Craft: More mummies, but with a completely different twist. Kids use circles and rectangles to build the body, then layer strips across the head for that wrapped-up look. Angling the arms and legs can make the mummy look like it’s standing, walking, or reaching for Halloween candy.
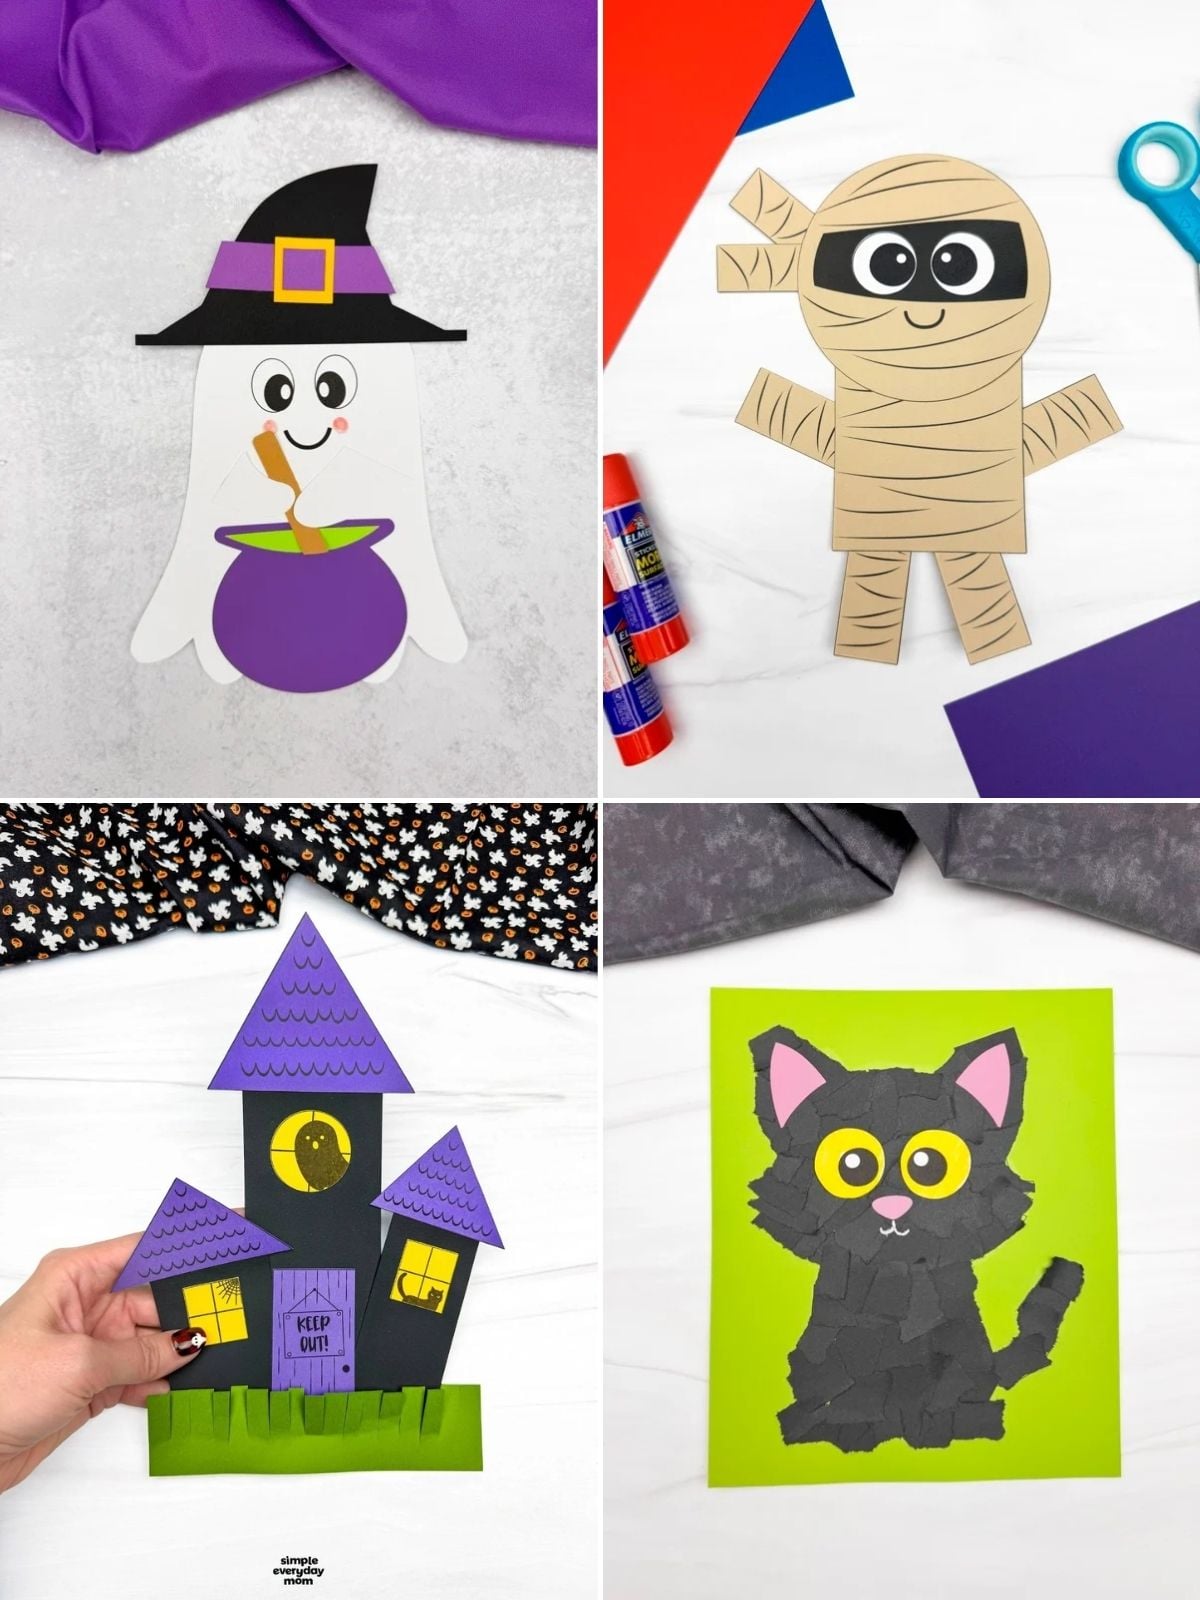
Black Cat Torn Paper Craft: Tearing the paper on purpose is half the fun here. Kids cover the cat’s body with little pieces of black paper, then add its eyes, ears, and nose before drawing the mouth. No perfectly cut pieces required, which feels very appropriate for a torn paper project.
Witch Ghost Craft: Apparently this ghost decided being a ghost wasn’t enough for Halloween. Kids turn it into a witch with a pointy hat and a bubbling cauldron, then add the hands so it looks like the ghost is stirring its brew.


Free Printables for Kindergarten
Matching ghosts sounds easy until five nearly identical ones are staring back from the page. These ghost activity pages include picture and shadow matching, along with a maze and a count-and-graph activity, so kindergarteners get several different challenges instead of repeating the same type of worksheet.
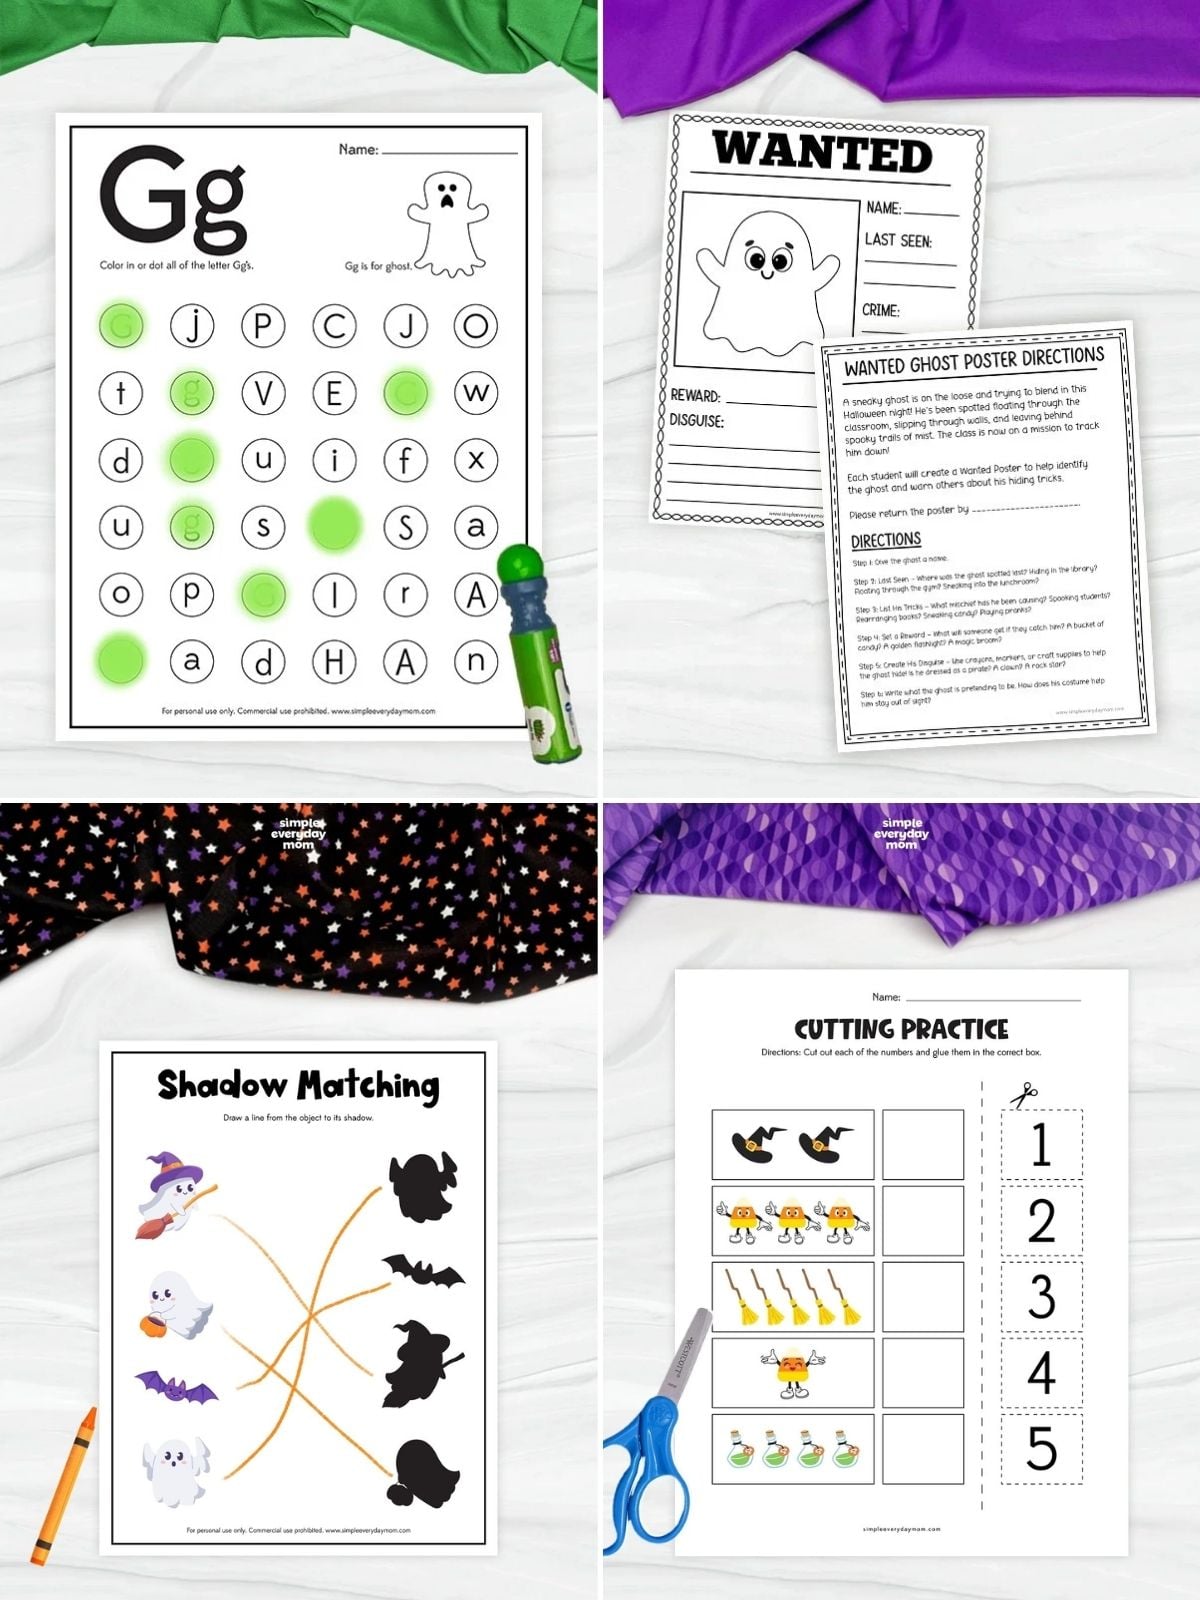
Straight lines are one thing, but the long winding path in these candy corn cutting practice worksheets makes kids work a little harder for that candy corn at the bottom. Other pages mix cutting with matching and counting, which is a nice change from endless rows of basic scissor lines.
A plain ghost is basically asking for a ridiculous costume. These disguise a ghost free printables let kids decorate their ghost as something completely different, then use prompts to describe the disguise. There’s even a wanted poster where they can invent the ghost’s name, whereabouts, and supposed “crime.”
Reading the book is fun, but the characters make surprisingly good worksheet material too. These There Was an Old Lady Who Swallowed a Ghost activities include character flashcards that can double as a memory game, plus activities for patterns, tracing, labeling, and letter practice.
Share With Us
Did you make this activity with your kids or students? We’d love to feature them on our social media!
For a chance to have your child’s project featured, simply snap a picture of the completed project and post it to our Facebook page, email it to us directly by clicking here, or use #simpleeverydaymom on your social media!
Mummy Name Craft
Video
Materials
- Colored cardstock or construction paper
- Scissors
- Glue
- Mummy name template
Instructions
- Open the PDF in Adobe Reader and edit the template to add your child’s name. Alternatively, you or your child can write the letters on the wrap letters.
- Print the template and gather the materials for this fun activity.
- Begin by gluing the eyes onto the center of the eye slit piece.
- Glue the eye slit onto the center of the mummy’s head.
- Arrange the wrap letters in the correct order from top to bottom, then glue them onto the body, overlapping slightly.
- Glue the mummy’s head to the top center of the body, above the first lettered wrap.
- Glue the two feet behind the bottom of the body, one on each side.
- Glue the arms to each side of the mummy’s body with the hands pointing outward.
- Finally, glue the extra wraps to the mummy where you want, so they peek out from the sides of the body.
Notes
Did you make this?
Don’t forget to leave a comment below and make sure to follow on Pinterest, Facebook and TikTok for more!
Free Mummy Name Template


Meet Sam
Sam is the crafter and founder of Simple Everyday Mom. She has been featured in Oprah Mag, Good Housekeeping, The Spruce Crafts, Country Living, The Bump, and more.