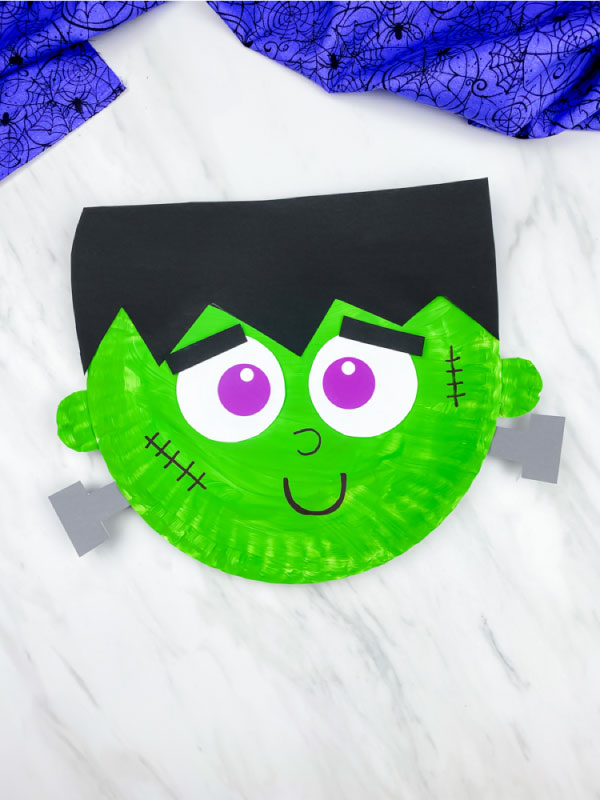
Frankenstein Paper Plate Craft [Free Template]
All activities require adult supervision. By using this site, you agree to our terms of use. This post may contain affiliate links. As an Amazon Associate and a participant in other affiliate programs, I earn a commission on qualifying purchases. Read our disclosure policy.
Does your family love Halloween but you want to keep the kids away from all the gruesome, over the top stuff some people use for Halloween?
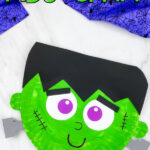
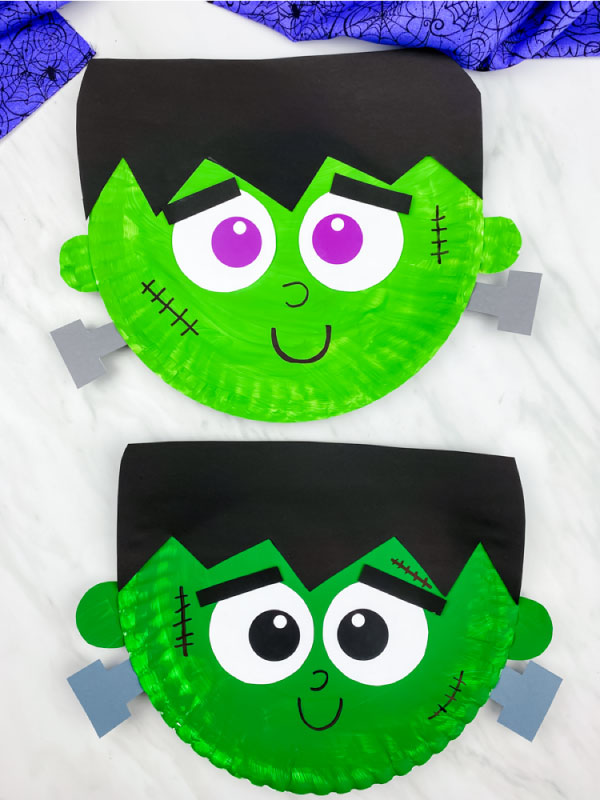
If so, you’re going to love making this paper plate Frankenstein craft with the kids!
We love Halloween crafts for kids and this one is the newest addition to our collection.
It’s totally age-appropriate and it’s super cute too. Just download our free printable template and watch our quick video to see how easy it is to make with your kids.
This easy Frankenstein paper plate craft is perfect for making with preschool, kindergarten, and early elementary-aged children!
Frankenstein Craft For Preschool
Choose Your Download Option
Get your template right now—no ads, no scrolling!
Instant Download
Skip the wait—just $3
Prefer the free version? Just keep reading—the download sign up image is at the end of this post!
Supplies
- Paper plates
- Green paint
- Paintbrush
- Colored cardstock or construction paper
- Glue stick
- Scissors
- Black marker
- Frankenstein craft template (unlock the free template at the end of the post)
Directions
Start by downloading the template and printing it out. Once you have the template printed, gather the materials needed for this fun activity. Get those scissors ready, and let’s help the kids bring this Frankenstein to life!
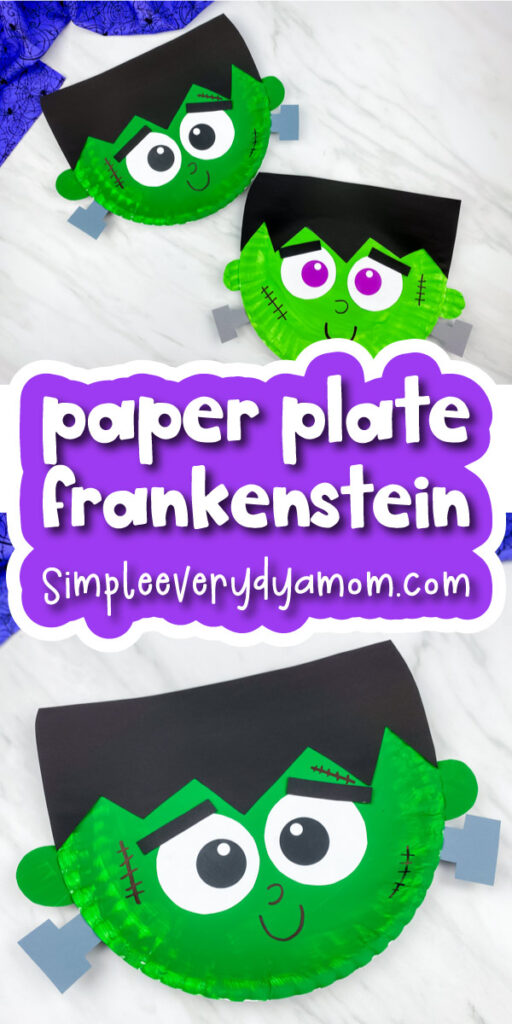
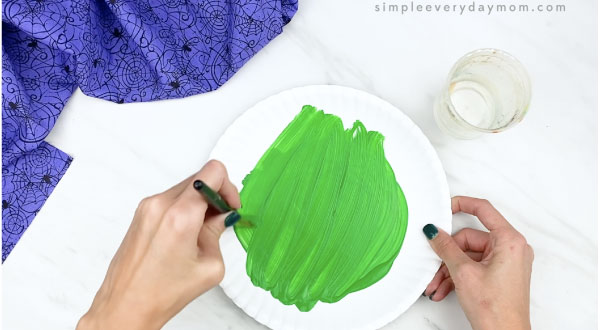
First, paint the paper plate with a thin coat of green paint and let it dry completely. Once the paper plate is dry, cut off a few inches from the top of the paper plate. Save this leftover piece to cut the ears out of later.
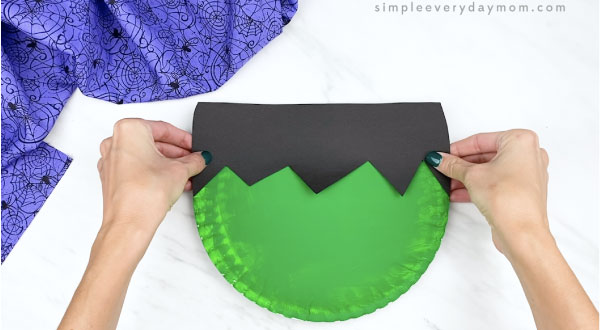
Next, guide your child to take Frankenstein’s hair and glue it to the side where you cut off the paper plate.
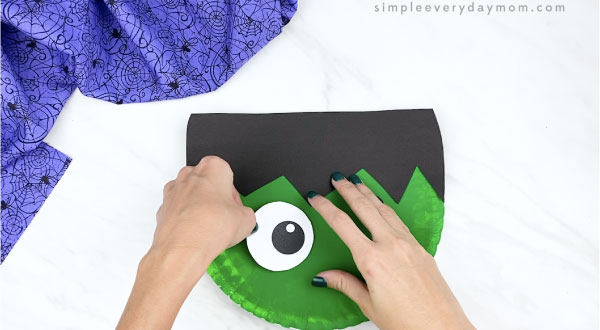
Now, help your child glue the eyes just below the hairline, in the middle of the paper plate.
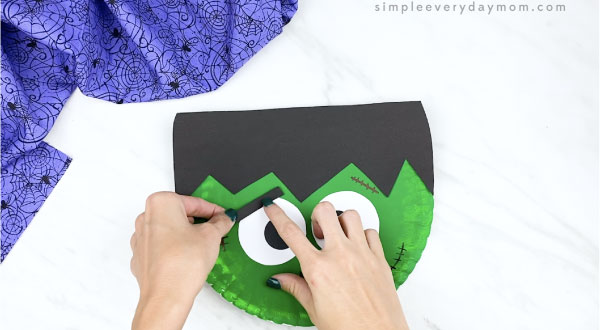
Use the black marker to draw on Frankenstein’s nose and mouth. Also, draw on a few stitches around the open space of his face.

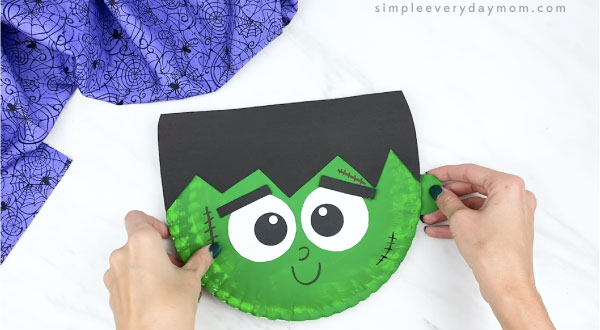
Position the eyebrows on top of each eye and glue them in place.
Glue the Frankenstein’s ear below his hairline on each side of the plate.
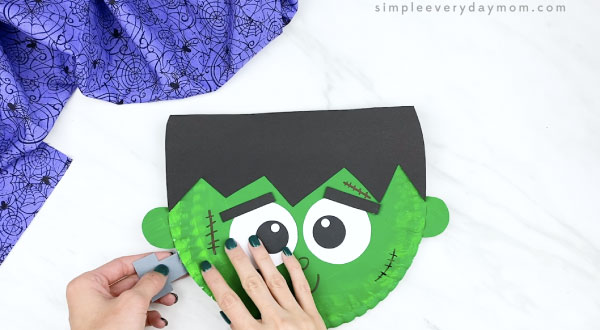
Finally, encourage your child to position the bolts just below Frankenstein’s ears and glue them in place.
For more fun, check out our paper plate crafts that are sure to get your kids in the spirit!
Halloween Unit For Kids
Want to create an entire unit study around this fun Frankenstein paper plate craft? We’ve got ideas that are perfect for both older and younger kids, so keep reading to find out more!
Halloween Read Aloud Books
Reading out loud to children is so beneficial for their development! It can help little kids with vocabulary, reading comprehension, focus, and so much more! That’s why we like to add books to every unit study.


Room On The Broom: This has to be one of our favorite Halloween books of all time! The story follows a witch and her cat as they happen upon some animals who help the witch. There’s danger, mystery, and friendship in this adorable children’s story.
5 Minute Spooky Stories: We love Disney’s 5-minute storybooks and this one is perfect for Halloween! See how all your favorite Disney characters celebrate this spooky holiday.
Ten Timid Ghosts: This is a fun countdown book about a witch who moves into a haunted house where 10 ghosts already live. The witch scares the ghosts out one by one until they devise a scheme to get her out of their house. This Halloween children’s book is good for kids who love rhyming stories!


Halloween Kids’ Crafts
Crafting is not only fun for kids but also helps them with creativity, fine motor skills, and following directions. Add in some more fun projects with some of our favorites below:
Handprint Witch Craft – This no-paint witch craft is perfect for kids! All you need is some paper, scissors, and glue, plus our free template. The kids will love creating this one, and it’s the perfect way to say ‘Happy Halloween!’
Try this cute Frankenstein Paper Cup Craft!
Zombie Popsicle Stick Craft – Looking for a spooky yet kid-friendly craft to make this Halloween? Look no further than this zombie popsicle stick craft! All you need are some basic supplies like popsicle sticks, paint, and paper.

Paper Bag Bat Craft – Thinking up a new way to entertain the kids? Why not try this fun craft! It’s simple and only requires a few materials that you probably already have around the house. Plus, it’s a great way to get the kids to use their imagination. Once they’re done making their bats, they can put on a little puppet show for the family.
Zombie Cat Puppet Craft – This is the perfect Halloween craft for young children! They’ll have so much fun using simple supplies to create their very own zombie cat puppet. This easy craft is perfect for developing fine motor skills and encouraging imaginative play!
Halloween Activities For Kids
Halloween is right around the corner! Are you looking for a fun way to help your child practice their fine motor skills? These Halloween pattern block mats are perfect for practicing fine motor skills and learning shapes and colors.
These candy corn worksheets are an easy and fun way to teach kids how to write the letter C. They’re also great for helping with fine motor skills, which is especially important at this age. Plus, they make learning handwriting practice fun!

Halloween do a dot printables are perfect for kids who need to work on their fine motor skills. These fun and engaging activities will help your child improve in areas such as number recognition, letter recognition, counting, coloring, and more!
These Halloween printable Lego builds would be a fun activity for a Halloween party or for a quiet afternoon at home. They’re also an easy way to incorporate STEM learning into the Halloween season. Print these pages out and have your little monster create pumpkins, ghosts, and more with their Lego bricks!
Easy Candy Corn Halloween Craft
Share With Us
Did you make this activity with your kids or students? We’d love to feature them on our social media!
For a chance to have your child’s project featured, simply snap a picture of the completed project and post it to our Facebook page, email it to us directly by clicking here, or use #simpleeverydaymom on your social media!
More Halloween Ideas For Kids
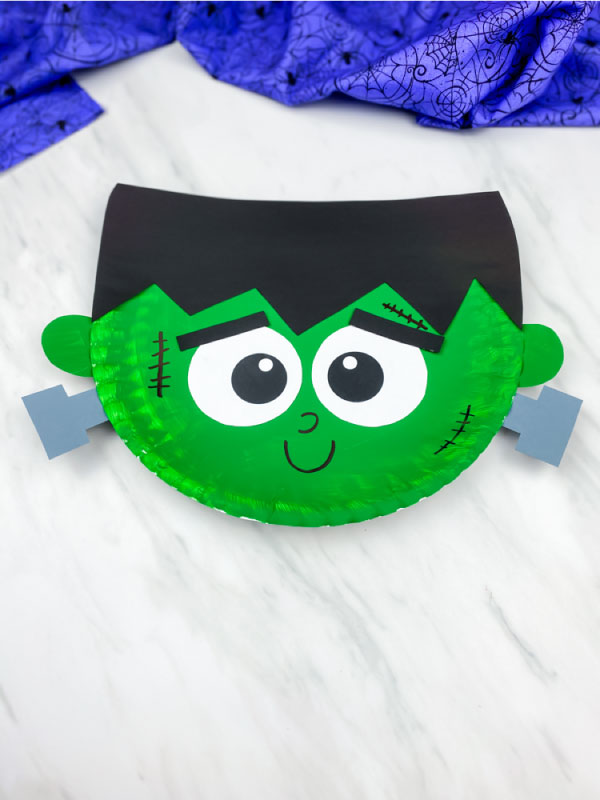
Paper Plate Frankenstein Craft
Video
Materials
- Paper plates
- Green paint
- Paintbrush
- Colored cardstock or construction paper
- Glue stick
- Scissors
- Black marker
- Frankenstein craft template
Instructions
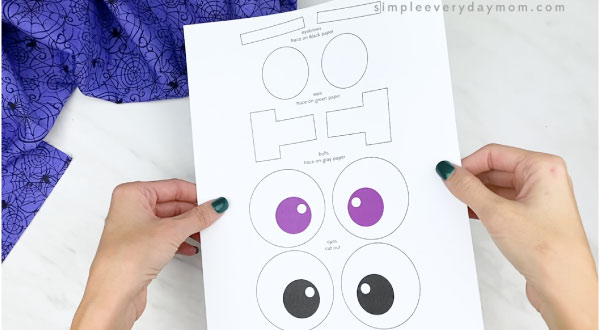
- Download the Frankenstein craft template, print, and cut out the pieces you'll be using.
- Paint the paper plate with a thin coat of green paint and let dry completely. Once the paper plate is dry, cut off a few inches from the top of the paper plate. Save this leftover piece to cut the ears out of later.
- Take Frankenstein’s hair and glue it to the side where you cut off the paper plate.
- Glue the eyes just below the hairline, in the middle of the paper plate.
- Use the black marker to draw on Frankenstein’s nose and mouth. Also, draw on a few stitches around the open space of his face.
- Glue the eyebrows on top of each eye.
- Trace the ear template on the paper plate you cut off in Step 2 or on colored cardstock.
- Glue Frankenstein’s ear just below his hairline on each side of the plate.
- For this example, we cut out his ear from the part of the paper plate we cut off in step 2, but you can also use colored cardstock.
- Position the bolts just below Frankenstein’s ears and glue them in place.
Did you make this?
Don’t forget to leave a comment below and make sure to follow on Pinterest, Facebook and TikTok for more!
Free Frankenstein Template


Meet Sam
Sam is the crafter and founder of Simple Everyday Mom. She has been featured in Oprah Mag, Good Housekeeping, The Spruce Crafts, Country Living, The Bump, and more.


I would like the Frankenstein template link. Thank you
Of course! All you need to do is enter your email in the form at the end of the post and the link will be emailed to you ?
I would love to do this with my class!
I hope you do it, and they have lots of fun!
Thank you for sharing!
You’re welcome!
Hola me encantaría tener esa plantilla tan linda
All you need to do is enter your email in the form at the end of the post and the link will be emailed to you ?
I love the cute Frankenstein craft. Can you please send me the template link. Thank you.
All you need to do is enter your email in the form at the end of the post and the link will be emailed to you ?
I would love to have the link!
Of course! All you need to do is enter your email in the form at the end of the post and the link will be emailed to you ?
Hi I would like to have the access to the craft template.
Thank you very much.
Of course! All you need to do is enter your email in the form at the end of the post and the link will be emailed to you ?
I would love to do this craft with my 1st grade class for Halloween! Can I have the template please?
Definitely! All you need to do is enter your email in the form at the end of the post and the link will be emailed to you ?
could you please send me the template link? thanks
All you need to do is enter your email in the form at the end of the post and the link will be emailed to you ?
I would like the link as well. Thanks!
Of course! Just enter your email in the form and the link will be sent to you!
I’d like the link please
Totally! All you need to do is enter your email in the form at the end of the post and the link will be emailed to you ?
I would love the link for this activity.. Thank you!
Of course! All you need to do is enter your email in the form at the end of the post and the link will be emailed to you ?
I would like the link as well. Thanks!
Of course! Simply enter your email in the form at the end of the post and the link will be emailed to you ?
I would love to make your paper plate Frankenstein with my kids, but I do not see the link to print the template.
If you enter your email in the form at the end of the post, the link will be emailed to you ?
My kids love this krafts.