Statue of Liberty Puppet Craft for Kids [Free PDF Template]
All activities require adult supervision. By using this site, you agree to our terms of use. This post may contain affiliate links, sponsored links, and ads. As an Amazon Associate and participant in other affiliate programs, I earn from qualifying purchases.. Read our disclosure policy.
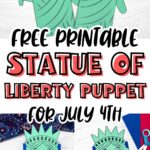
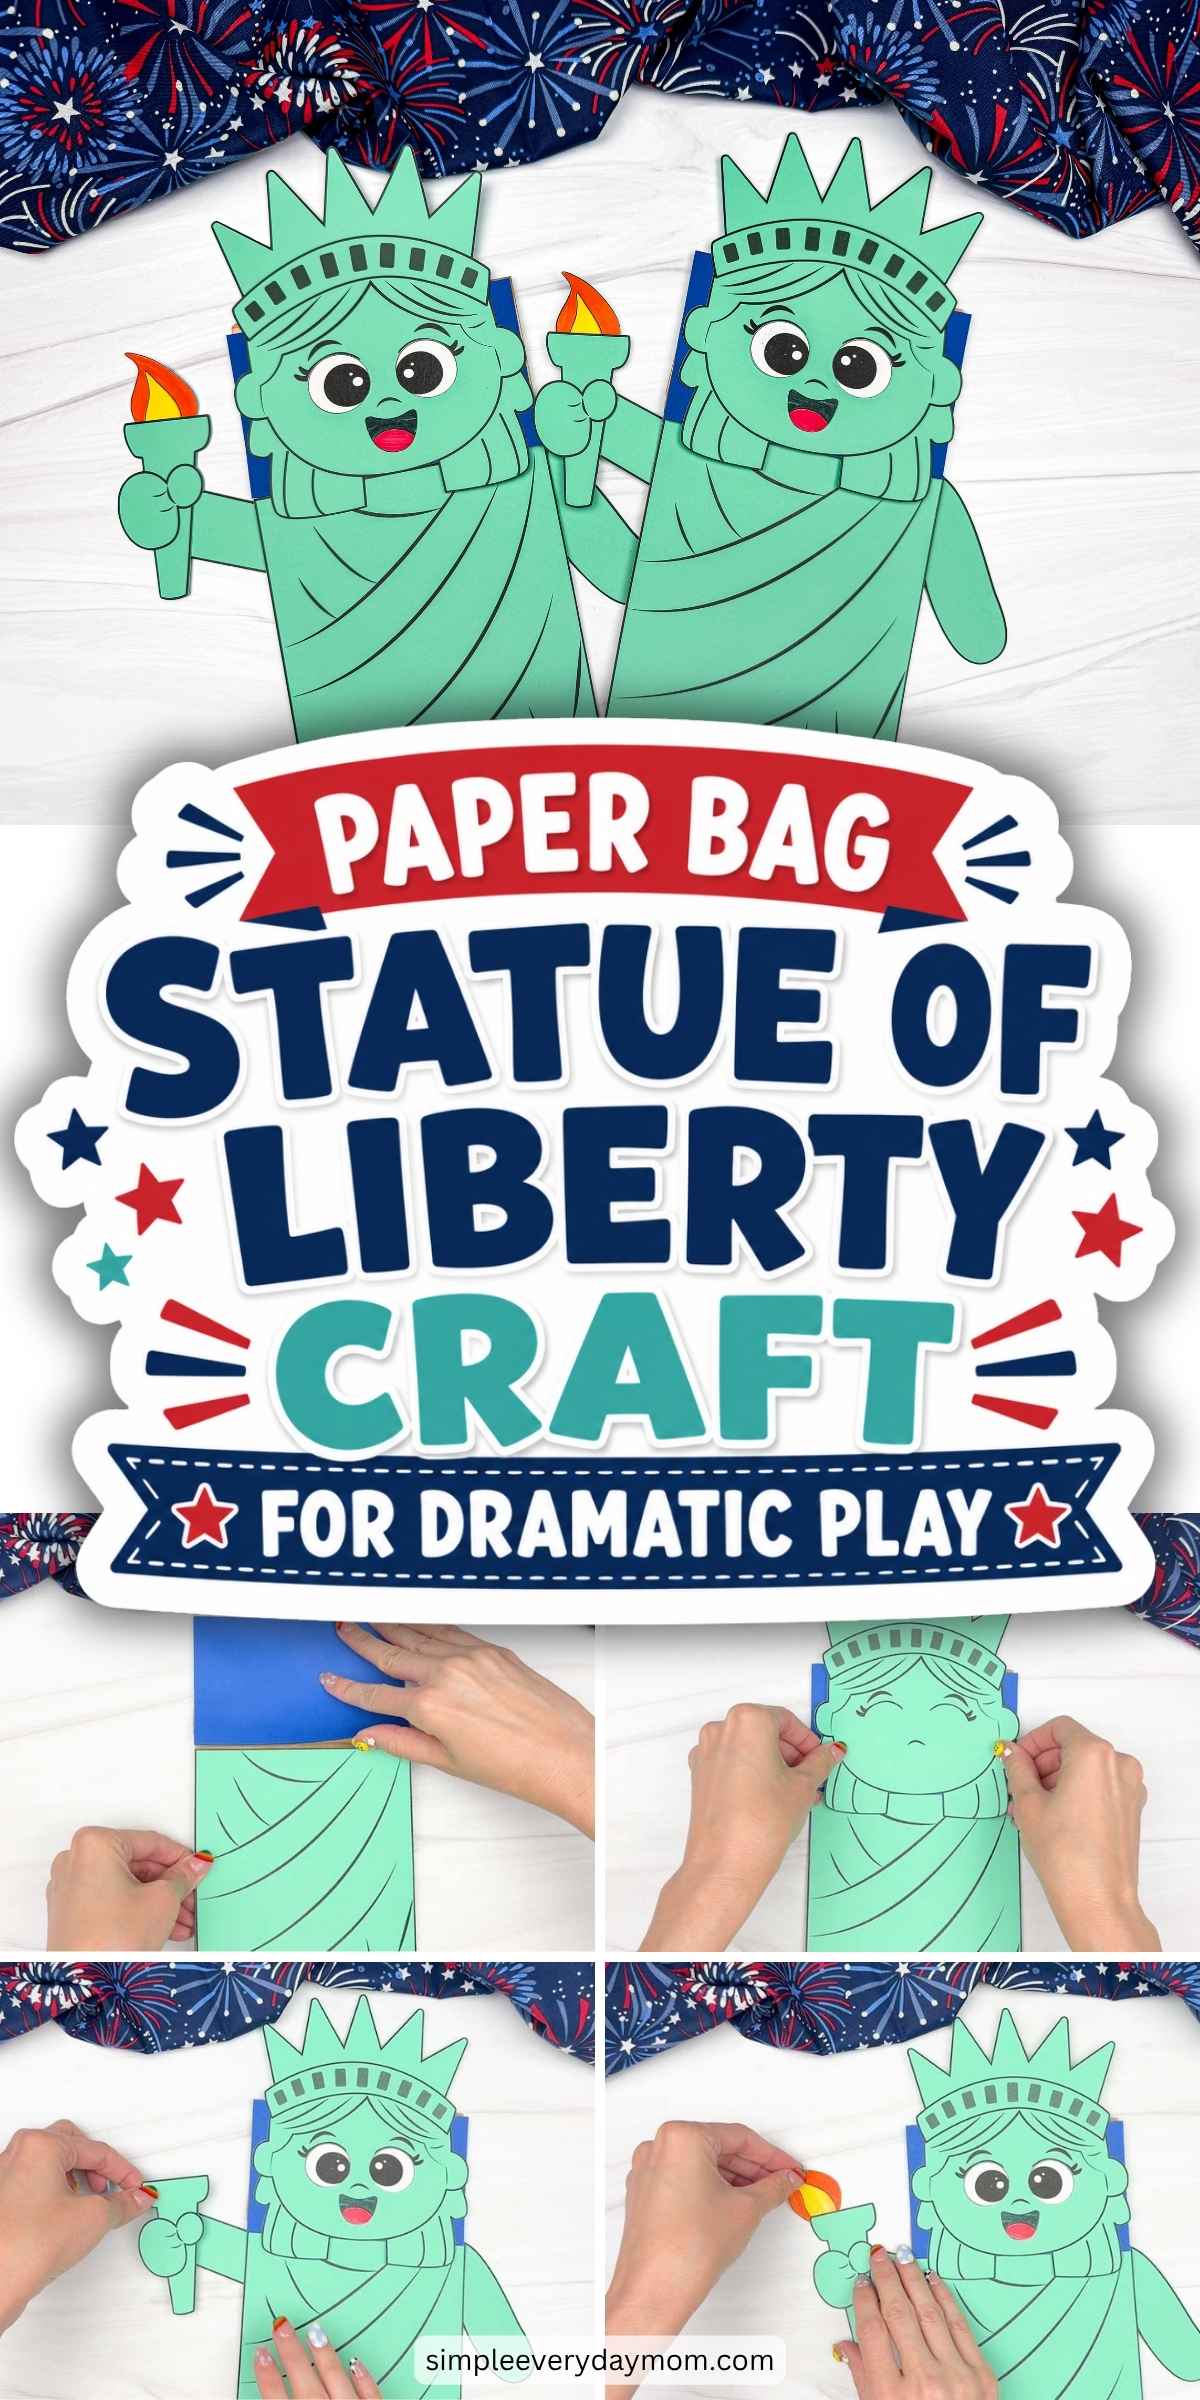
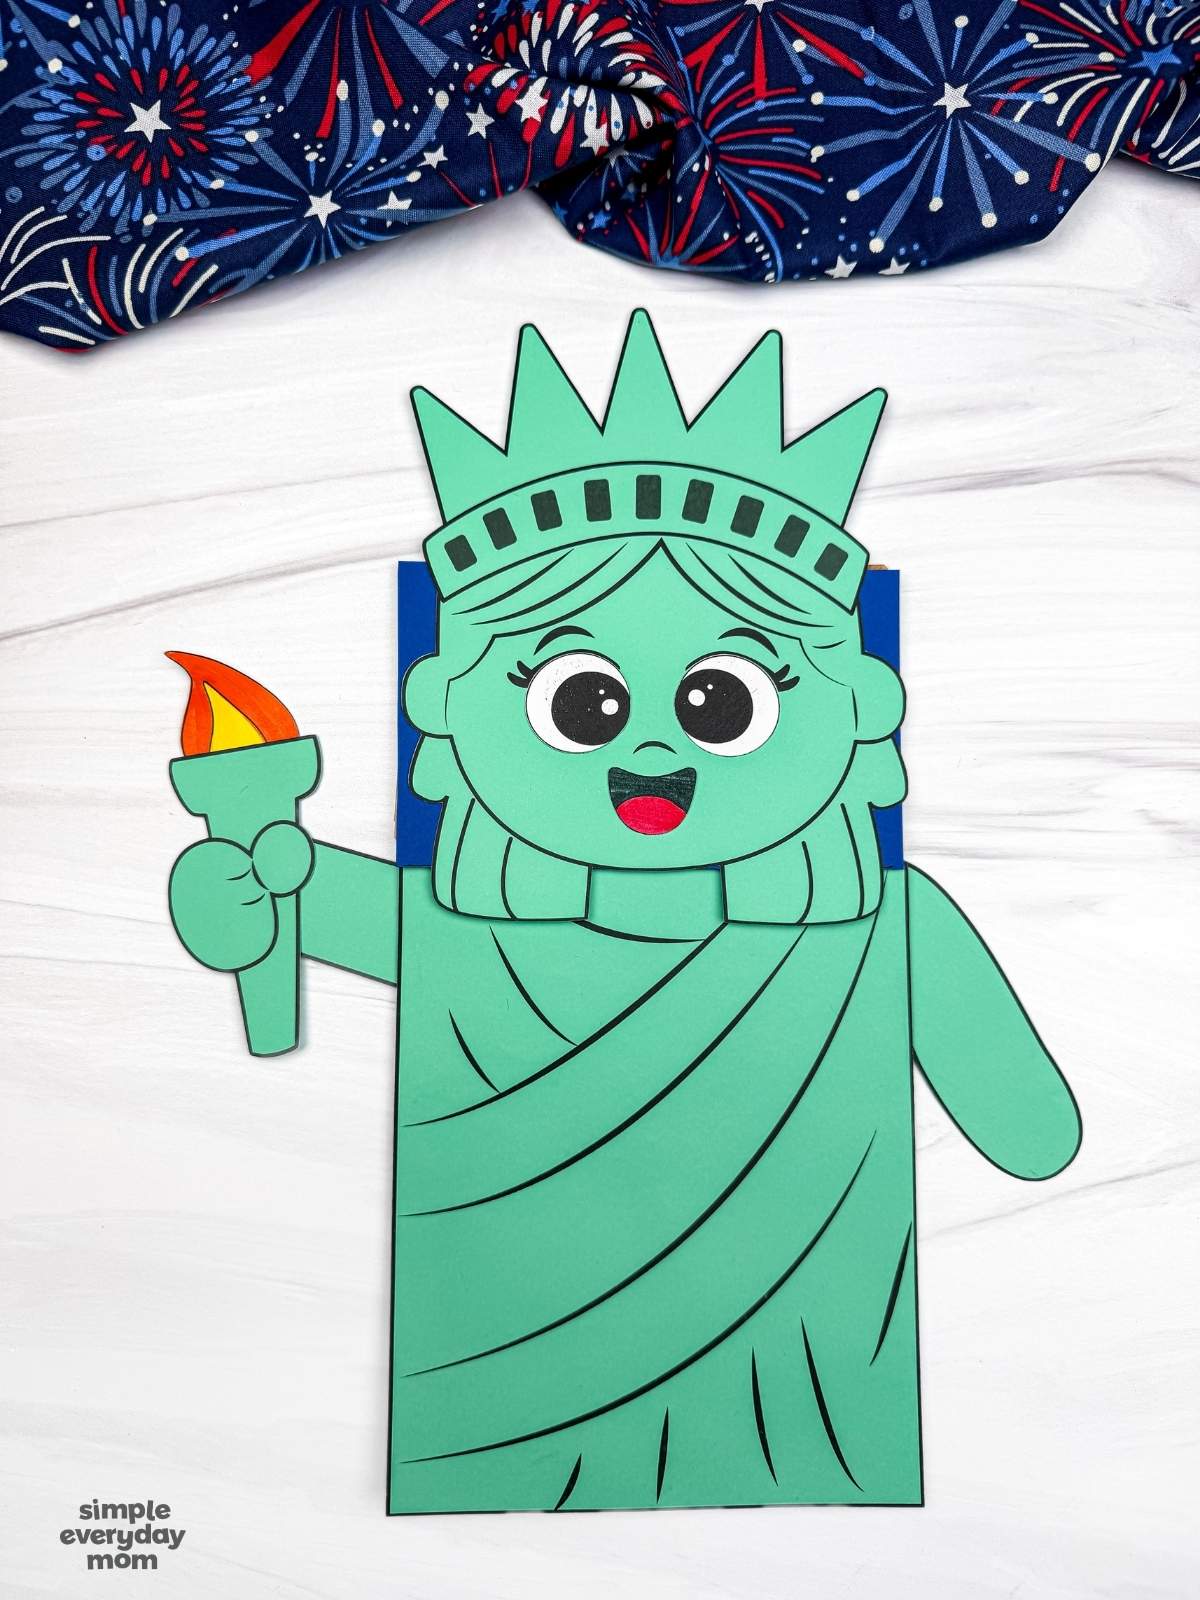
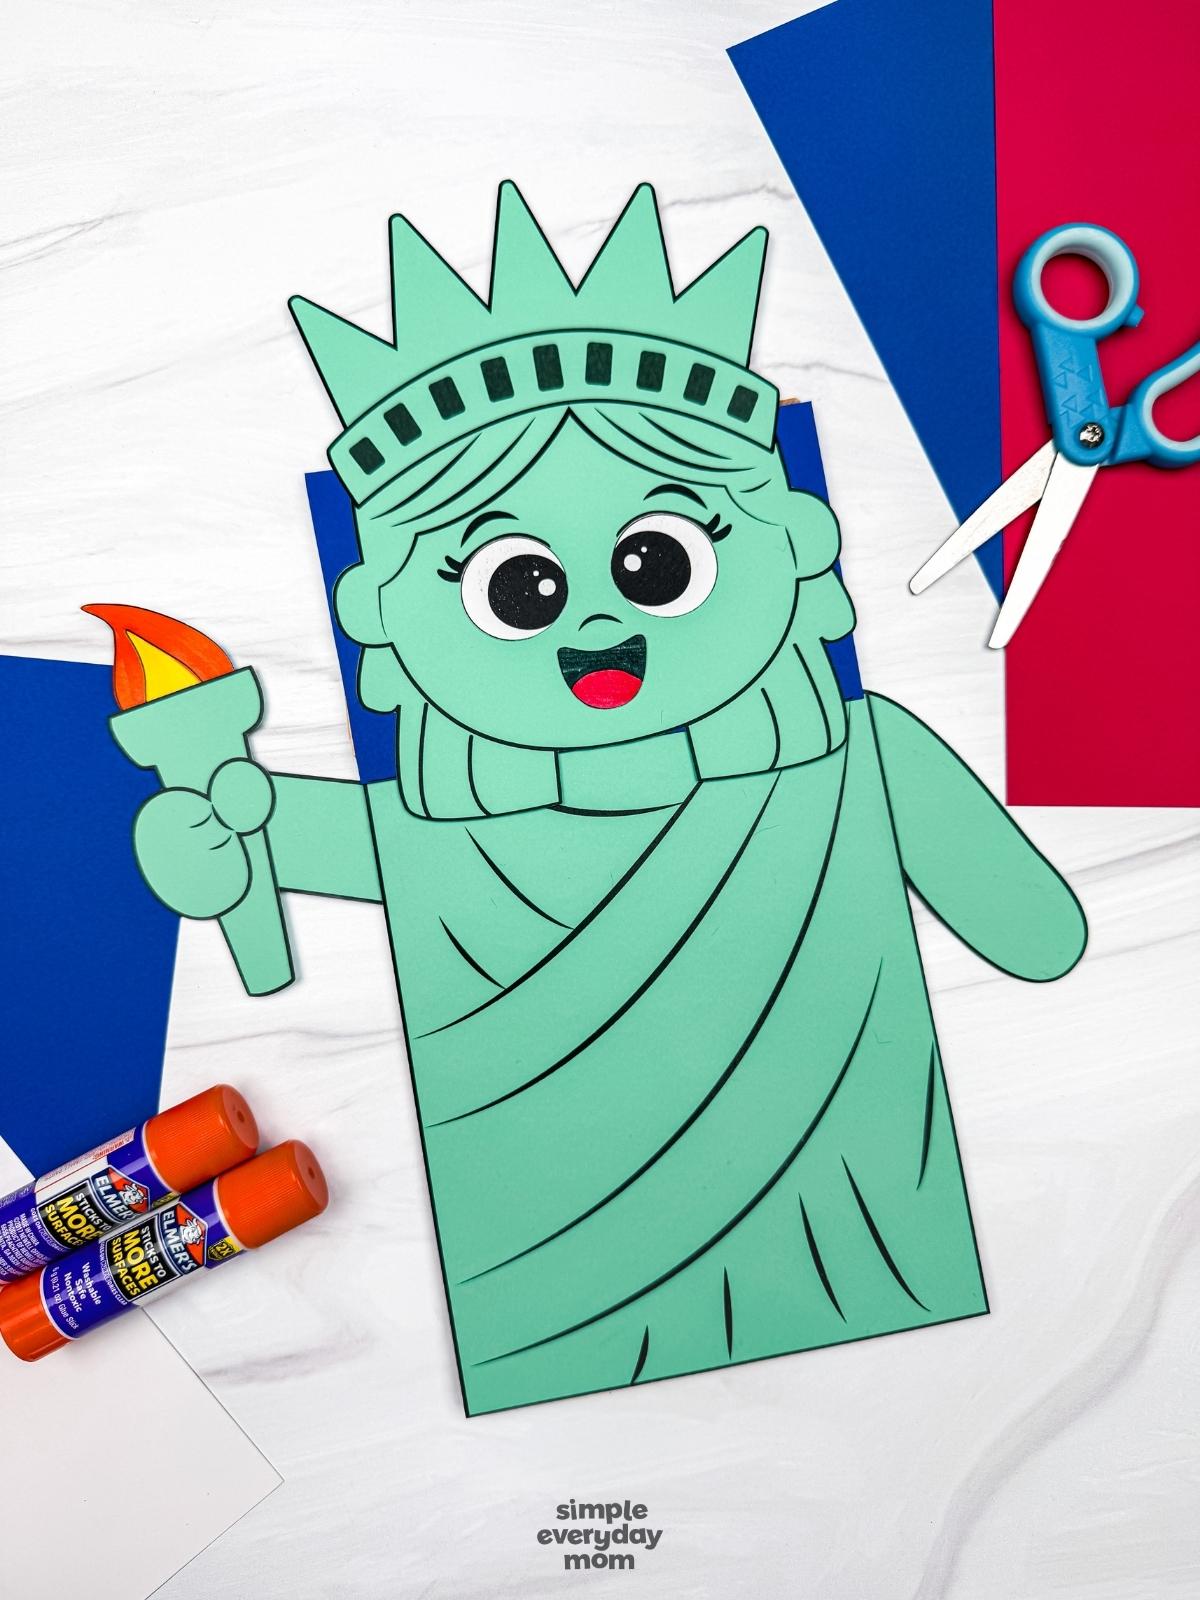
Little hands and big imaginations can bring an American icon to life with this fun Statue of Liberty puppet craft for kids ages 5 to 9 years old. You can choose from 3 different templates to make the puppet. We have a full color version, a black and white version for kids to color, or a cut and assemble craft version to match different learning styles and attention spans.
Most kids can finish this paper bag puppet in about 20 to 35 minutes. It’ll be a fun addition to holiday lessons, summer afternoons, or Independence Day celebrations.
Check out our other paper bag puppets to keep kiddos entertained through every season and holiday. Puppet activities encourage creative play and hands-on learning in a way children naturally enjoy.
Lady Liberty Kids’ Craft
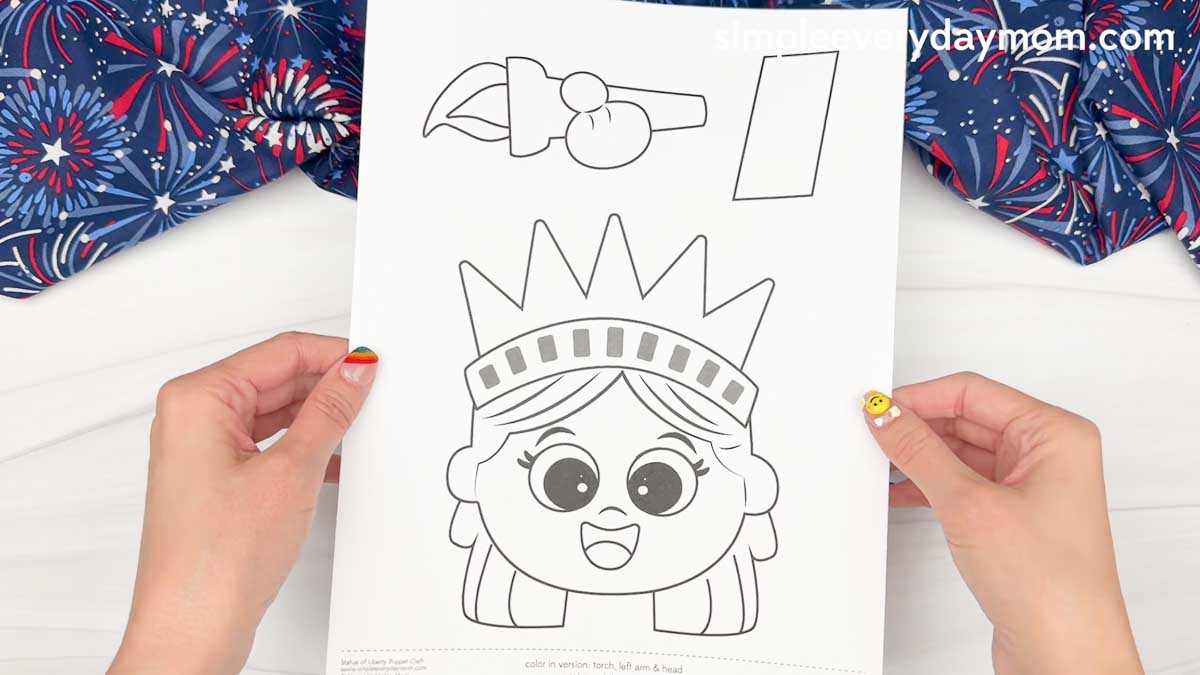
Kids can transform a plain paper bag into Lady Liberty with this fun puppet activity. Our printable templates make it easy for children to create their puppet in different ways. The full color version works well for quick assembly, the black and white version lets kids have fun coloring, and the craft version gives children the chance to cut out the pieces and build the puppet step by step.
Cutting, gluing, coloring, and assembling the puppet helps strengthen fine motor control, hand-eye coordination, focus, and problem solving skills. Playing with puppets also supports storytelling, communication, and creative thinking.
Our printable template keeps this kids patriotic activity easy to set up at home or in the classroom. Grab a few supplies like colored paper, scissors, glue, and markers, then let children create a fun puppet they can proudly display or use during pretend play.
Supplies
- Colored cardstock or construction paper
- Scissors
- Glue
- Brown Paper Bag
- Markers
- Statue of Liberty Puppet Template (click the “click here to get your freebies” image at the end of the post)
Directions
Start by printing the template, then gather the materials for this fun activity. Get those scissors ready, and let’s help the kids bring this Statue of Liberty to life!
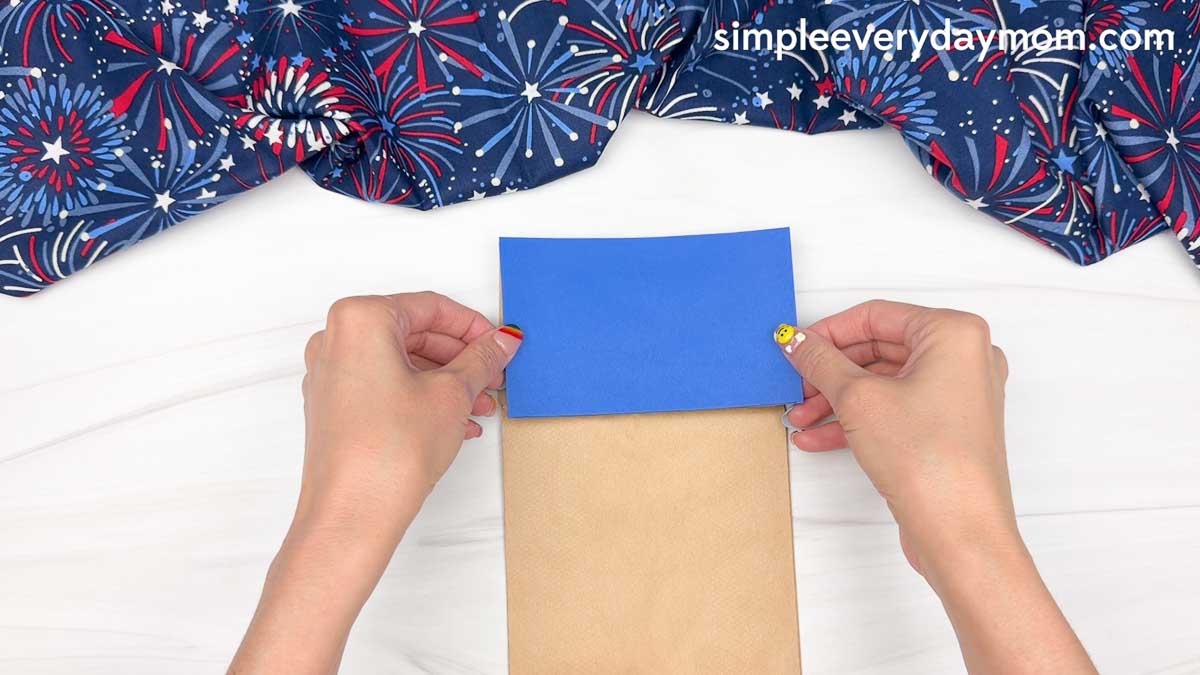
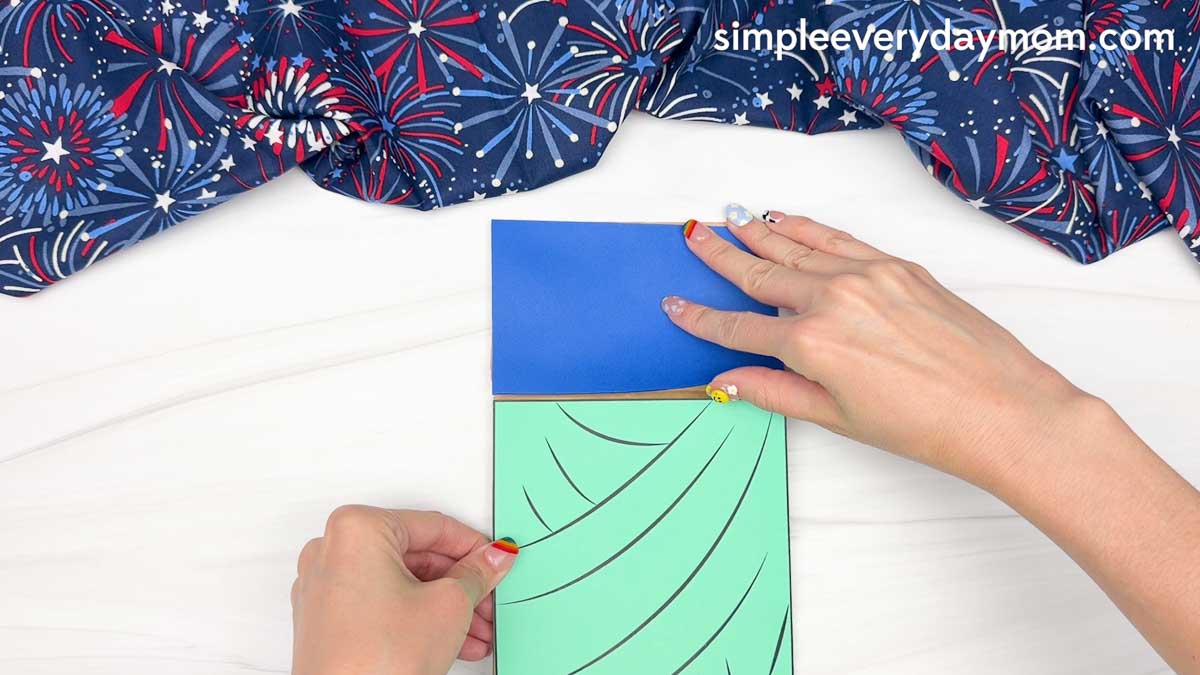
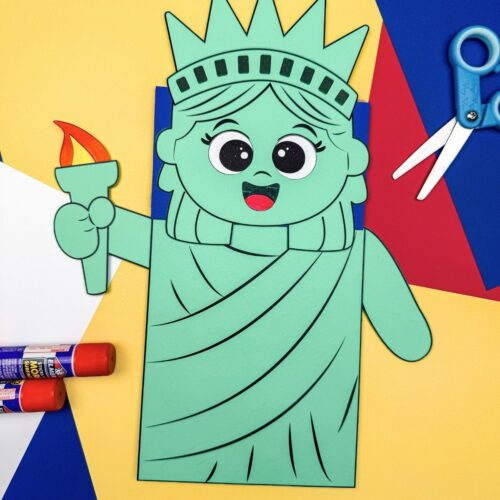
Glue the blue rectangle to the top flap of the paper bag. This simple piece creates a colorful backdrop for the puppet’s head and helps the Statue of Liberty stand out.
Take the Statue of Liberty body piece and glue it to the front of the paper bag, just below the flap. Help your child line up the edges so the robe sits neatly on the bag.
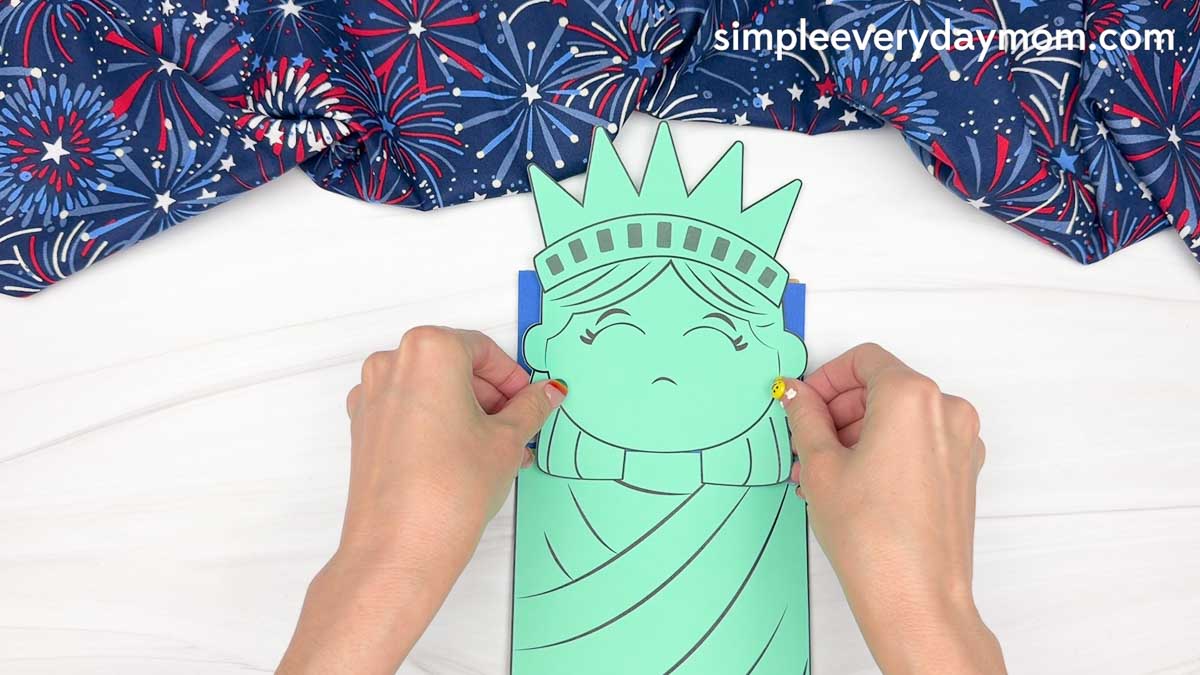
Grab the head piece and glue it onto the paper bag flap above the body.
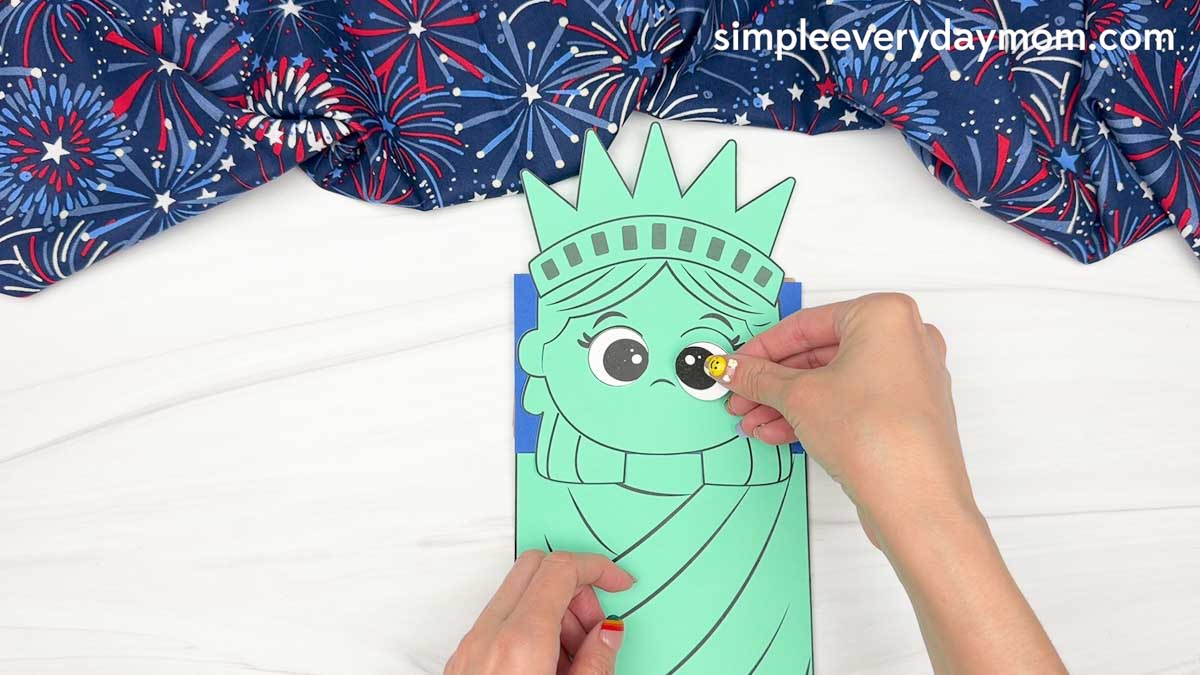
Find the eye pieces and glue them onto the face, just below the lashes. The big eyes instantly give the puppet a fun and friendly personality.
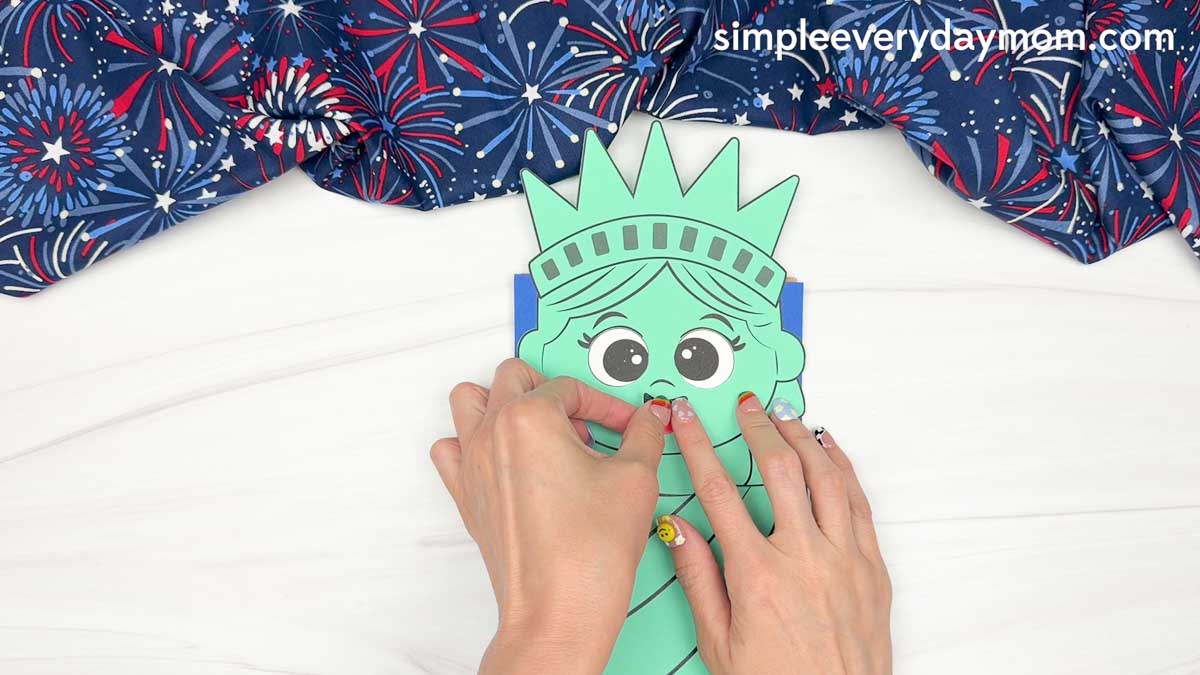
Take the mouth piece and glue it underneath the nose. Kids will love seeing the smiling face appear as they add each feature.
Glue the left arm piece to the left side of the body in a raised position and the right arm piece to the right side of the body.
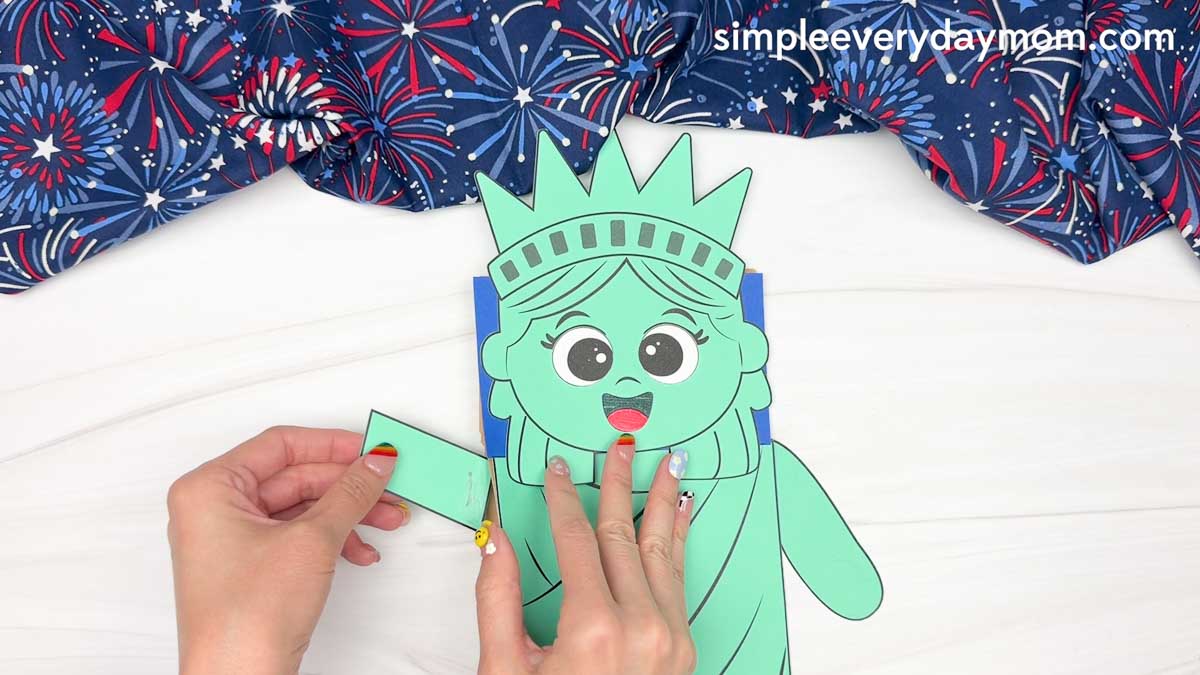
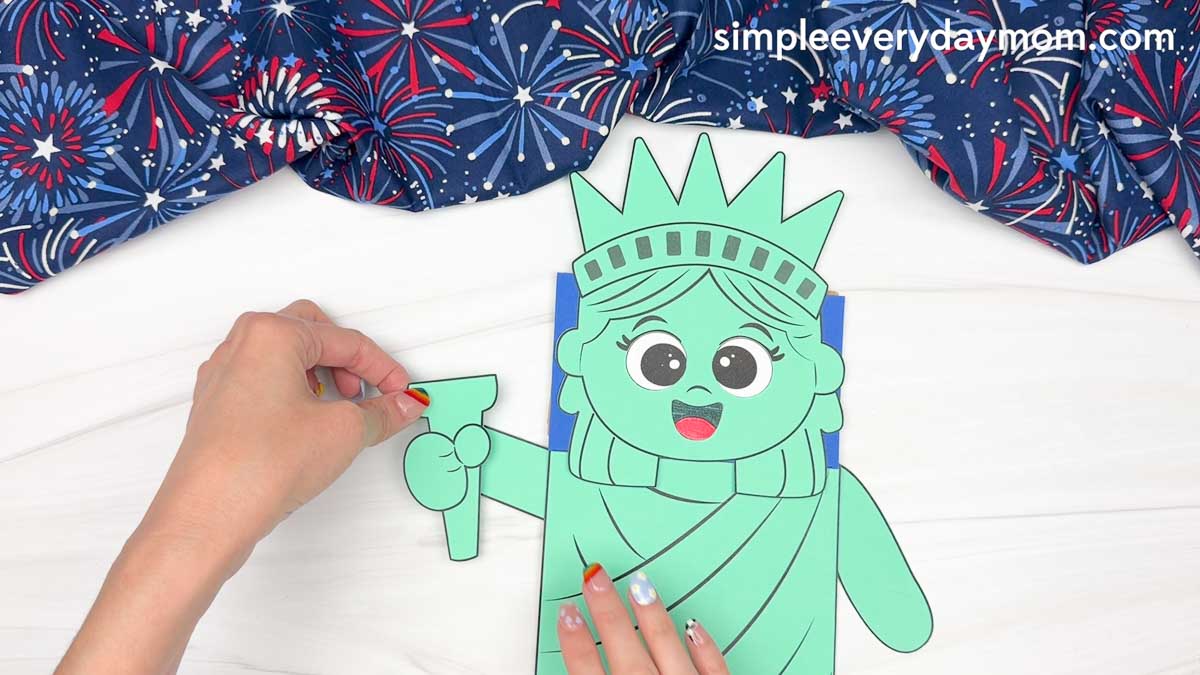
Glue the torch piece onto the hand of the raised arm. Talk about how the Statue of Liberty raises her torch high as a symbol of freedom and welcome.
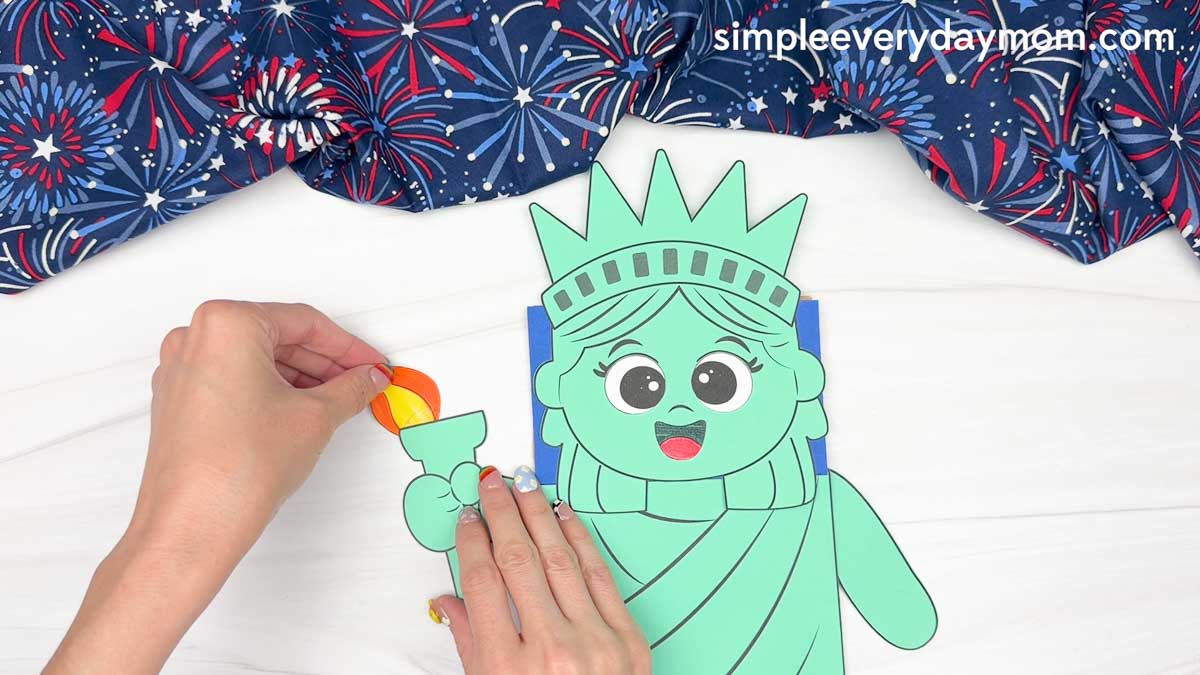
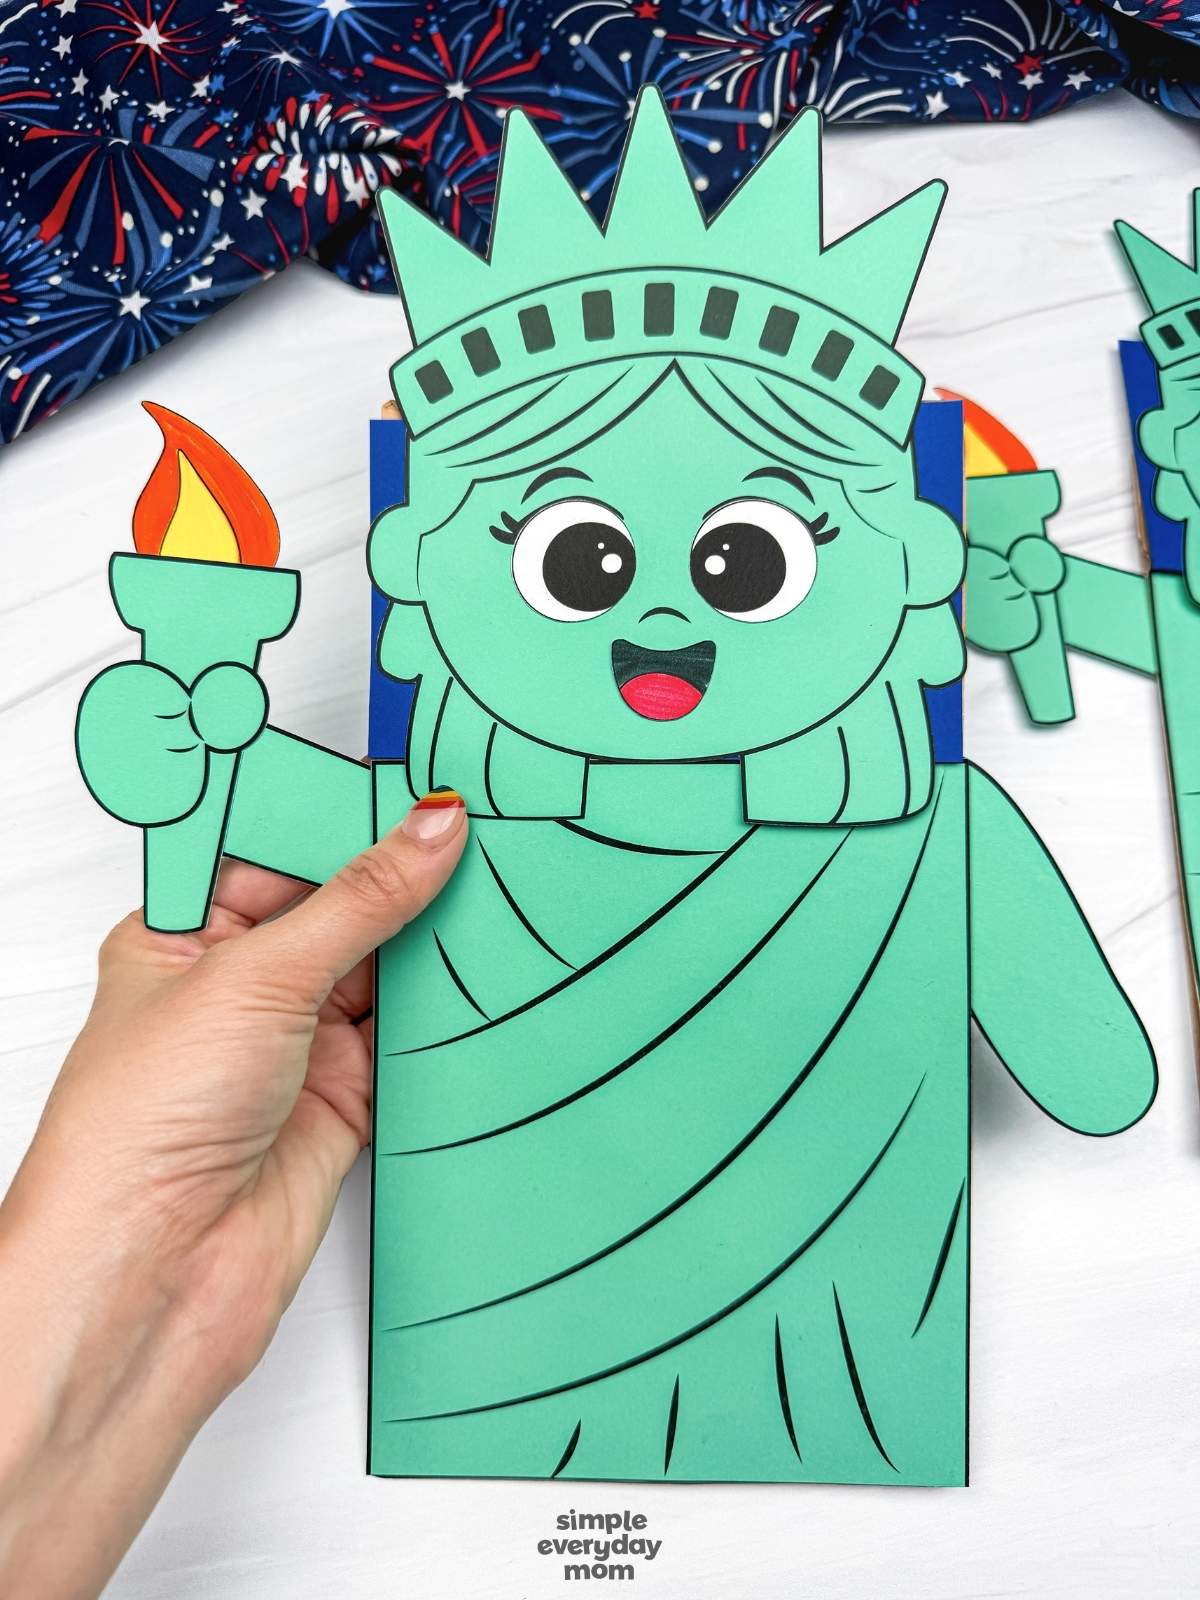
Finish the craft by gluing the flame piece to the top of the torch. Press it down firmly, then admire your completed Statue of Liberty puppet.
Kids can slide their hand into the paper bag and use their puppet for imaginative July 4th and American history themed play. It’s a fun way to introduce children to the Statue of Liberty while encouraging creativity and storytelling.
Looking for more ways to explore patriotic themes with your child? Check out the related activities below for additional crafts, printables, and hands-on learning ideas.
Fourth Of July Books for Children


The Before The Fourth Of July – If your kids are fans of The Night Before Christmas, they’ll love this patriotic version that follows a family’s day through Independence Day!
What Does it Mean To Be American? – This book is a wonderful look into the characteristics that make an American citizen. It’s an easy read for young kids are will get their minds thinking.
My Fourth of July – Kids will love this story that details all the classic activities Americans do on the Fourth of July! It’s sure to bring back the nostalgia of being a kid on Independence Day.
USA Inspired Craft Ideas
Uncle Sam Name Craft – Add this personalized Uncle Sam to your holiday plans! Kids will love creating Uncle Sam’s famous top hat and fluffy white beard that spells out their names. This patriotic activity builds letter recognition skills and adds a festive homemade touch to your Fourth of July decorations.
4th of July Popsicle Craft – Celebrate with this fun patriotic popsicle activity where your little artists can decorate their colorful popsicles with shiny star stickers. They’ll use their creativity and fine motor skills to make this festive project. This Independence Day project is great for summer afternoons, classroom fun, and holiday celebrations.
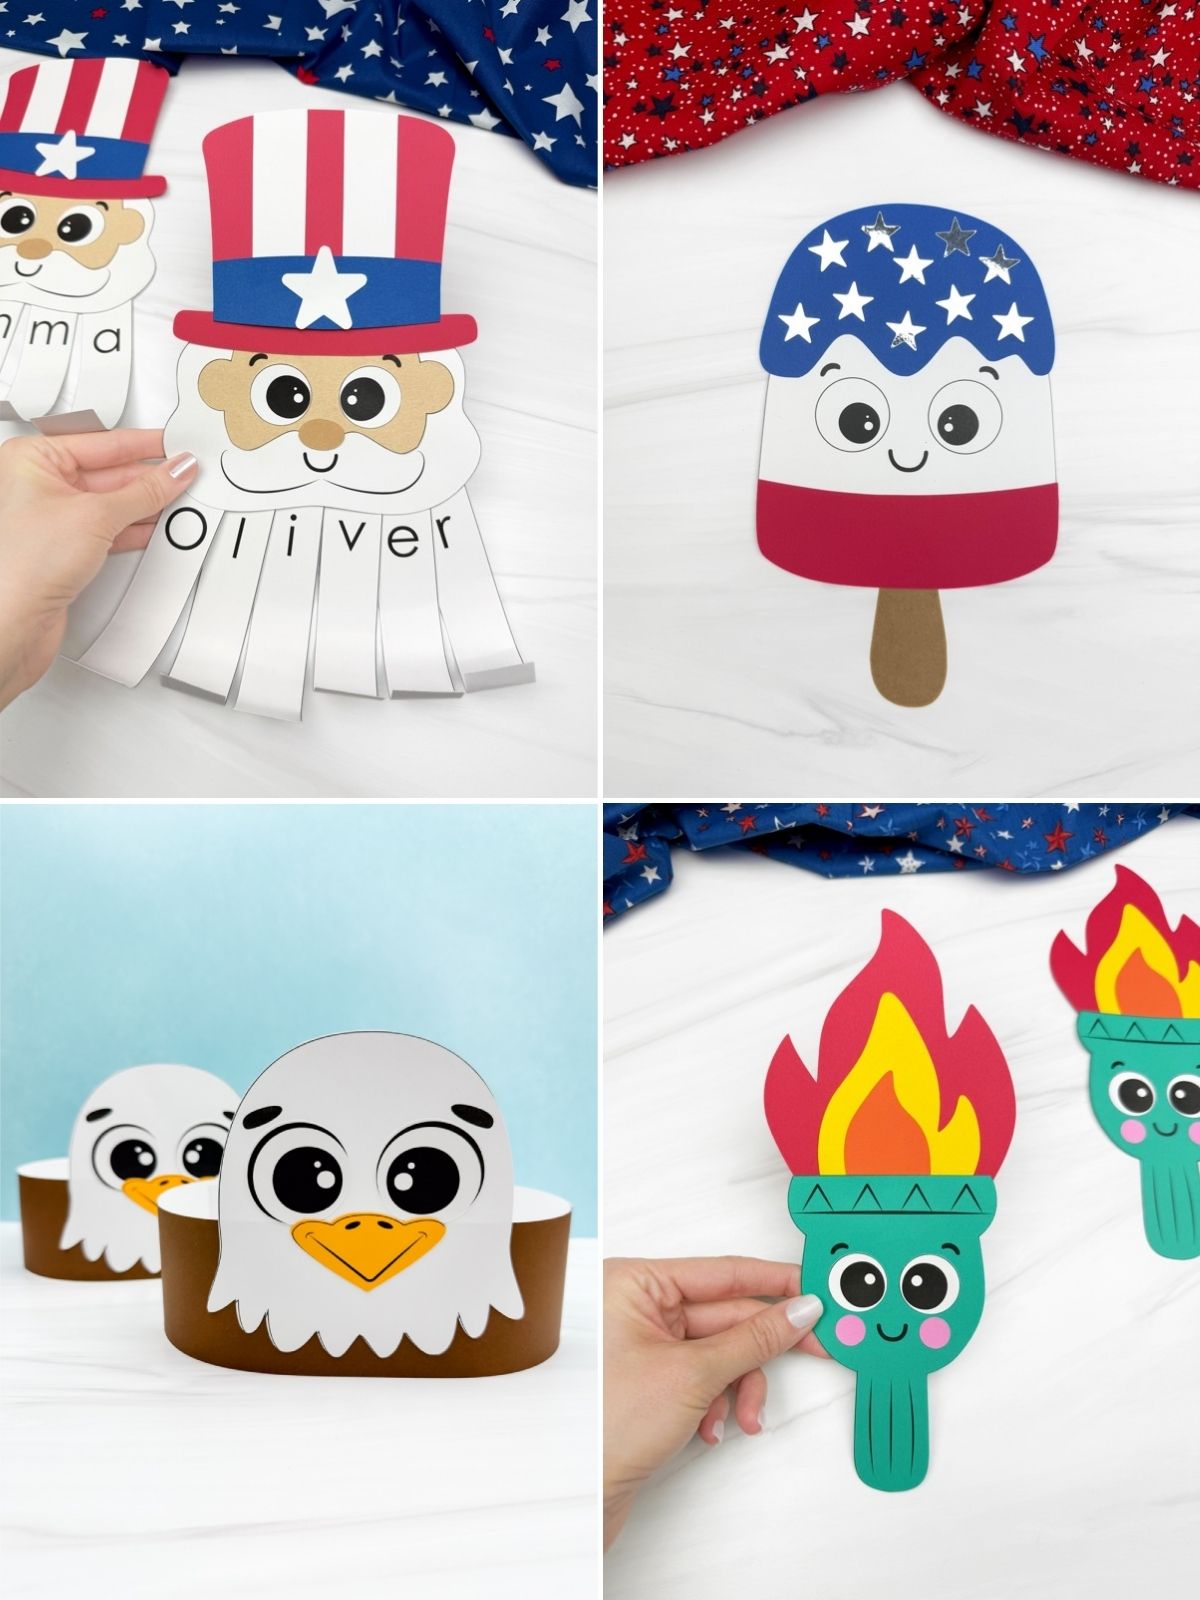
Statue of Liberty Torch Craft – Children can create a glowing paper torch inspired by Lady Liberty’s and proudly raise it high during patriotic celebrations. This hands-on project encourages imagination, creative play, and learning while adding a festive touch to your Fourth of July decorations.
Eagle Headband Craft – This eagle headband is inspired by America’s majestic national bird. This activity encourages imaginative play, storytelling, and creative expression when they make and wear their new headband. It’s a fun way to get kids involved in the holiday festivities and get creative!


Patriotic Learning Printables
These 4th of July pattern worksheets are filled with festive red, white, and blue images that help kids practice pattern recognition, sequencing, and critical thinking skills in a fun hands-on way.
Children will cut and paste patriotic pictures to finish AB, ABB, and ABC patterns while strengthening fine motor control and concentration. Parents and teachers will love adding these engaging worksheets to summer learning, holiday parties, classroom centers, or quiet time.
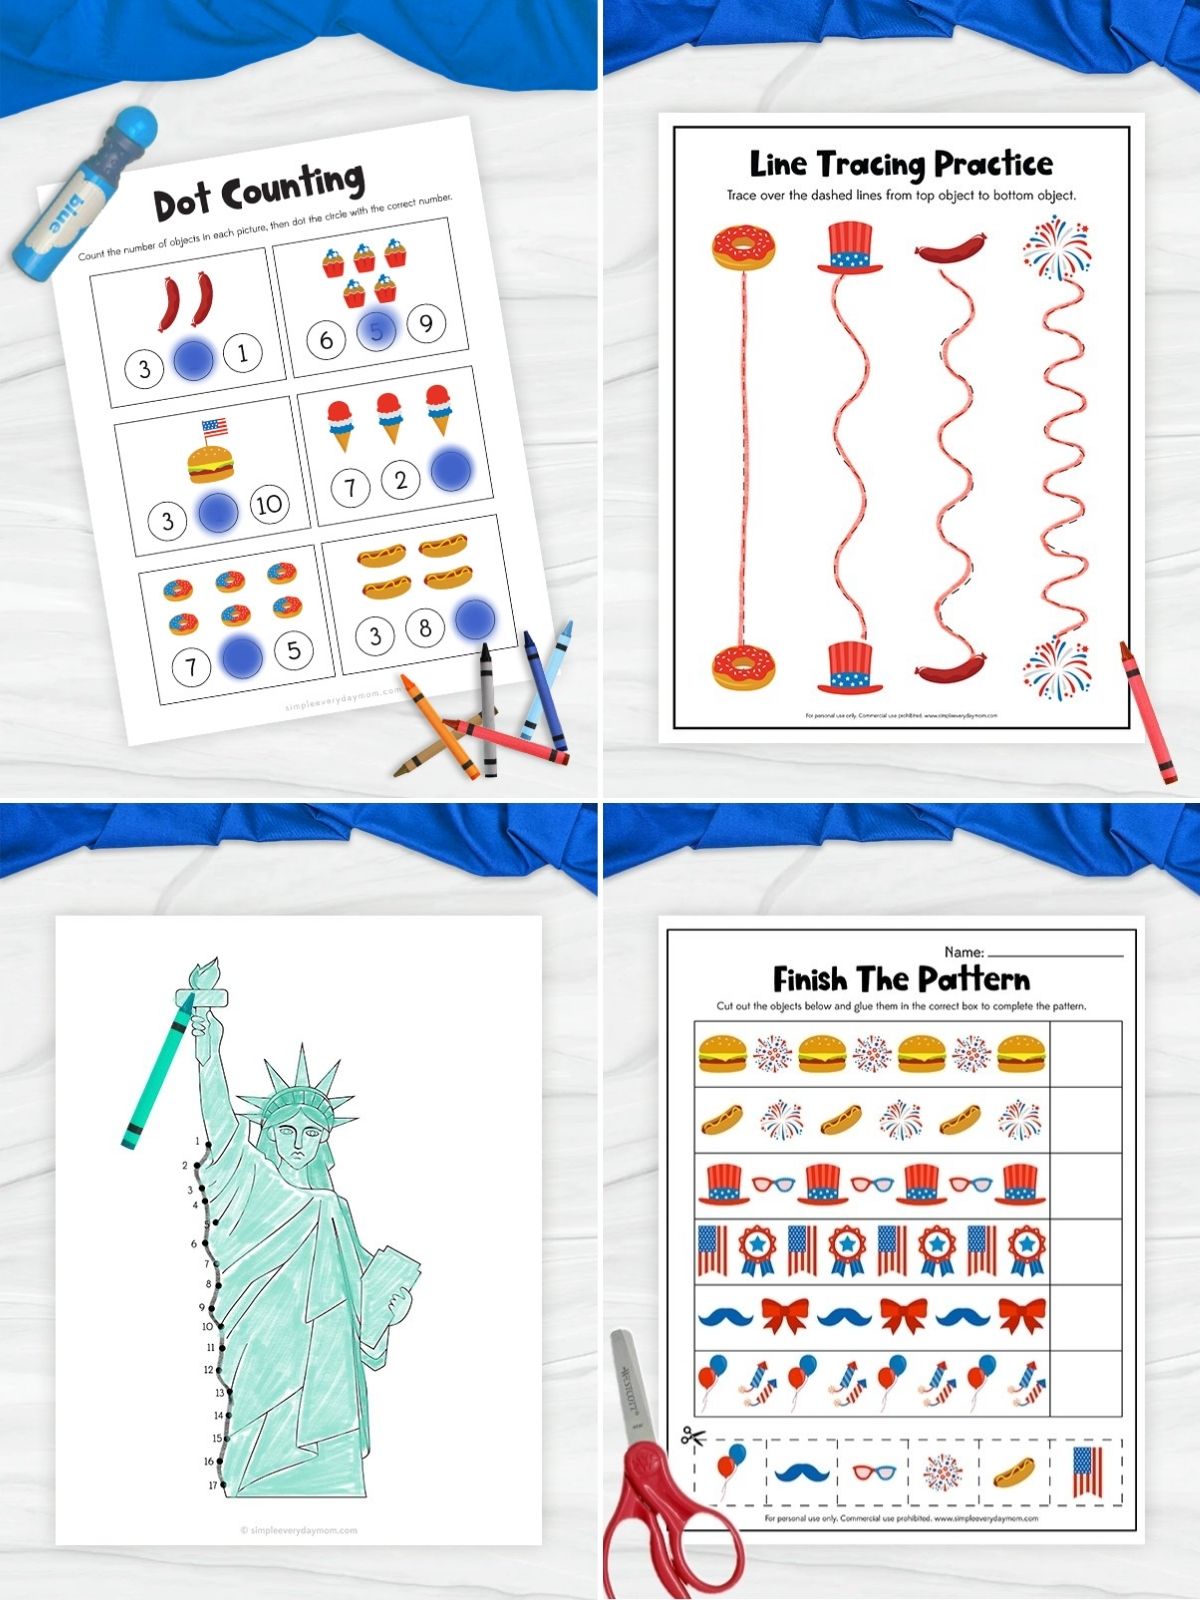
Build focus and patience one numbered step at a time with these Statue of Liberty dot to dots. Each page features engaging connect the dots scenes of Lady Liberty that help strengthen number recognition, sequencing skills, and fine motor development.
Children will have a sense of accomplishment as the iconic figure appears. You’ll appreciate this educational Independence Day activity for reinforcing attention and early math skills.
Celebrate Independence Day through festive, patriotic designs on these 4th of July tracing worksheets that help kids build early writing skills. They’ll practice tracing lines, shapes, letters, and holiday themed images like flags, fireworks, and stars to strengthen pencil control, hand-eye coordination, and focus.
These pages are a helpful addition for classrooms, homeschool lessons, or quiet holiday learning time.
These 4th of July do a dot printables give kids a festive way to practice fine motor skills, counting, and one-to-one correspondence and celebrate Independence Day!
Each page features patriotic images for children to fill in using dot markers. Teachers and parents love this engaging activity for building focus, number recognition, and hand strength for preschool and early learners.
Share With Us
Did you make this activity with your kids or students? We’d love to feature them on our social media!
For a chance to have your child’s project featured, simply snap a picture of the completed project and post it to our Facebook page, email it to us directly by clicking here, or use #simpleeverydaymom on your social media!
Statue of Liberty Puppet Craft
Video
Materials
- Colored cardstock or construction paper
- Scissors
- Glue
- Markers
- Brown Paper Bag
- Statue of Liberty Puppet Template
Instructions
- Print the template and gather the materials for this fun activity.
- Begin by gluing the rectangle piece onto the top flap of the paper bag.
- Glue the body piece to the front of the paper bag, below the flap.
- Glue the head piece onto the top flap, above the body.
- Look for the eye pieces and glue them onto the face, just below the eyelashes.
- Color in the mouth piece and glue it below the nose.
- Grab the right arm and glue it to the right side of paper bag.
- Take the left arm and glue it to the left side of the paper bag.
- Grab the torch piece and glue it onto the raised left hand.
- Finally, color in the flame piece and glue it to the top and back of the torch.
Did you make this?
Don’t forget to leave a comment below and make sure to follow on Pinterest, Facebook and TikTok for more!
Free Statue of Liberty Puppet Template


Meet Sam
Sam is the crafter and founder of Simple Everyday Mom. She has been featured in Oprah Mag, Good Housekeeping, The Spruce Crafts, Country Living, The Bump, and more.


LOVE this idea! Featuring when my link party opens.
Thanks so much, Carol!!