Toilet Paper Roll Grogu (Baby Yoda) Craft [Free Template]
All activities require adult supervision. By using this site, you agree to our terms of use. This post may contain affiliate links. As an Amazon Associate and a participant in other affiliate programs, I earn a commission on qualifying purchases. Read our disclosure policy.

Has the Baby Yoda craze made it to your house yet?
The Child seems to be everywhere and we can’t get enough of that cute little face! We enjoy making Star Wars crafts, especially Yoda so we’ve already made a few different Baby Yoda projects.
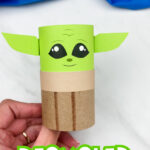
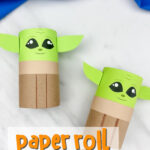
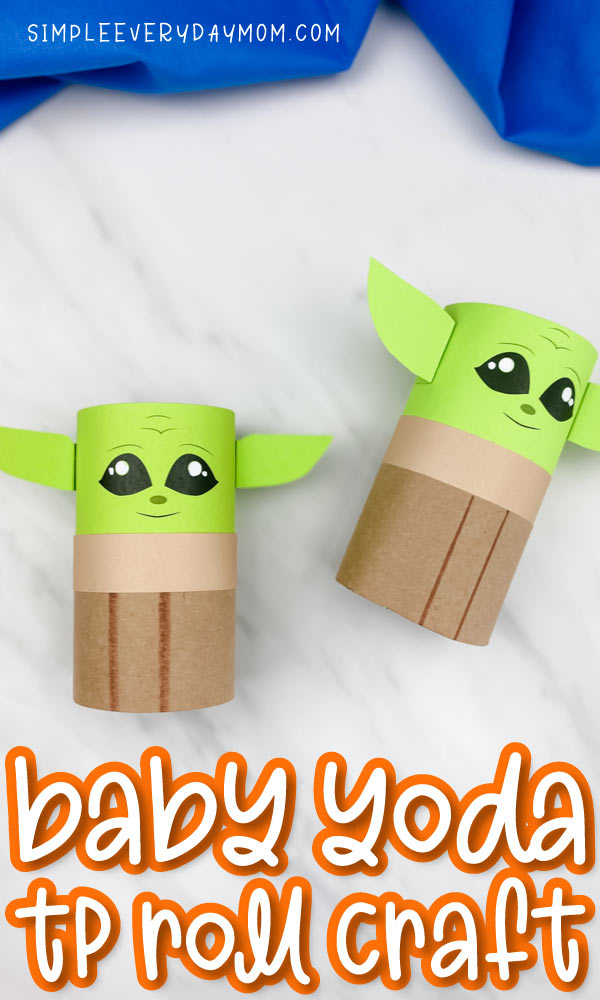
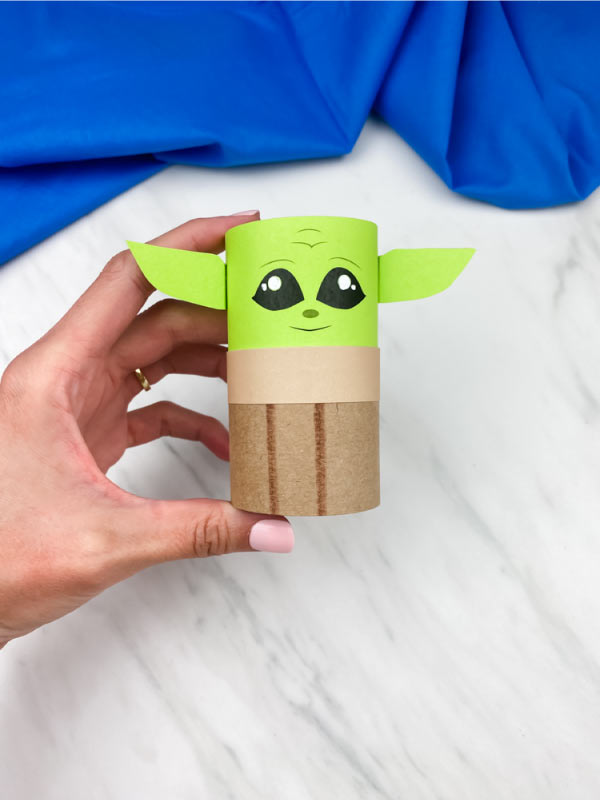
Today, we’re combining our love of cardboard tube crafts with Yoda and showing you how to make this easy toilet paper roll Baby Yoda craft.
**Update: We finally know The Child’s name! It’s Grogu!
It comes with a free printable template which makes it simple to recreate at home with preschoolers, kindergarten, and elementary children.
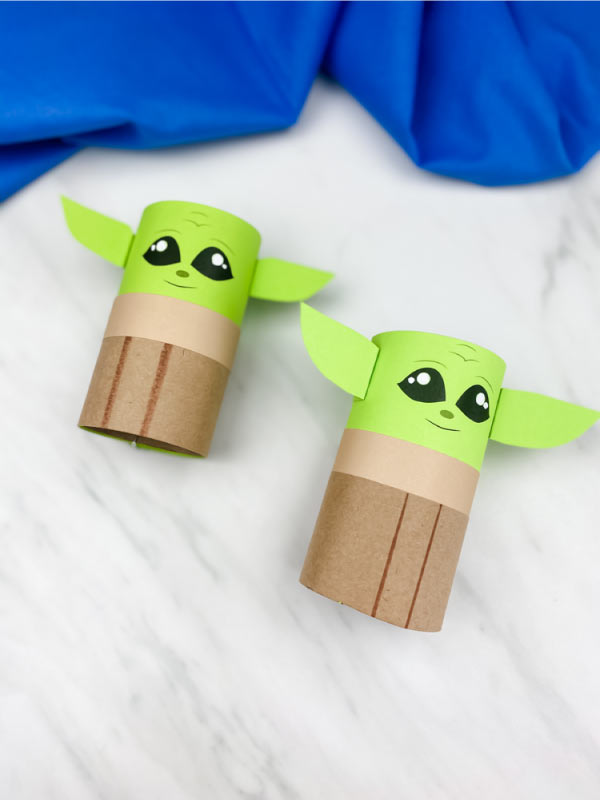
Plus, once you’re done making it, your kids can play with it too!
Read on below or watch our quick video tutorial to see how quickly you can make this little guy. Also, check out all of our easy toilet paper roll crafts for kids for more inspiration.
Cardboard Tube Baby Yoda
Supplies
- Toilet paper roll core
- Colored cardstock (in green, brown and light brown)
- White out pen (optional)
- Glue stick
- Scissors
- Brown marker
- Baby Yoda paper roll template (download form located at the end of this post, just above the comments)
Related: Baby Yoda Paper Bag Puppet
Directions
Download the free Yoda template, print and cut out the pieces.

If you want white on the eyes, use the white out pen to color in the two circles in the eye. Let dry before continuing.
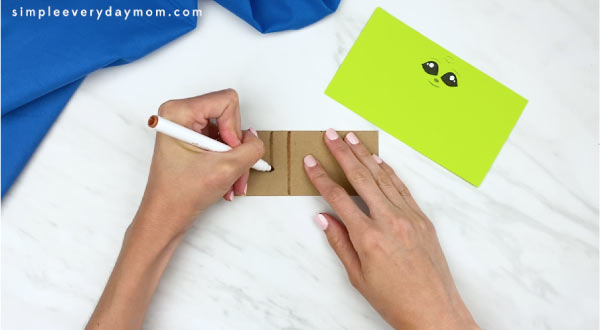
Use the brown marker to draw two straight lines in the middle of Yoda’s jacket. Glue the coat to Yoda’s main body piece, about .5″ below his mouth.
Glue the light brown part of Yoda’s coat on top of the coat, below his mouth.
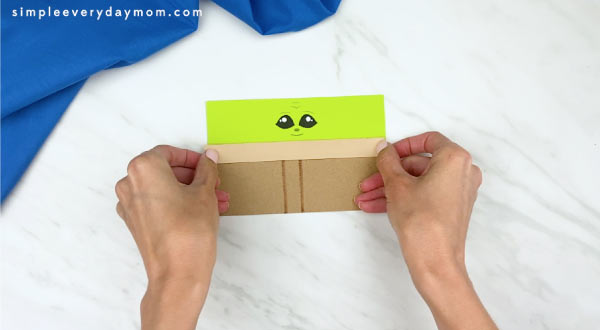
Place the completed Baby Yoda paper on the toilet roll and use a pencil to measure where it ends.
Use scissors to trim the toilet paper roll down to the same size as the printable.
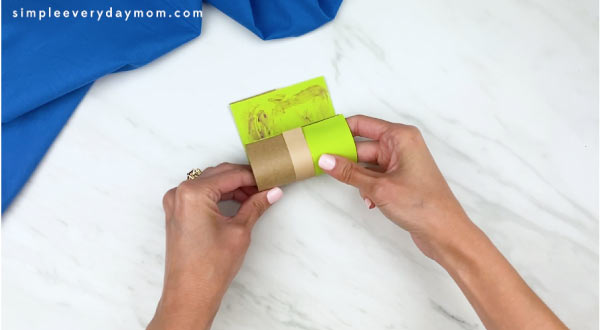
Add glue to the back of the completed Yoda body and wrap it around the toilet paper roll. Hold for a few seconds or add paper clips to each end until the glue is completely dry.
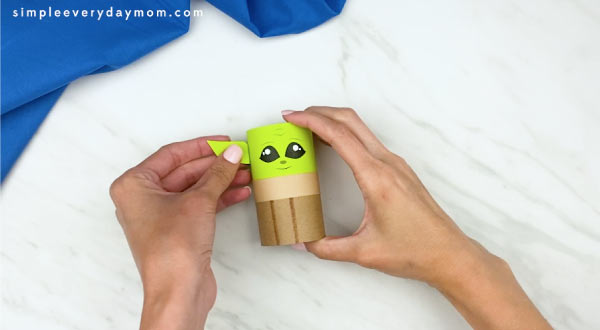
Fold the end of Yoda’s ears to make a rectangle. Add the glue to this rectangle and place it on the side of Yoda’s head, close to the top. Let dry and repeat on the other side for the opposite ear.
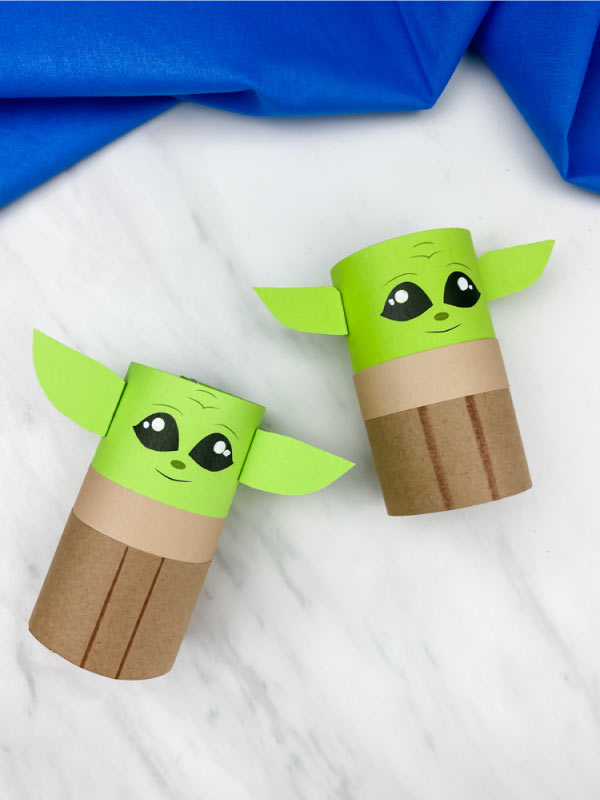
That’s it!
We hope we’ve made this Baby Yoda toilet roll craft super simple for your kids to make.
You can make it when you’re stuck at home for the day or you can create a whole fun night around Yoda!
It’s the perfect craft to celebrate May the Fourth as well.
Don’t forget to download the free printable template by entering your email in the form at the end of this post.
Share With Us
Did you make this Baby Yoda recycled craft with your kids or students? We’d love to see how they look!
Take a quick picture and post it on our Facebook page wall or join our private Facebook group and show us in there.
More Kids’ Crafts
- Olaf Toilet Paper Roll Craft
- Mickey & Minnie Mouse Paper Bag Craft
- Handprint Tiger Craft For Kids
- Toilet Paper Roll Crafts For Kids
More Fun Activites For Kids
Toilet Paper Roll Baby Yoda Craft
Video
Equipment
- Scissors
Materials
- Toilet paper roll core
- Colored cardstock in green, brown and light brown
- White out pen optional
- Glue stick
- Brown marker
- Baby Yoda paper roll template download form located at the end of this post, just above the comments
Instructions
- Download the free Yoda template, print and cut out the pieces.
- If you want white on the eyes, use the white-out pen to color in the two circles in the eye. Let dry before continuing.
- Use the brown marker to draw two straight lines in the middle of Yoda’s jacket. Glue the coat to Yoda’s main body piece, about .5" below his mouth.
- Glue the light brown part of Yoda’s coat on top of the coat, below his mouth. Place the completed Baby Yoda paper on the toilet roll and use a pencil to measure where it ends.
- Use scissors to trim the toilet paper roll down to the same size as the printable.
- Add glue to the back of the completed Yoda body and wrap it around the toilet paper roll. Hold for a few seconds or add paperclips to each end until the glue is completely dry.
- Fold the end of Yoda’s ears to make a rectangle. Add the glue to this rectangle and place it on the side of Yoda’s head, close to the top. Let dry and repeat on the other side for the opposite ear.
Did you make this?
Don’t forget to leave a comment below and make sure to follow on Pinterest, Facebook and TikTok for more!
Free Baby Yoda Template

Meet Sam
Sam is the crafter and founder of Simple Everyday Mom. She has been featured in Oprah Mag, Good Housekeeping, The Spruce Crafts, Country Living, The Bump, and more.


Leaving comment for template good idea
Thanks! You don’t need to leave a comment though. All you need to do is enter your email in the form at the end of this post and the link will be sent to you ?
Do you need to print out the template on different colored paper or something? If not, how can you make it colored? Also, the template is not sending. Thanks.
I printed it out on colored paper, but you can also print it out in black and white and then trace it on the colored paper you need. Hope this helps!
I need the template please
Of course! All you need to do is enter your email in the form at the end of this post and the link will be sent to you ?
Template.
Thanks!
Of course! All you need to do is enter your email in the form at the end of this post and the link will be sent to you ?
This is so cool! Hope I receive the template via email so I can do this activity with my 5 year old 🙂
THanks!
Baby Yoda template please
Of course! Simply enter your email in the form at the end of the post and the link will be emailed to you ?
Excited to share with kiddos
I hope they like it!
Baby yoga download
Of course! If you put your email in the form at the end of the page, the link to download will be emailed to you ?
baby yoda please
Please send template
If you put your email in the form at the end of the page, the link to download will be emailed to you ?
baby yoda
If you’re looking for the template, if you put your email in the form at the end of the page, the link to download will be emailed to you ?
baby yoda template
If you put your email in the form at the end of the page, the link will be emailed to you ?
Nice!
Thanks!
Looks fun!
Thanks; I hope it is 🙂
Great idea
Thanks!