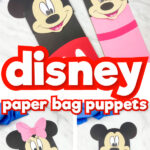
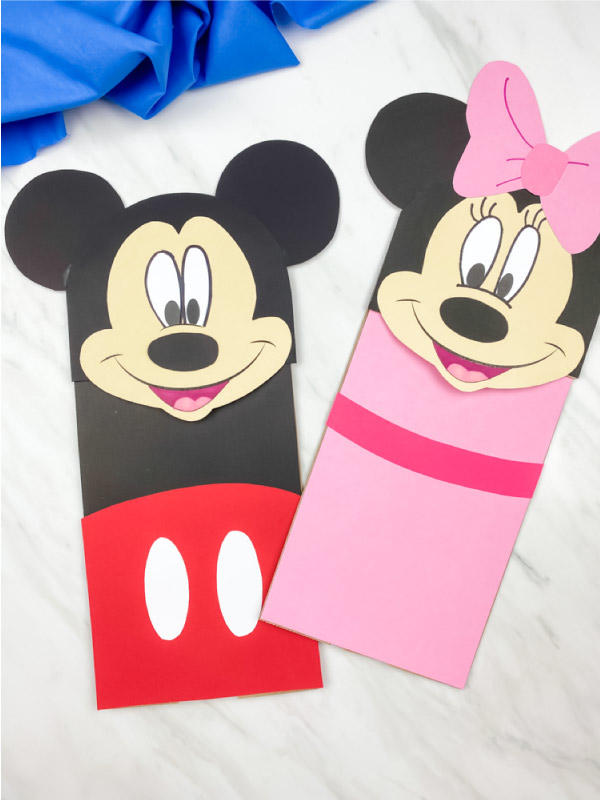
Minnie & Mickey Mouse Paper Bag Puppet
All activities require adult supervision. By using this site, you agree to our terms of use. This post may contain affiliate links. As an Amazon Associate and a participant in other affiliate programs, I earn a commission on qualifying purchases. Read our disclosure policy.
Do you have little kids who love watching Mickey Mouse Clubhouse? If so, they’ll have a blast making these Minnie & Mickey Mouse paper bag puppets!
Mickey Mouse Clubhouse is such an engaging tv show that kids love it, but parents love it not only because it’s Disney but also because it’s educational. Every episode gets kids thinking and learning!
We’re always coming up with new paper bag puppets for kids and these classic Disney characters are our latest addition.
They’re simple, cute and easy to make when you use our free printable template, so don’t forget to enter your email in the form at the end of the page to get your copy.
Read our directions below or watch our quick video tutorial to see how to make this craft with your children or students!
Disney Paper Bag Puppets
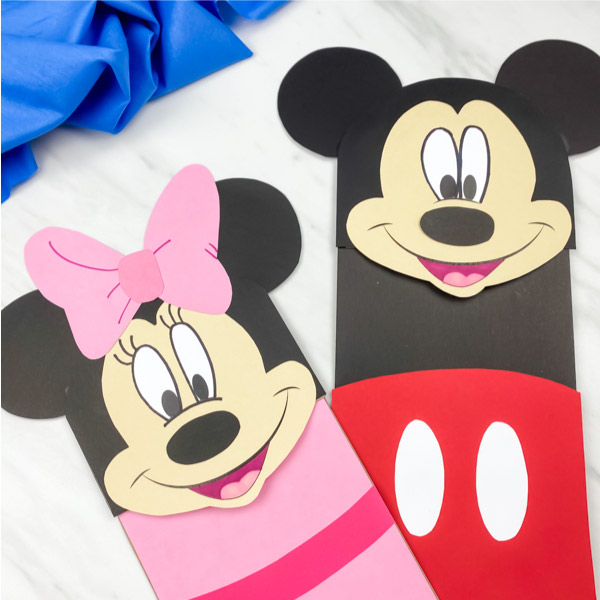
To make sure Minnie Mouse isn’t too complicated, we left off the polka dots from her bow and dress, but if you’re feeling adventurous, add them to your puppet. All you need is a circle punch and white card stock!
Supplies
- Brown paper bag
- Colored card stock (light pink, dark pink, red, cream and black)
- White card stock
- Black, light pink and dark pink marker
- Scissors
- Glue stick
- Minnie & Mickey Mouse template (download form located at the end of the page)
How To Make A Mickey Mouse Paper Bag Puppet
Download the Mickey and Minnie mouse template, print and cut out the pieces.
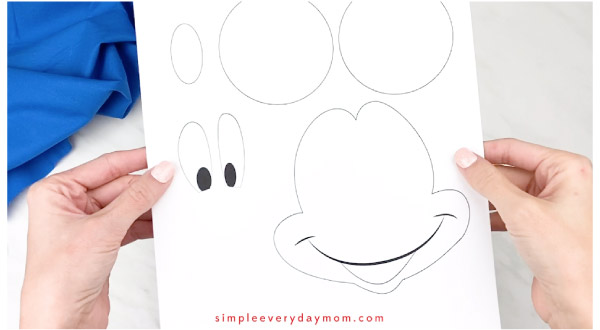
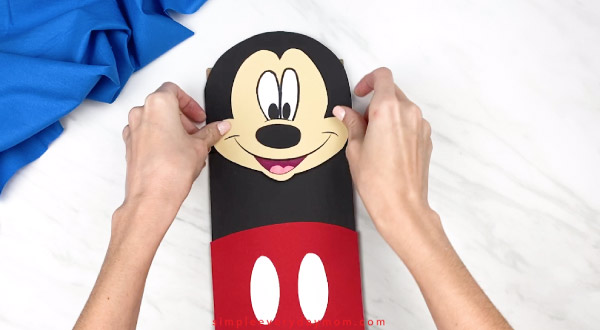
Place Mickey’s nose just below the curved mark in the middle of his face and glue in place.
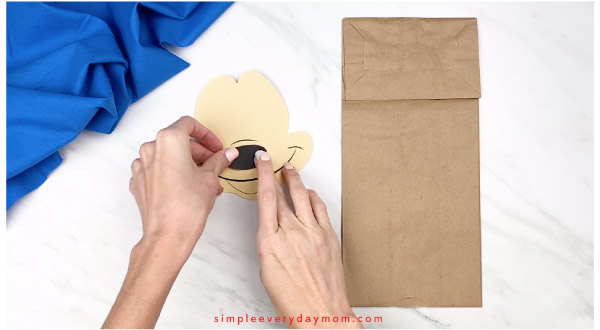
Position Mickey’s eyes so they lay just on top of the curved mark and glue to secure.
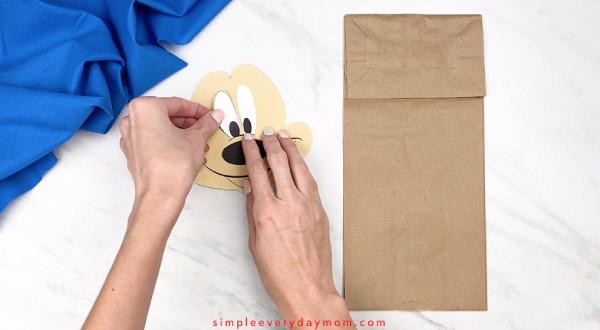
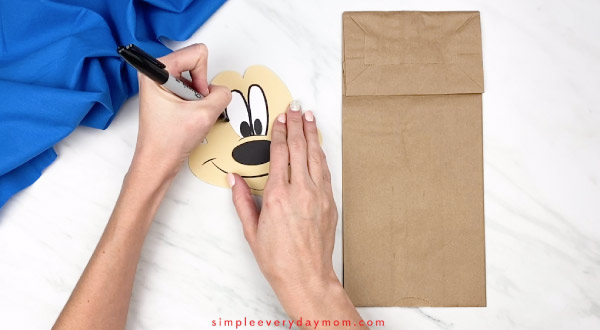
Use the black marker to outline both eyes.
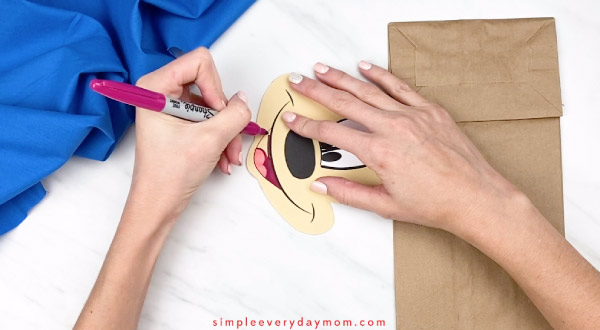
Use the light pink marker to draw a tongue at the bottom of Mickey’s mouth. Use the dark pink marker to fill in the rest of the mouth.
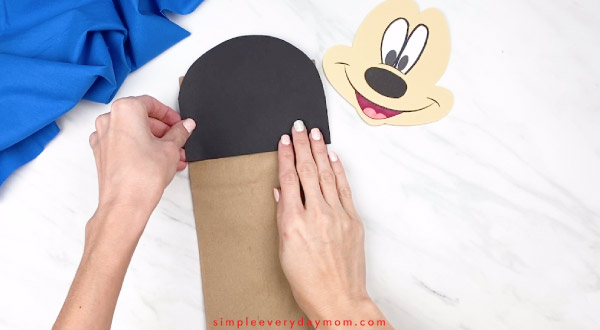
Glue the head piece to the top flap of the brown paper bag.
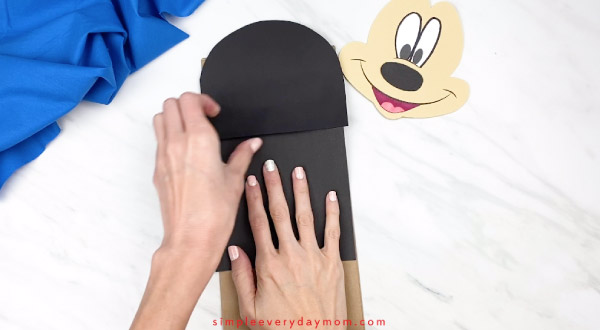
Place Mickey’s body piece on the top half of the paper bag.
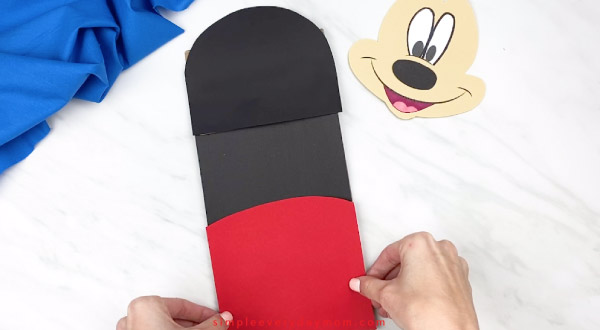
Place Mickey’s pants on the bottom half of the paper bag.
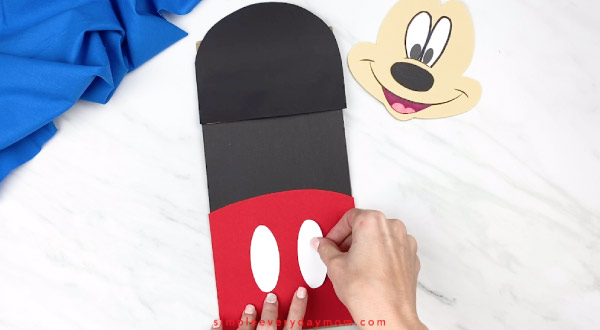
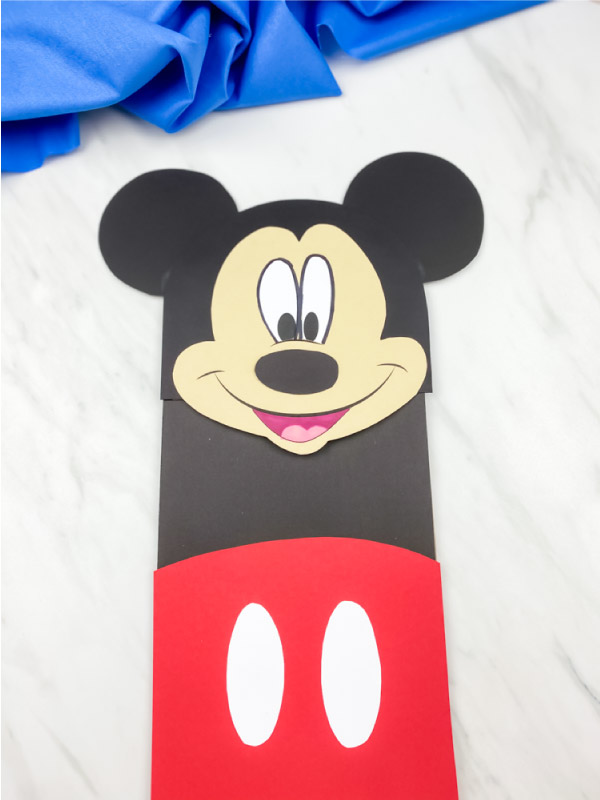
Position the two white ovals in the middle of Mickey’s pants and glue in place.
Glue Mickey’s head onto the top flap of the bag, making sure a little bit of Mickey’s face hangs off the flap.
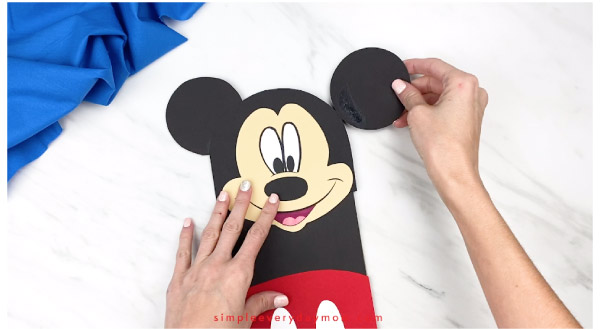
Glue Mickey’s ears on either side of his head.
Related: How To Make Forky From Toy Story 4
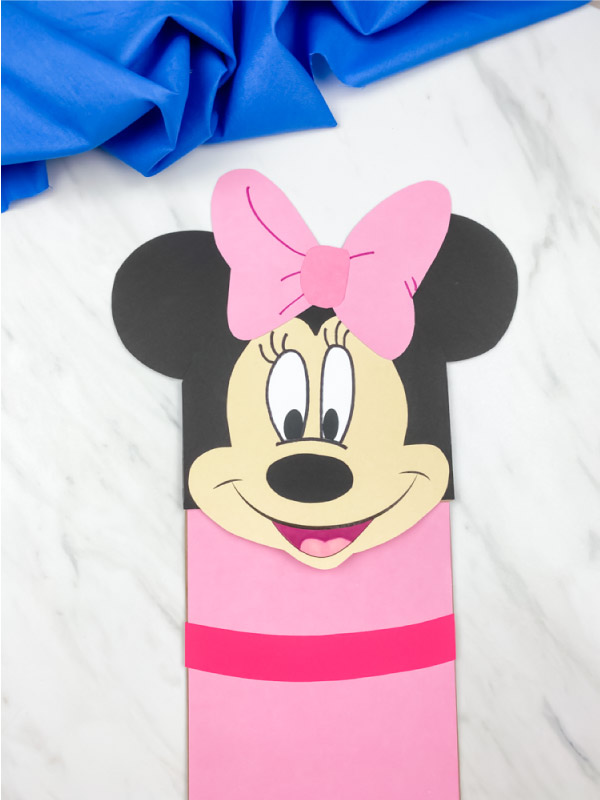
How To Make A Minnie Mouse Puppet
Download the Mickey and Minnie mouse template, print and cut out the pieces.
Place Minnie’s nose just below the curved mark in the middle of his face and glue in place.
Position Minnie’s eyes so they lay just on top of the curved mark and glue to secure.
Use the black marker to outline both eyes.
Use the light pink marker to draw a tongue at the bottom of Minnie’s mouth. Use the dark pink marker to fill in the rest of the mouth.
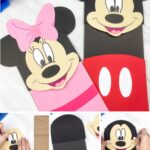
Glue the head piece to the top flap of the brown paper bag.
Measure the bottom part of the brown paper bag and cut a rectangle this shape from the light pink paper. This will be Minnie’s dress. Glue Minnie’s pink dress piece on the lower half of the brown paper bag and glue down.
Place Minnie’s dark pink dress band near the middle of the dress and glue it in place.
Glue Minnie’s head onto the top flap of the bag, making sure a little bit of Minnie’s face hangs off the flap.
Glue Minnnie’s ears on either side of her head.
Place Minnie’s bow in between her ears and secure with glue.

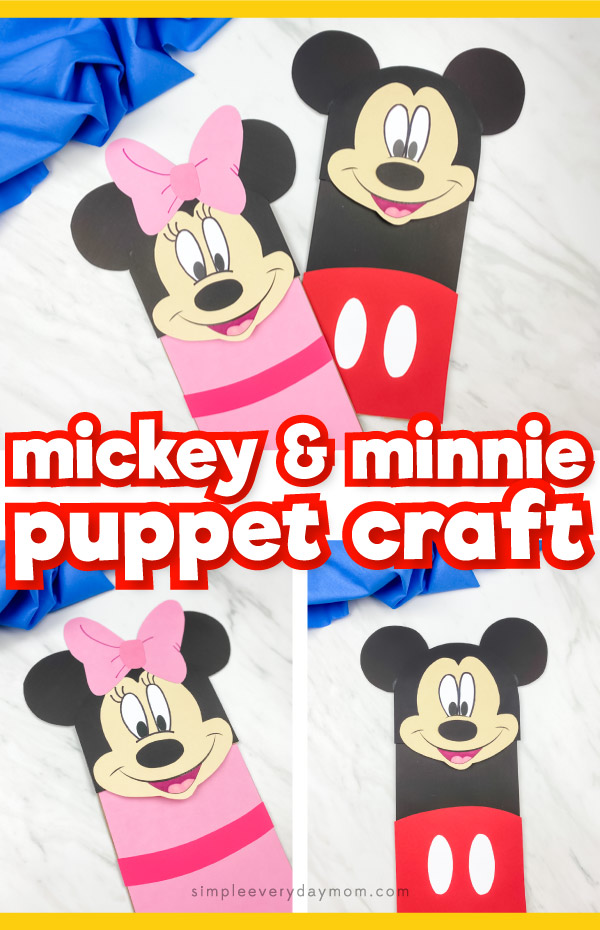
We like just how classic these Disney paper bag puppets turned out!
And, like usual, they did not disappoint the kids. They’re a fun craft that turns into entertainment after they’re done!
Related: The Best Collection Of Free Disney Coloring Pages
Share With Us
Did you make these Minnie & Mickey Mouse puppets with your kids or students?
We want to see them! Take a quick picture and post it to our Facebook page or join our private Facebook group and share it in there.
More Disney Activities For Kids
- Toy Story 4 Crafts Kids Will Love
- Disney Color By Number Printables
- Toilet Paper Roll Olaf Craft
- Mickey Mouse Pumpkin Craft
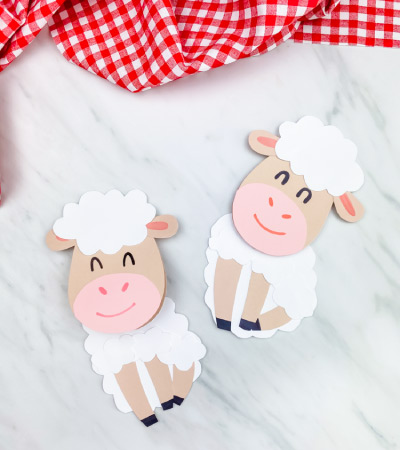
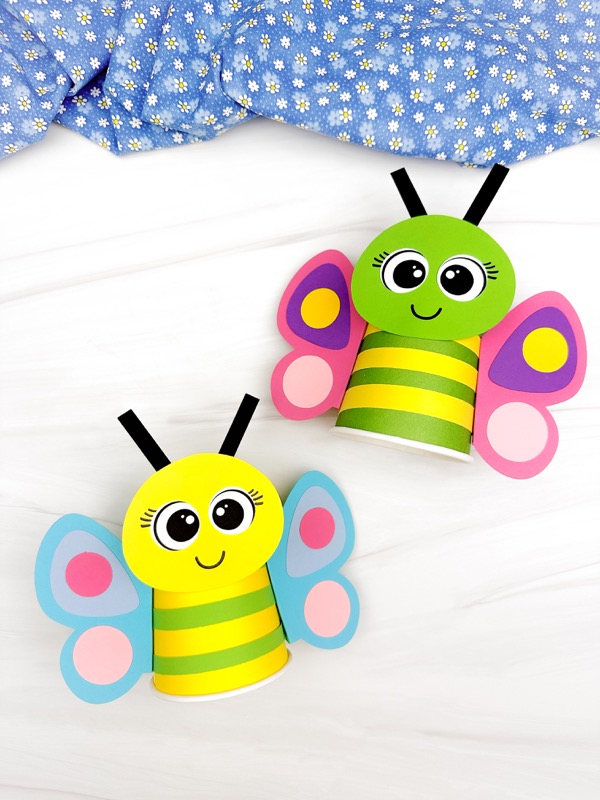
Get All Of Our Favorite Paper Bag Puppet Crafts
Mickey Mouse Paper Bag Puppet Craft
Video
Equipment
- Scissors
Materials
- Brown paper bag
- Colored card stock light pink, dark pink, red, cream and black
- White card stock
- Black light pink and dark pink marker
- Glue stick
- Minnie & Mickey Mouse template download form located at the end of the page
Instructions
- Download the Mickey and Minnie mouse template, print and cut out the pieces.
- Place Mickey’s nose just below the curved mark in the middle of his face and glue in place.
- Position Mickey’s eyes so they lay just on top of the curved mark and glue to secure.
- Use the black marker to outline both eyes.
- Use the light pink marker to draw a tongue at the bottom of Mickey’s mouth. Use the dark pink marker to fill in the rest of the mouth.
- Glue the head piece to the top flap of the brown paper bag.
- Place Mickey’s body piece on the top half of the paper bag.
- Place Mickey’s pants on the bottom half of the paper bag.
- Position the two white ovals in the middle of Mickey’s pants and glue in place.
- Glue Mickey’s head onto the top flap of the bag, making sure a little bit of Mickey’s face hangs off the flap.
- Glue Mickey’s ears on either side of his head.
Did you make this?
Don’t forget to leave a comment below and make sure to follow on Pinterest, Facebook and TikTok for more!
Mickey & Minnie Mouse Template

Meet Sam
Sam is the crafter and founder of Simple Everyday Mom. She has been featured in Oprah Mag, Good Housekeeping, The Spruce Crafts, Country Living, The Bump, and more.


Minnie and Mickey Mouse Paper Bag Puppet
Since you’re a subscriber, you just need to enter your email in the form at the end of the post. After that, it’ll automatically redirect you to the download page ◡̈
The template says to print Mickey’s pants in black, but they should be printed in red. Also, there is not a template for Mickey’s body or Minnie’s dress.
Oh my goodness, thanks for letting me know! So sorry it wasn’t correct. It has been updated 🙂
Hello can I please have your Mickey paper bag puppet? Thank you 🙂
Of course! All you need to do is enter your email in the form at the end of the post to have the link sent to you ?
@Sam,
If you’re looking for the template, all you need to do is enter your email in the form at the end of the post and the link will be sent to you ?
Hi can i have the template for the mickey and minnie.
Thanks
Of course! All you need to do is enter your email in the form at the end of the post to have the link sent to you ?
Can u please send me Mickey Mouse Paper Bag Puppet Craft? Your crafts are so cute.
Thanks! All you need to do is enter your email in the form at the end of this post and the link will be sent to you ?
I’m not a mother but a grandmother o my niece’s and nephew’s children.
This is the first time I saw your crafts. I became your fan! You’re very creative! I applaud you!
My granddaughter who just turned 6 asked me to teach her how to make puppets from socks.
That was the reason that I went to the Internet to get some ideas. There I found you!
Thanks! So glad you can find some things you like!