Peekaboo Haunted House Craft for Kids [Free PDF Template]
All activities require adult supervision. By using this site, you agree to our terms of use. This post may contain affiliate links, sponsored links, and ads. As an Amazon Associate and participant in other affiliate programs, I earn from qualifying purchases.. Read our disclosure policy.
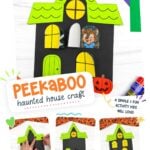
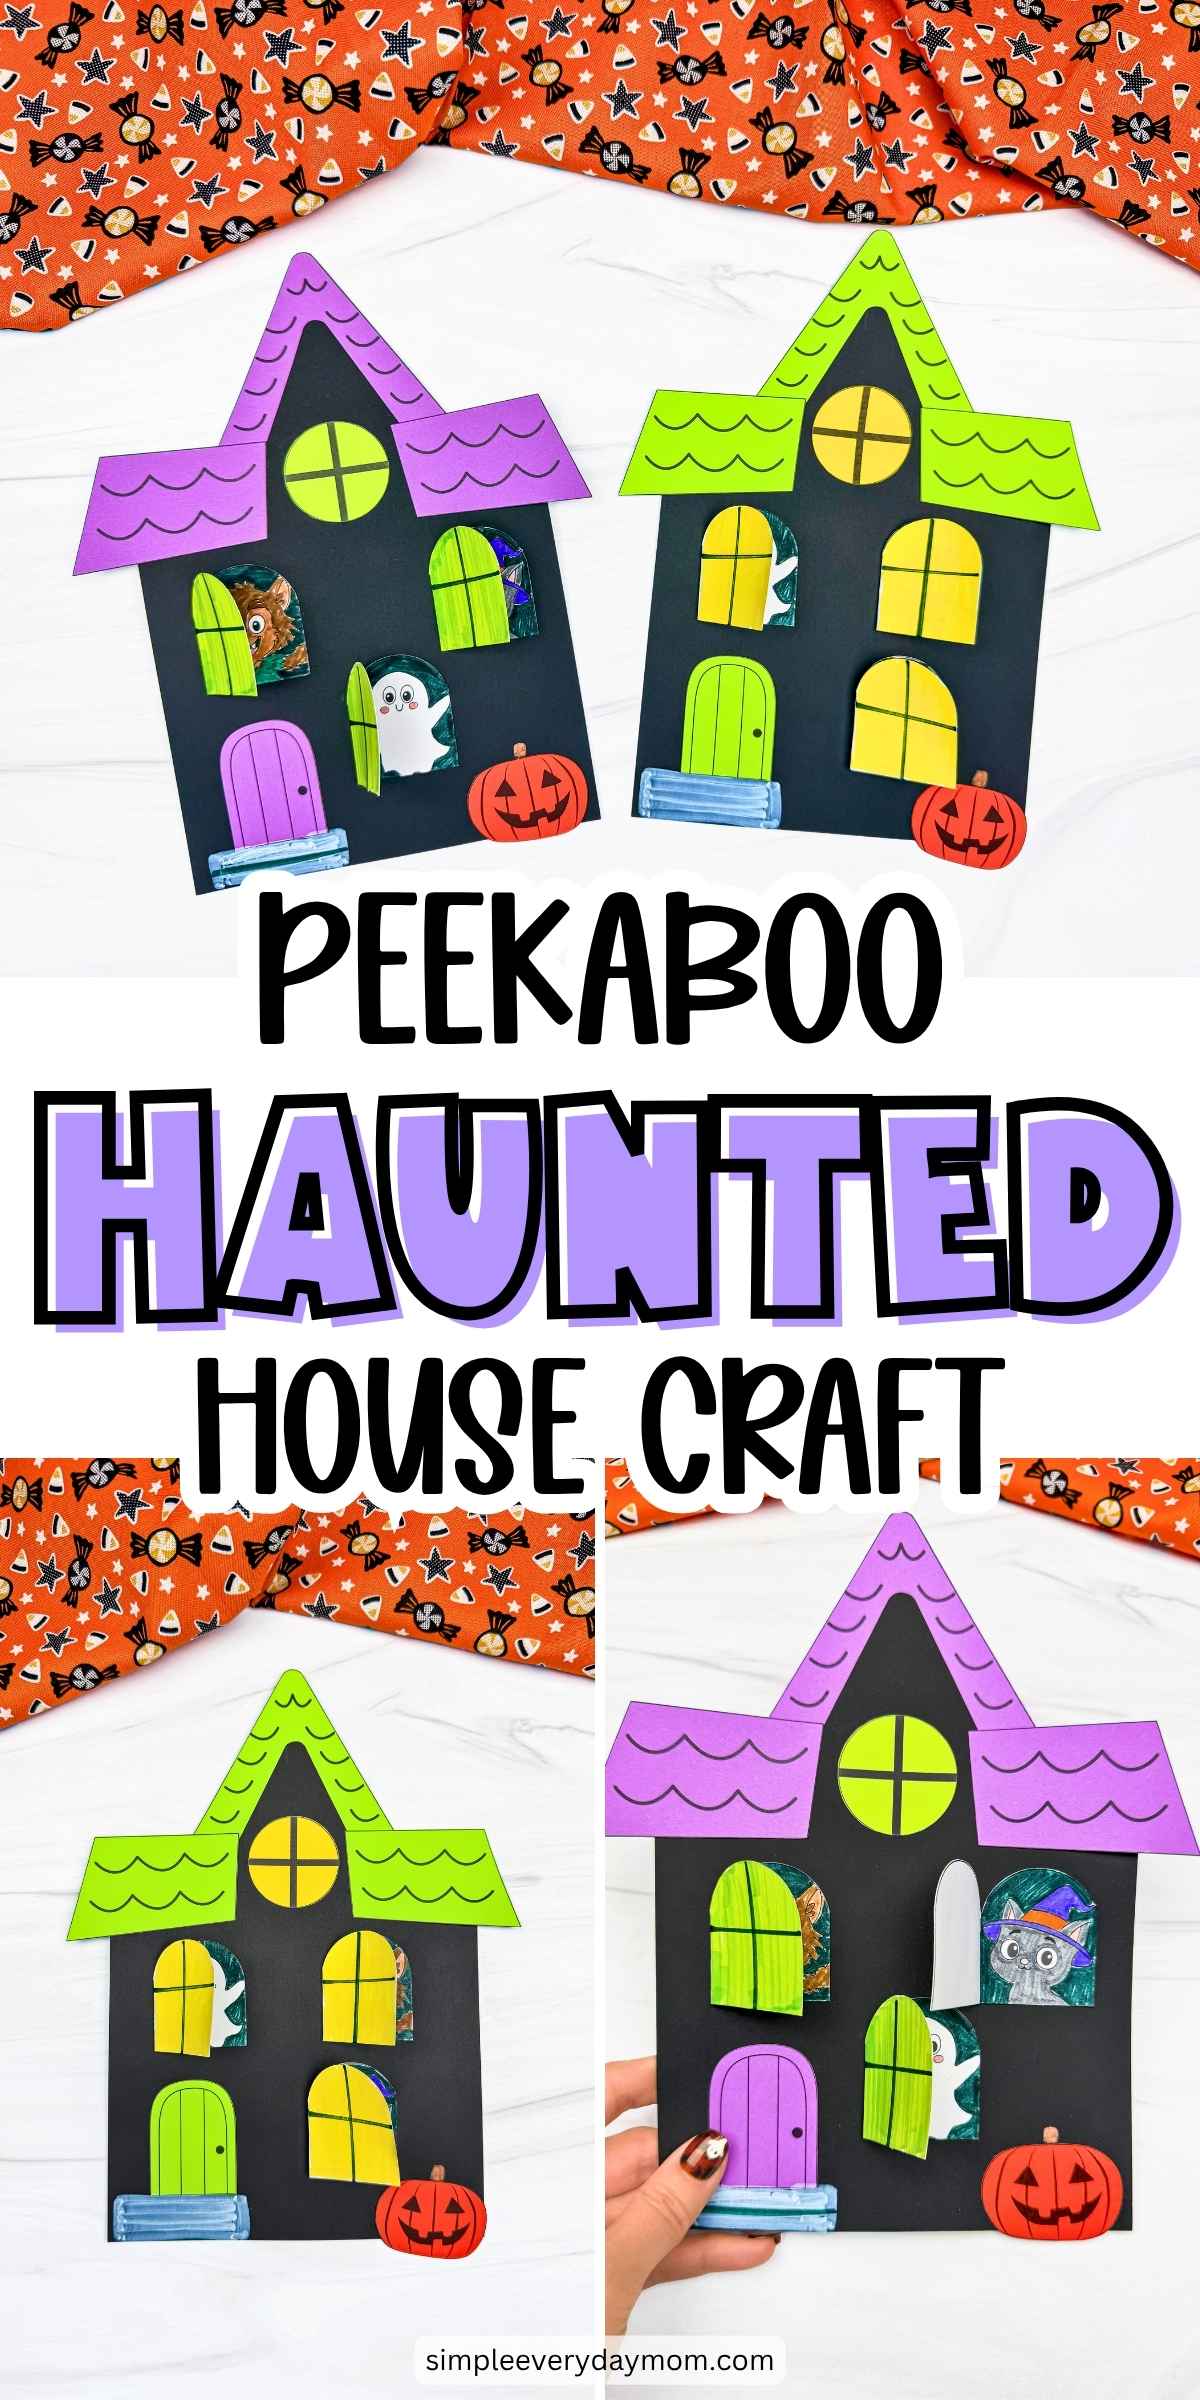
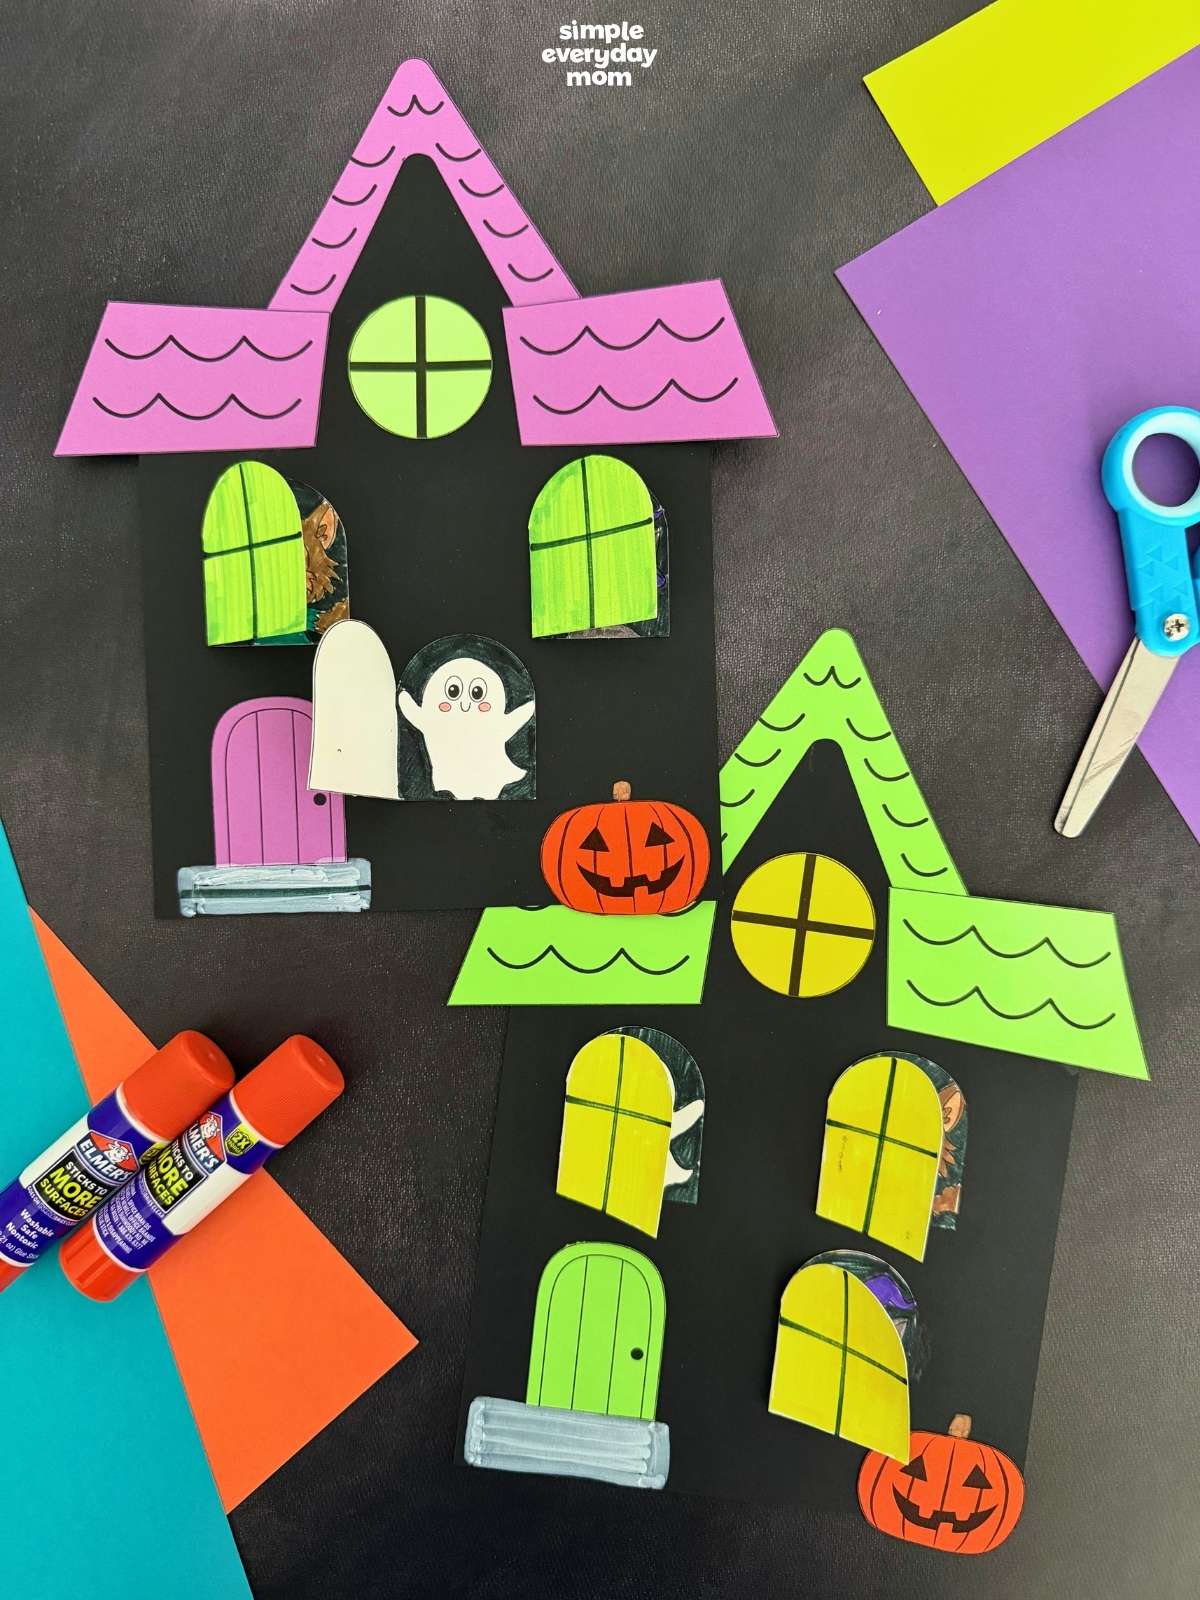
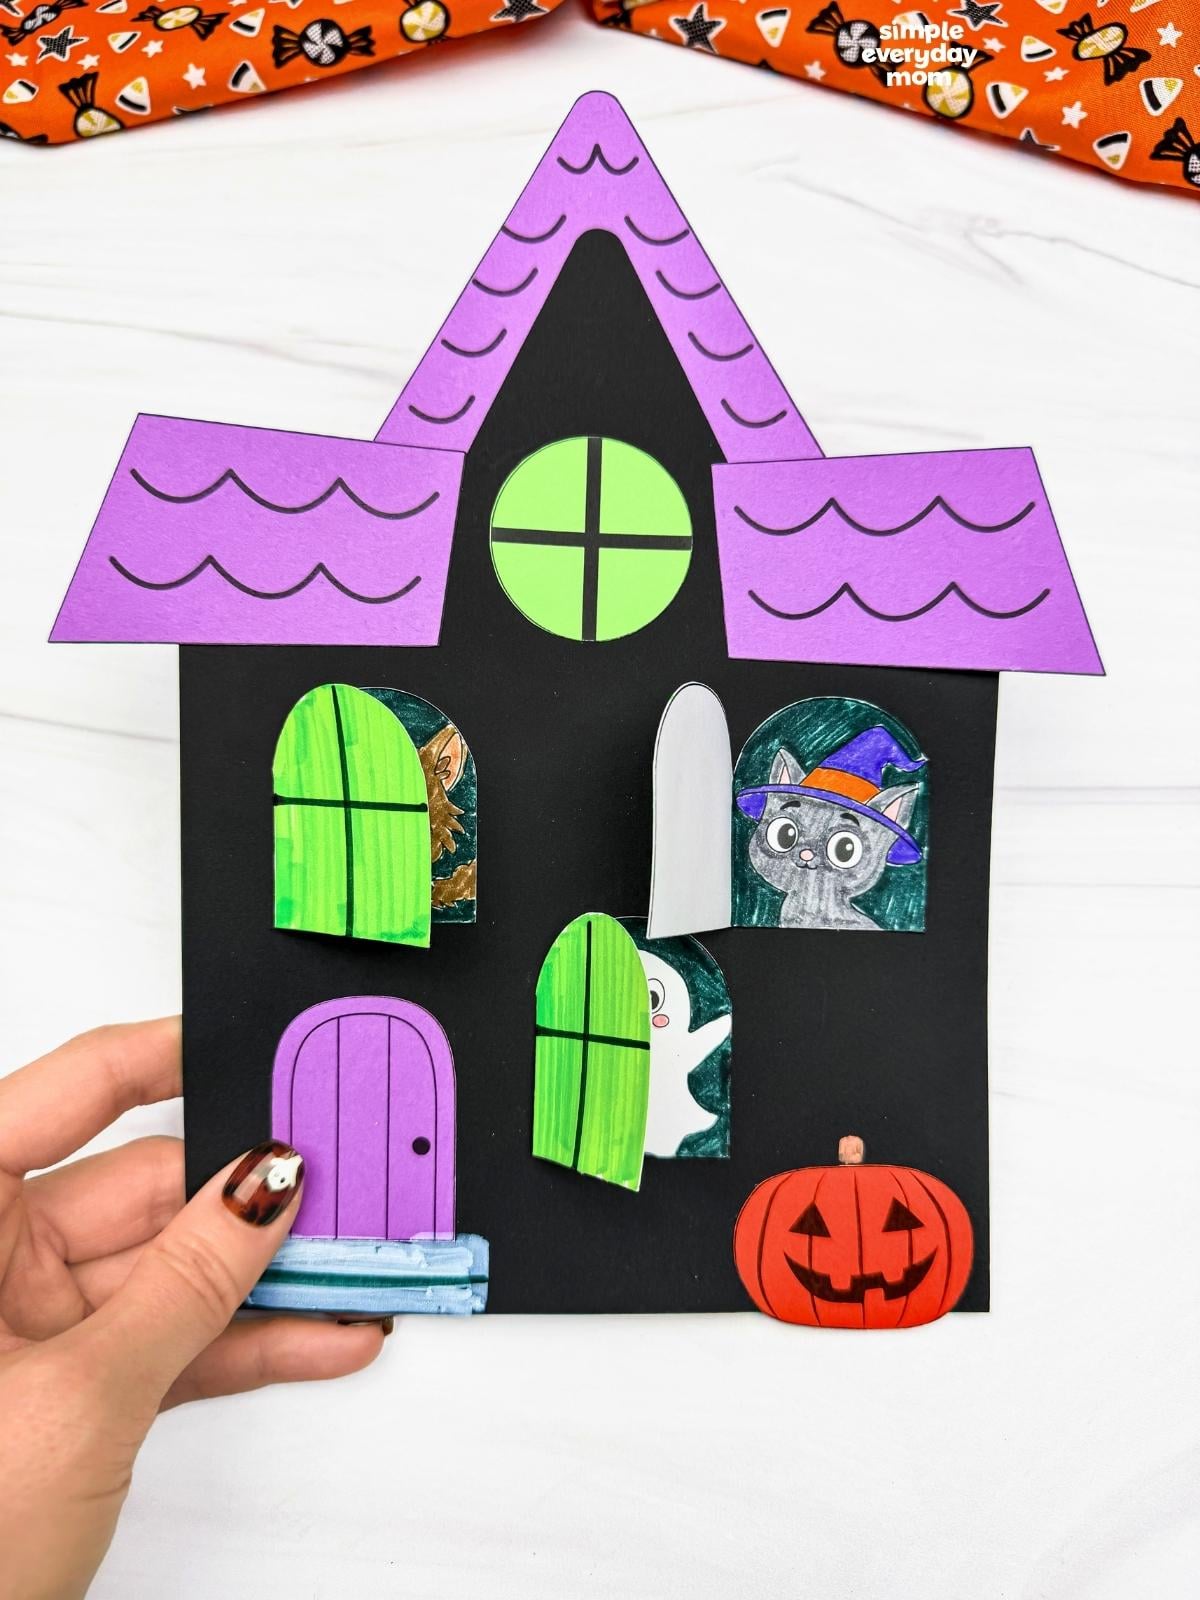
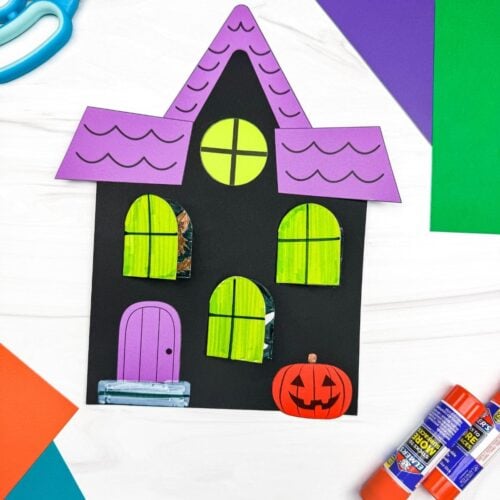
What’s hiding behind those windows? That’s the whole fun of this peekaboo haunted house craft. Early elementary kids get to build a bright, not-too-spooky haunted house with doors that actually open, and the 30-45 minute project gives them plenty of time to work on all those fun details.
The opening windows make this feel more like something kids can play with than a craft they finish and forget. For more projects with that same Halloween feel, check out our Halloween crafts for kids.
Good To Know
- Themes: Haunted houses, Halloween, ghosts, peekaboo crafts
- Activity: Build a haunted house with opening windows that reveal hidden Halloween characters inside
- Template: Includes a free printable haunted house with windows, doors, roof pieces, pumpkin, and hidden character images
- Ages: Early elementary
- Time: 25–30 minutes
- Skills: Cutting, coloring, gluing, folding window flaps, and fine motor practice
Interactive Halloween House Craft With Opening Windows
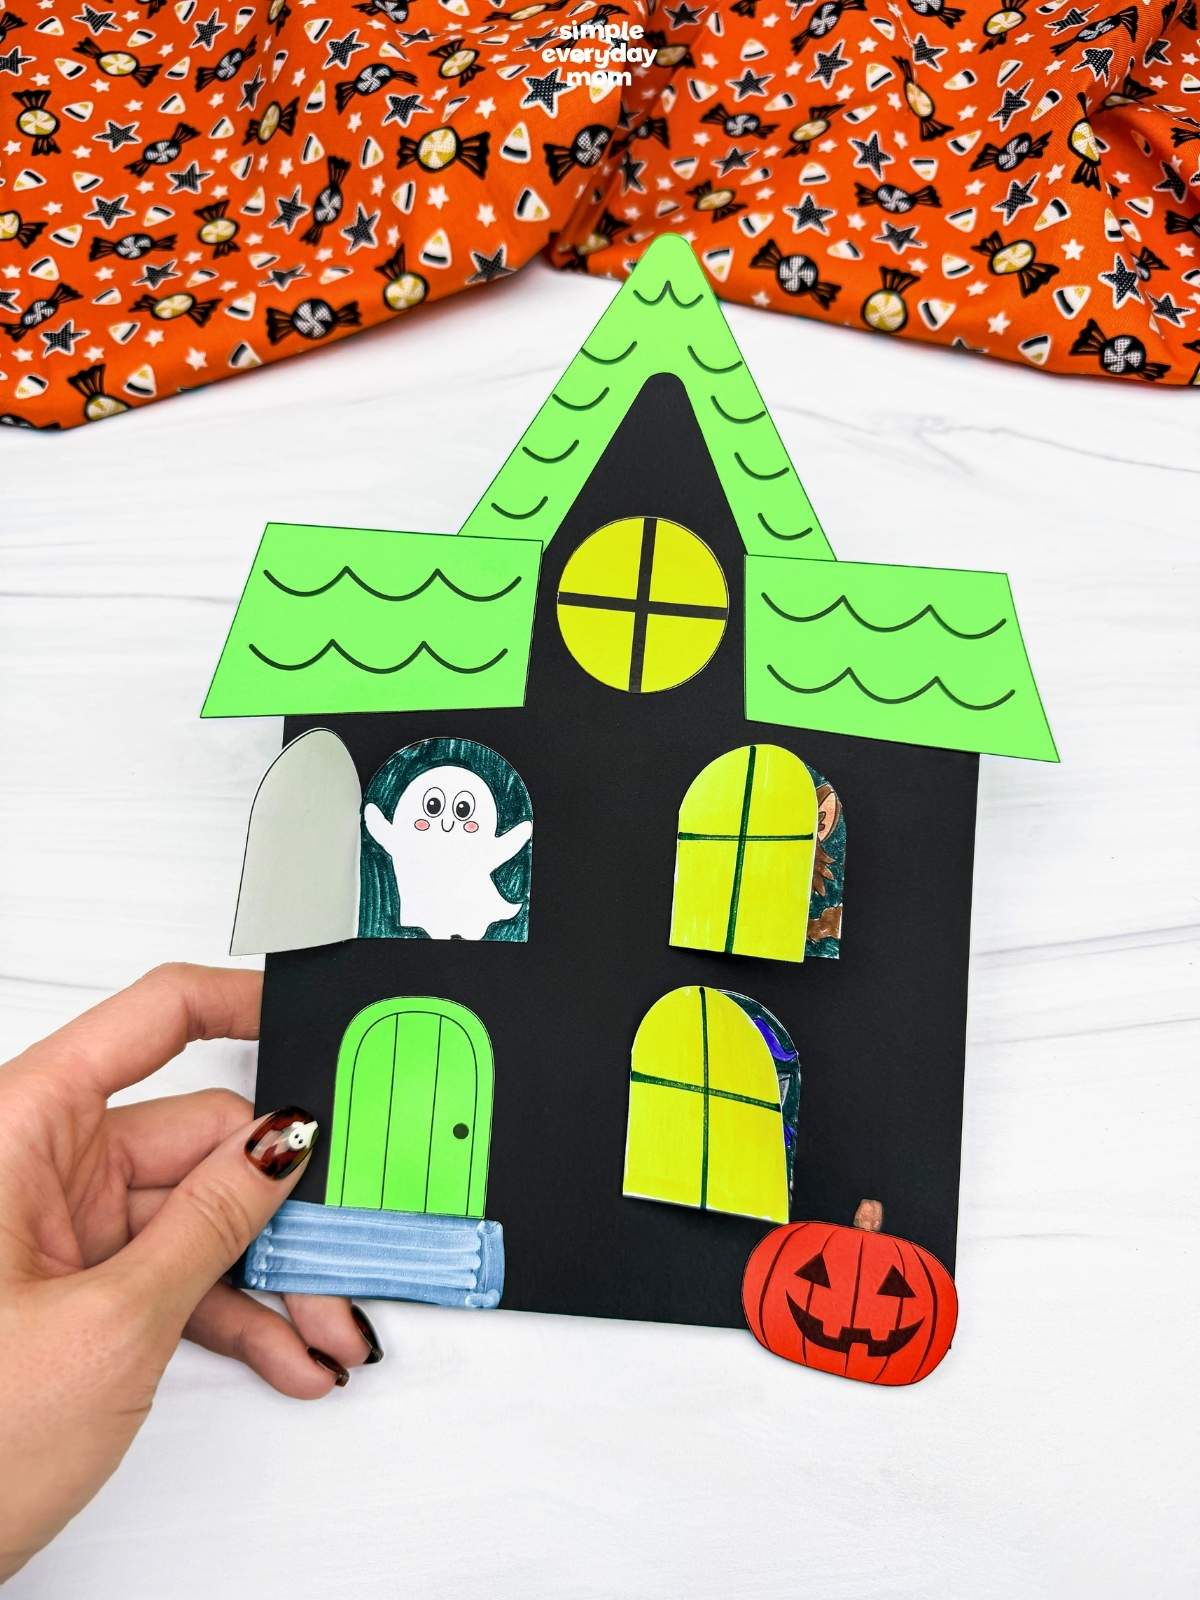
Once the house is assembled, opening those windows is easily the best part. A friendly ghost is hiding behind one while a werewolf waits behind another, so the finished craft has a little bit of a reveal every time kids open them up.
There’s plenty of cutting, coloring, and gluing along the way, but it doesn’t feel like fine motor practice when kids are busy building a haunted house. They’re much more interested in getting those windows ready so they can see the characters peeking out.
This one has a few more pieces than a super-quick cut-and-glue project, which makes it a good fit for early elementary kids. Let them take their time with the smaller details, and they’ll end up with a Halloween craft they can actually open and close when they’re done.
Supplies
- Colored cardstock or construction paper
- Scissors
- Glue
- Markers
- Crayola Bold & Bright marker
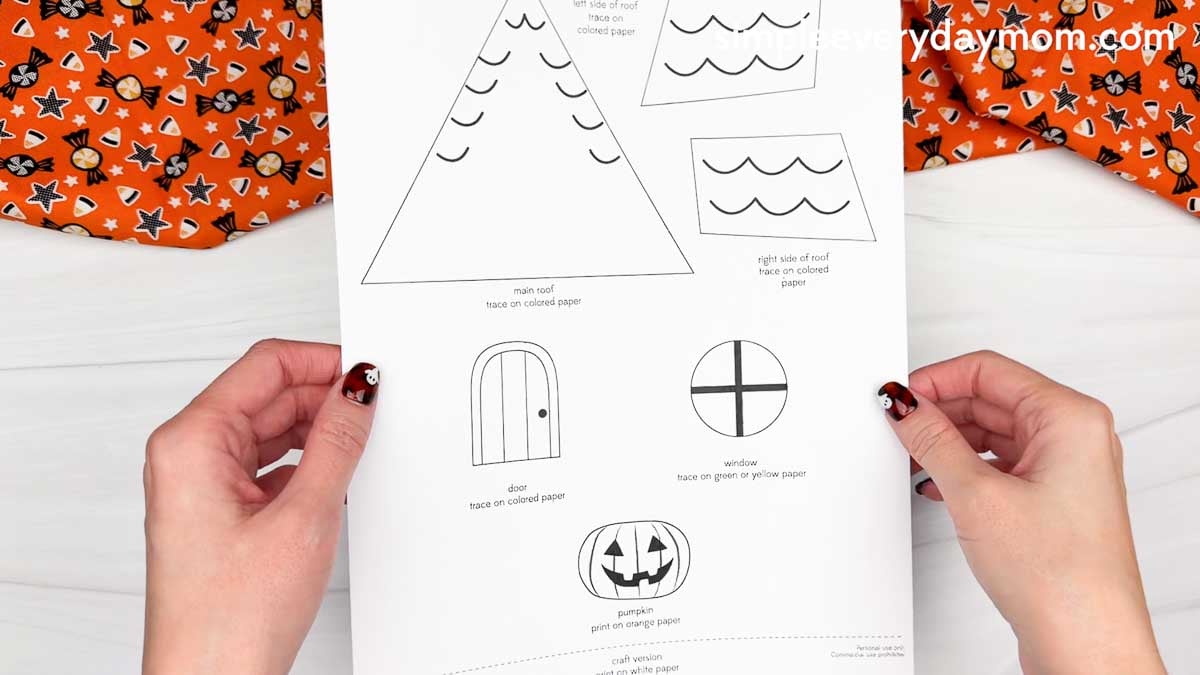
- Haunted house template (click the “click here to get your freebies” image at the end of the post)
Directions
Start by printing the template, then gather the materials for this fun activity. Get those scissors ready, and let’s help the kids bring this haunted house to life!
Fold the Halloween character pieces along the dashed lines, then cut around each folded piece so the character and its window flap stay connected. Once they’re cut out, unfold them and let your child use markers or crayons to color in the ghost, werewolf, and cat.
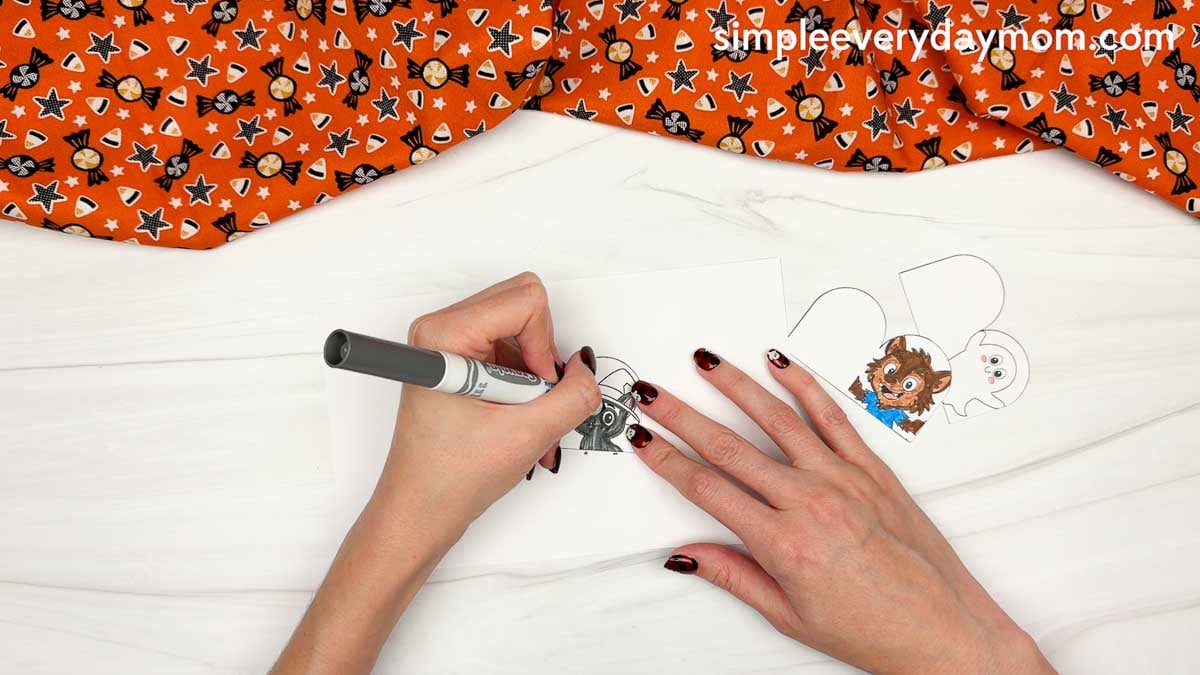
Glue the house onto the main roof piece, carefully lining up the top edges so the roof sits evenly behind the house.
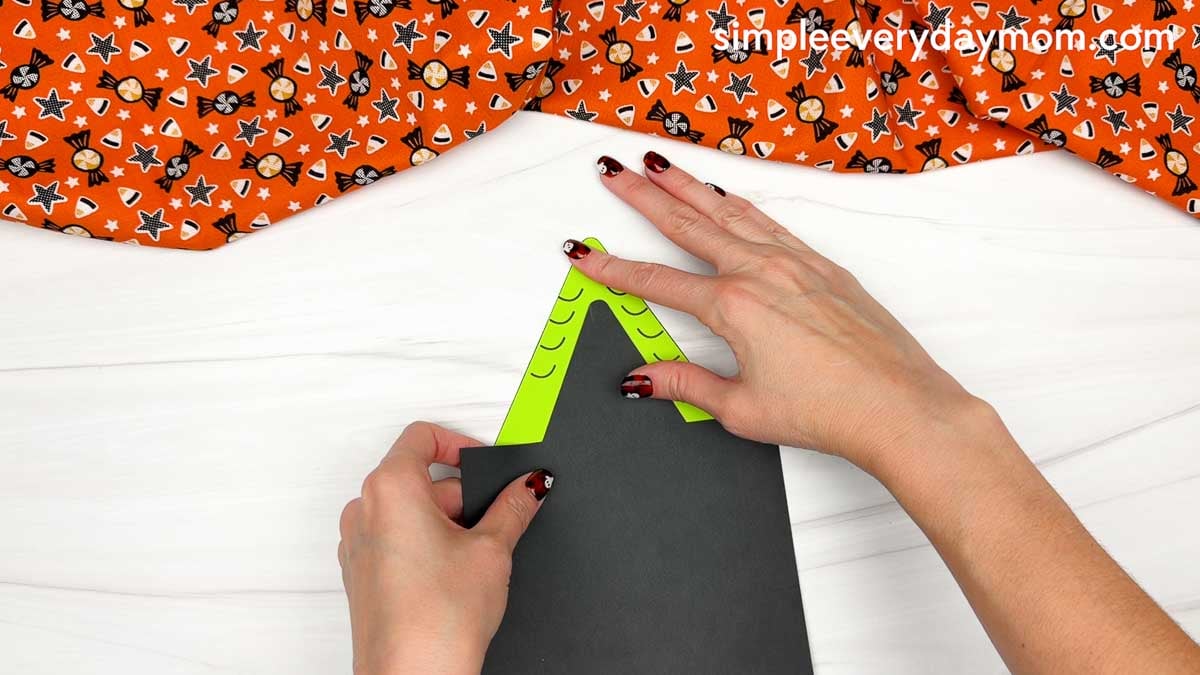
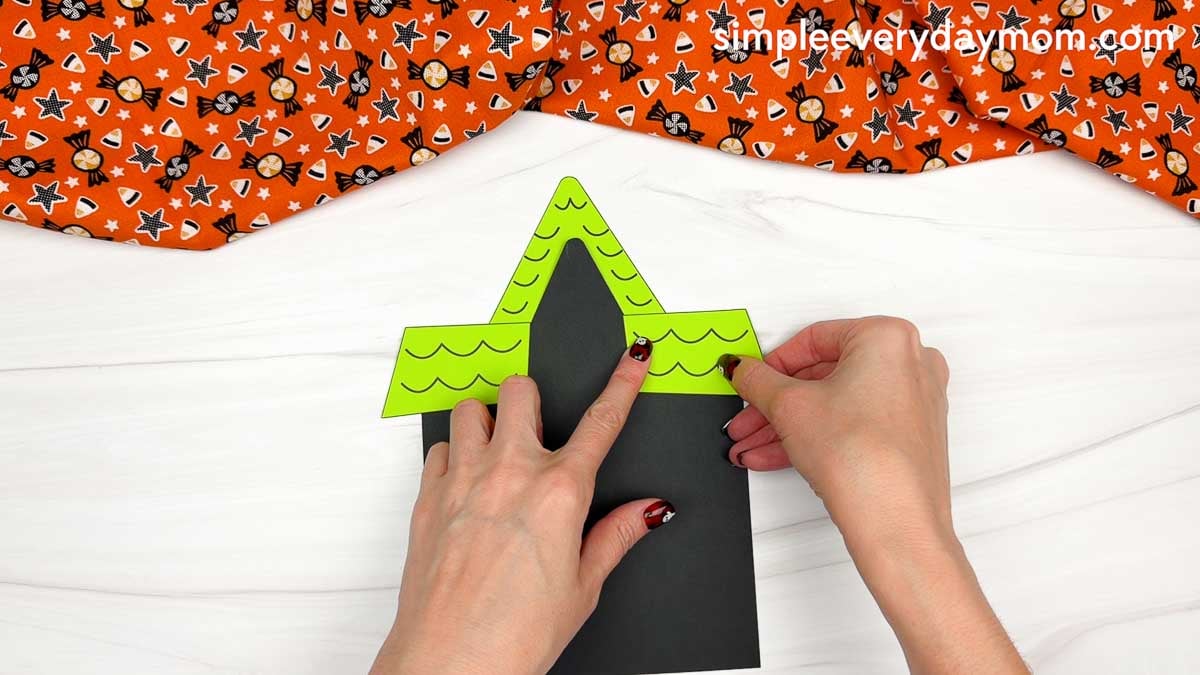
Take the left side roof and right side roof pieces. Glue them onto the flat sections on either side of the pointed roof.
Grab the round window and glue it in the top center of the house, right below the main roof.
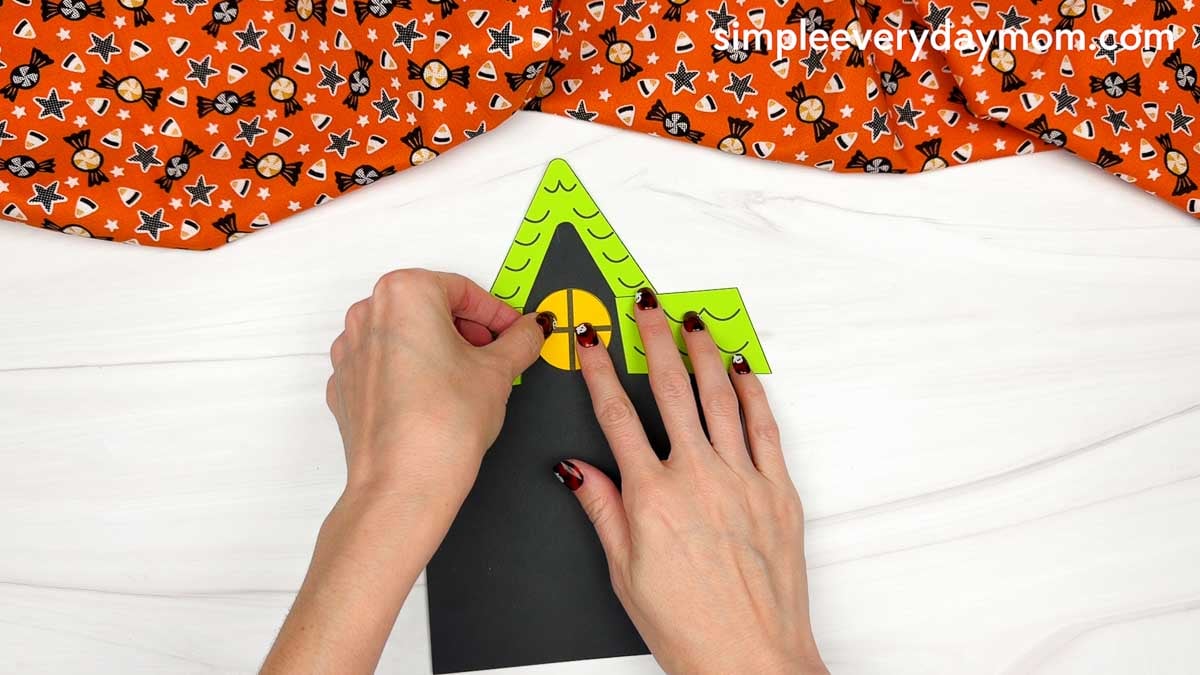
Take the door and glue it near the bottom left of the house.
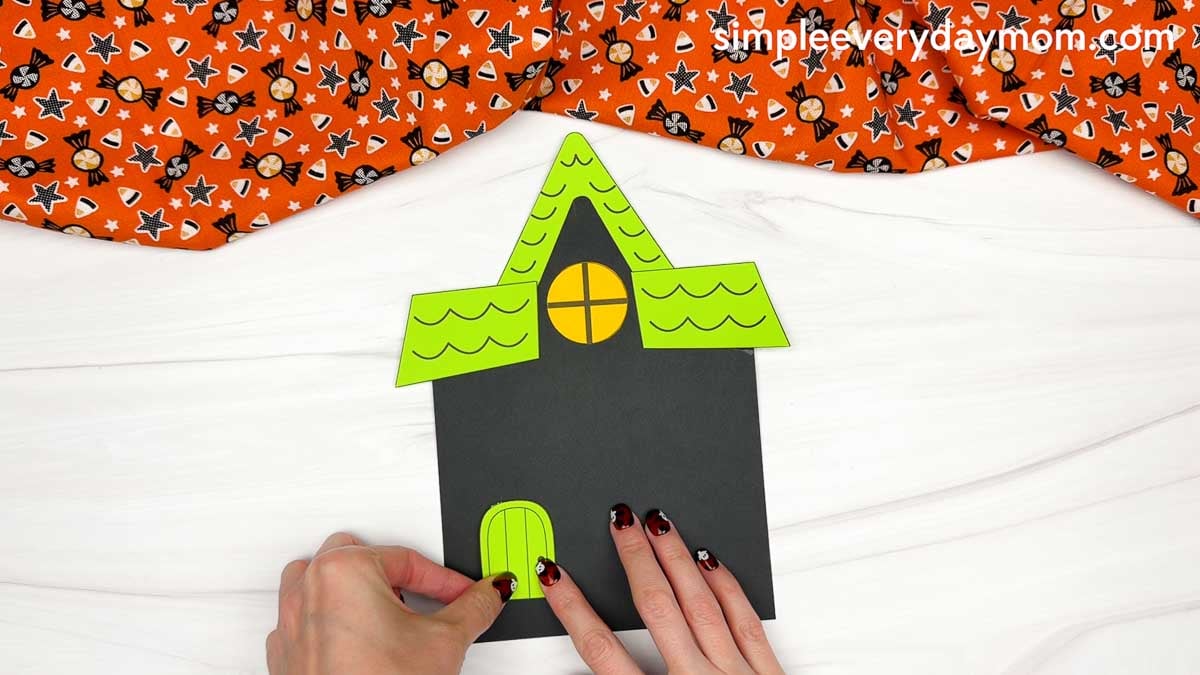
Use a bold & bright marker to draw a small rectangular step below the door.
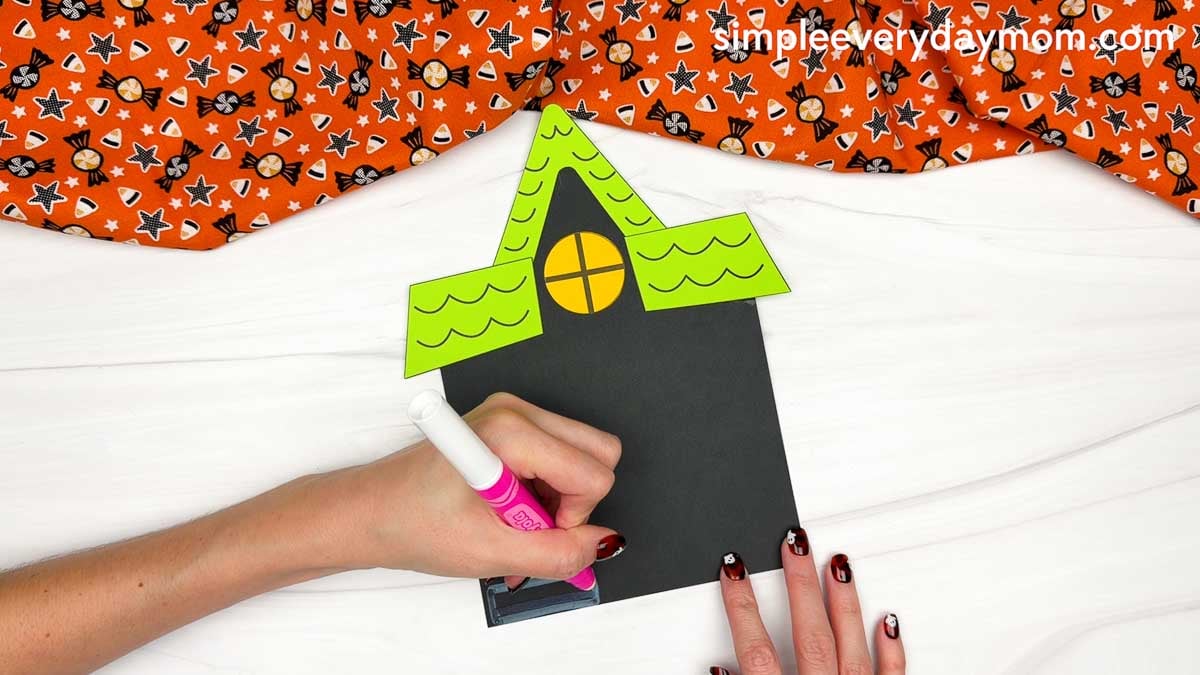
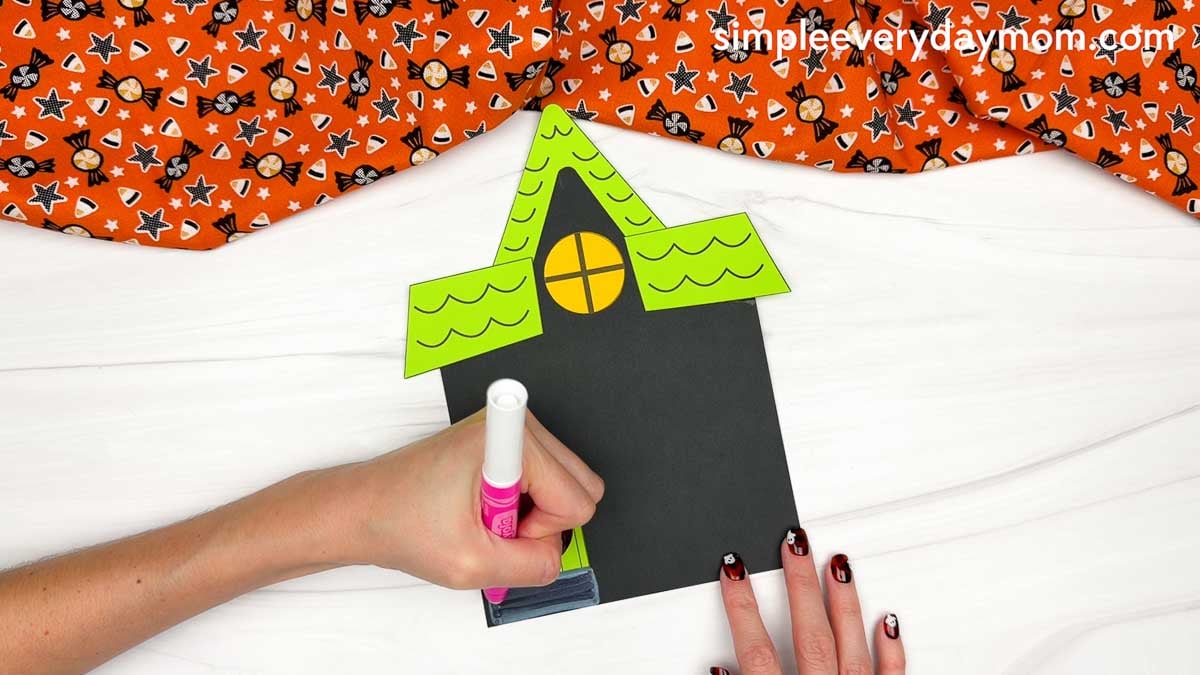
Add a few horizontal lines inside the rectangle to create the look of individual steps.
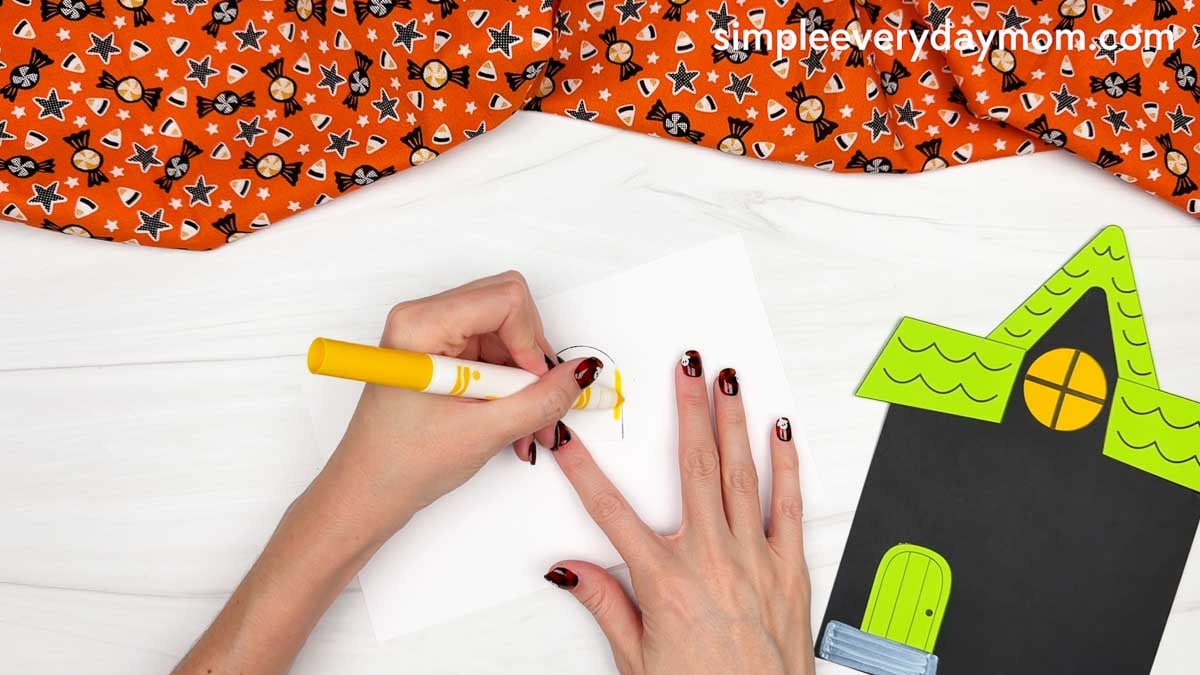
Grab the folded window pieces and use a marker to color the front flap.
Use a ruler and marker to draw the window lines across the flap.
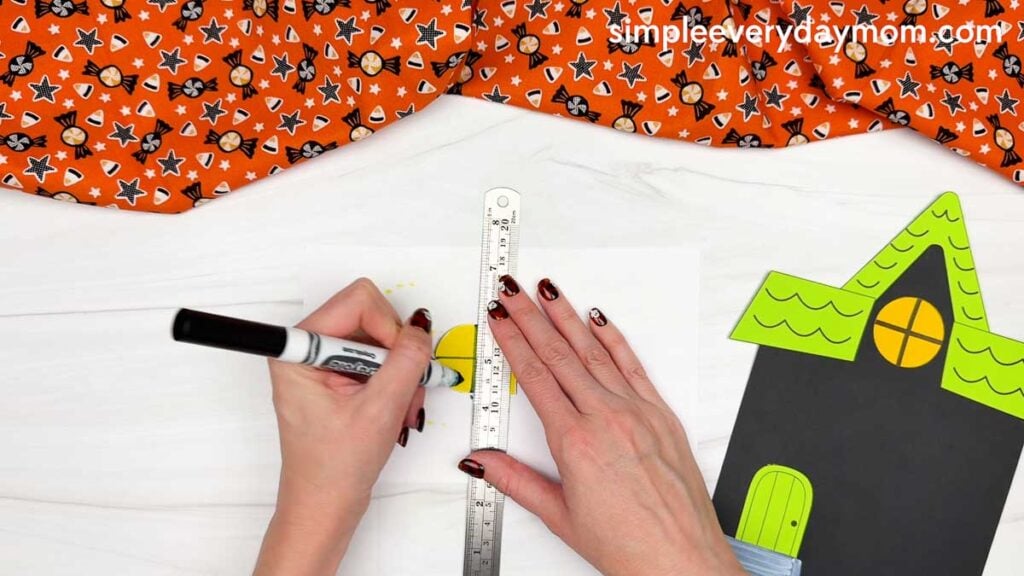
Glue the folded windows onto the haunted house. Let your child choose where each one should go, making the house their own while leaving the flaps free to open and reveal the characters hiding inside.
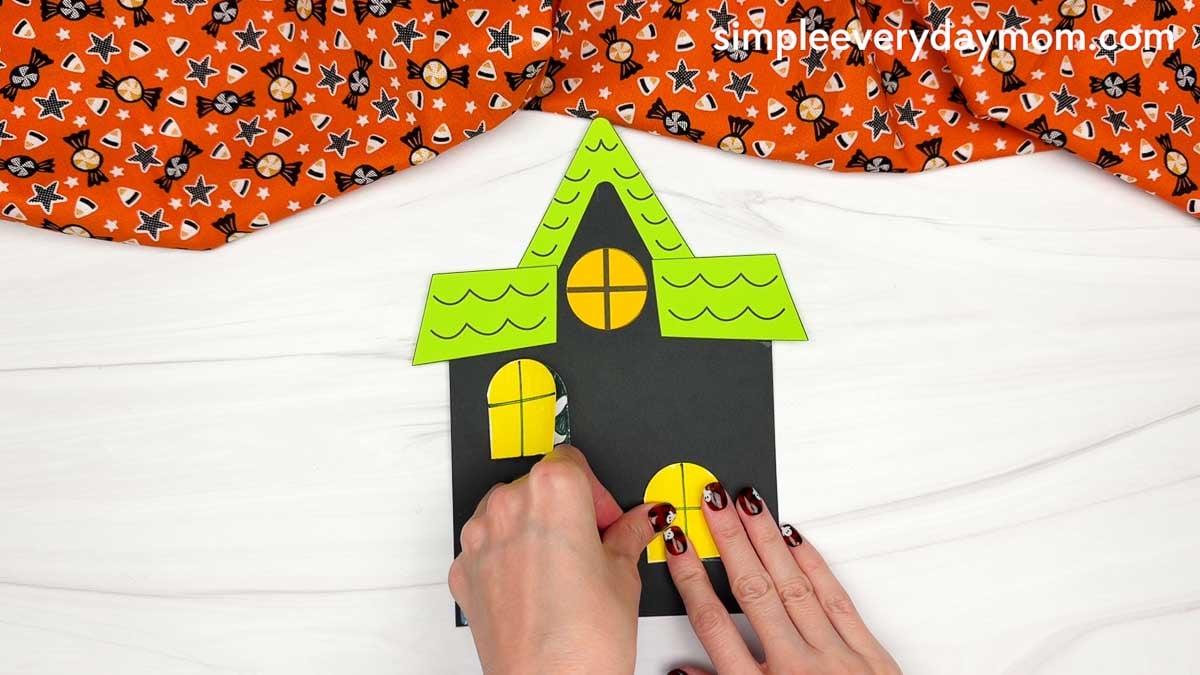
Finally, grab the pumpkin and glue it to the bottom right of the house. Give all those little window flaps a try, and your peekaboo haunted house craft is ready for some Halloween fun!
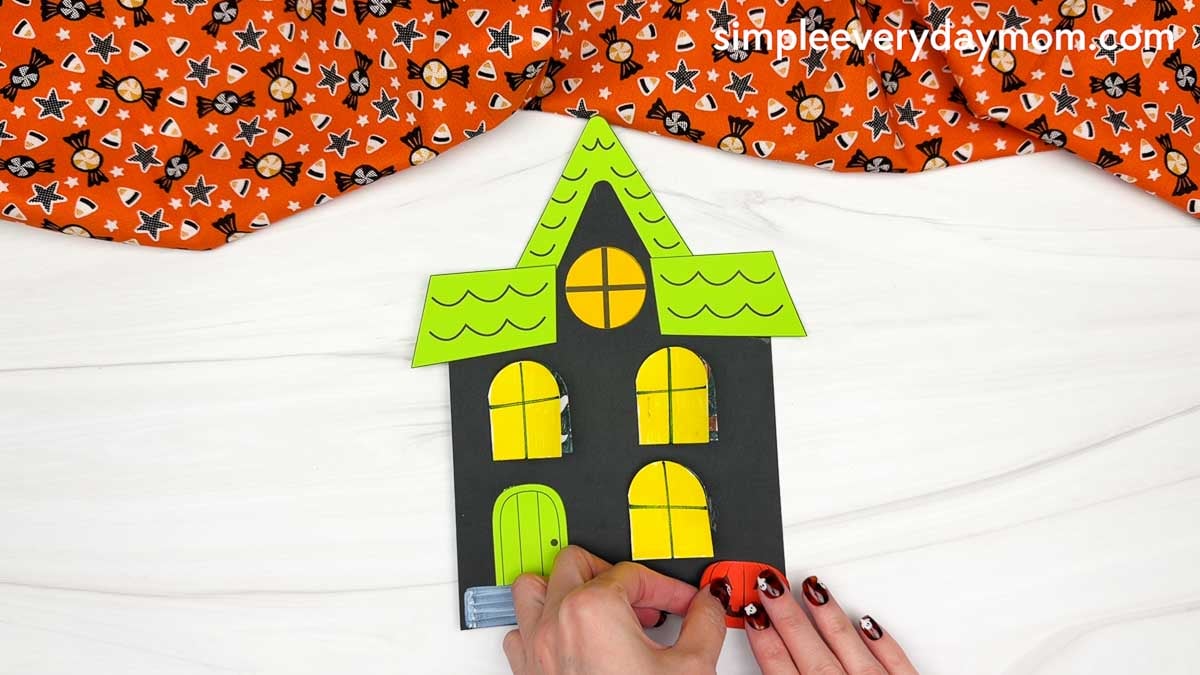
Look at that spooky little haunted house! All that coloring, cutting, folding, and creating gave kids some great fine motor practice, and now they get to have fun discovering the characters behind each window. Keep the Halloween excitement going with more crafts and activities below!
Halloween Books for Children


Room On The Broom: This has to be one of our favorite Halloween books of all time! The story follows a witch and her cat as they happen upon some animals who help the witch. There’s danger, mystery, and friendship in this adorable children’s story.
5 Minute Spooky Stories: We love Disney’s 5-minute storybooks and this one is perfect for Halloween! See how all your favorite Disney characters celebrate this spooky holiday.
Ten Timid Ghosts: This is a fun countdown book about a witch who moves into a haunted house where 10 ghosts already live. The witch scares the ghosts out one by one until they devise a scheme to get her out of their house. This Halloween children’s book is good for kids who love rhyming stories!
Halloween Character Crafts
Vampire Photo Craft – Kids get to be the vampire with this one! Their photo becomes the character’s face, and brads give the finished vampire movable arms and legs. That combination makes it part Halloween craft, part silly keepsake.
Halloween Mummy Craft – Wrapping a mummy in masking tape is exactly the kind of Halloween crafting kids can get into. They layer the tape across the body, then add the face to finish off their bandaged character.
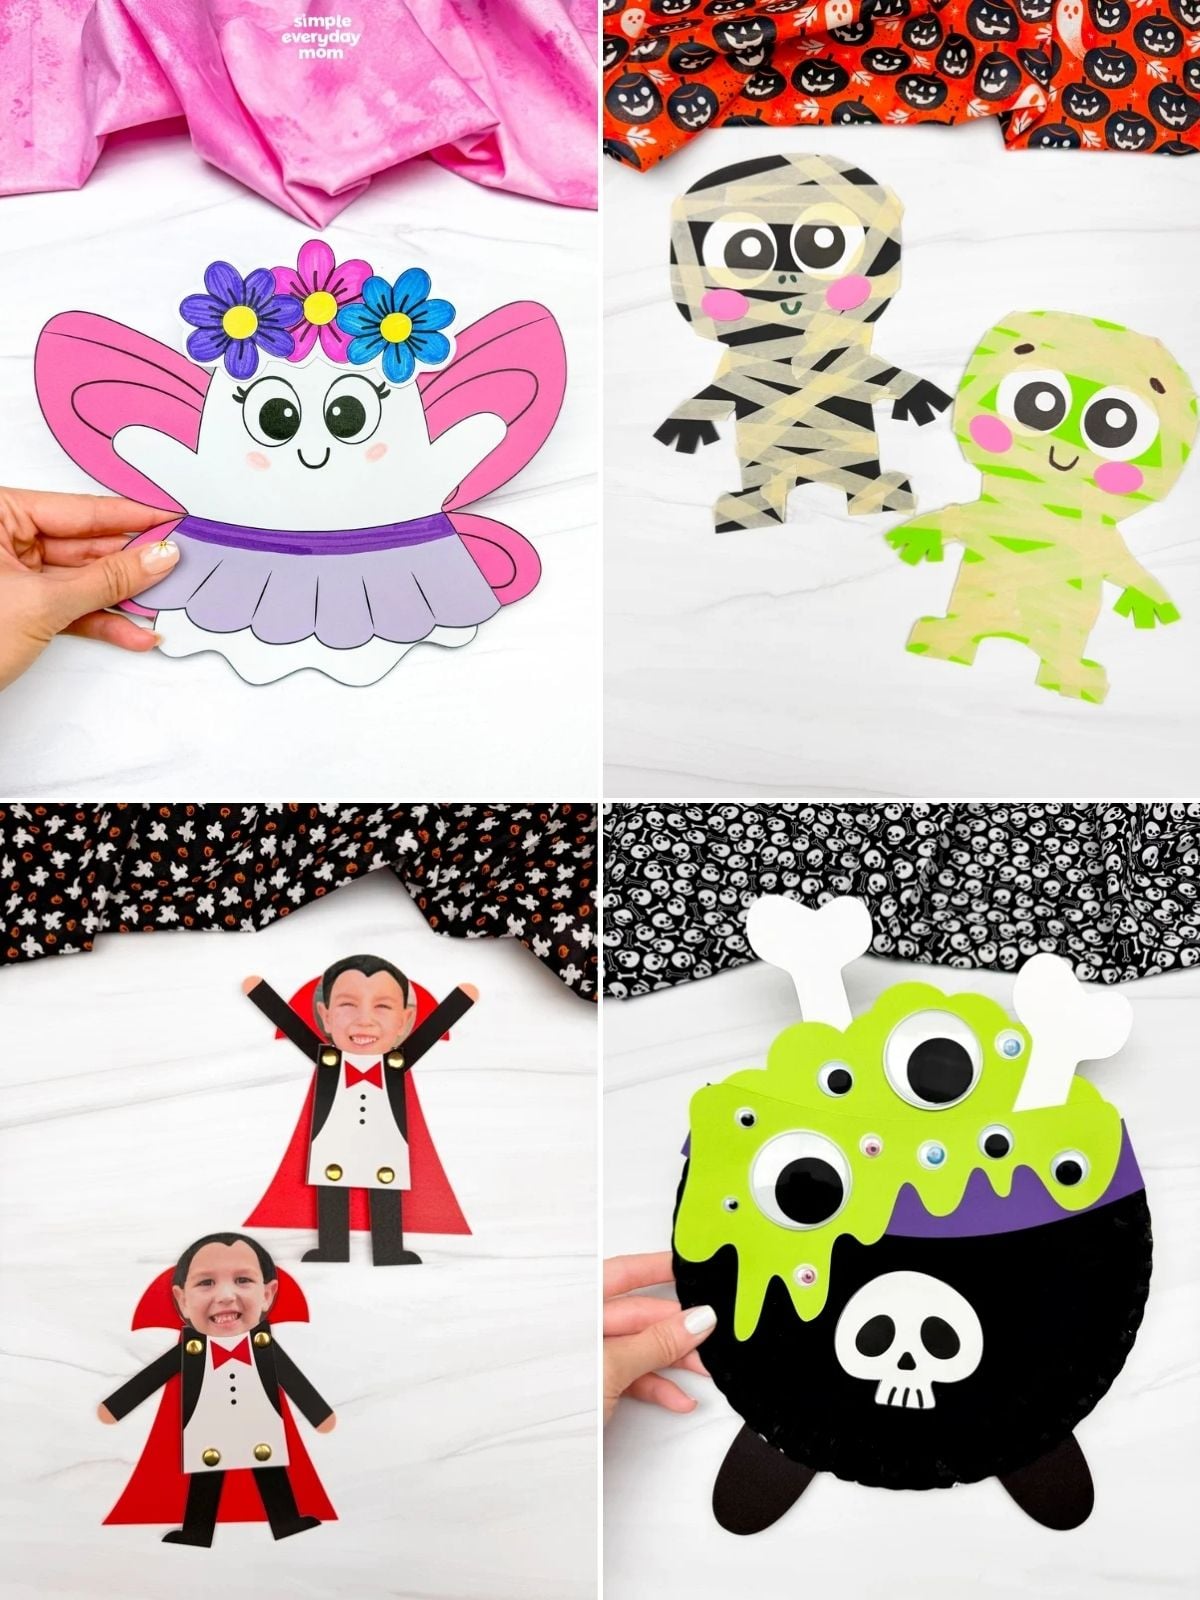
Witches Brew Paper Plate Craft – A bubbling witch’s potion should look a little weird, right? Kids turn a paper plate into a cauldron, then add dripping green brew and creepy ingredients like a skull and googly eyes.
Fairy Ghost Disguise Craft – Give this little ghost a magical makeover with a sprinkle of fairy dust! Kids can transform their spooky ghost into an enchanting fairy by adding wings, a colorful skirt, and a flower crown. This hands-on activity has children use their imagination to create a ghostly fairy with the help of our free template.


Spooky Season Printables
Labeling a witch is much more interesting than labeling an ordinary picture. These witch worksheets include a cut-and-paste page where kids match words such as hat, wand, and cape to the witch, along with letter W activities.
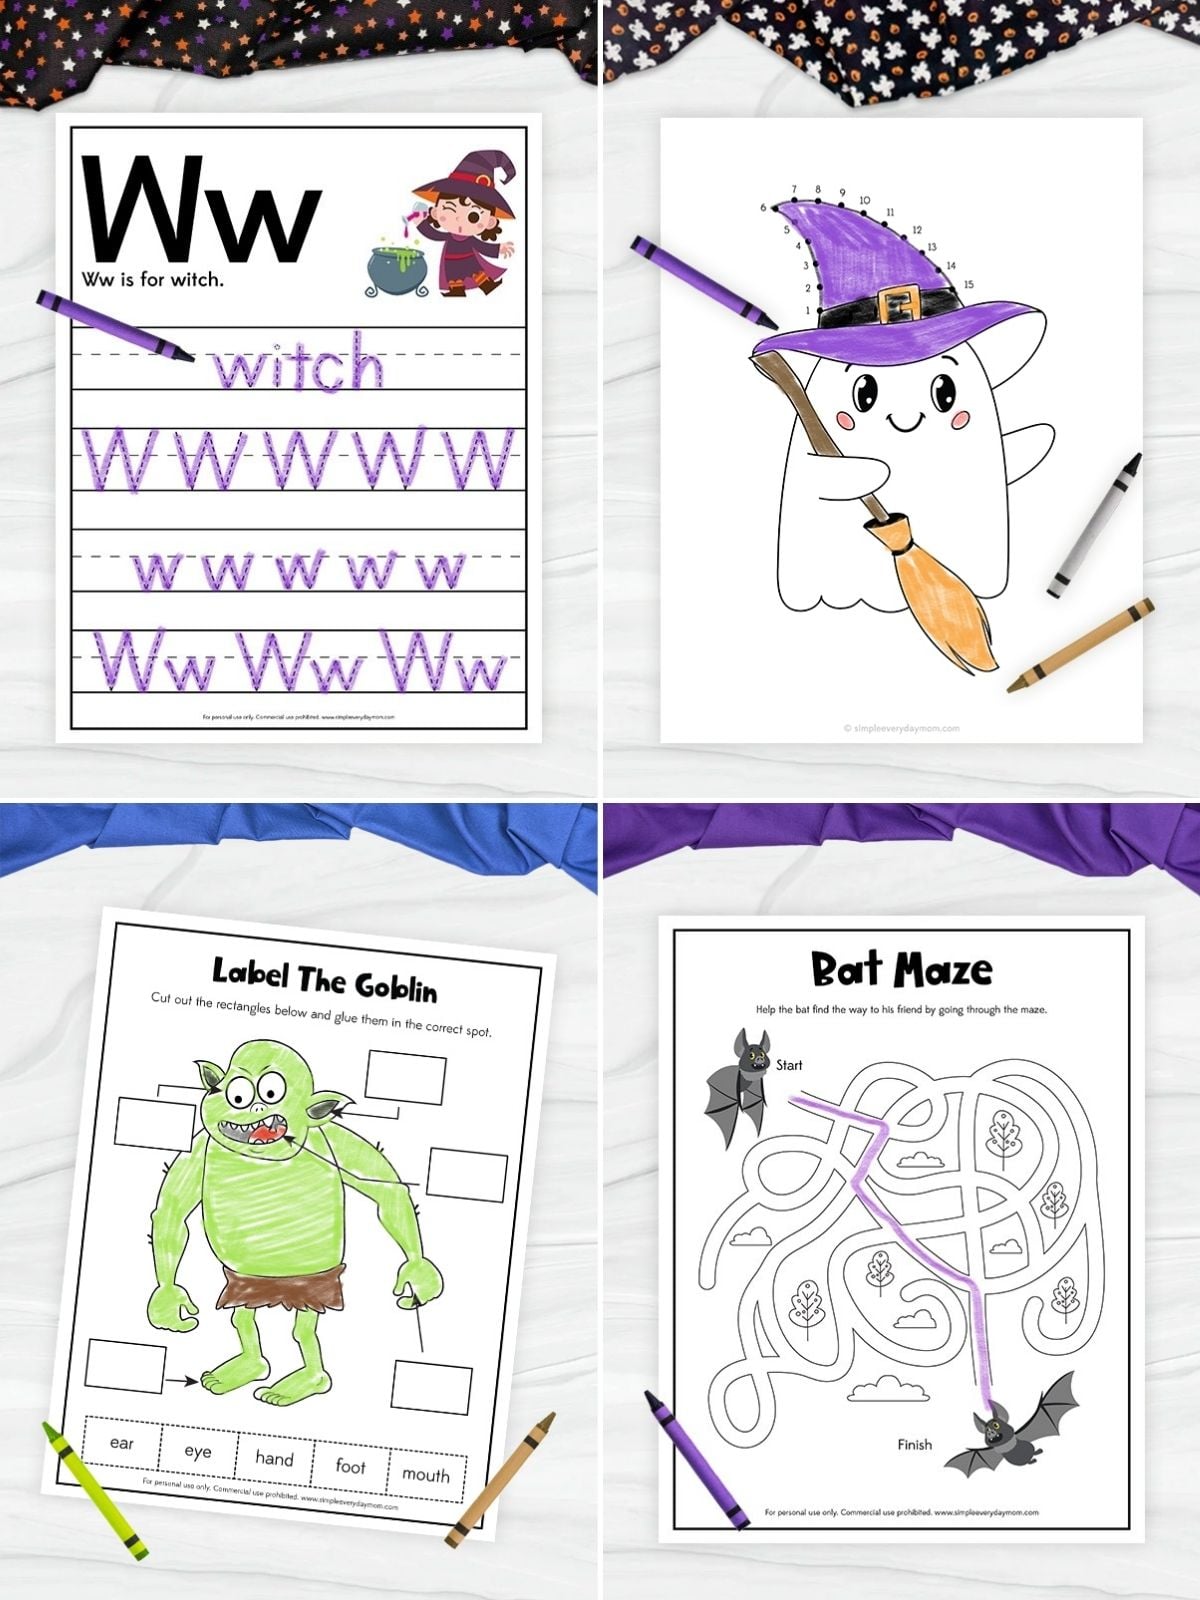
Help these little ghosts take shape with this fun ghost connect the dots activity! Kids will connect the numbered dots in order to reveal these not-so-spooky Halloween characters to improve counting skills, number recognition, pencil control, and hand-eye coordination. Once the ghostly pictures appear, children can color them in and give their fine motor skills another boo-tiful workout.
Make learning fun with these bat activity pages this Halloween season! This set of worksheets will have kids matching bats to their shadows to build observation and visual discrimination skills, then navigating a spooky maze to practice problem solving and hand-eye coordination.
Matching the bat pairs strengthens concentration, and the count-and-graph page builds counting, one-to-one correspondence, and early data skills.
The book is already wonderfully ridiculous, so the There Was an Old Lady Who Swallowed a Bat activities have plenty to work with. One page has kids figure out which spooky character comes next in a pattern, then cut and paste the answer into place. It fits the silliness of the story perfectly.
Share With Us
Did you make this activity with your kids or students? We’d love to feature them on our social media!
For a chance to have your child’s project featured, simply snap a picture of the completed project and post it to our Facebook page, email it to us directly by clicking here, or use #simpleeverydaymom on your social media!
Peekaboo Haunted House Craft
Materials
- Colored cardstock or construction paper
- Scissors
- Glue
- Markers
- Crayola Bold & Bright markers
- Ruler (optional)
- Haunted house template
Instructions
- Print the template and gather the materials for this fun activity.
- Begin by folding the Halloween character pieces along the dashed lines, then cut around each folded piece so the character and window flap stay connected.
- Color in the ghost, werewolf, and cat with markers or crayons.
- Grab the house piece and glue it onto the main roof piece, lining up the top edges.
- Glue the left side roof and right side roof pieces onto the flat sections on either side of the roof.
- Take the round window and glue it to the top center of the house, just below the main roof.
- Glue the door near the bottom left of the house.
- Use a bold & bright marker to draw a small rectangular step below the door.
- Add a few horizontal lines inside the rectangle to create individual steps.
- Color the front flap of each folded window piece with a colored marker.
- Use a ruler and marker to draw the window lines across each flap.
- Glue the folded windows onto the haunted house, placing them wherever desired and leaving the flaps free to open.
- Finally, glue the pumpkin to the bottom right of the house and use a bold & bright marker to draw the stem on the top.
Did you make this?
Don’t forget to leave a comment below and make sure to follow on Pinterest, Facebook and TikTok for more!
Free Peekaboo Haunted House Template


Meet Sam
Sam is the crafter and founder of Simple Everyday Mom. She has been featured in Oprah Mag, Good Housekeeping, The Spruce Crafts, Country Living, The Bump, and more.