Pumpkin Head Scarecrow Craft for Kids [Free PDF Template]
All activities require adult supervision. By using this site, you agree to our terms of use. This post may contain affiliate links, sponsored links, and ads. As an Amazon Associate and participant in other affiliate programs, I earn from qualifying purchases.. Read our disclosure policy.
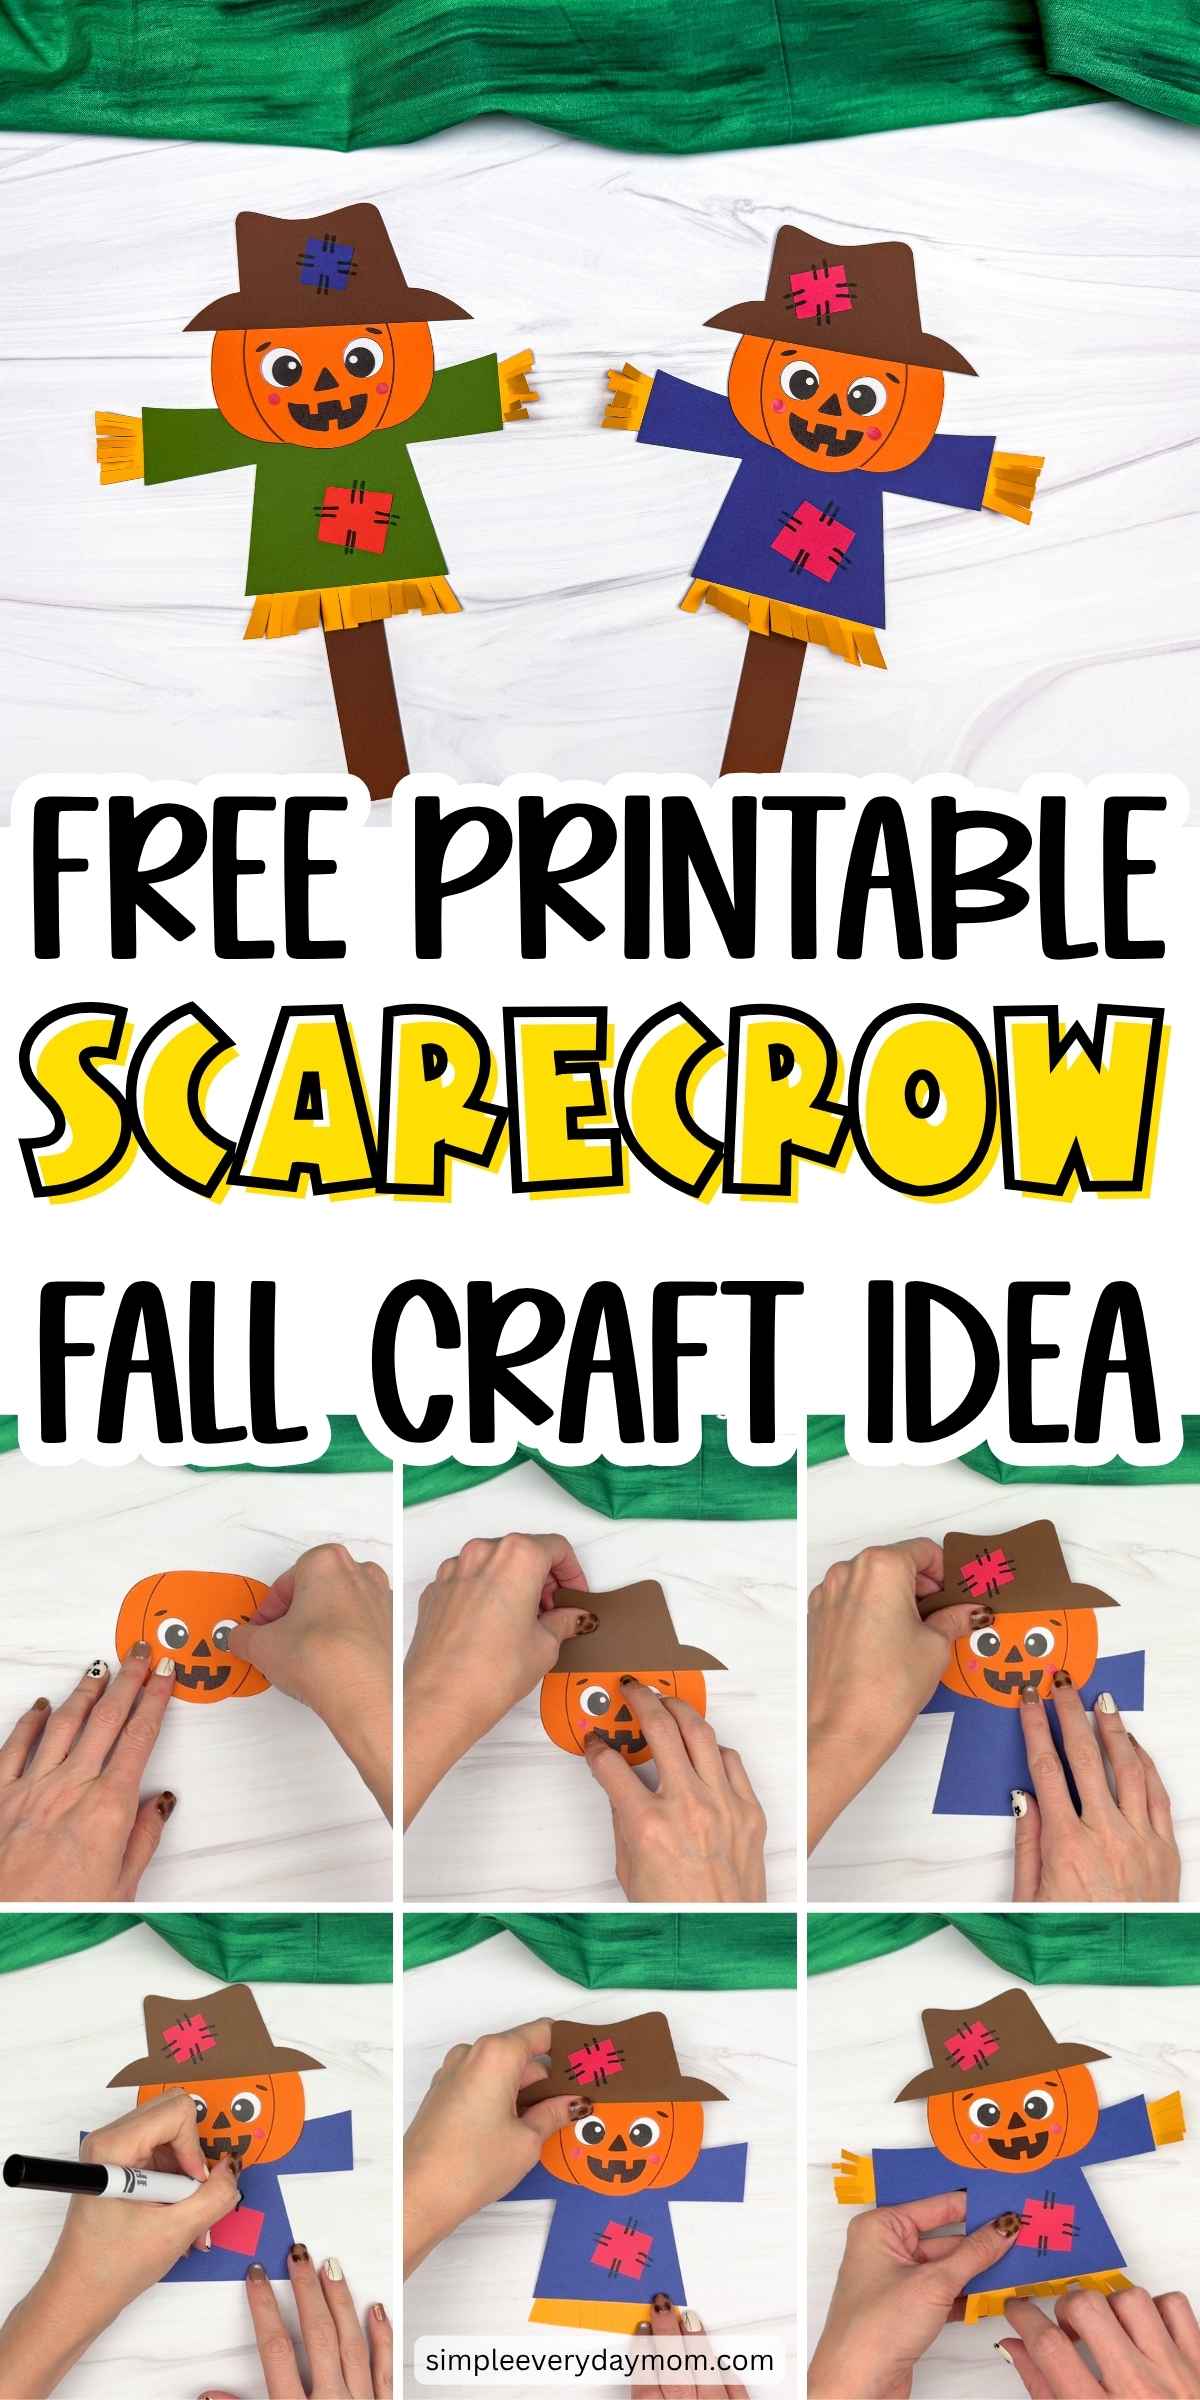
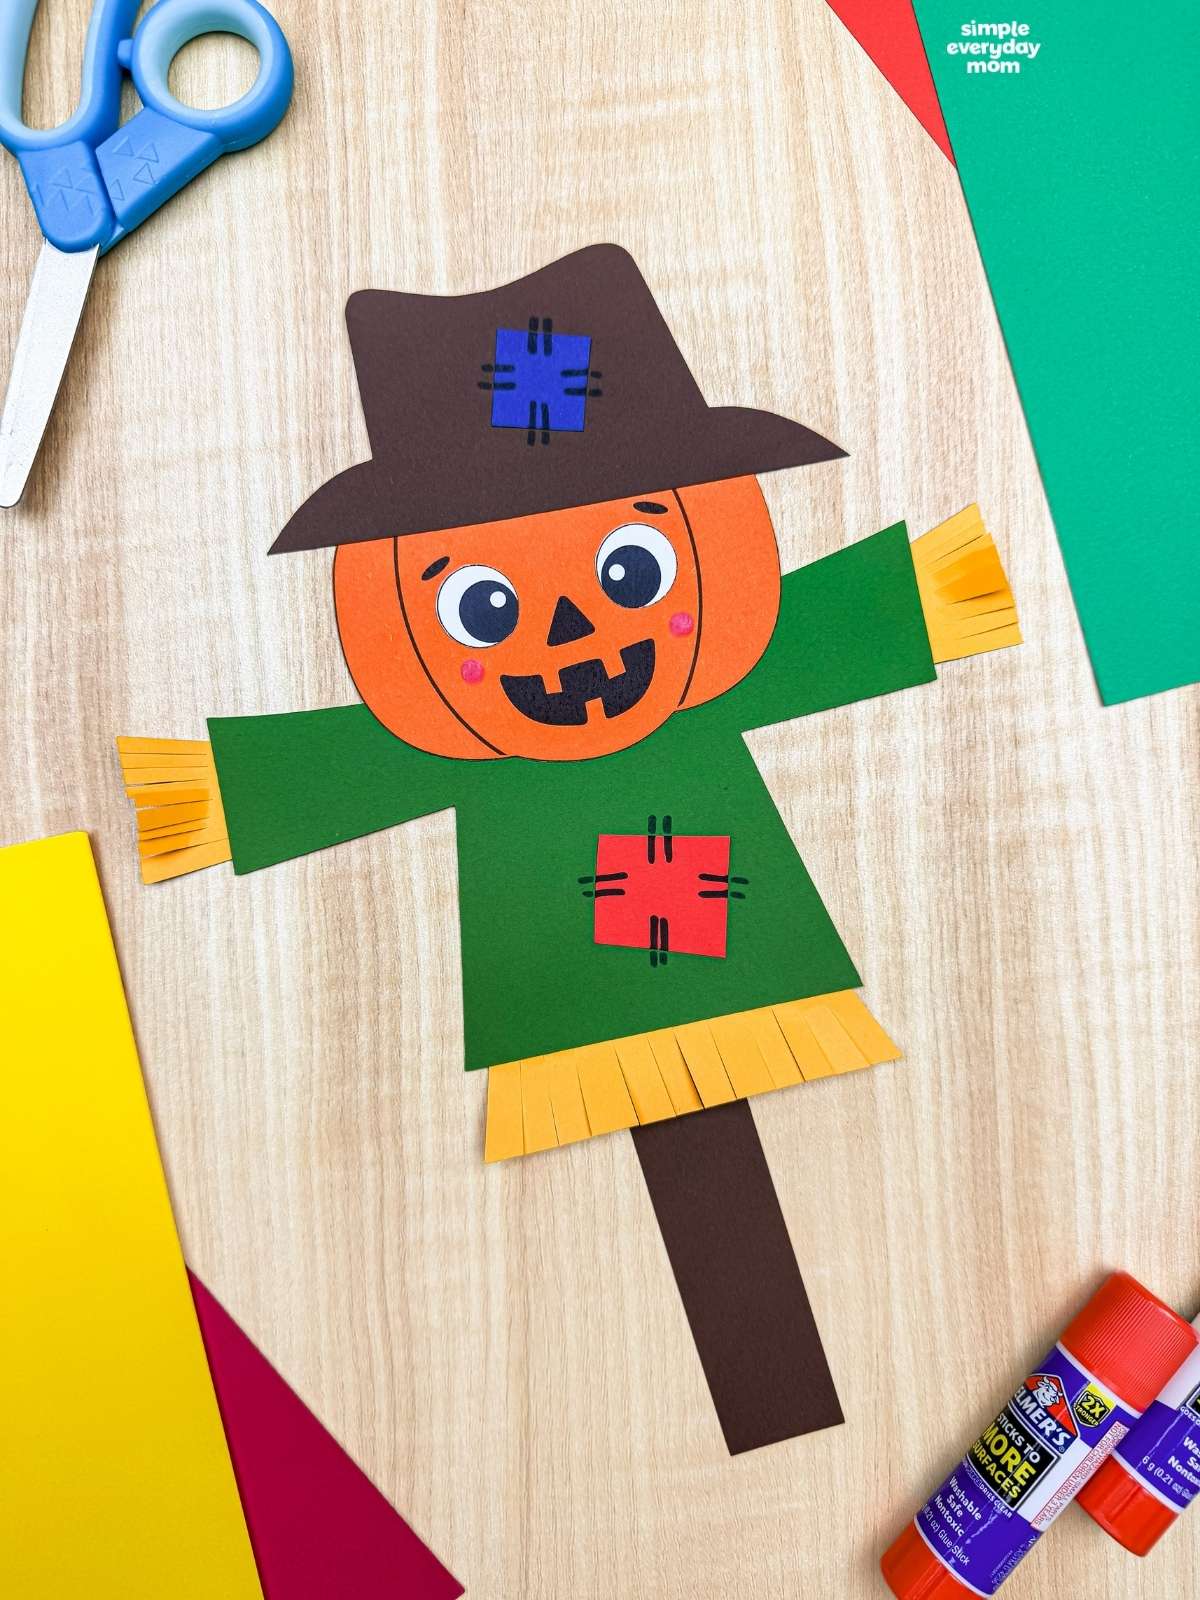
A scarecrow with a pumpkin for a head? Yes, please. This pumpkin head scarecrow craft mixes two of the best parts of fall into one seriously cute project. Early elementary kids can make their own in about 20–30 minutes, and that big jack-o’-lantern grin is hard to resist.
This one fits right in with our fall crafts, especially when pumpkins and harvest themes start taking over the classroom. There are so many ways to use those familiar fall characters without every project looking the same.
Good To Know
- Themes: Pumpkins, scarecrows, fall, harvest
- Activity: Build a scarecrow with a jack-o’-lantern head, patched clothing, fringed straw, hat, and wooden post
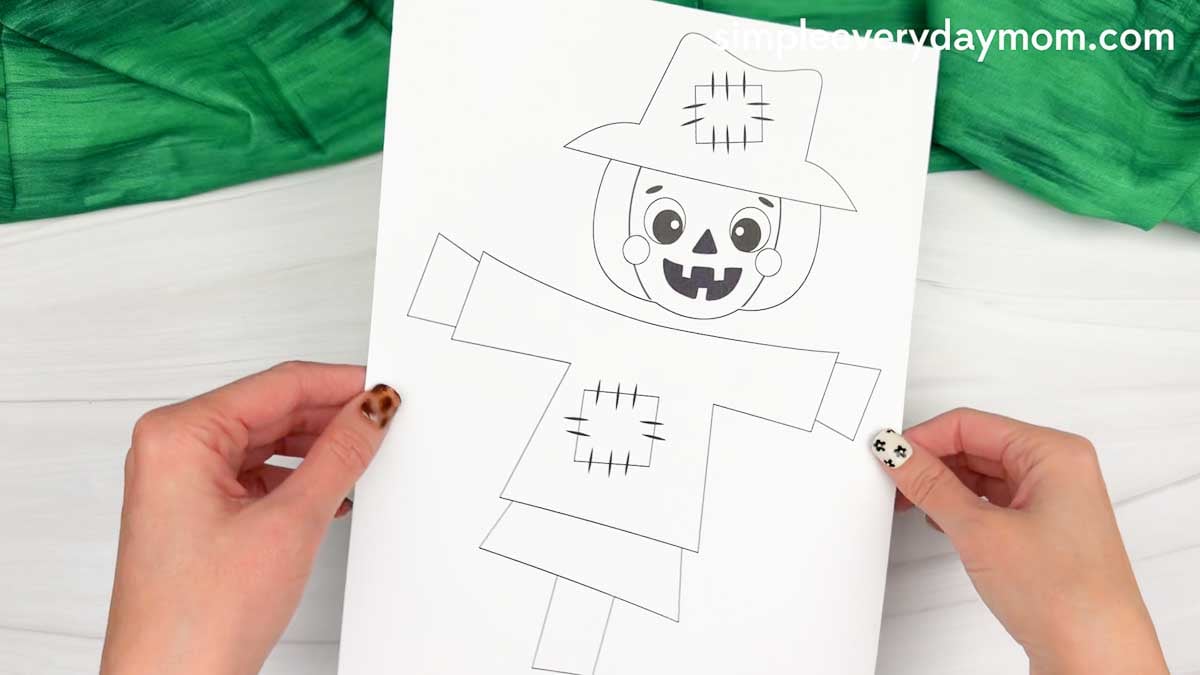
- Template: Includes a free printable pumpkin scarecrow craft template with separate clothing, hat, straw, and face pieces
- Ages: Preschool through early elementary
- Time: 20–30 minutes
- Skills: Cutting, gluing, and fine motor practice
Printable Fall Character Craft With Fine Motor Practice
Kids can choose different colors for the scarecrow’s shirt and patches, so even when everyone starts with the same basic pieces, the finished scarecrows don’t have to match. And honestly, the pumpkin head already gives this one plenty of personality.
There’s some really good scissor practice tucked into the straw, too. Kids make all those little snips along the sleeves and bottom of the shirt, then work on placing and gluing the smaller face and patch pieces where they belong.
Even with all those details, the big paper shapes keep the assembly manageable for early elementary kids. Once the pieces are cut, they can concentrate on building that funny pumpkin face and putting their scarecrow together.
Supplies
- Colored cardstock or construction paper
- Scissors
- Glue
- Crayola Bold & Bright markers
- Marker
- Pumpkin head scarecrow template (click the “click here to get your freebies” image at the end of the post)
Directions
Start by printing the template, then gather the materials for this fun activity. Get those scissors ready, and let’s help the kids bring this scarecrow to life!
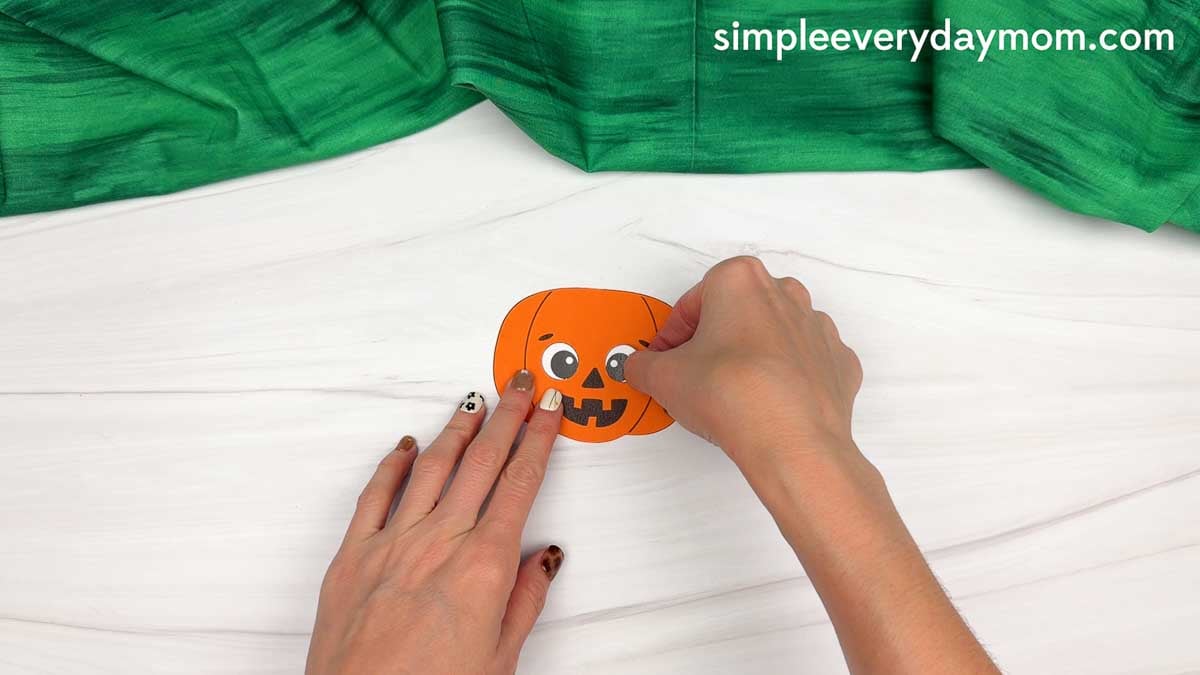
Begin with the pumpkin head. Glue the eyes onto the pumpkin face, below the eyebrows.
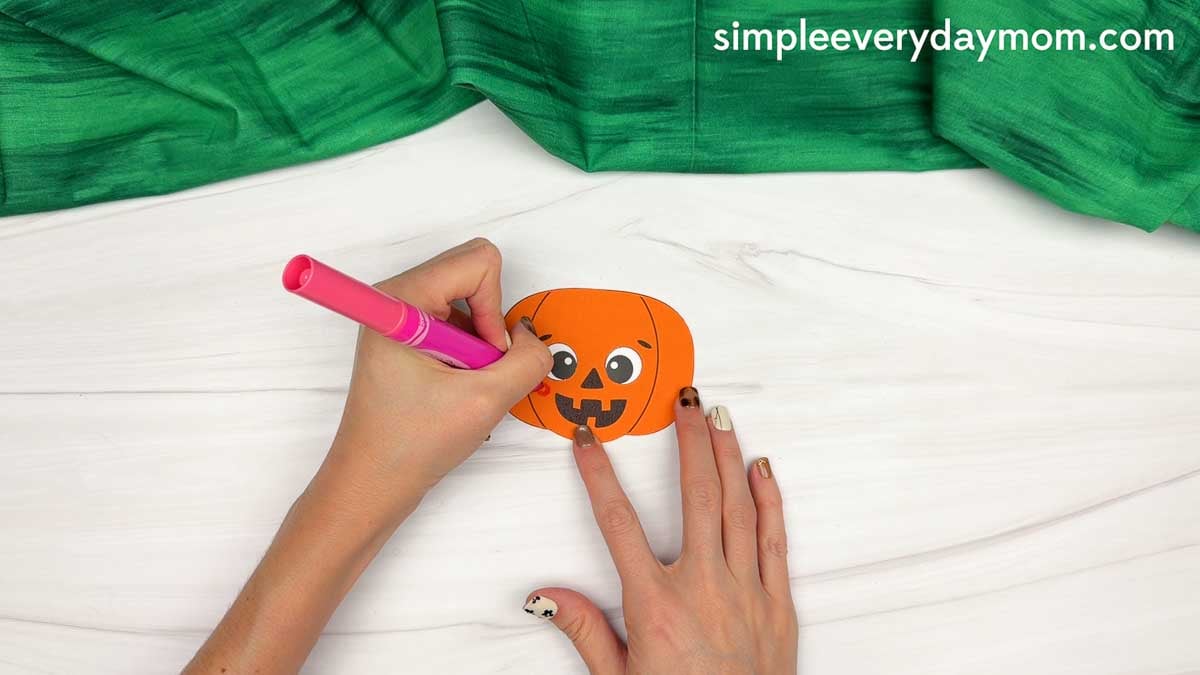
Use a pink bold & bright marker to add a small circle to each cheek. This little pop of color gives the pumpkin a cute, cheerful expression.
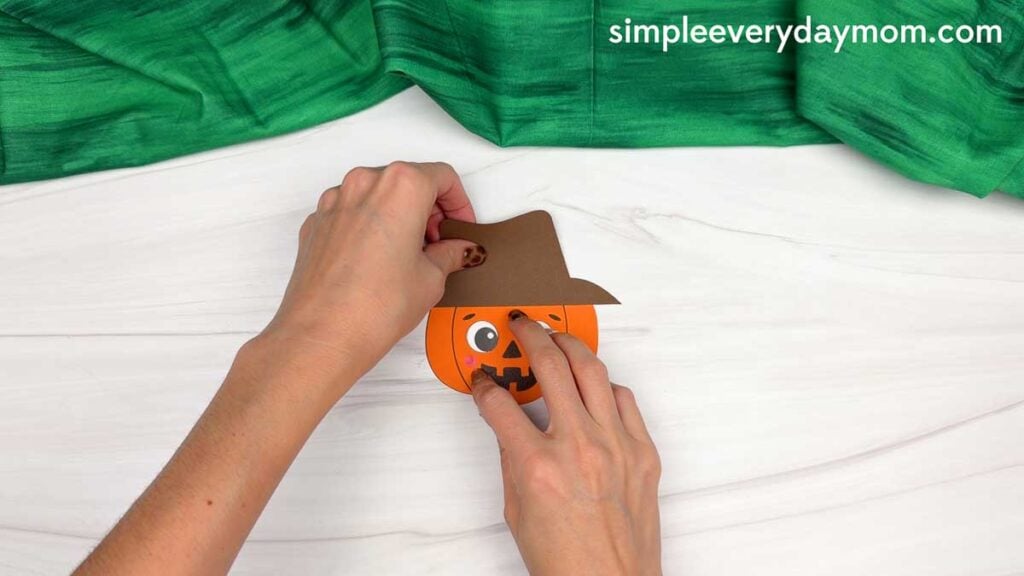
Take the hat and glue it across the top of the pumpkin head. Line up the bottom of the hat with the upper part of the pumpkin so it sits just above the eyebrows.
Glue the hat patch onto the hat. Kids can place it at a slight angle to give their scarecrow a fun, handmade look.
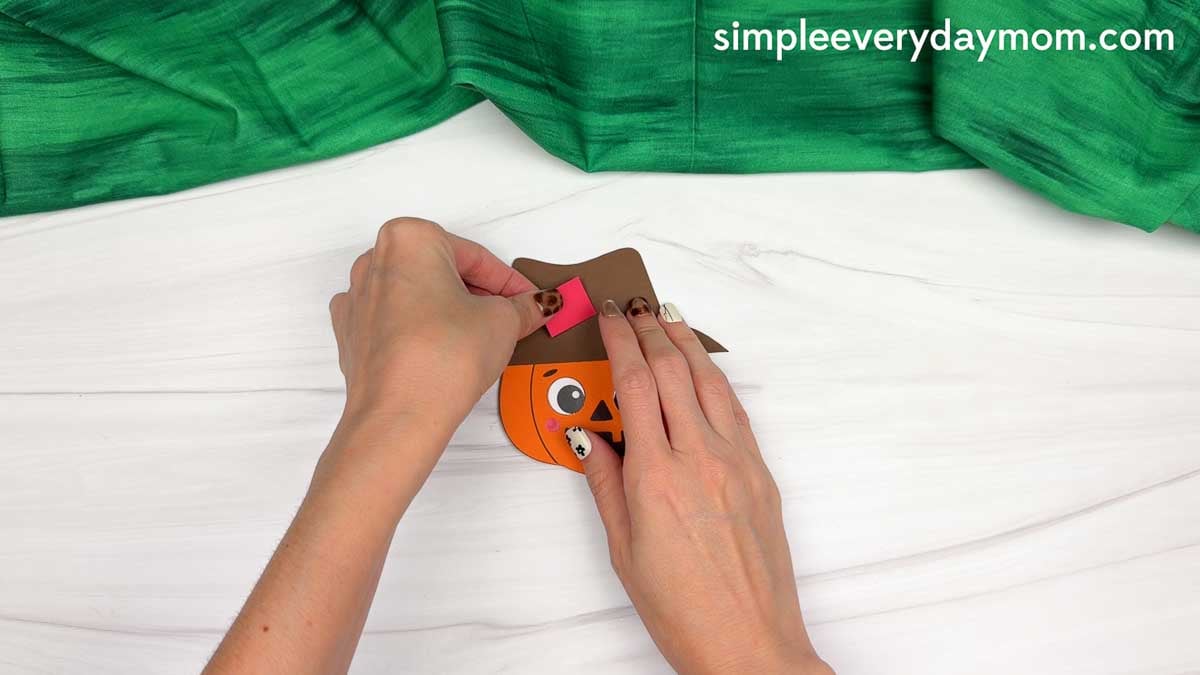
Use a black marker to draw short stitch lines around the edges of the hat patch. This is an easy way for kids to add their own details while getting in a little fine motor practice.
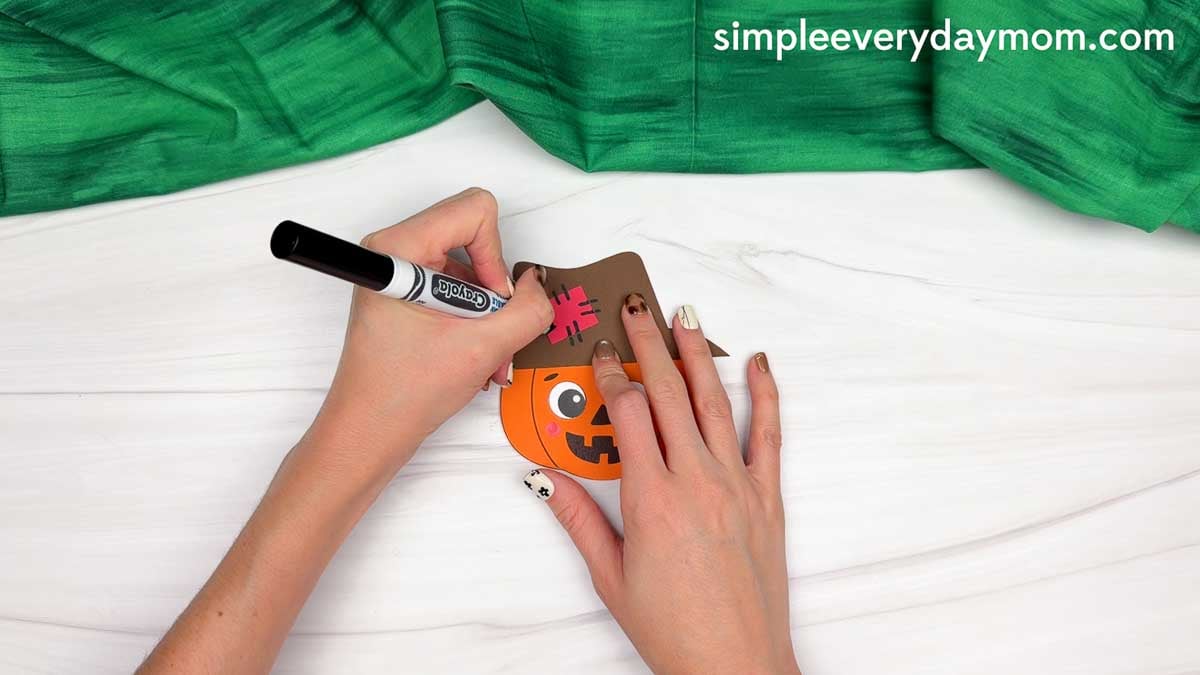
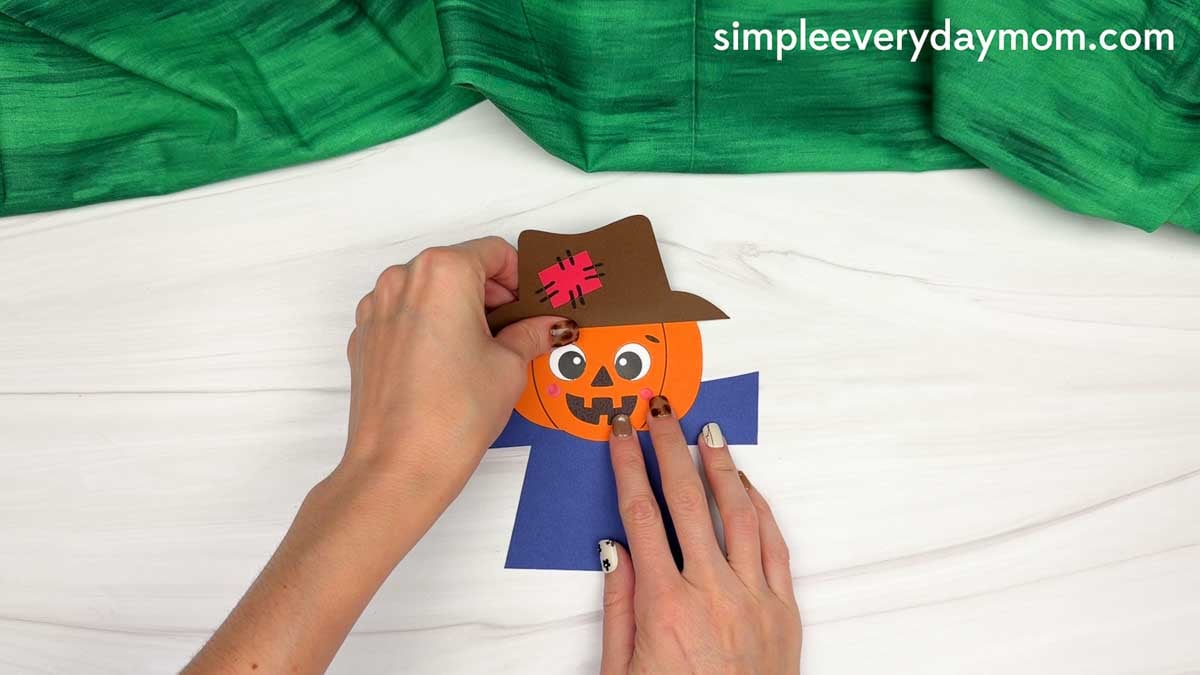
Glue the completed pumpkin head to the top center of the shirt. Press it down firmly so the bottom of the pumpkin overlaps the upper part of the shirt.
Take the shirt patch and glue it at the bottom center of the shirt. Just like the hat patch, it can be turned slightly to make the scarecrow look extra playful.
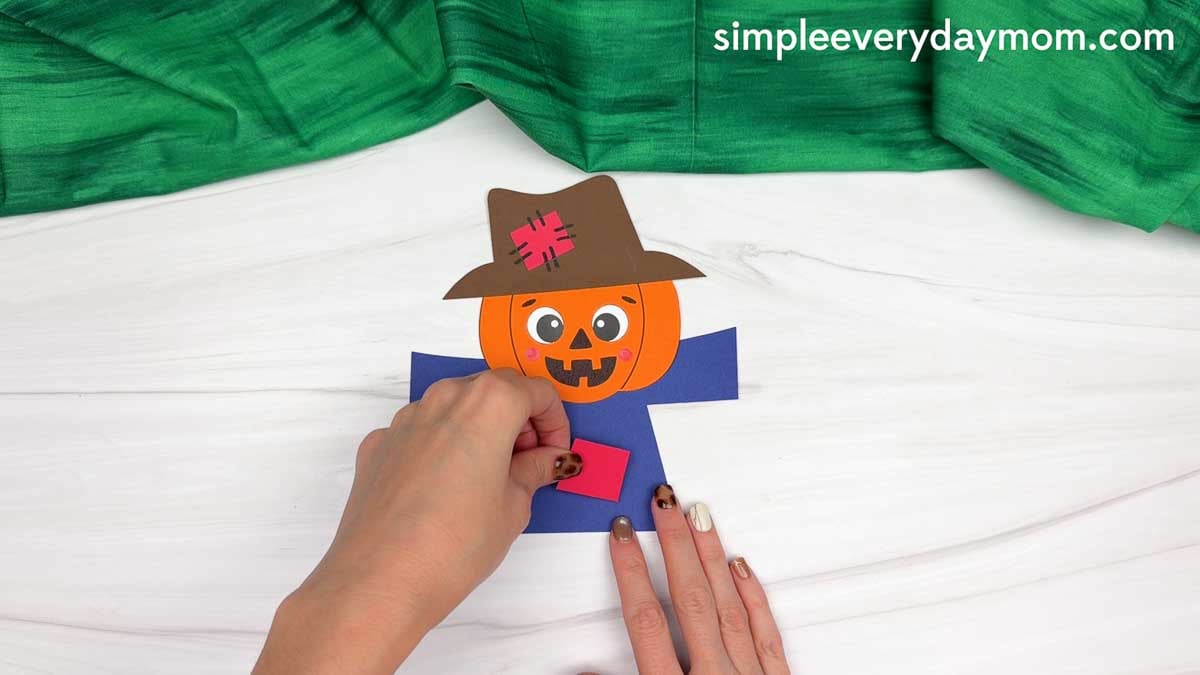
Use the black marker again to draw short stitch lines around the shirt patch. Kids can take their time adding each little line around the edges.
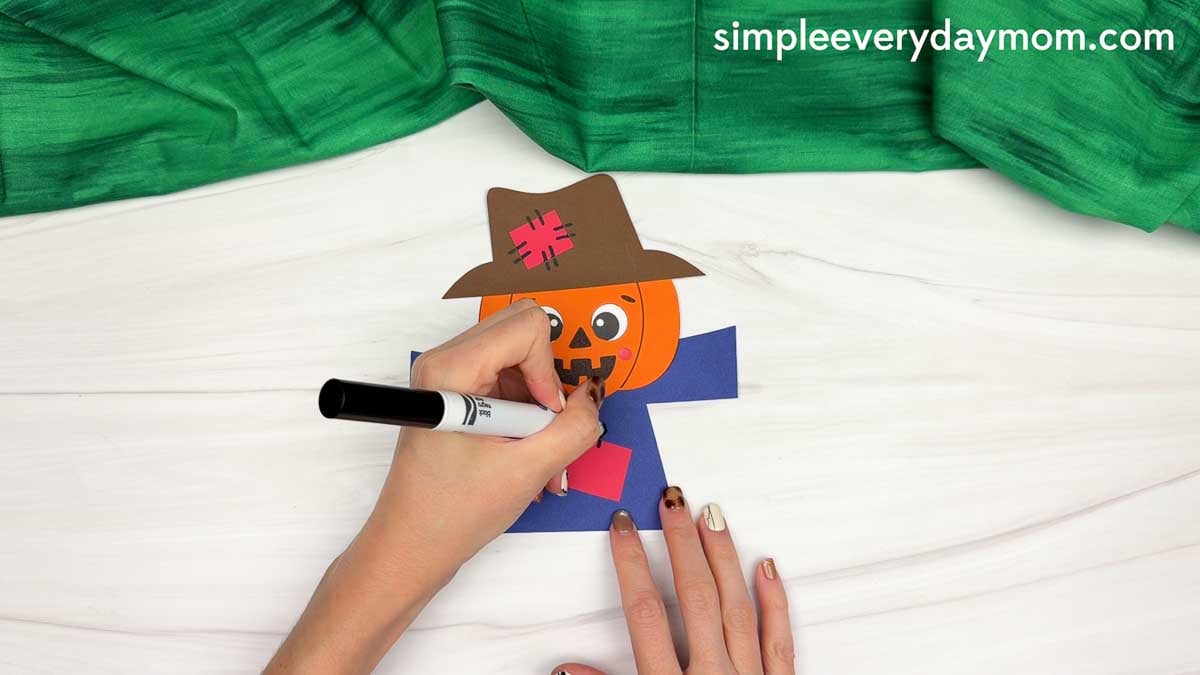
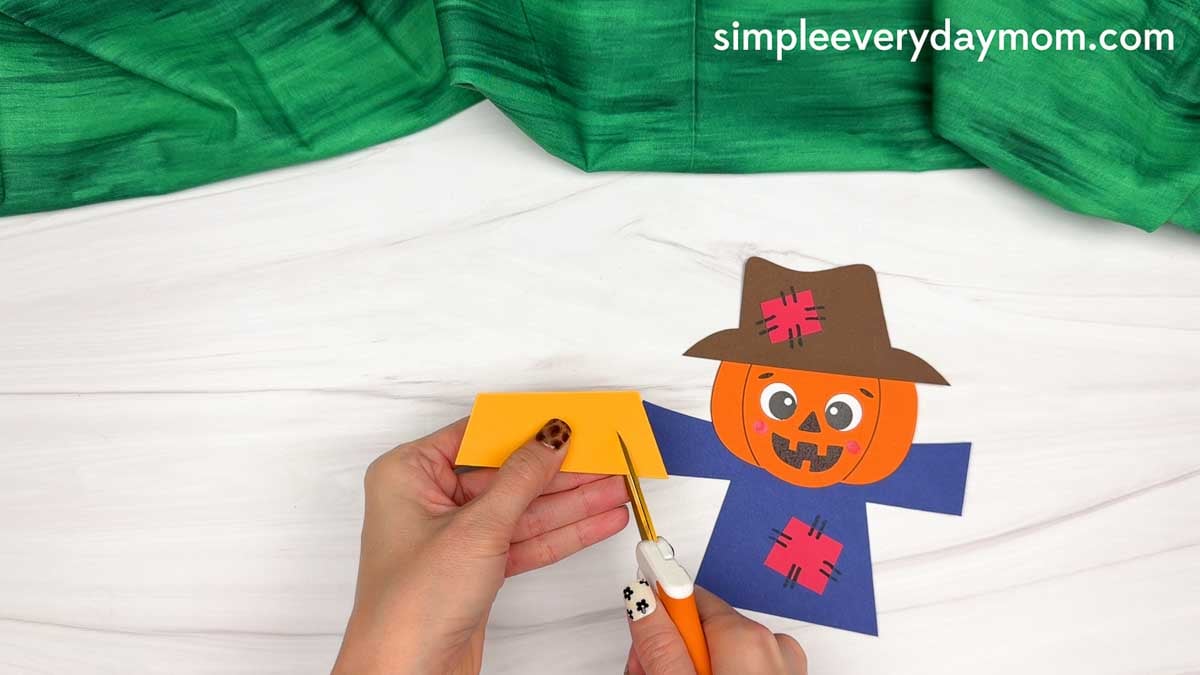
Grab the arm straw and shirt straw pieces. Carefully cut short fringe lines along one edge of each piece, making sure not to cut all the way through. These fringed pieces will give the scarecrow its classic straw look.
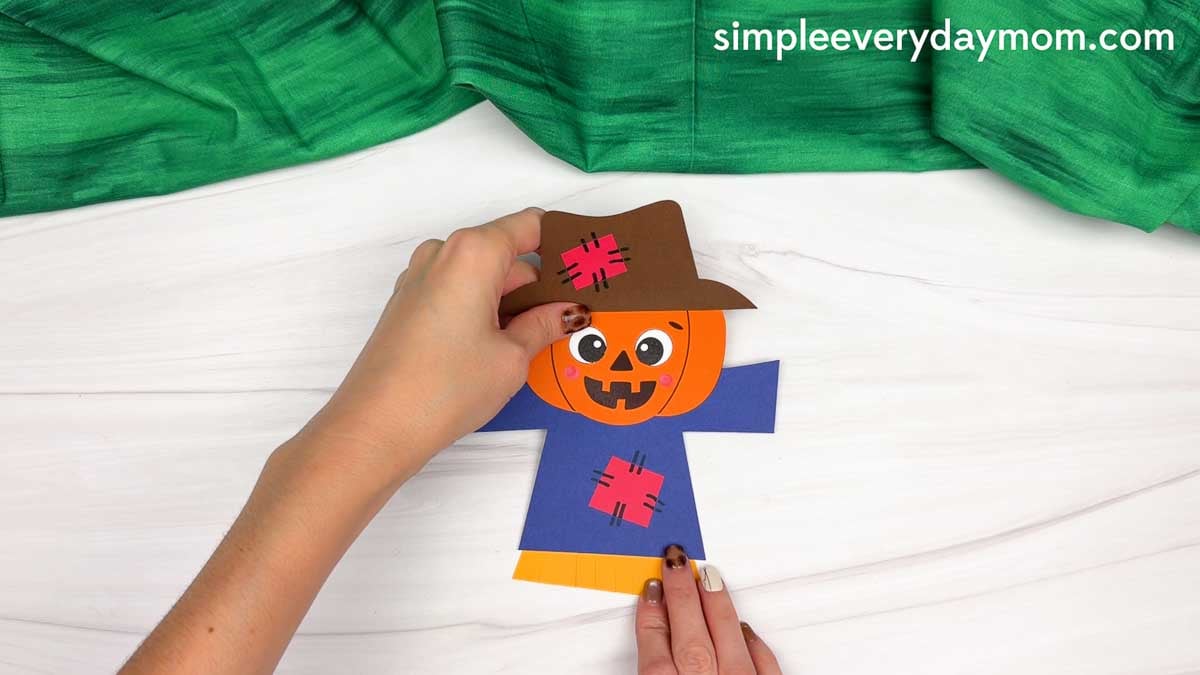
Glue the shirt straw along the bottom of the shirt. Position it so the fringed edge peeks out underneath the shirt, just like straw coming out of a scarecrow’s clothes.
Glue an arm straw piece to the end of each arm so the fringed edges stick out from the sides.
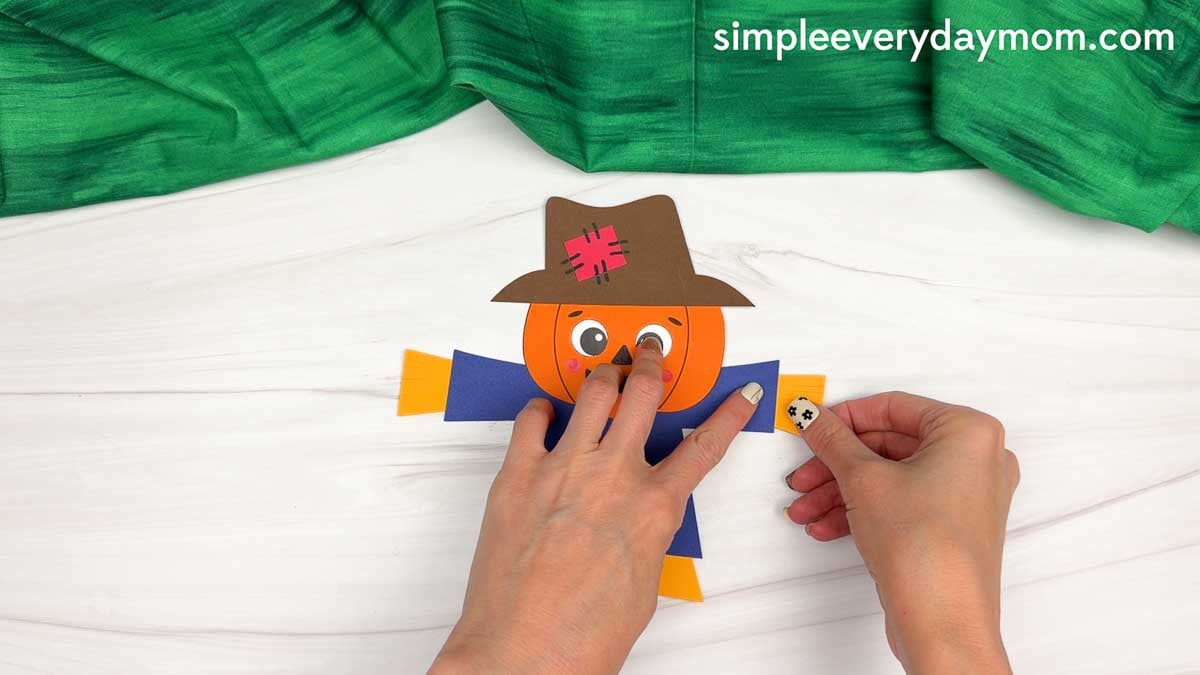
Gently push and bend the fringed shirt straw pieces upward with your fingers to give them a little texture and make the straw look more dimensional.
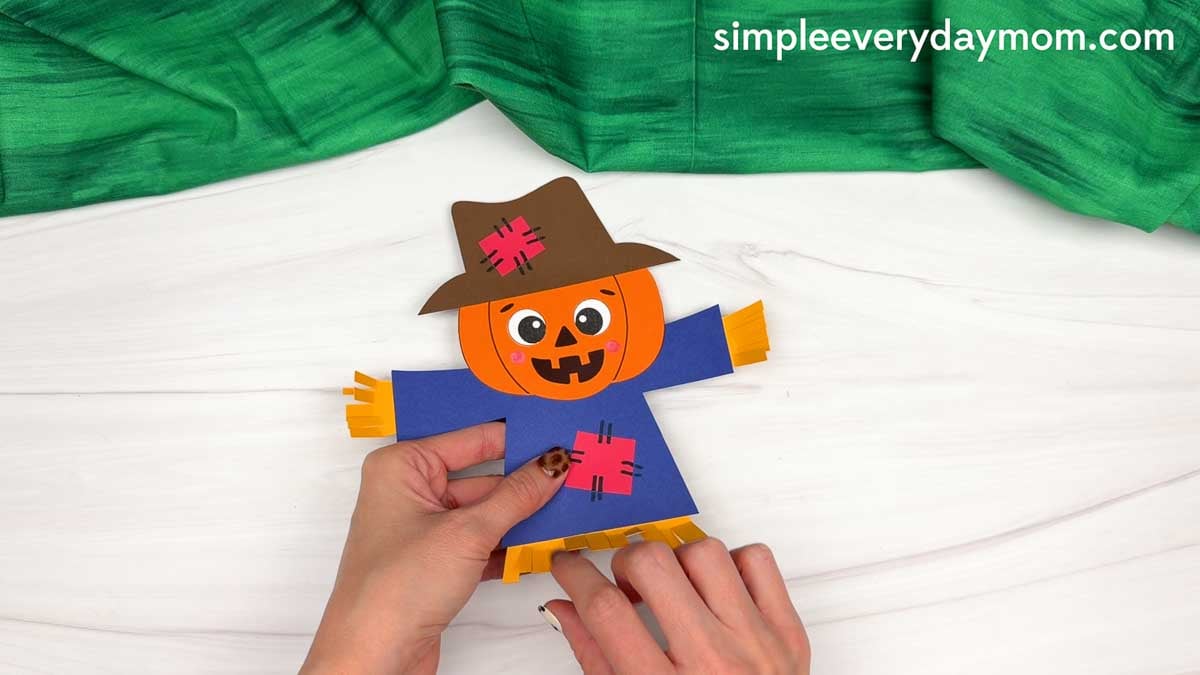
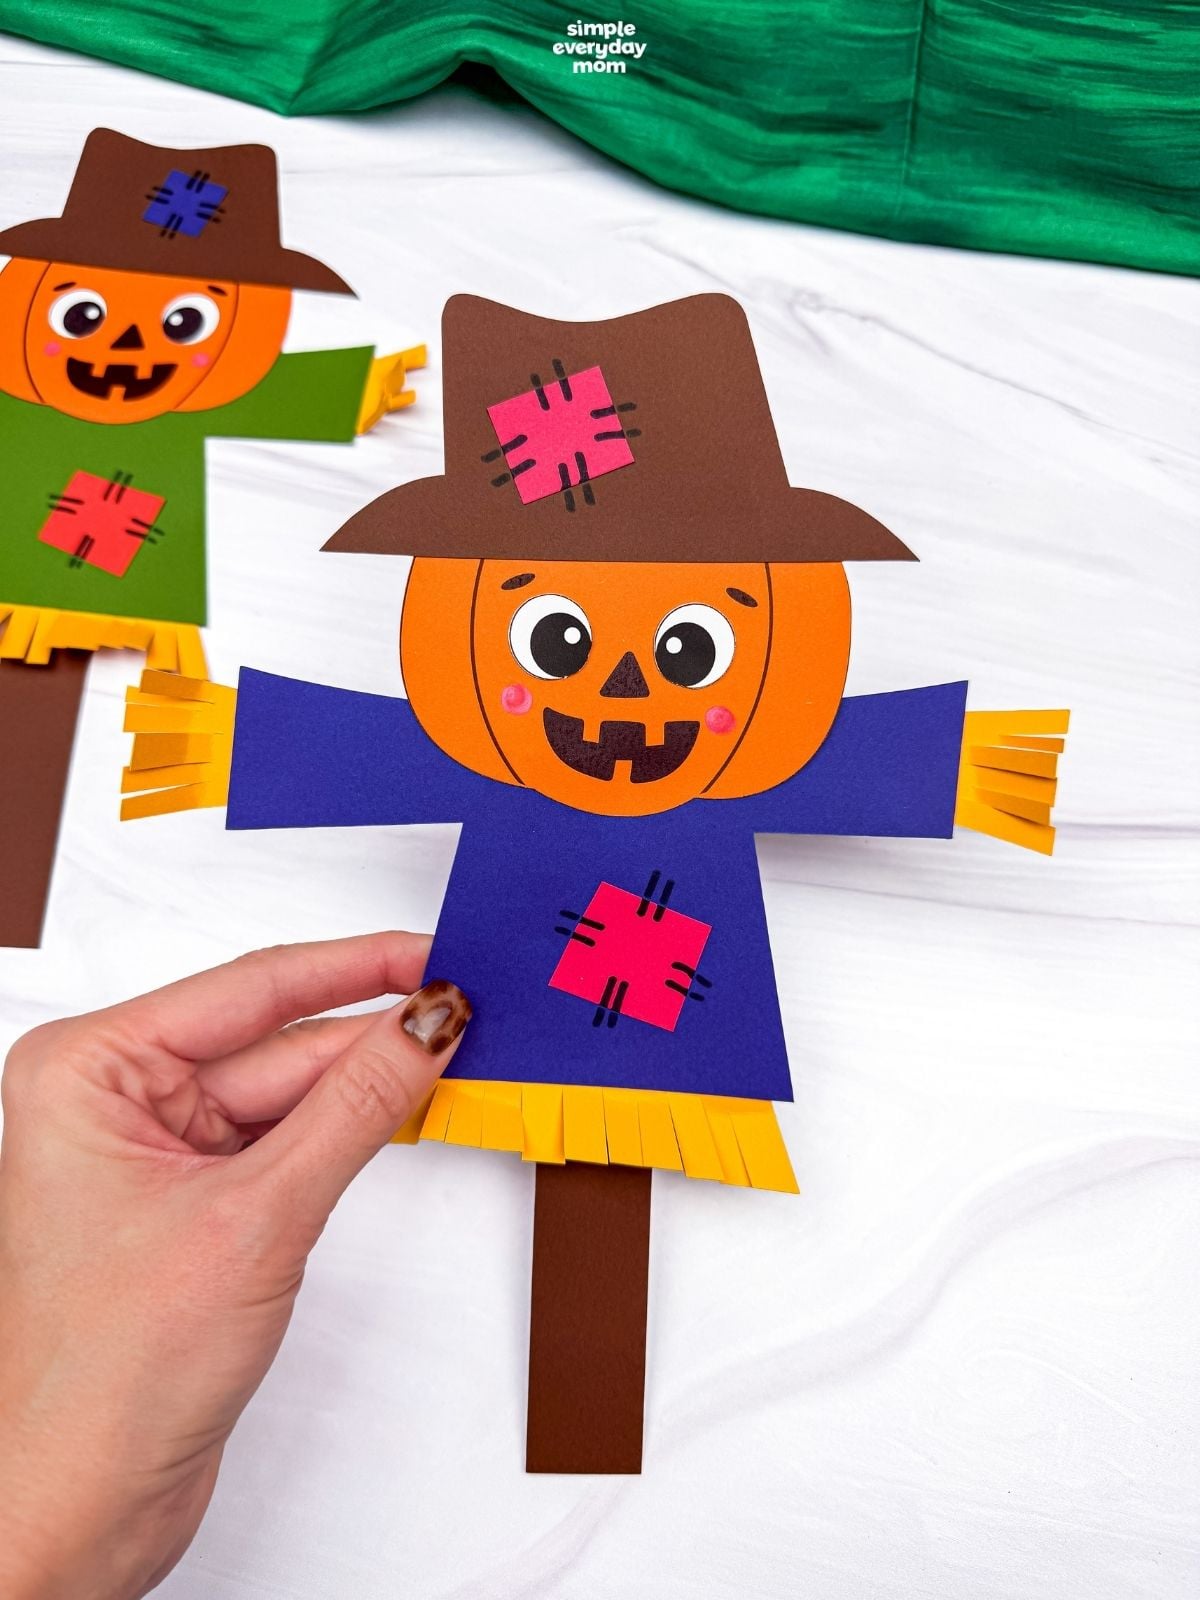
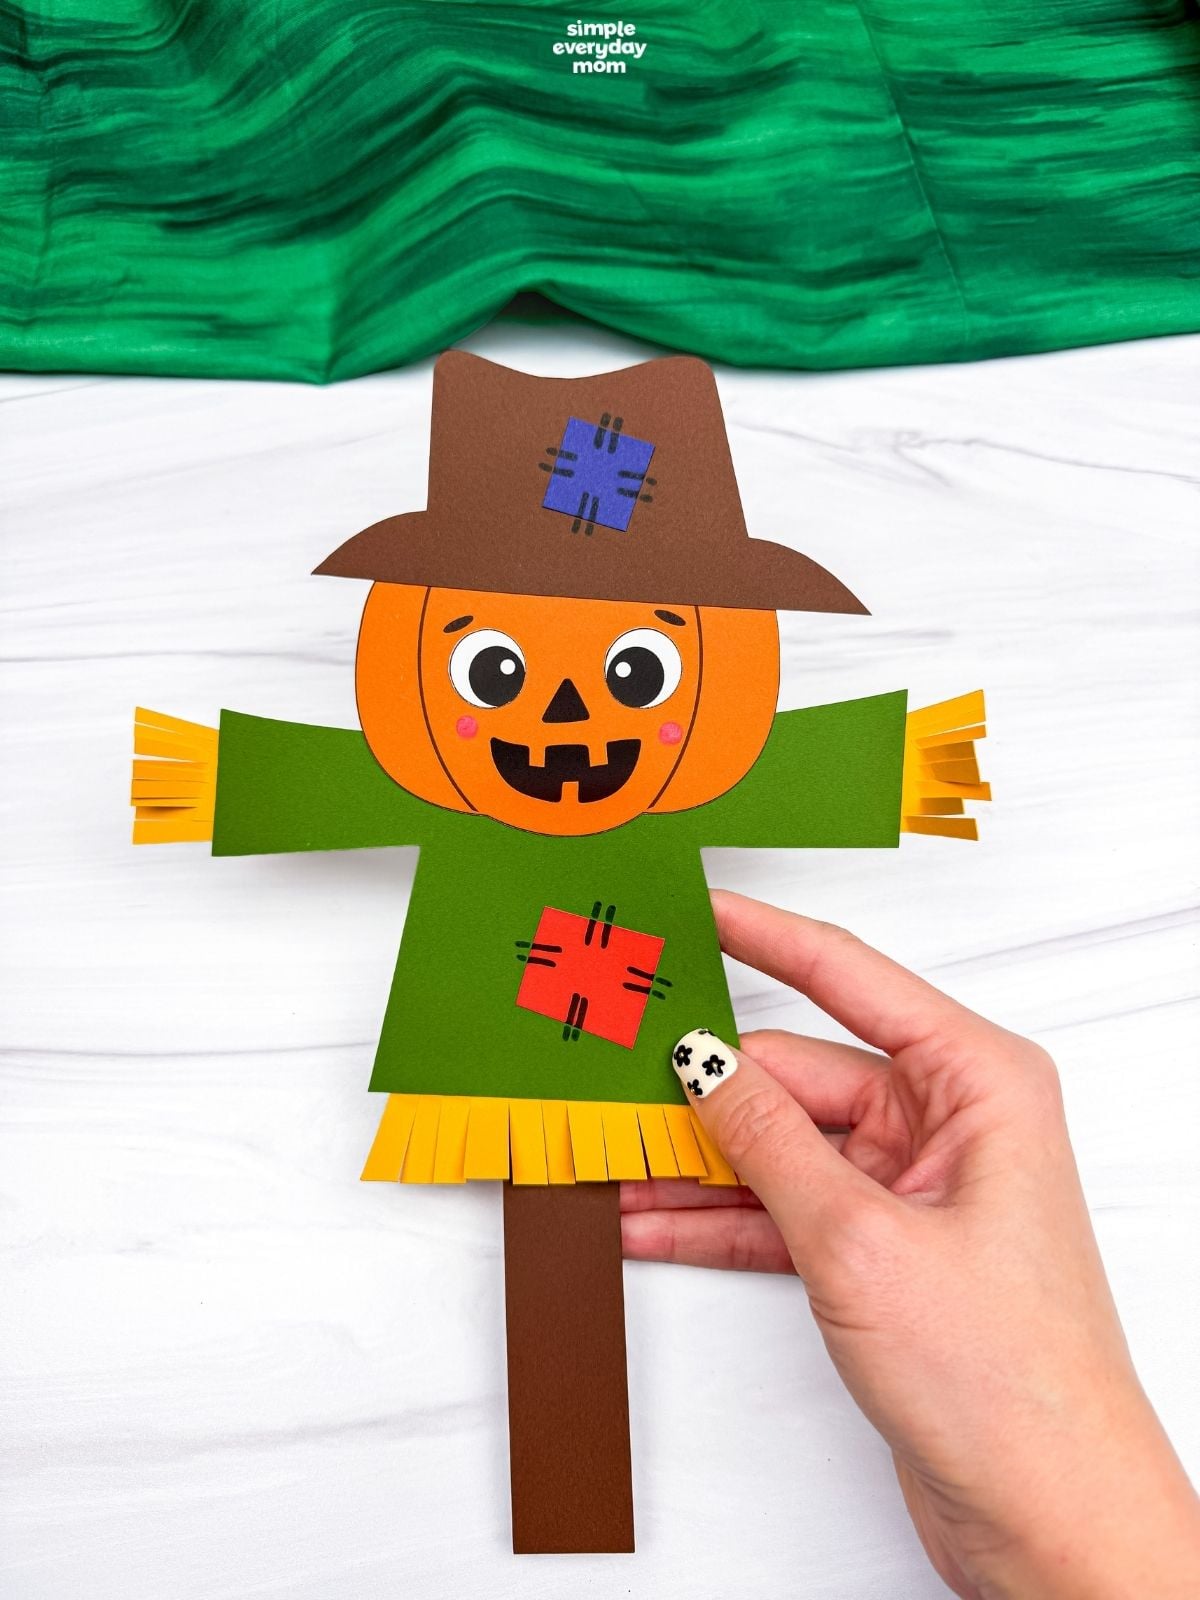
Finish the craft by gluing the stick to the back of the scarecrow, and it’s complete! This fall activity gives kids a fun way to practice cutting, gluing, and fine motor skills while creating their own pumpkin scarecrow.
Keep the fall fun going with the related crafts and activities below. They’re easy to mix into a fall lesson plan, pumpkin theme, scarecrow unit, or afternoon of seasonal fun.
Fall Books for Children


There Was An Old Lady Who Swallowed Some Leaves: The mischievous old lady swallowed a handful of leaves! Her tummy started to rumble. So she swallowed some more items. Then, even more. But as her stomach grew full, the leaves began to poke out through her mouth… when suddenly – poofffff! – it turned into a scarecrow!
Pete The Cat Falling For Autumn: Pete is not a fan of fall. But he decides to do some detective work and finds out that there are many things about this season he loves, like corn mazes, hayrides, wearing scarves, and apple picking! This story helps kids learn that even though they might not love every season of the year, there are still good parts to each one.
We’re Going On A Leaf Hunt: The seasons are changing, the days are getting shorter, and children everywhere are starting to make plans for their favorite outdoor adventures – and what could be more fun than a Leaf Hunt?!
Harvest Themed Crafts
Fork Painted Scarecrow Craft – The painted straw is what makes this one different. Kids use a fork to stamp and drag paint into those wispy straw pieces before adding the scarecrow’s face and clothes. Using a fork instead of a paintbrush makes the painting part WAY more interesting.
Pumpkin Shape Craft – That curled little vine is such a good finishing detail on this pumpkin. Kids build the pumpkin from simple shapes, then can wrap the vine around a pencil before gluing it in place. It’s a small step, but it changes the whole look of the pumpkin.
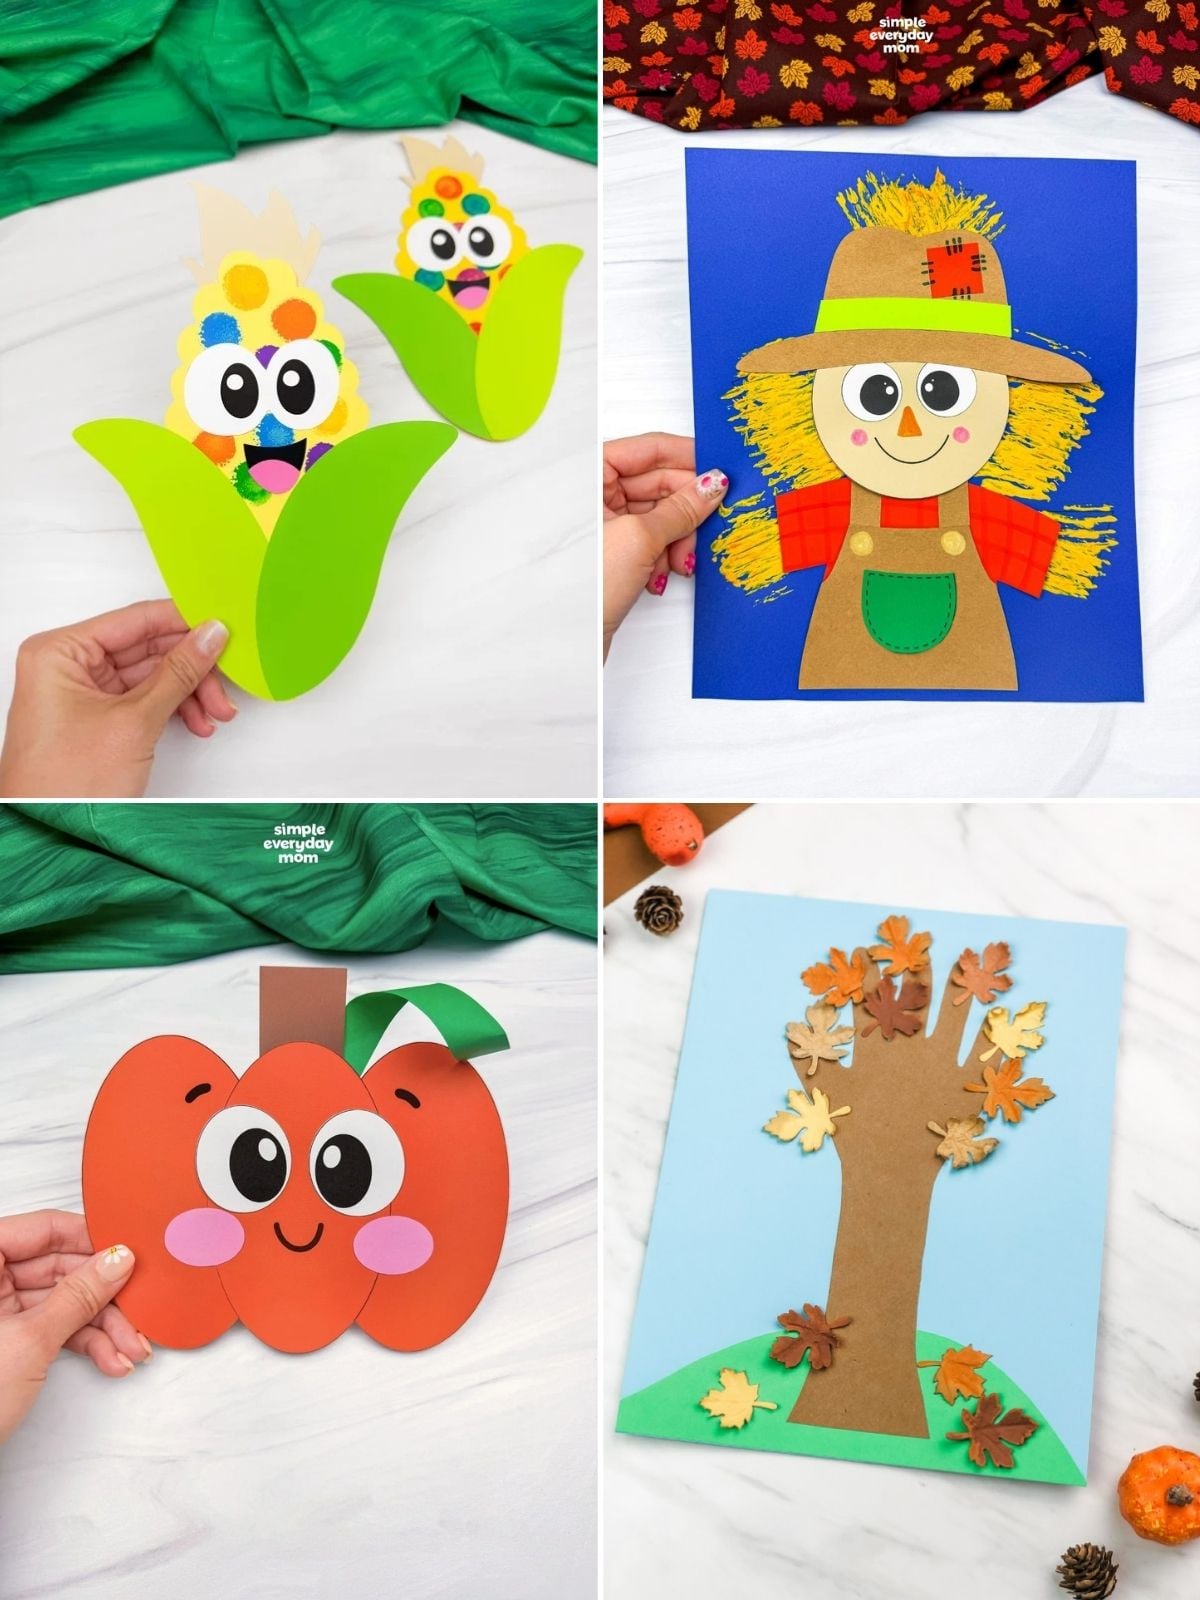
Indian Corn Craft – Dot markers get to become corn kernels with this idea, which is already a pretty good reason to make it. Kids fill the corn with colorful dots before adding the husk and goofy little face.
Handprint Fall Tree – Instead of using just a handprint, kids trace their hand, wrist, and forearm for the activity. It makes such a good tree shape! Then they can scatter colorful leaves across the branches and along the ground.
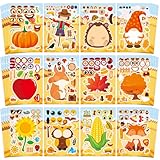


Fall Activities for Kids
Finding all the S’s in a maze feels much more like solving a puzzle than working on letter recognition. The squirrel worksheets include a letter maze along with a cut-and-paste page where kids figure out where labels like tail, ear, and foot belong on the squirrel.
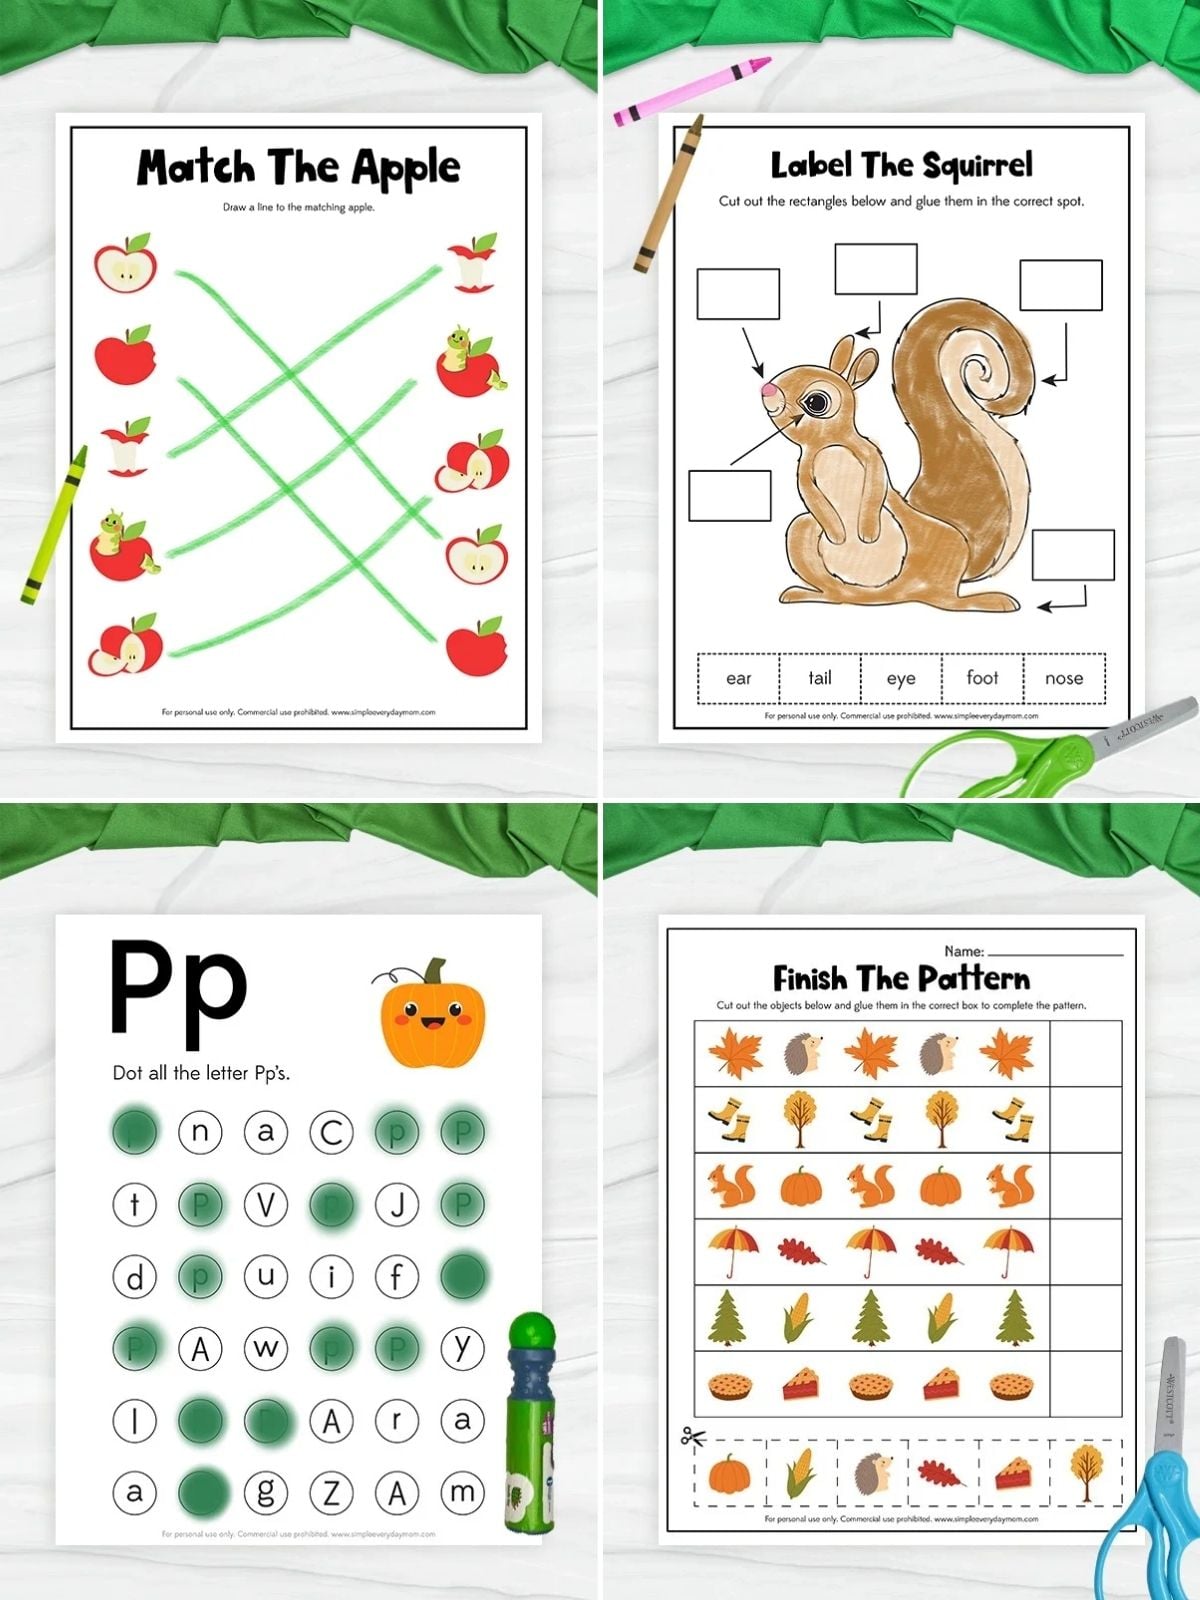
Have a bushel of fun while building important skills with these apple activity pages. Kids will count apples and fill in a graph to practice early math, match identical apples to strengthen visual discrimination, guide a caterpillar through a maze for problem solving practice, and pair apples with their shadows to build shape recognition and visual processing. They’re a sweet way to add some apple themed learning to a fall preschool lesson.
There’s something really satisfying about figuring out what comes next and then getting to cut out the answer yourself. With the fall pattern worksheets, kids study the autumn pictures, choose the missing piece, and glue it into the pattern.
Give kids a smiling pumpkin and a dot marker and they’re probably not going to need much convincing. These pumpkin do a dots include a page kids can cover in dots, plus activities built around the letter P and numbers. It’s fall practice with a LOT more stamping involved.
Share With Us
Did you make this activity with your kids or students? We’d love to feature them on our social media!
For a chance to have your child’s project featured, simply snap a picture of the completed project and post it to our Facebook page, email it to us directly by clicking here, or use #simpleeverydaymom on your social media!
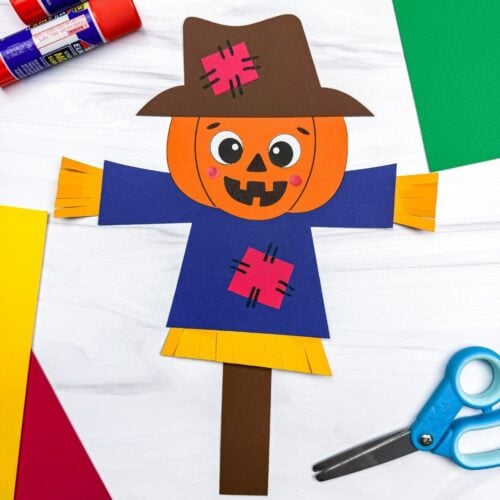
Pumpkin Head Scarecrow Craft
Video
Materials
- Colored cardstock or construction paper
- Scissors
- Glue
- Crayola Bold & Bright markers
- Black marker
- Pumpkin head scarecrow template
Instructions
- Print the template and gather the materials for this fun activity.
- Begin by gluing the eye pieces onto the pumpkin head, below the eyebrows.
- Use a Crayola bold & bright marker to add the cheek details.
- Glue the hat onto the top of the pumpkin head.
- Look for the hat patch and glue it onto the hat.
- Use a marker to draw stitch lines around the hat patch.
- Glue the completed pumpkin head to the top of the shirt.
- Glue the shirt patch onto the bottom center of the shirt.
- Draw stitch lines around the shirt patch.
- Cut fringe along one edge of the arm straw and shirt straw pieces.
- Glue the shirt straw along the bottom of the shirt.
- Glue the arm straw pieces to the ends of both arms.
- Gently bend the fringed shirt straw upward to add texture.
- Finally, glue the stick to the back and bottom center of the scarecrow to complete the craft.
Did you make this?
Don’t forget to leave a comment below and make sure to follow on Pinterest, Facebook and TikTok for more!
Free Pumpkin Head Scarecrow Template


Meet Sam
Sam is the crafter and founder of Simple Everyday Mom. She has been featured in Oprah Mag, Good Housekeeping, The Spruce Crafts, Country Living, The Bump, and more.