R2D2 Craft For Kids
All activities require adult supervision. By using this site, you agree to our terms of use. This post may contain affiliate links. As an Amazon Associate and a participant in other affiliate programs, I earn a commission on qualifying purchases. Read our disclosure policy.
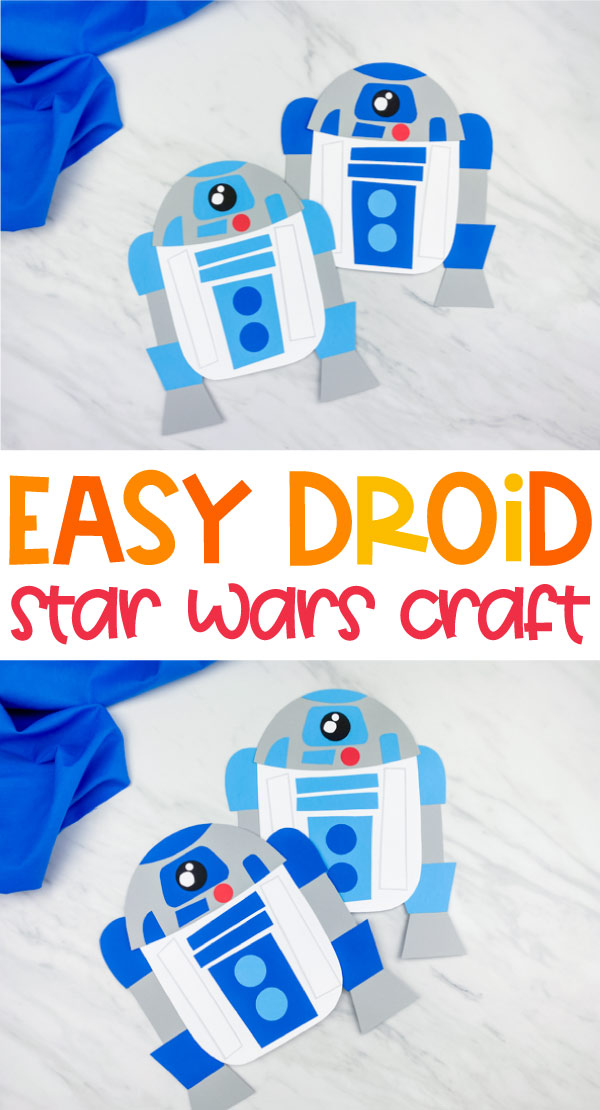
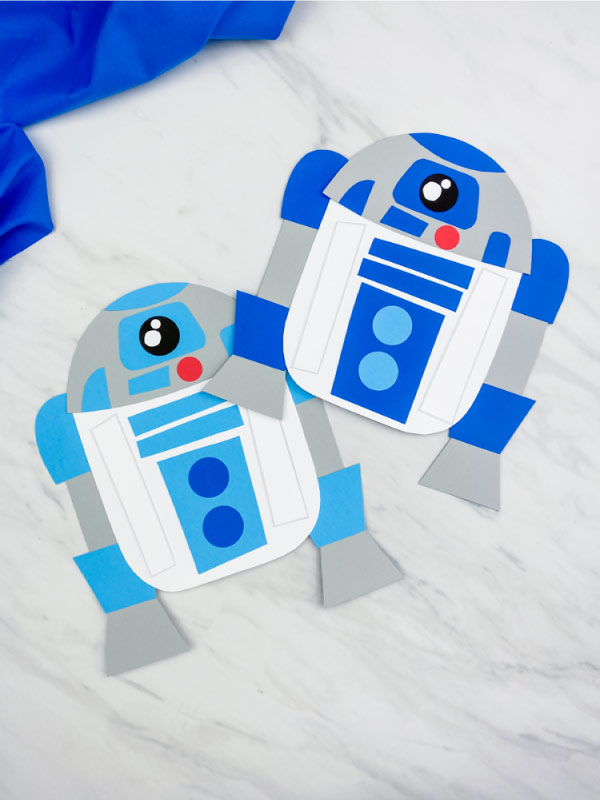
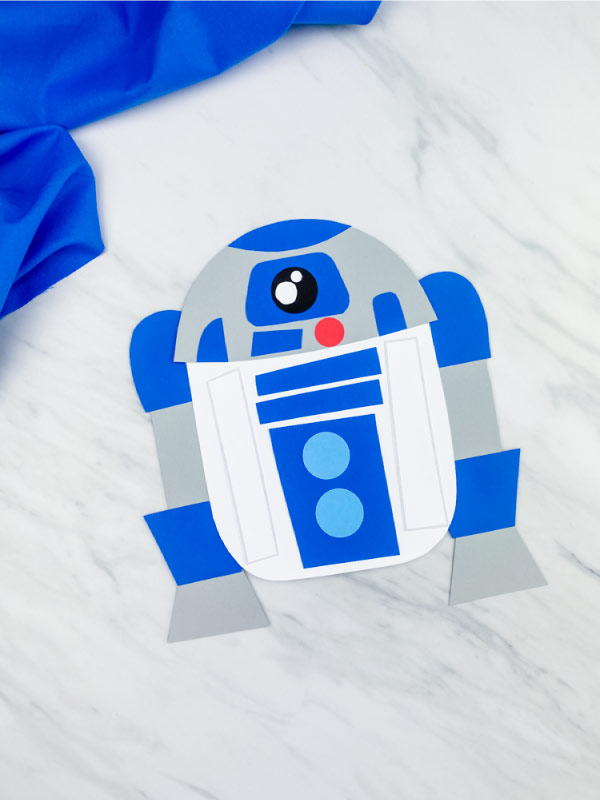
This simple R2D2 craft for kids is a fun activity for little Star Wars fans!
Whether you’re making them for May the 4th or any other time of the year, this craft is engaging and allows kids to create their own custom-colored droid.
We’ve included a free printable template to make is easy to have all the right shapes on hand!
We suggest watching the video first to see exactly how we put this guy together, then read the step by step directions if you need more help.
Related: National Star Wars Day Ideas For Kids
Build A Droid Craft
Supplies
- Colored cardstock or construction paper
- White card stock or plain paper
- Glue stick
- Scissors
- Hole punch (optional)
- R2D2 craft template (download form located at the end of this post)
Related: Star Wars Droid Watercolor Project
Directions
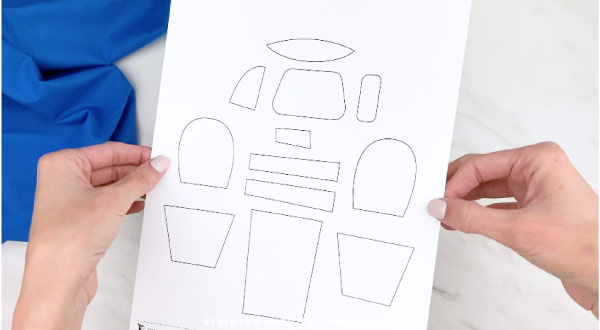
Download the free printable R2D2 template, print out the pieces and cut them out.
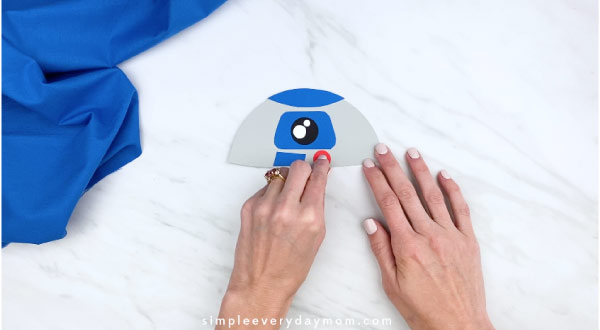
We’re going to begin building R2D2 by starting with his head. Glue the top blue part to the edge of his head. Next, place the rounded rectangle piece just below the first piece you glued on. Place the black circle in the middle of this piece and glue in place.

Use scissors and a standard hole punch to cut out two small white circles and glue these to the black circle for his “eye”. Glue the small, blue rectangle and red circle just below this section. Glue the two other blue pieces halfway off the main gray piece and use scissors to trim off the excess.
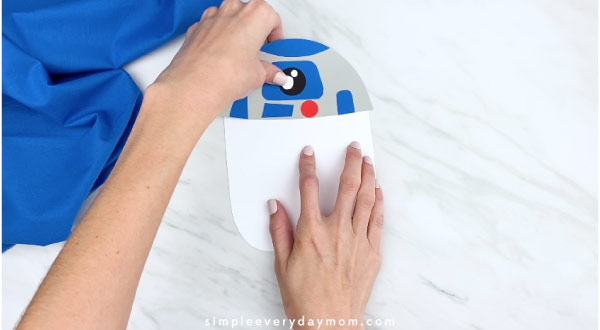
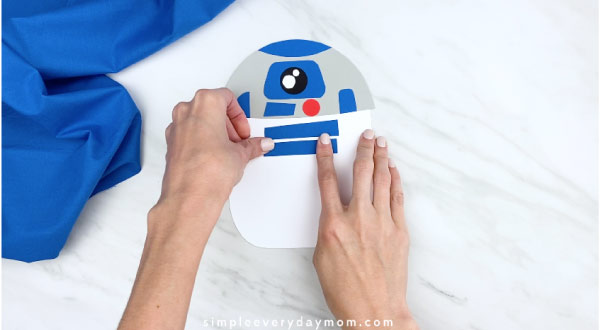
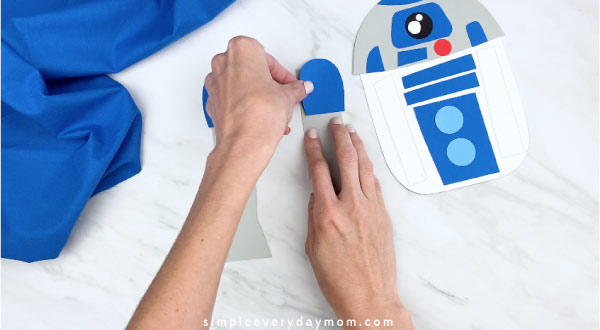
Take the completed top piece and glue it to the top part of the white droid base. Take the two blue, long rectangles and glue them just below the gray head. Next, take the large, blue rectangle and glue below the previous pieces.
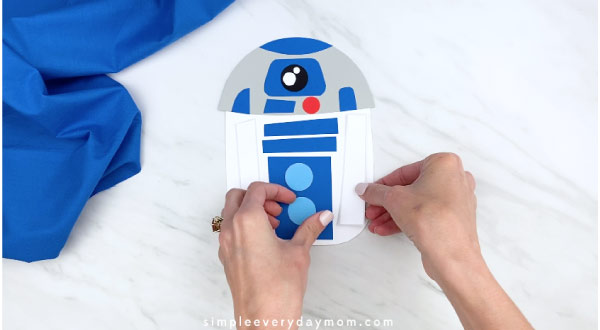
Use scissors or a circle punch to cut out two medium-sized circles from the light blue paper and glue them in the middle of the large blue rectangle. Take the gray-outlined, white rectangle and glue them on either side of the droid base.

Begin to assemble R2D2’s legs by gluing the blue, round piece to the top, outside of the droid leg. Take the blue trapezoid and glue it on the leg where it begins to flare out. Repeat on the other leg.
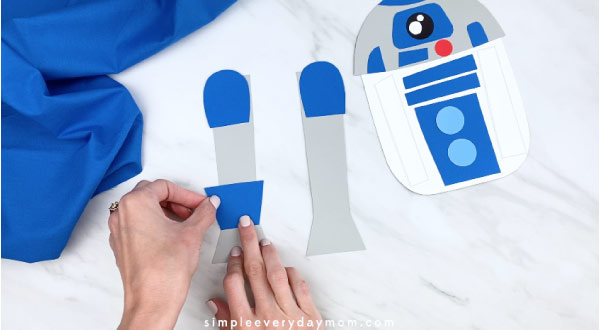
Glue the completed legs to the back of the droid base, as in the pictures.
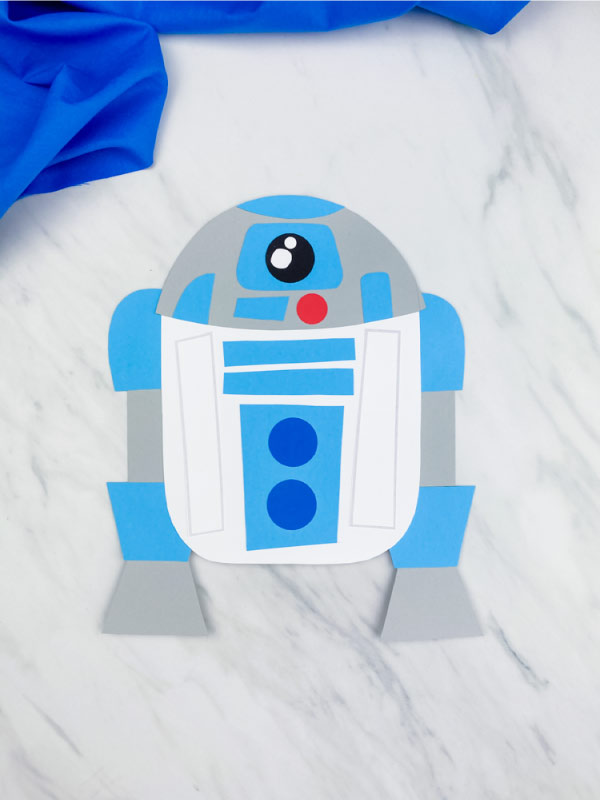
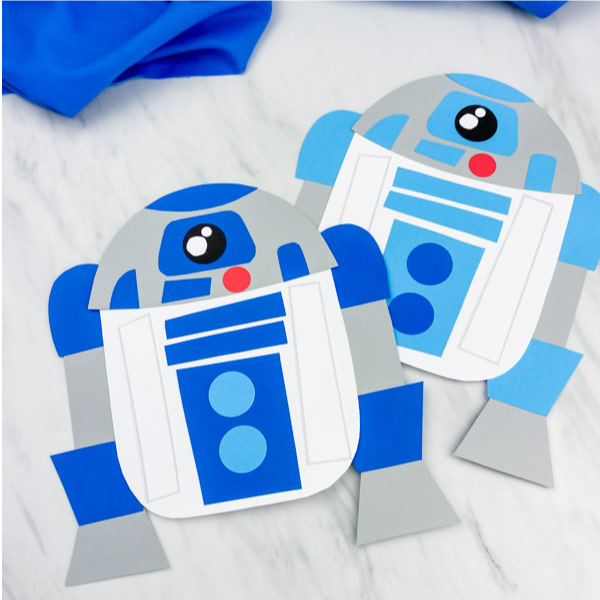
Now you’ve got yourself a fun and custom R2D2! We chose two different shades of blue to give this craft a true R2D2 look, but feel free to choose any colors you’d like.
We think it’d look really fun in a variety of rainbow colors.
If the written directions are a little unclear to you, be sure to watch the video. It’s super easy to understand the directions if you watch it.
This craft is great for doing when the kids are home, whether that’s on school break or just the weekends! It would also work great for a Star Wars themed birthday party!
Share With Us
Did you make this R2D2 craft with your kids or students? It’s time to show it off!
Take a quick picture and post it on our Facebook page wall or join our private Facebook group and show us in there.
More Paper Crafts For Kids
R2D2 Craft For Kids
Video
Equipment
- Scissors
- Hole punch (optional)
Materials
- Colored cardstock or construction paper
- White card stock or plain paper
- Glue stick
- R2D2 craft template download form located at the end of this post
Instructions
- Download the free printable R2D2 template, print out the pieces and cut them out.
- Begin building R2D2 by starting with his head. Glue the top blue part to the edge of his head. Next, place the rounded rectangle piece just below the first piece you glued on. Place the black circle in the middle of this piece and glue in place.
- Use scissors and a standard hole punch to cut out two small white circles and glue these to the black circle for his "eye". Glue the small, blue rectangle and red circle just below this section. Glue the two other blue pieces halfway off the main gray piece and use scissors to trim off the excess.
- Take the completed top piece and glue it to the top part of the white droid base. Take the two blue, long rectangles and glue them just below the gray head. Next, take the large, blue rectangle and glue below the previous pieces.
- Use scissors or a circle punch to cut out two medium-sized circles from the light blue paper and glue them in the middle of the large blue rectangle. Take the gray-outlined, white rectangle and glue them on either side of the droid base.
- Begin to assemble R2D2’s legs by gluing the blue, round piece to the top, outside of the droid leg. Glue the blue trapezoid and glue it on the leg where the begins to flare out. Repeat on the other leg.
- Glue the completed legs to the back of the droid base, as in the pictures.
Did you make this?
Don’t forget to leave a comment below and make sure to follow on Pinterest, Facebook and TikTok for more!
Free R2D2 Template

Meet Sam
Sam is the crafter and founder of Simple Everyday Mom. She has been featured in Oprah Mag, Good Housekeeping, The Spruce Crafts, Country Living, The Bump, and more.


Could I get the template to download free?
Of course! All you need to do is enter your email in the form at the end of this post and you’ll get the template link 🙂
Cute project for second graders!
Happy you think so!
I would like to make it but cannot get template. I have tried twice for this and for the panda bear puppet
Hi! I checked your email in our system and it shows you did request it and were automatically redirected to the download page, though that may not have been obvious. You can enter your email again and it will take you to the download page ◡̈
So cool. we’re just introducing star wars to our grandkids. My almost 3-yr-old calls R2-D2 “Bee Boop”
Haha, that’s cute! Star Wars is fun!
Can I have the R2D2 Craft please
Of course! All you need to do is enter your email in the form at the end of this post to have the link sent to you. Once you’ve been confirmed as an email subscriber (by clicking the link in the first email), you simply enter your email in any of the forms and it’ll automatically redirect you to the download page.
This looks really cool! I would love to try this with my students!
Of course! All you need to do is enter your email in the form at the end of this post to have the link sent to you. Once you’ve been confirmed as an email subscriber (by clicking the link in the first email), you simply enter your email in any of the forms and it’ll automatically redirect you to the download page.
Please email me the link to download the form. Thank you!
Of course! All you need to do is enter your email in the form at the end of this post to have the link sent to you. Once you’ve been confirmed as an email subscriber (by clicking the link in the first email), you simply enter your email in any of the forms and it’ll automatically redirect you to the download page.
There’s no form to enter my email except the comment section. How do I get the template for this and all your star wars themed crafts?
Hi Nichole! I just check and the form is still there. It’s above the comments section, under the heading titled “Free R2D2 Template”. If you’re not able to see it, it most likely means you have a firewall or adblocker blocking it from appearing. If you can allow the page or try from a personal device, you should be able to see it. Also, some readers say they’re not able to see it on Chrome, but they can on other browsers. You may be able to try that as well ◡̈
Can I please get the download?
Of course! All you need to do is enter your email in the form at the end of this post to have the link sent to you 🙂
great craft for May 4th
Thanks!
Where do you download the template? The print button is only for the instructions.
If you enter your email in the form that is just above the comments section, the link will be sent to you. It’s under the subheading labeled, “Free R2D2 Template”.