

Santa’s Workshop Paper Bag Craft for Kids [Free PDF Template]
All activities require adult supervision. By using this site, you agree to our terms of use. This post may contain affiliate links, sponsored links, and ads. As an Amazon Associate and participant in other affiliate programs, I earn from qualifying purchases.. Read our disclosure policy.
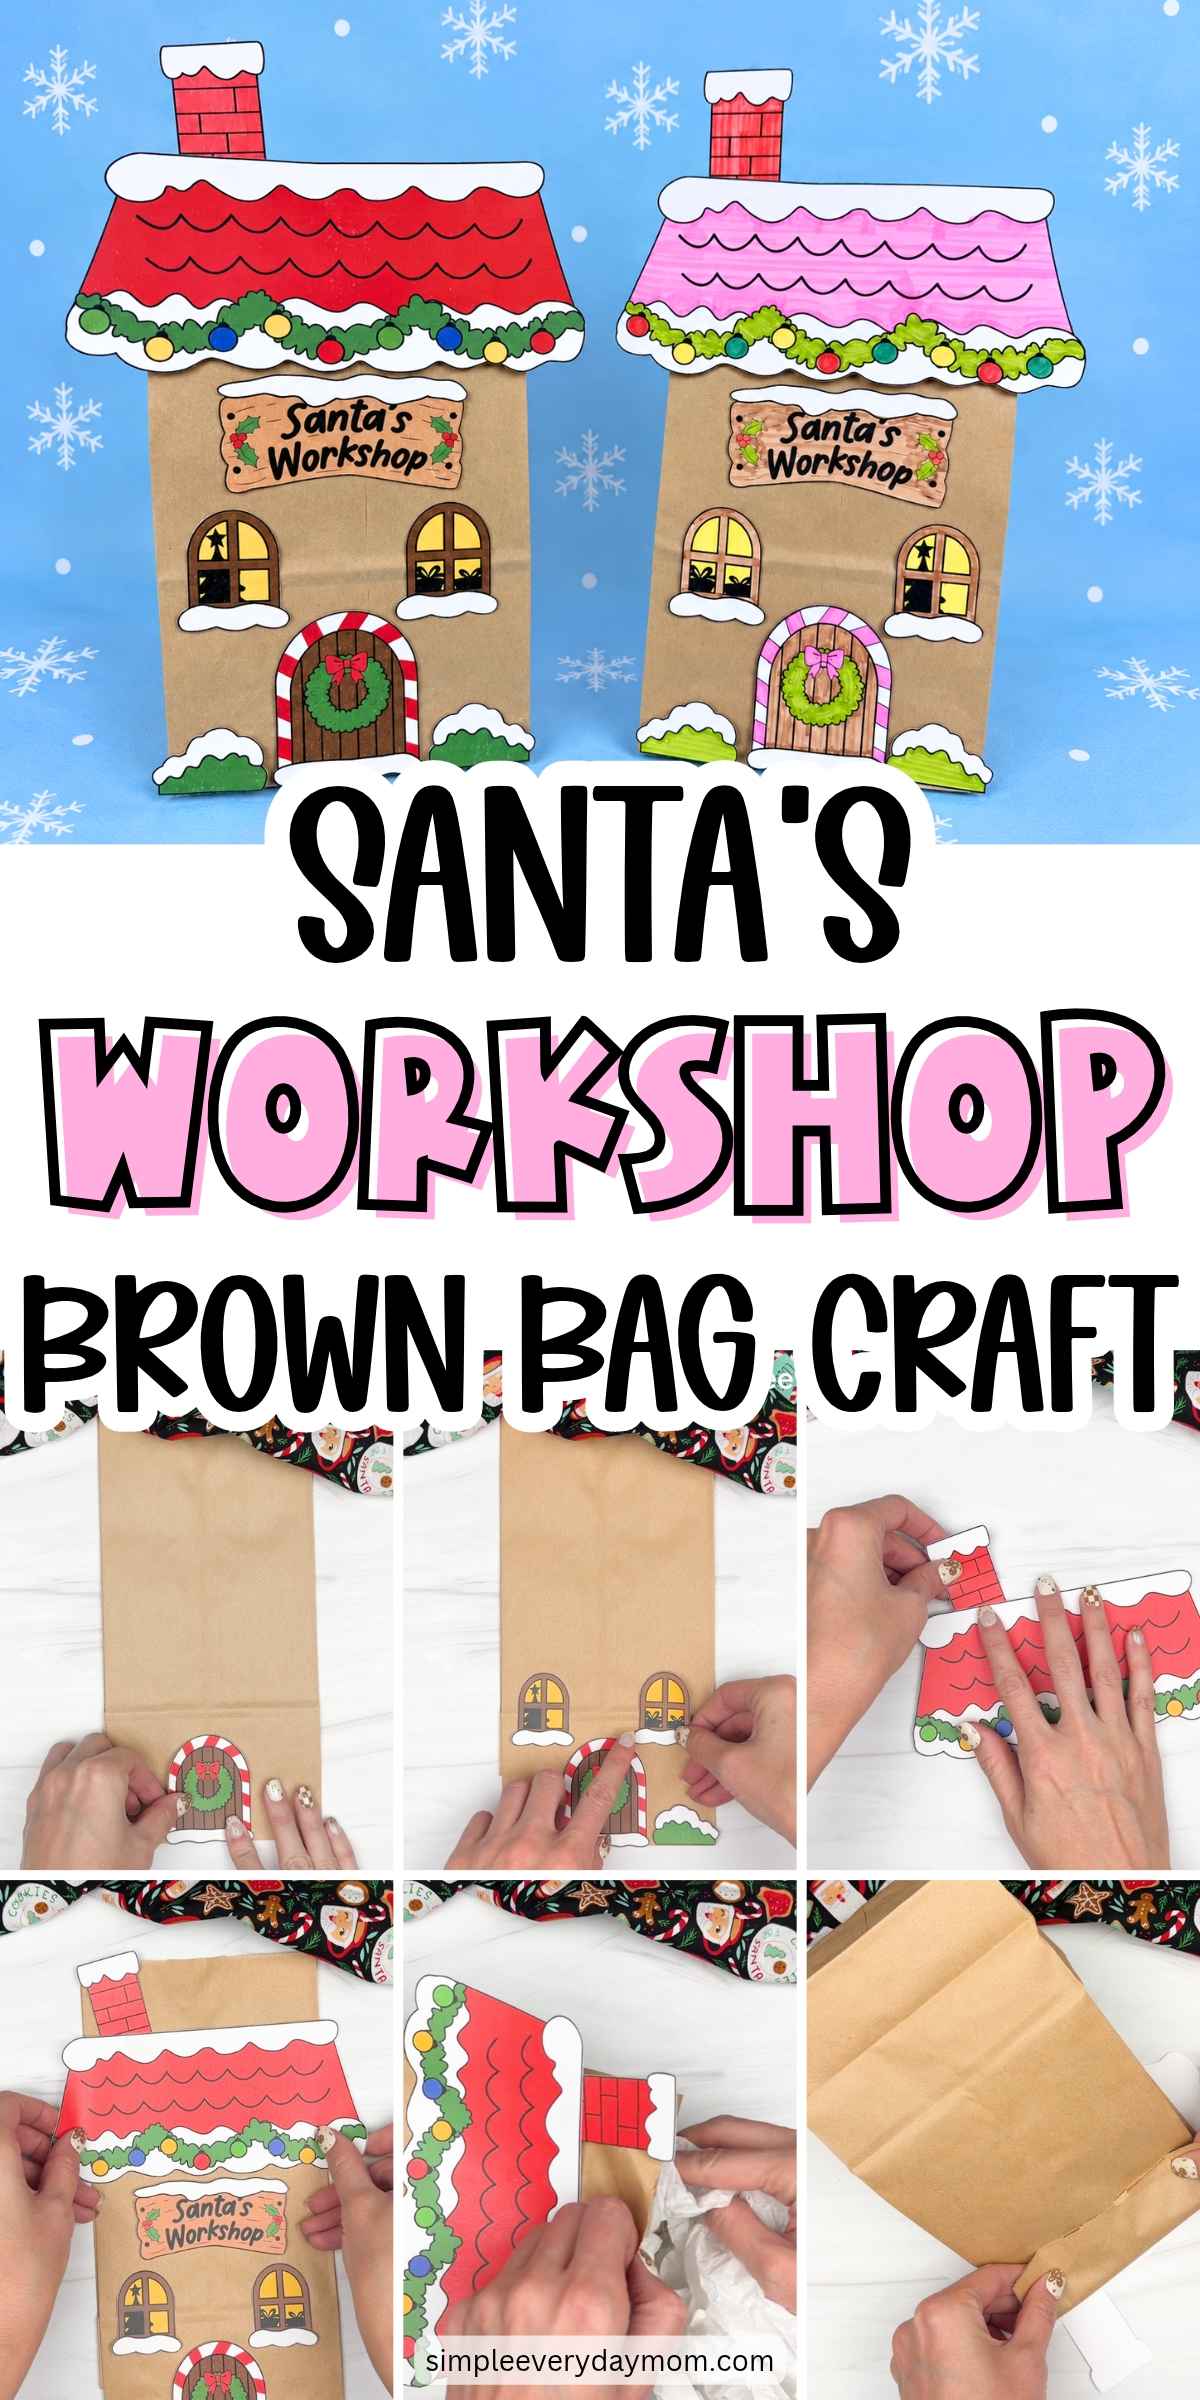
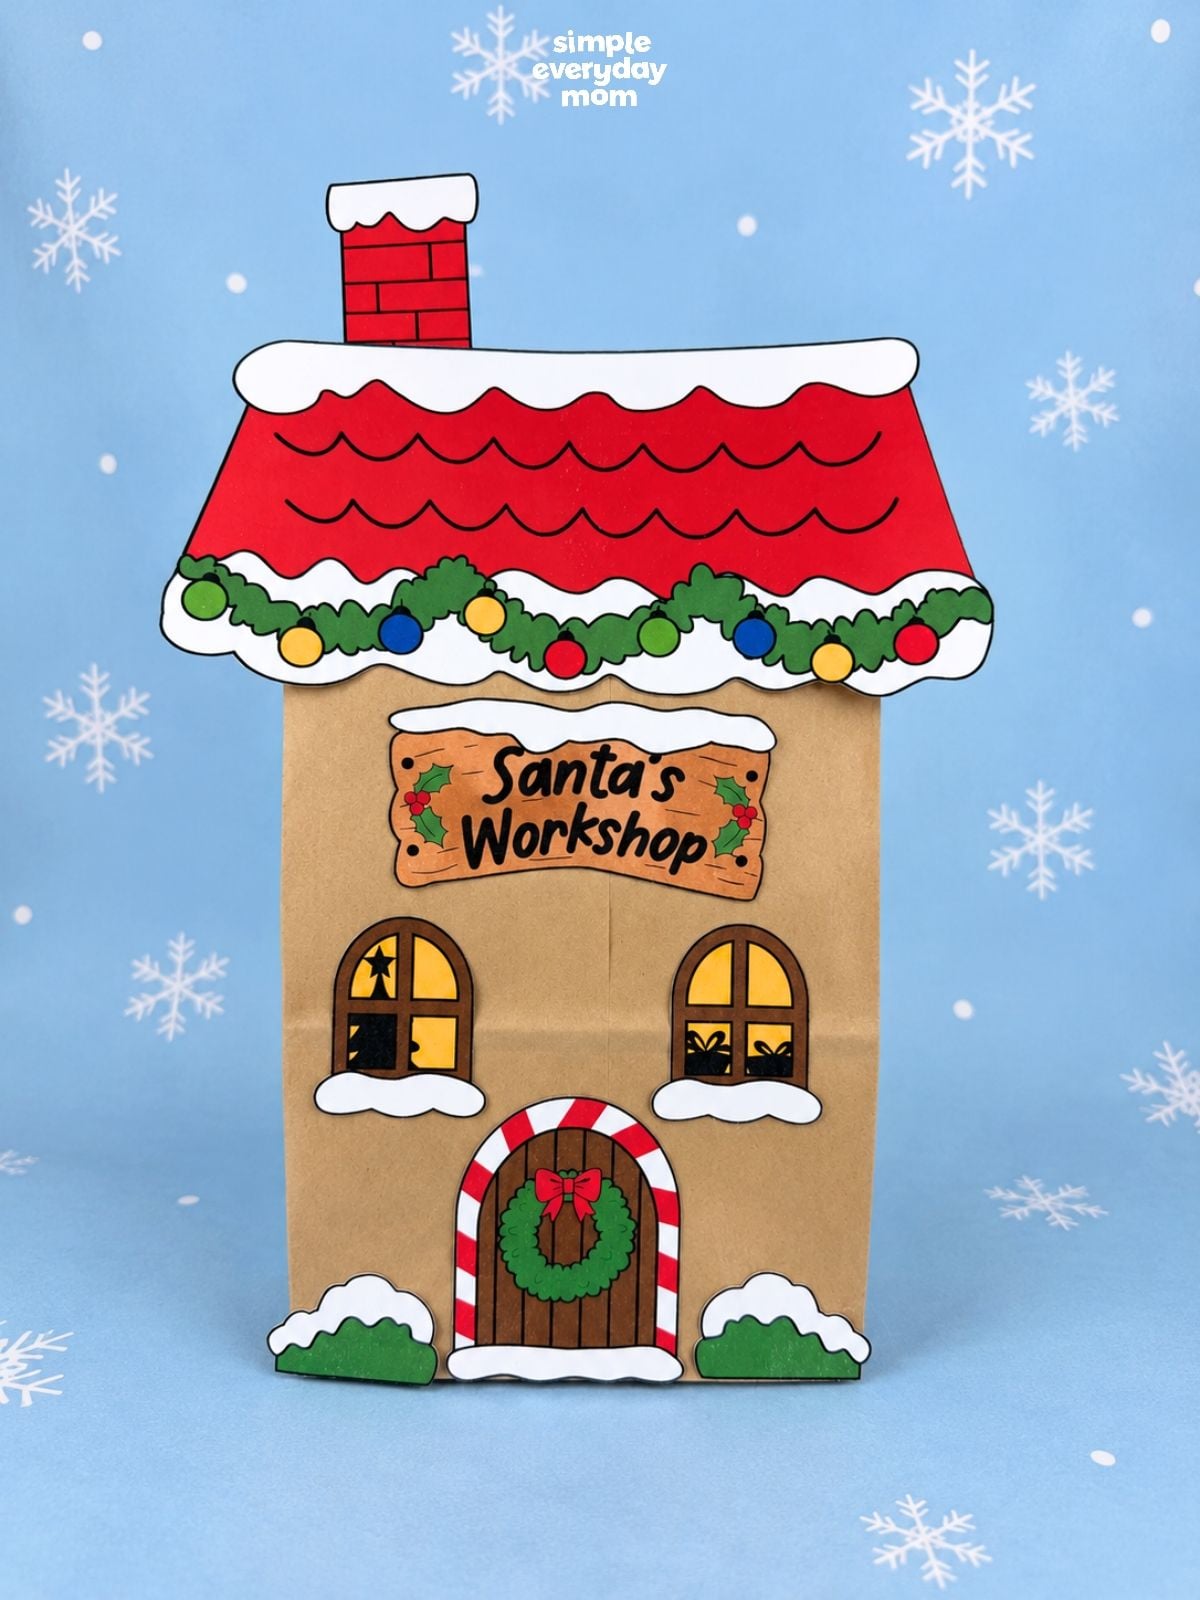
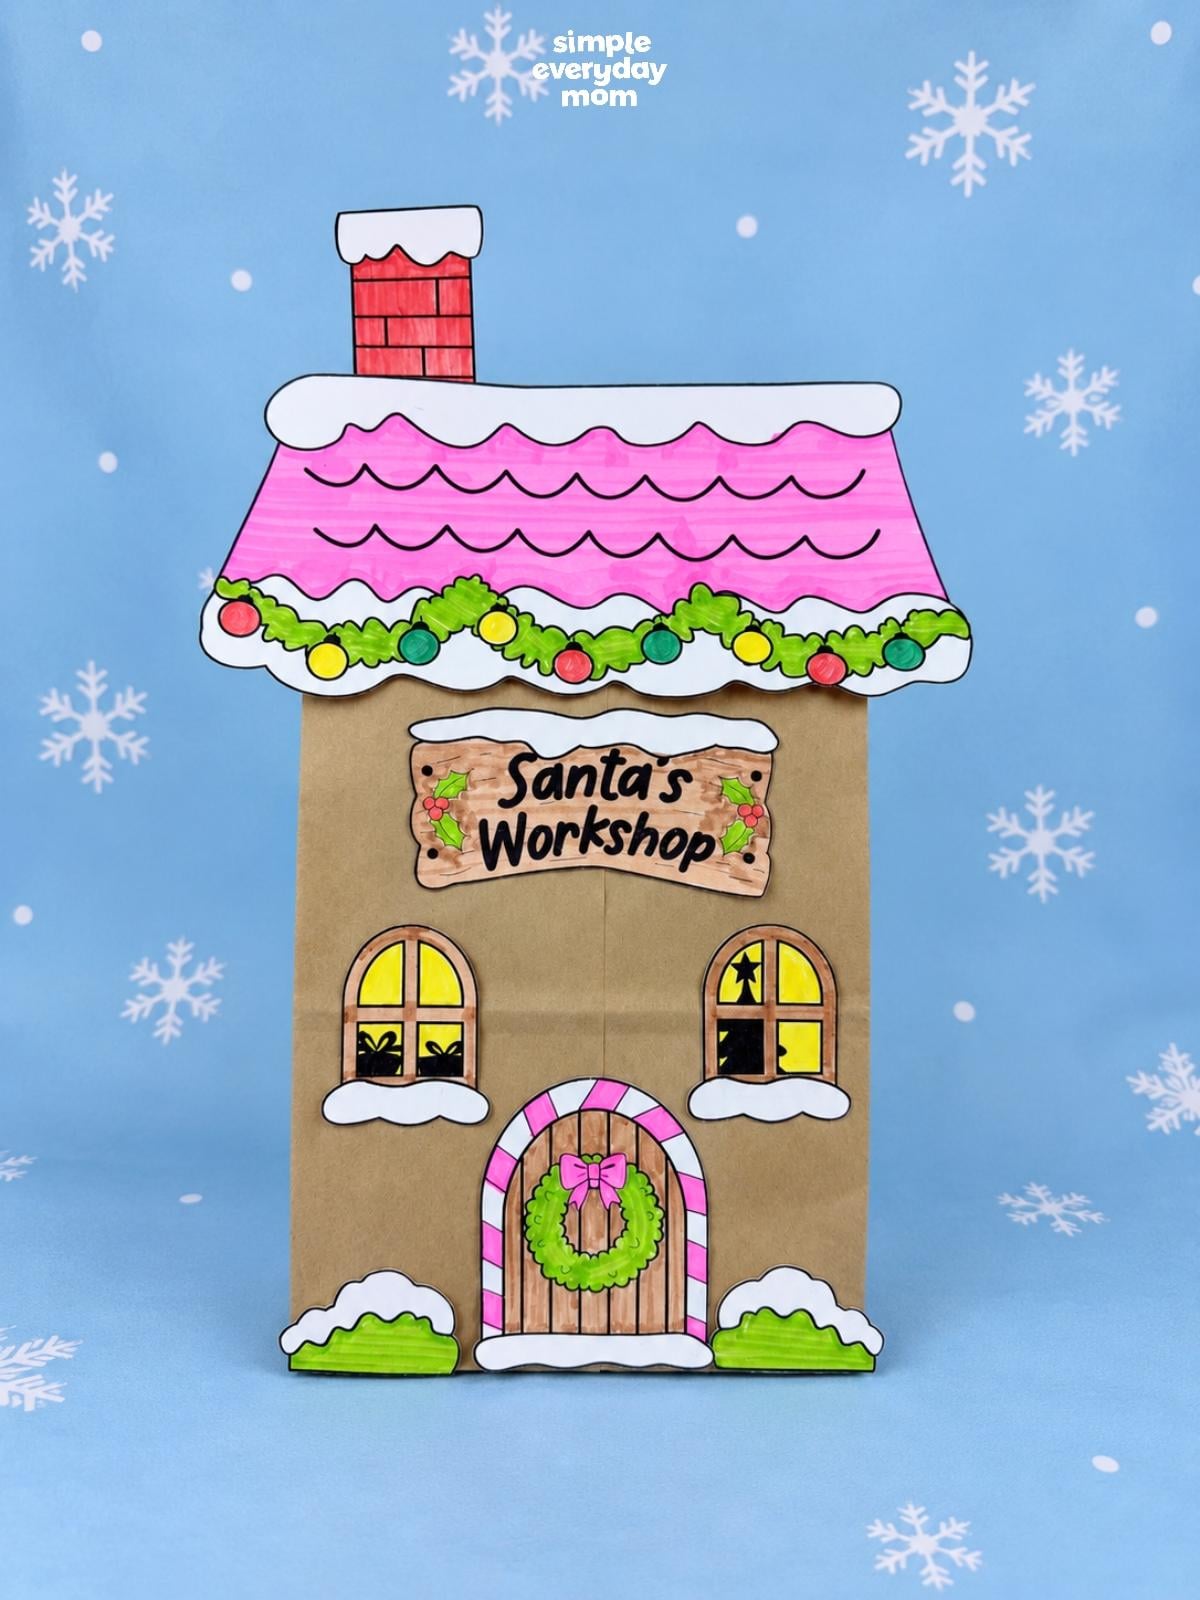
What do you think Santa’s workshop looks like at the North Pole? This Santa’s workshop paper bag craft lets kids make their own little version, complete with a snowy roof, Christmas lights, and a wreath on the front door. It’s a cute Christmas project for preschool through 2nd grade and takes about 25-35 minutes to make.
If your kids are already talking about Santa and his elves nonstop, be sure to check out our other Christmas crafts. You’ll find lots of easy ideas to keep them busy while they wait for Christmas to get here.
Good To Know
- Themes: Christmas, Santa’s workshop, holiday crafts
- Activity: Color, cut, and glue the workshop pieces onto a brown paper bag to create Santa’s festive workshop
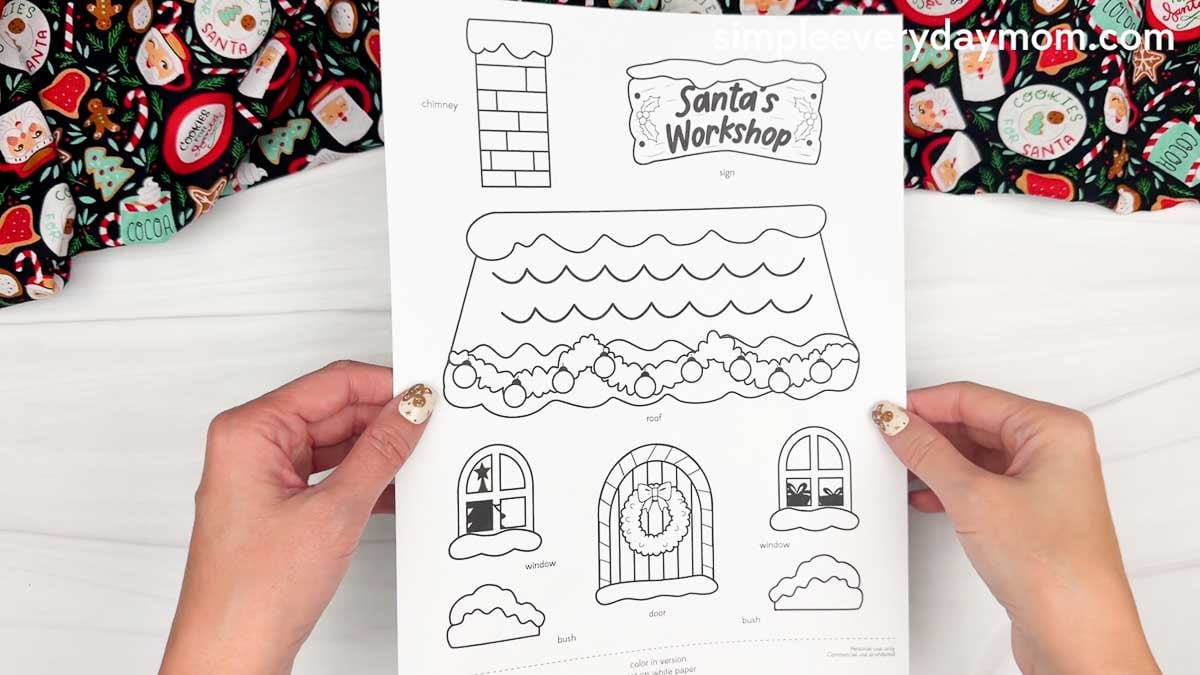
- Template: Includes a free printable template with a snowy roof, chimney, windows, door, decorations, and Santa’s Workshop sign
- Ages: Preschool, pre-K, kindergarten, and early elementary
- Time: 25-35 minutes
- Skills: Fine motor skills, scissor skills, coloring, hand-eye coordination, spatial awareness, and following directions
Christmas Village Craft for Kids
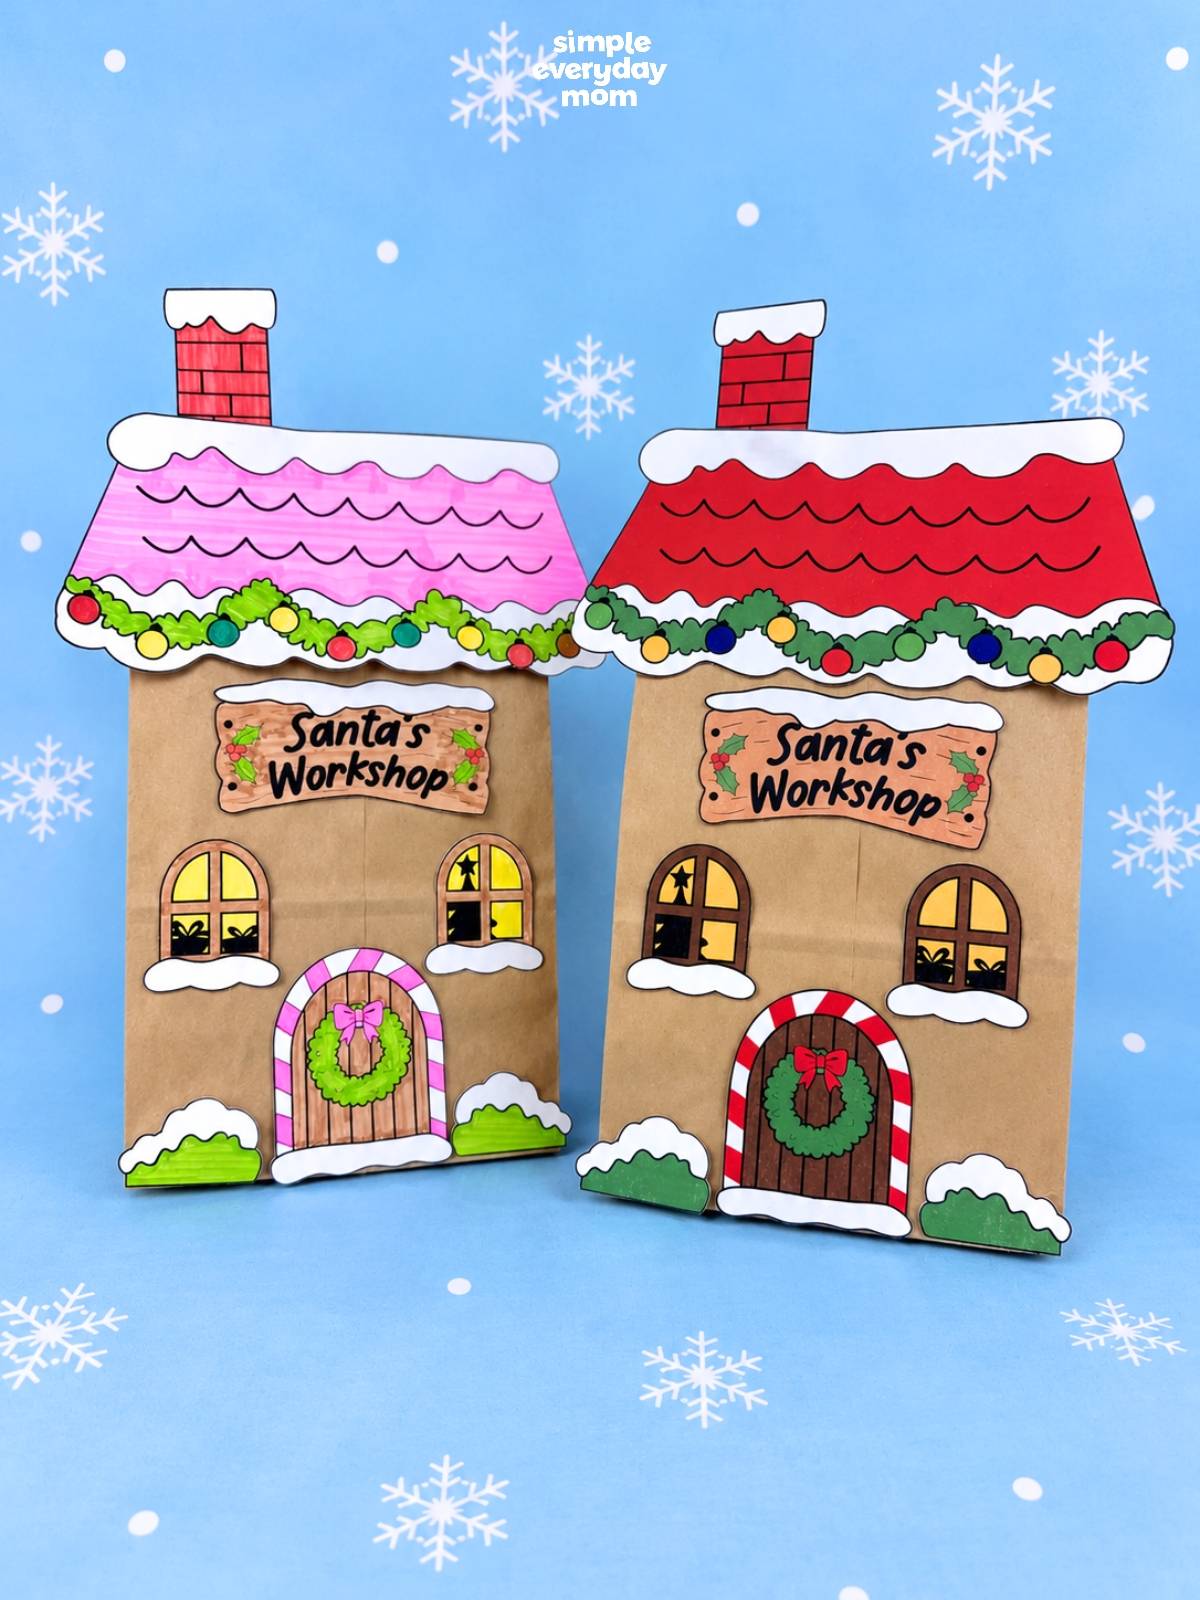
My favorite part of this craft is all the little details that make it look like a real building. There are glowing windows, snow piled along the roof, and even a little sign that says Santa’s Workshop. Kids can stick with traditional red and green or make their workshop whatever colors they want.
There’s quite a bit of coloring and cutting involved, so kids will get plenty of fine motor practice along the way. They’ll also work on hand-eye coordination as they figure out where all the pieces belong on their paper bag.
The printable pieces make it easier to put everything together, and younger kids can have some of the trickier shapes cut out ahead of time. These would be especially cute lined up on a classroom shelf. You could make a whole little North Pole village!
Supplies
- Colored cardstock or construction paper
- Brown Paper Bag
- Scissors
- Glue
- Markers
- Tape
- Packing paper or printer paper
- Santa’s workshop template (click the “click here to get your freebies” image at the end of the post)
Directions
Start by printing the template, then gather the materials for this fun activity. Get those scissors ready, and let’s help the kids bring this Santa’s workshop to life!
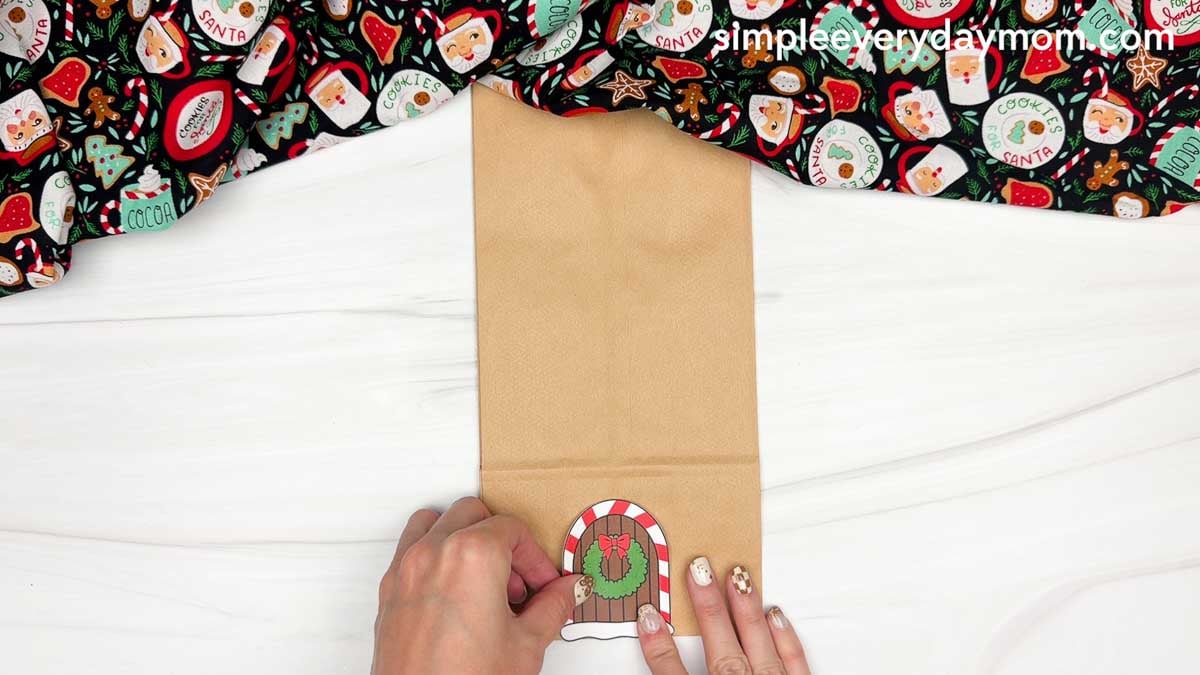
Look for the door piece with the Christmas wreath. Glue it to the bottom center of the brown paper bag, making sure the snowy bottom edge lines up with the bottom of the bag.
Glue the bush pieces on each side of the door, lining them up along the bottom edge of the paper bag.
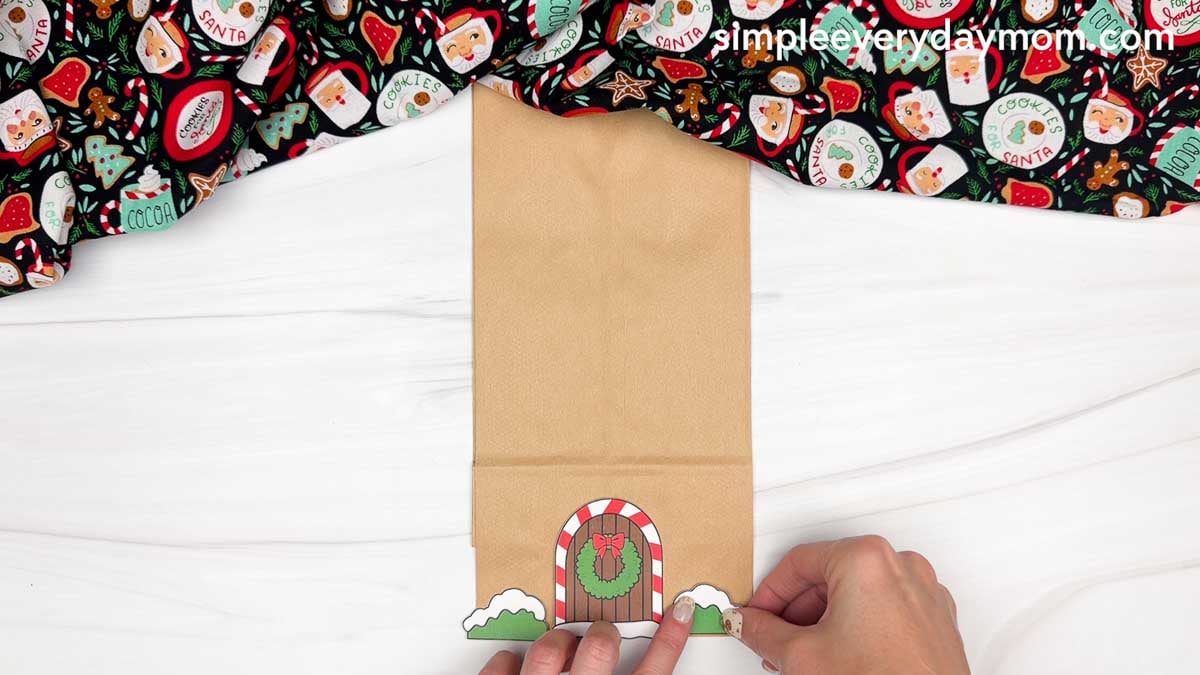
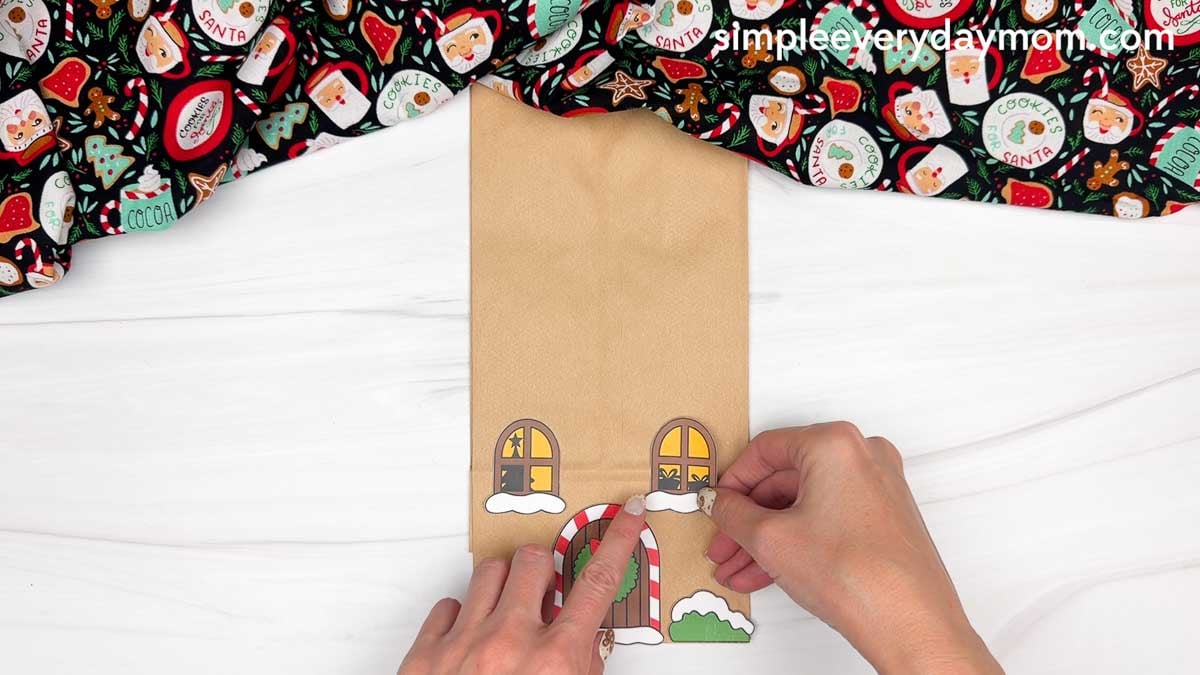
Look for the two window pieces and glue one on each side above the door. Have your child look closely at the little presents and decorations inside the windows. What do they think Santa’s elves are making in the workshop?
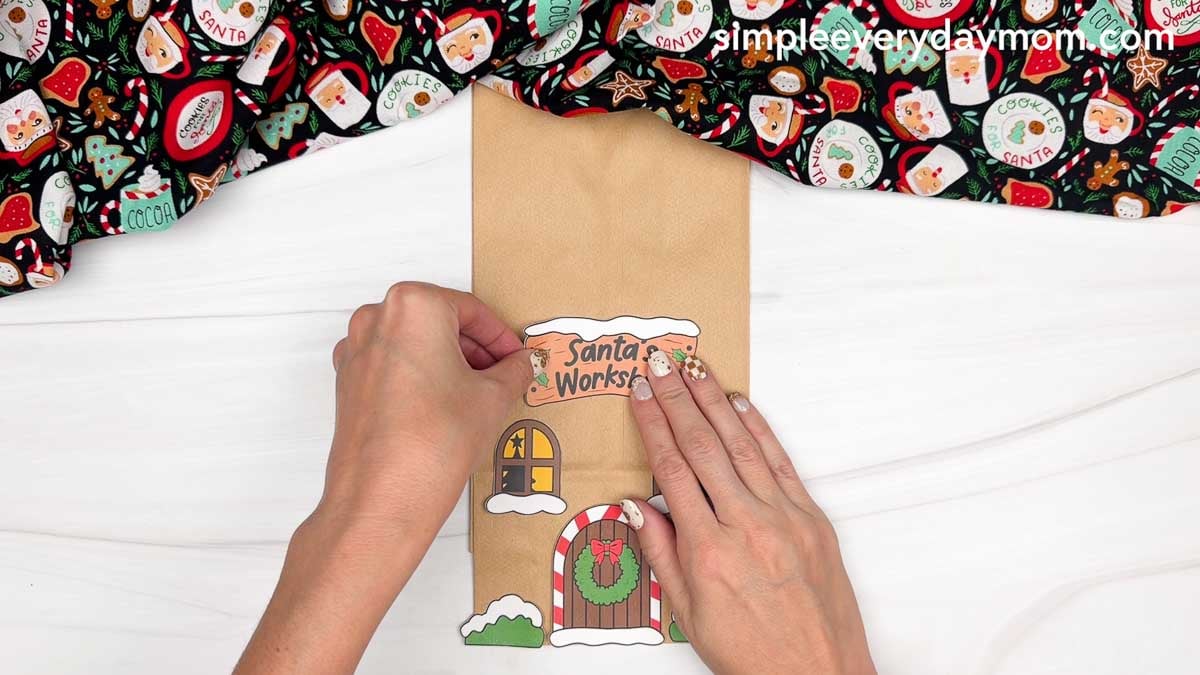
It’s time to give the workshop its name! Glue the Santa’s Workshop sign above the windows, making sure it’s centered on the brown paper bag.
Take the roof and chimney pieces. Glue the chimney behind the top left side of the roof so the snowy top peeks out above it.
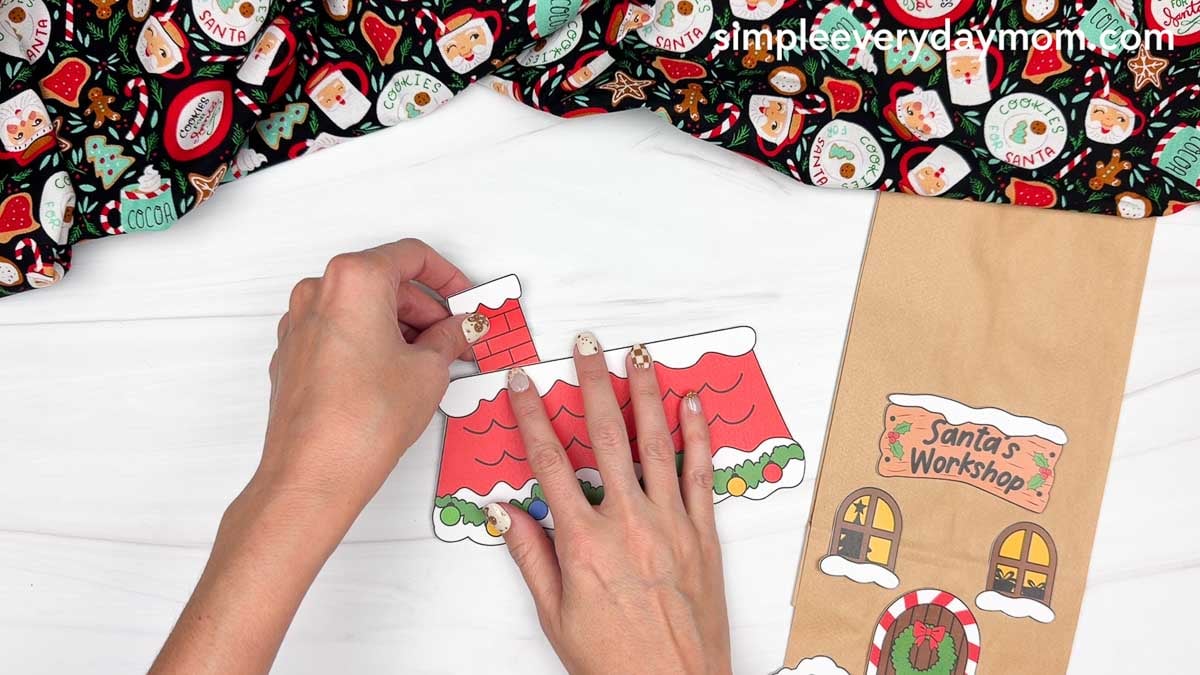
Glue the roof piece above the Santa’s Workshop sign, leaving some space at the top of the paper bag. Make sure the chimney sticks up behind the roof. We’ll use that extra space later when it’s time to fold the bag closed!
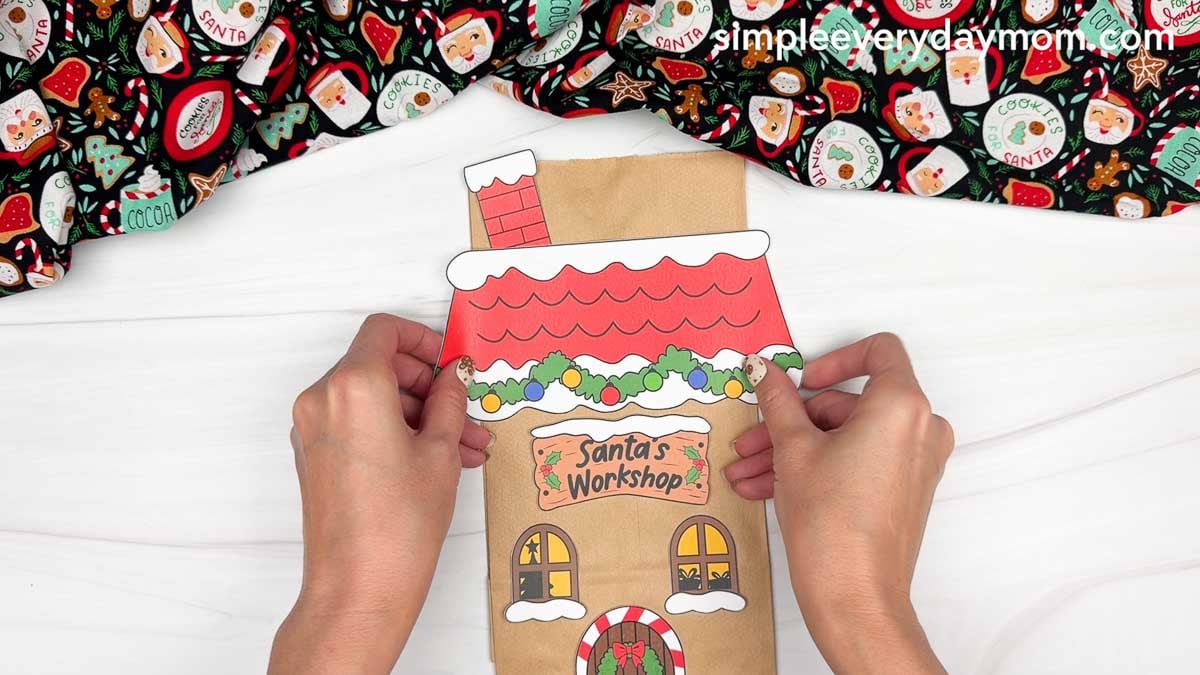
Once the workshop is decorated, it’s time to give it some shape! Carefully open the paper bag and fill it with crumpled paper to help it stand up. Kids will love watching their flat paper bag turn into a little Christmas building!
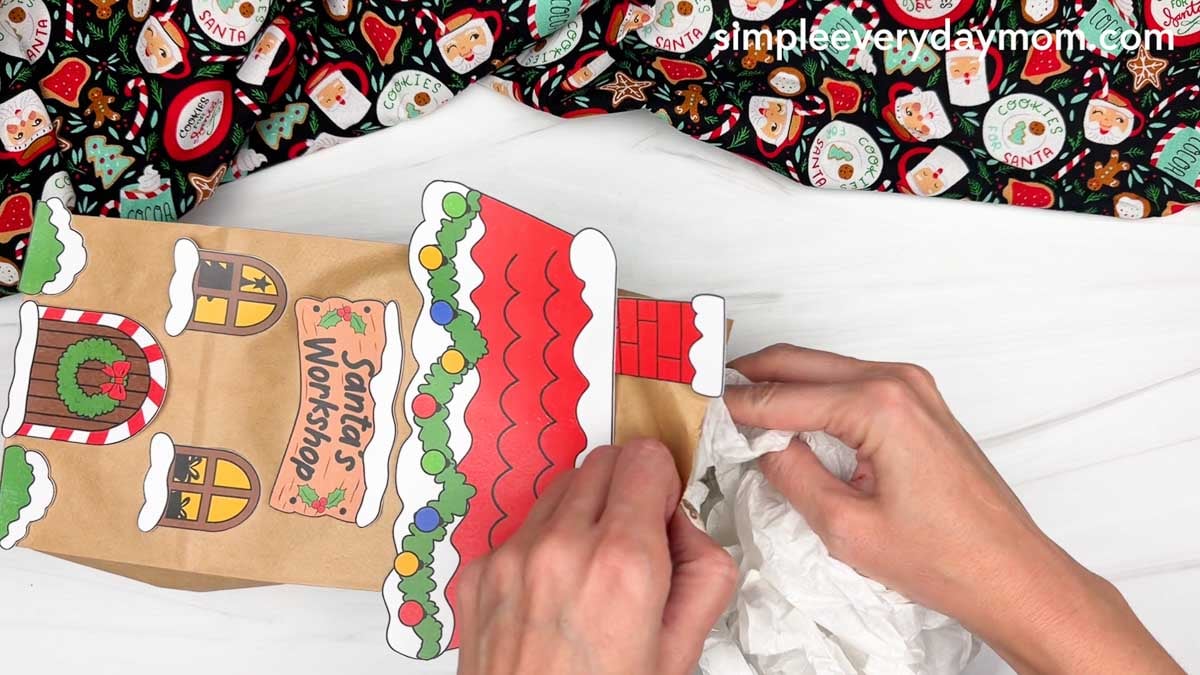
Finally, turn the paper bag over and fold down the extra space you left at the top earlier. Add glue along the folded edge to keep the bag closed and the crumpled paper inside.

Who knew a brown paper bag could turn into such a cute Christmas decoration? Kids can practice fine motor skills, creativity, and following directions as they put together their very own Santa’s Workshop!
If you’re planning a Christmas theme for your classroom or homeschool, check out the related crafts and activities below for more festive learning fun.
Christmas Books for Children


Dasher: This wonderfully illustrated Christmas book for kids gives you the back story on one of Santa’s favorite reindeer, Dasher! Girls will especially love to read this since Dasher is a girl.
Construction Site On Christmas Night: Fans of the fun characters of the construction site books have to add this Christmas-themed story to their collection. See how the trucks get ready for Christmas!
How To Catch Santa Claus: The kids have filled the house with clever traps, but catching Santa is harder than it looks! Littles will love watching Santa, his reindeer, and an elf dodge one silly trap after another on their Christmas Eve adventure.
Easy Holiday Projects
Max Grinch Dog Torn Paper Craft: Poor Max has to put up with so much from the Grinch, but he’s still such a sweet little dog! This craft lets kids make their own version of him, complete with that funny single antler tied to his head. Instead of coloring his fur, they’ll tear brown paper into small pieces and glue them onto the template. It’s a nice option for kids who aren’t quite ready for a lot of scissor work.
Torn Paper Santa Craft: Santa’s big white beard is practically made for a torn paper craft. Kids get to rip up red, white, and tan paper and fill in the different parts of his face. I like that they don’t have to worry about cutting everything perfectly, and tearing the paper gives their hands a good workout. Add his eyes, nose, and happy little mouth, and they’ve got their own Santa.
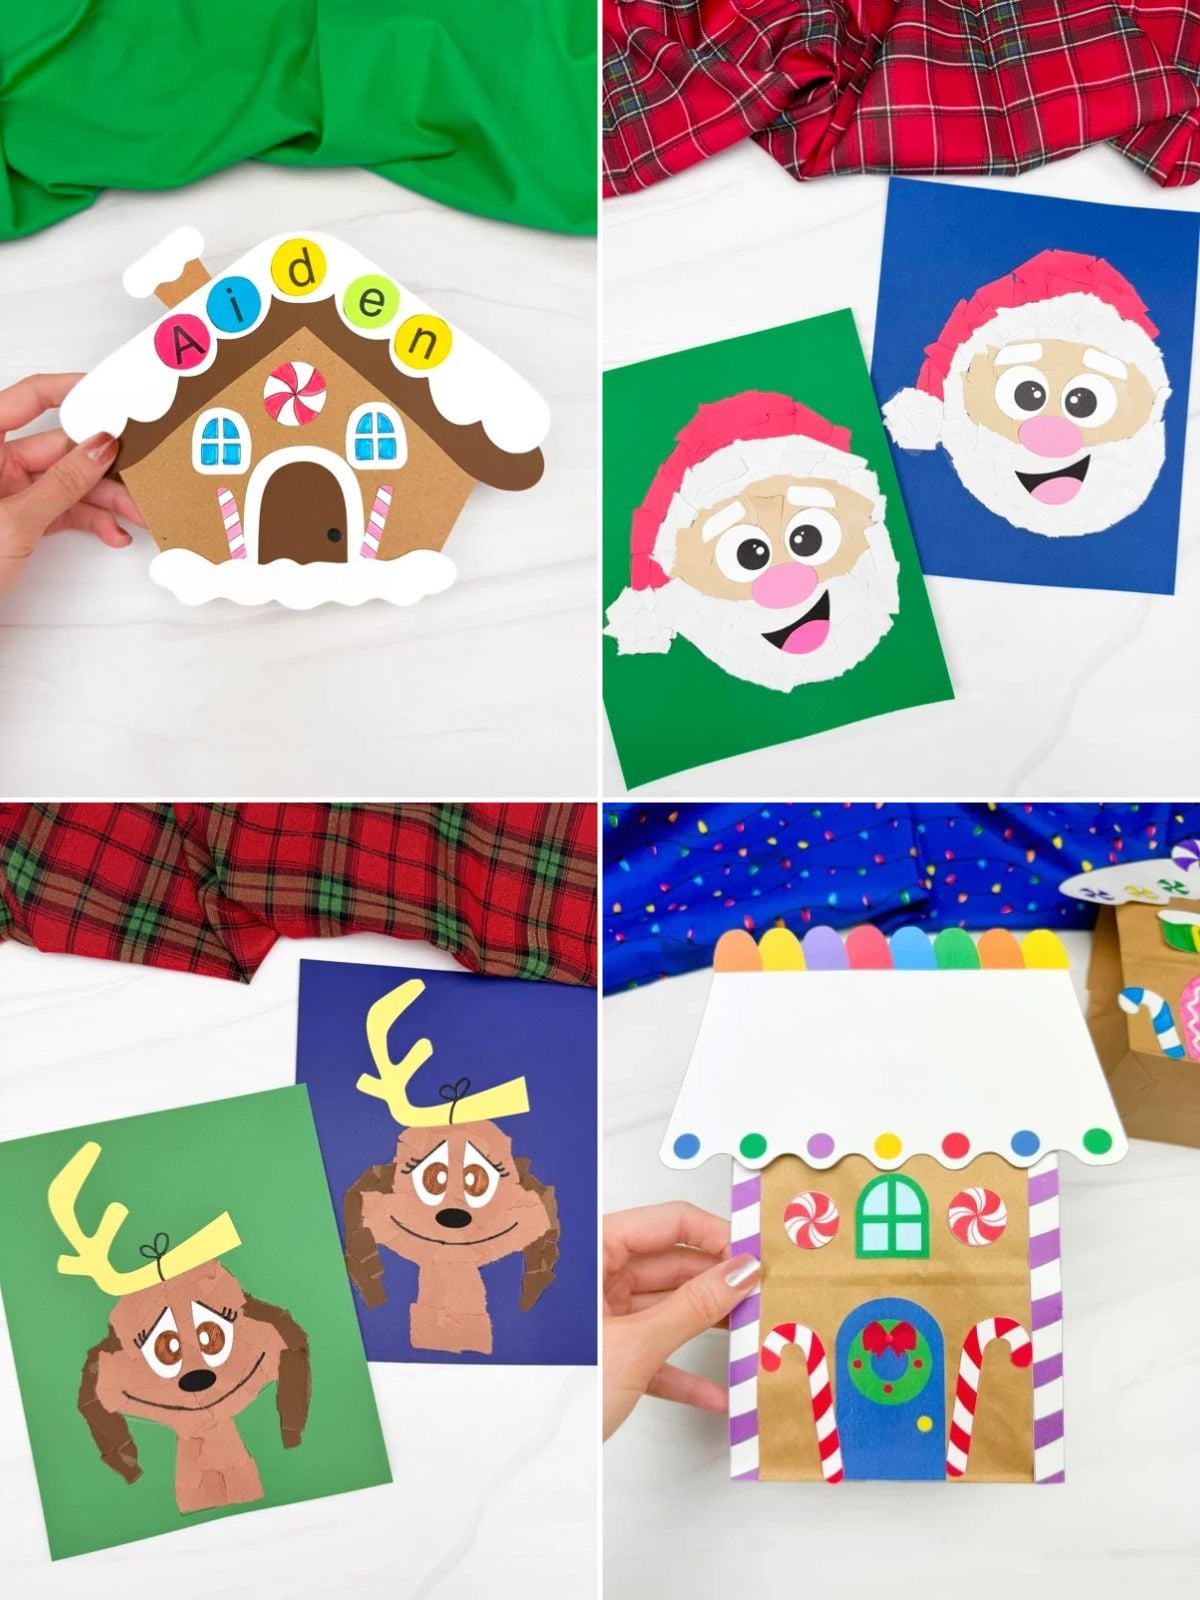
Gingerbread House Name Craft: Making a gingerbread house is fun, but sometimes it’s nice to skip the frosting and all those little candies that end up everywhere. This paper version has a candy-covered roof, a peppermint doorway, and a spot for kids to add the letters of their name. They can practice spelling while making something cute enough to hang up with the Christmas decorations.
Gingerbread House Paper Bag Craft: Here’s another way to turn an ordinary lunch bag into a little Christmas house! This time, kids get to decorate a gingerbread house with candy canes, gumdrops, and colorful roof decorations. They can color the printable pieces themselves or use colored paper to put it together. And since the houses stand up, you could set them next to Santa’s workshop to make a little Christmas village.


No-Prep Ideas for Kids
Those reindeer are going to need a little help getting put back together! With these reindeer cutting worksheets, kids can cut and match the two halves of a reindeer, follow different cutting paths, and match numbers. It’s a nice mix of activities that gives them some extra practice with scissors without doing the same thing on every page.
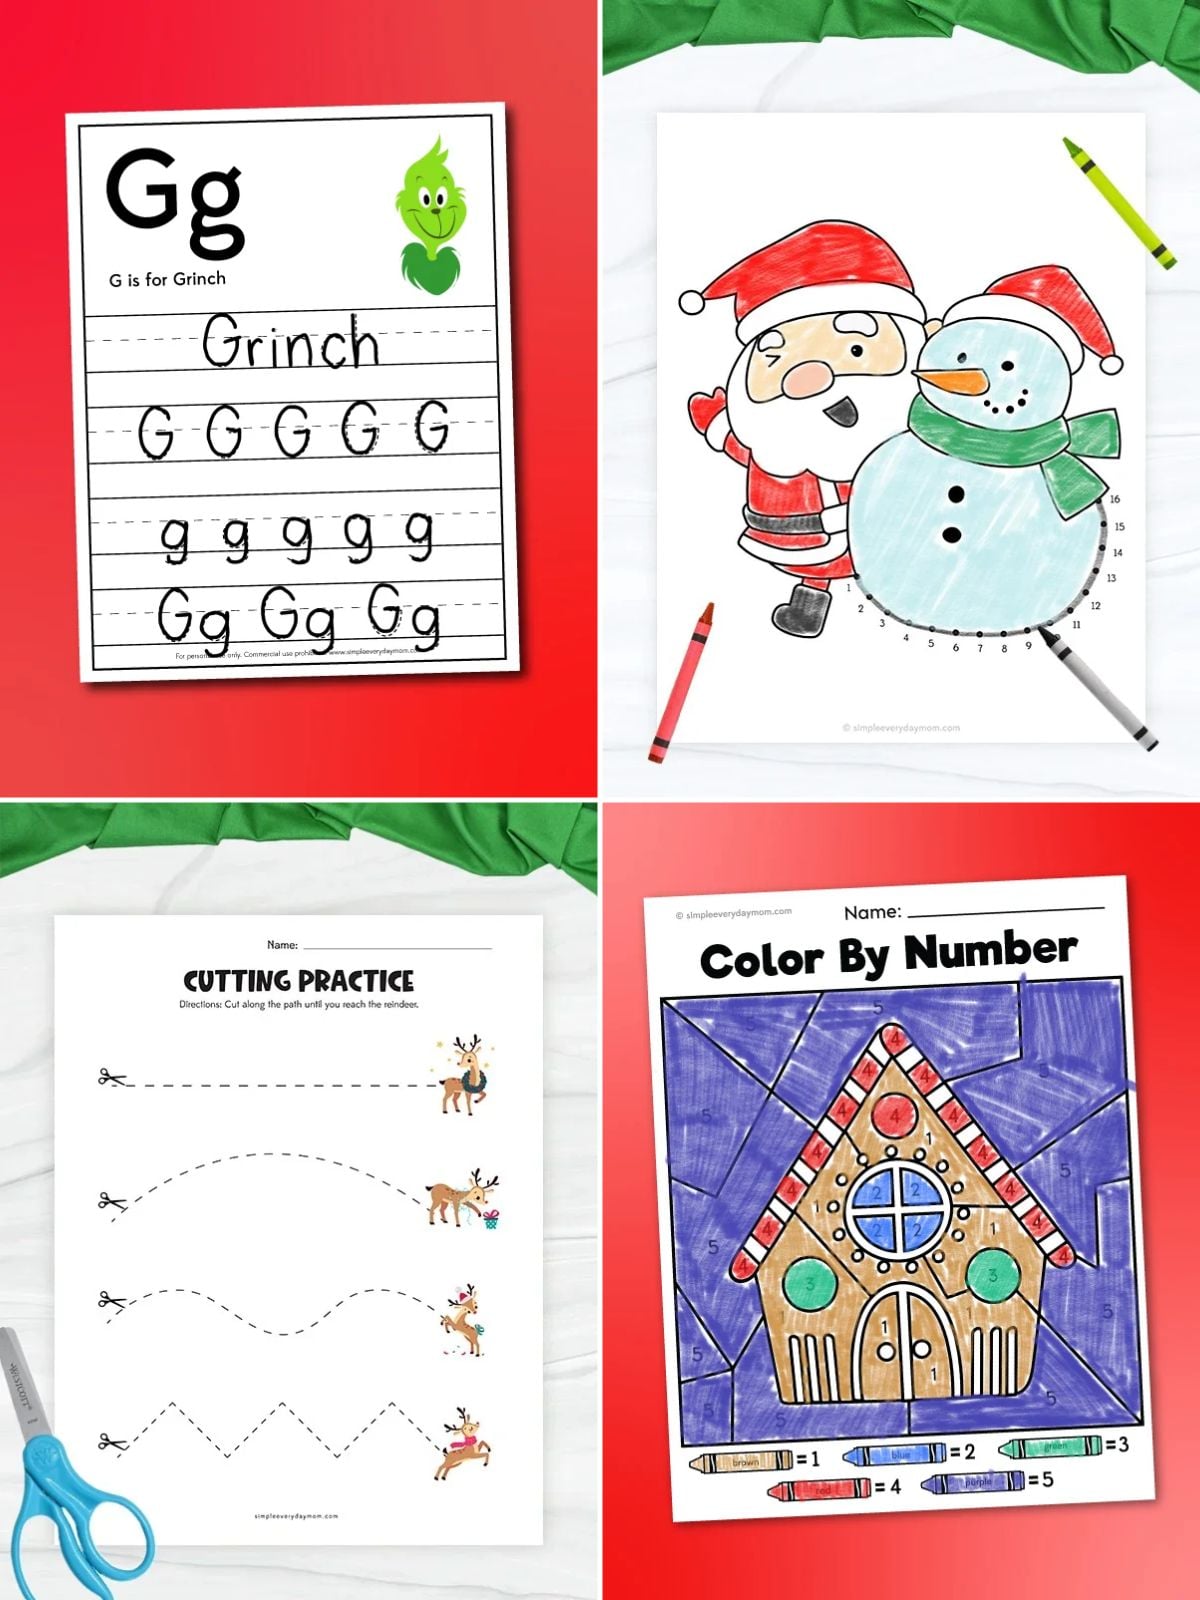
There’s something satisfying about connecting all the numbers and finally seeing the picture come together. With these Santa connect the dots, kids follow the numbers in order to reveal Santa. Once they’ve connected the last dot, they can color him in. It’s an easy activity to print when you want a little counting practice without pulling out a bunch of supplies.
Gingerbread houses are cute, but I think the little gingerbread people are just as fun to decorate. These gingerbread man color by number pages include a gingerbread boy, a gingerbread girl, and a gingerbread house. Kids follow the color key to figure out which colors go where, so they’re practicing number recognition while they color. Plus, you won’t have to clean up any icing afterward.
The Grinch might not be excited about Christmas, but he does make learning activities a little more entertaining. These Grinch worksheets include a letter G maze, handwriting practice, and a cut-and-paste page where kids label different parts of the Grinch. I especially like the labeling page because kids get to put the pieces in the right places and then color their favorite grumpy Christmas character.
Share With Us
Did you make this activity with your kids or students? We’d love to feature them on our social media!
For a chance to have your child’s project featured, simply snap a picture of the completed project and post it to our Facebook page, email it to us directly by clicking here, or use #simpleeverydaymom on your social media!
Santa’s Workshop Paper Bag Craft
Video
Materials
- Colored cardstock or construction paper
- Brown Paper Bag
- Scissors
- Glue
- Markers
- Tape
- Packing paper or printer paper
- Santa’s workshop template
Instructions
- Print the template and gather the materials for this fun activity.
- Start by gluing the door piece to the bottom center of the paper bag, on the side without the flap, so the bag can stand upright.
- Glue the two bush pieces on either side of the door, along the bottom edge of the bag.
- Gue the window pieces above the door, one on each side.
- Look for the Santa’s Workshop sign and glue it above the windows, centered on the paper bag.
- Glue the chimney behind the top left side of the roof so it peeks out above it.
- Glue the roof above the sign, leaving some space at the top of the paper bag for folding later.
- Open the paper bag and fill it with crumpled paper to help it stand.
- Finally, turn the paper bag over, fold down the extra space at the top, and tape the folded edge to close the bag.
Did you make this?
Don’t forget to leave a comment below and make sure to follow on Pinterest, Facebook and TikTok for more!
Free Santa’s Workshop Paper Bag Template


Meet Sam
Sam is the crafter and founder of Simple Everyday Mom. She has been featured in Oprah Mag, Good Housekeeping, The Spruce Crafts, Country Living, The Bump, and more.


