

Free Printable Baby Turkey Craft for Kids
All activities require adult supervision. By using this site, you agree to our terms of use. This post may contain affiliate links, sponsored links, and ads. As an Amazon Associate and participant in other affiliate programs, I earn from qualifying purchases.. Read our disclosure policy.

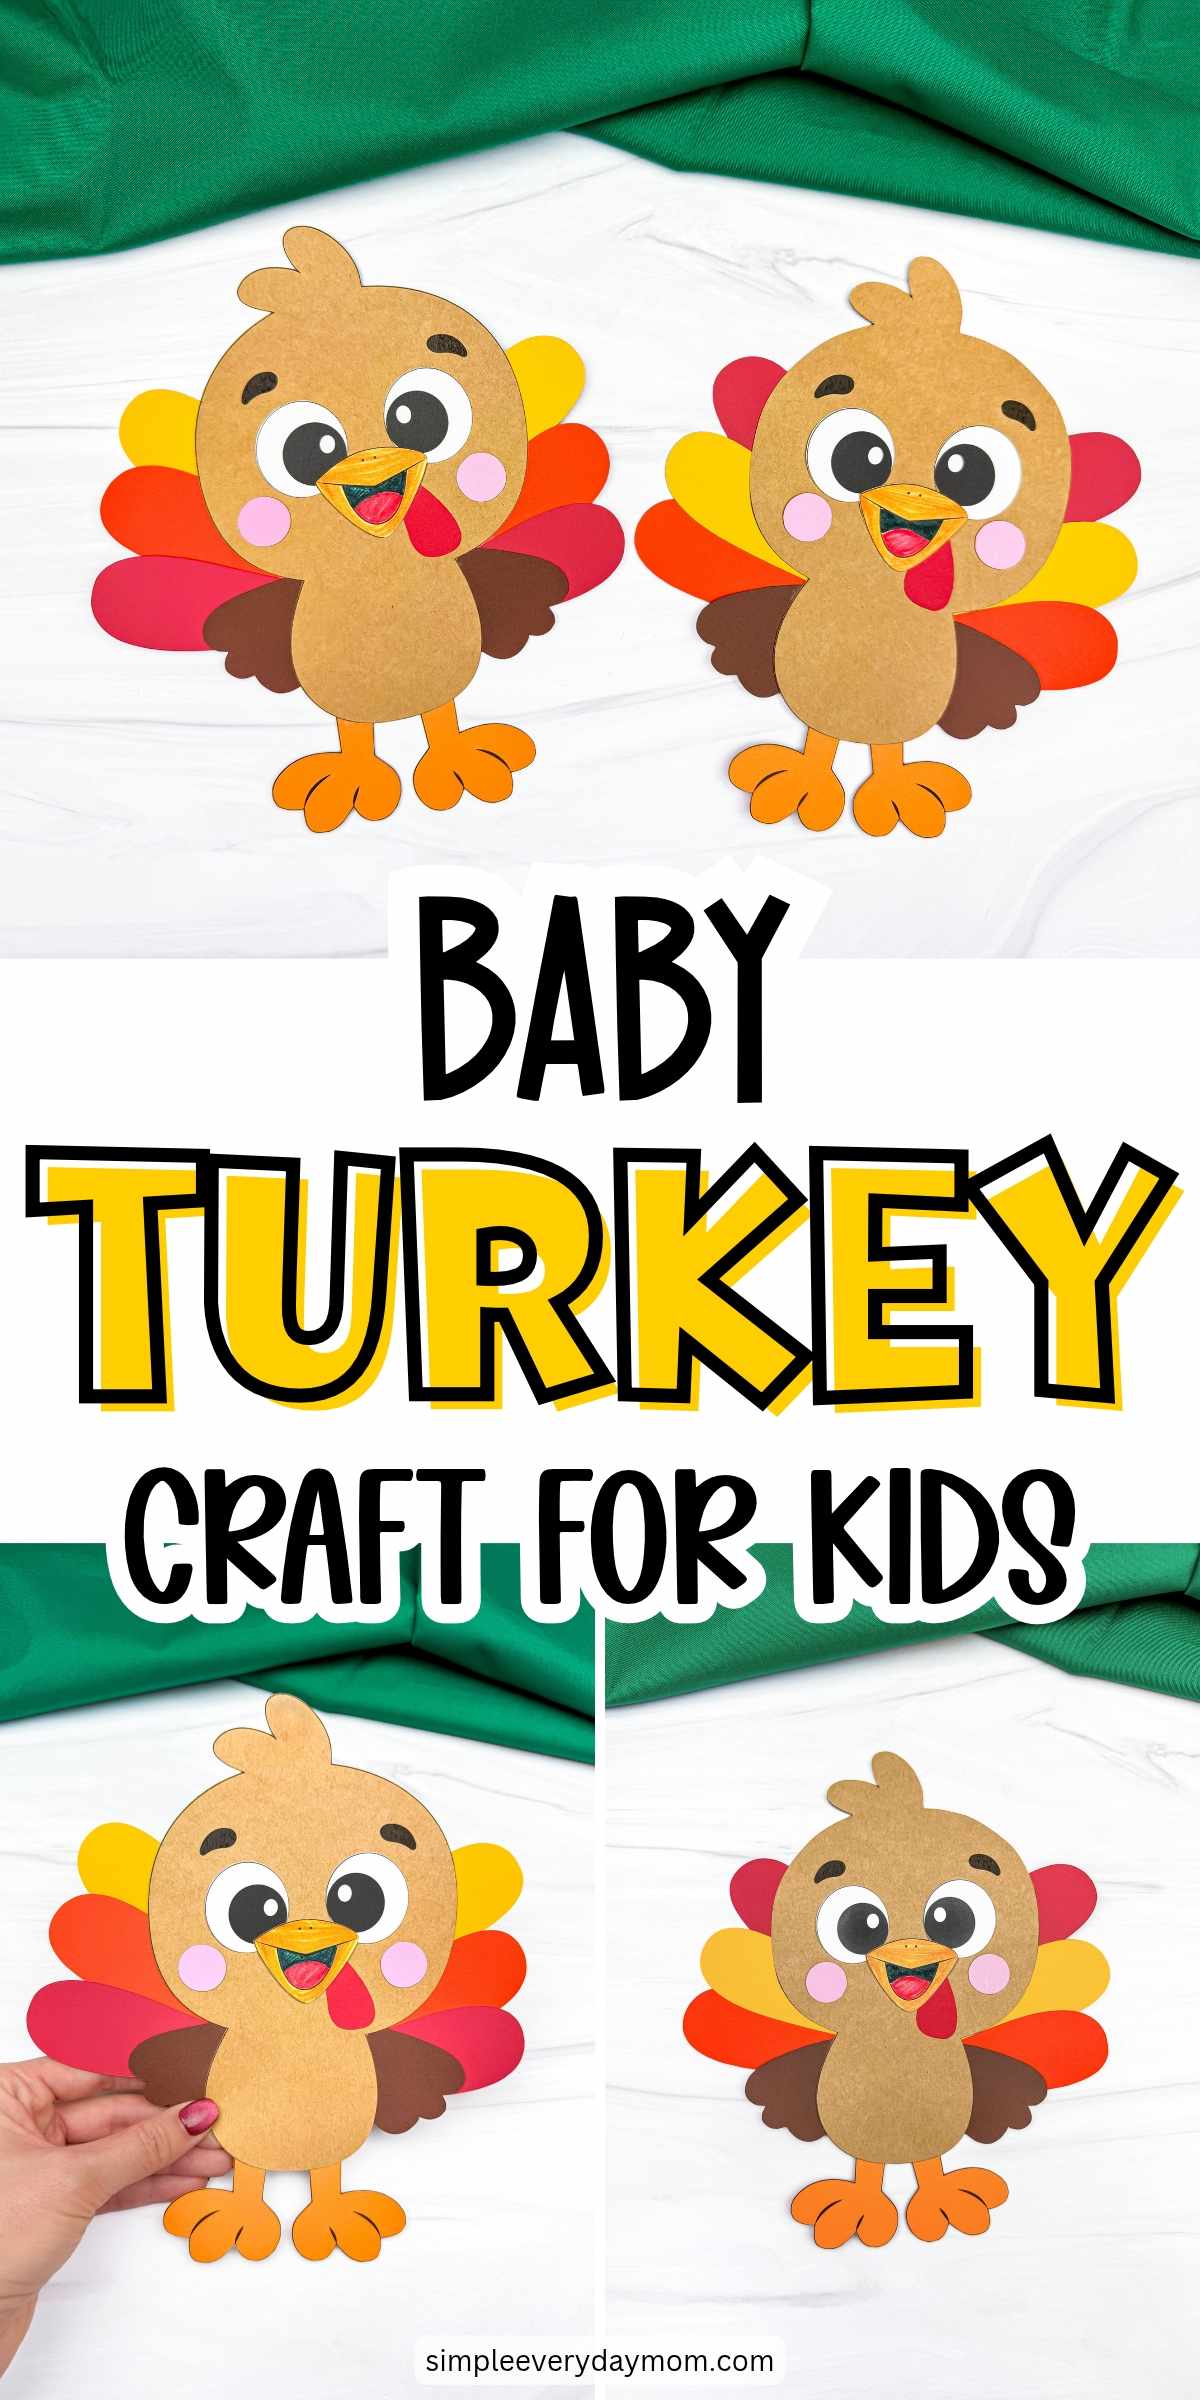
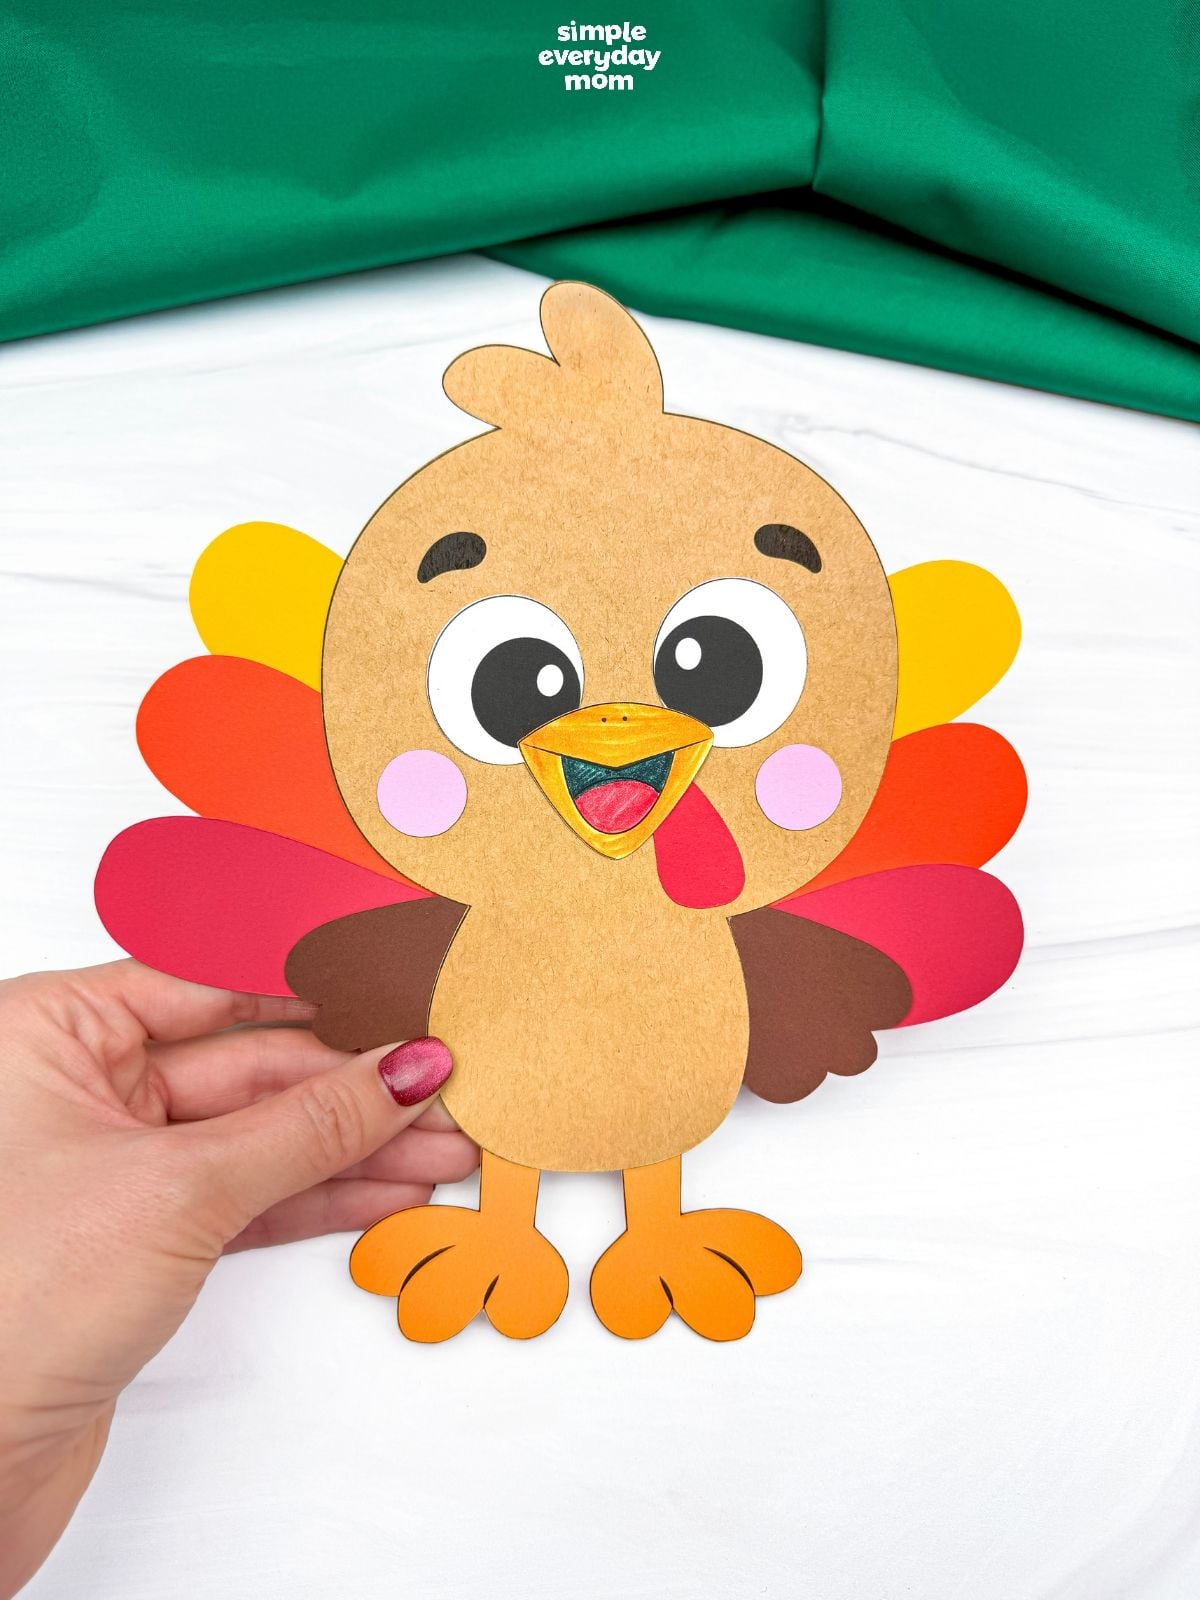
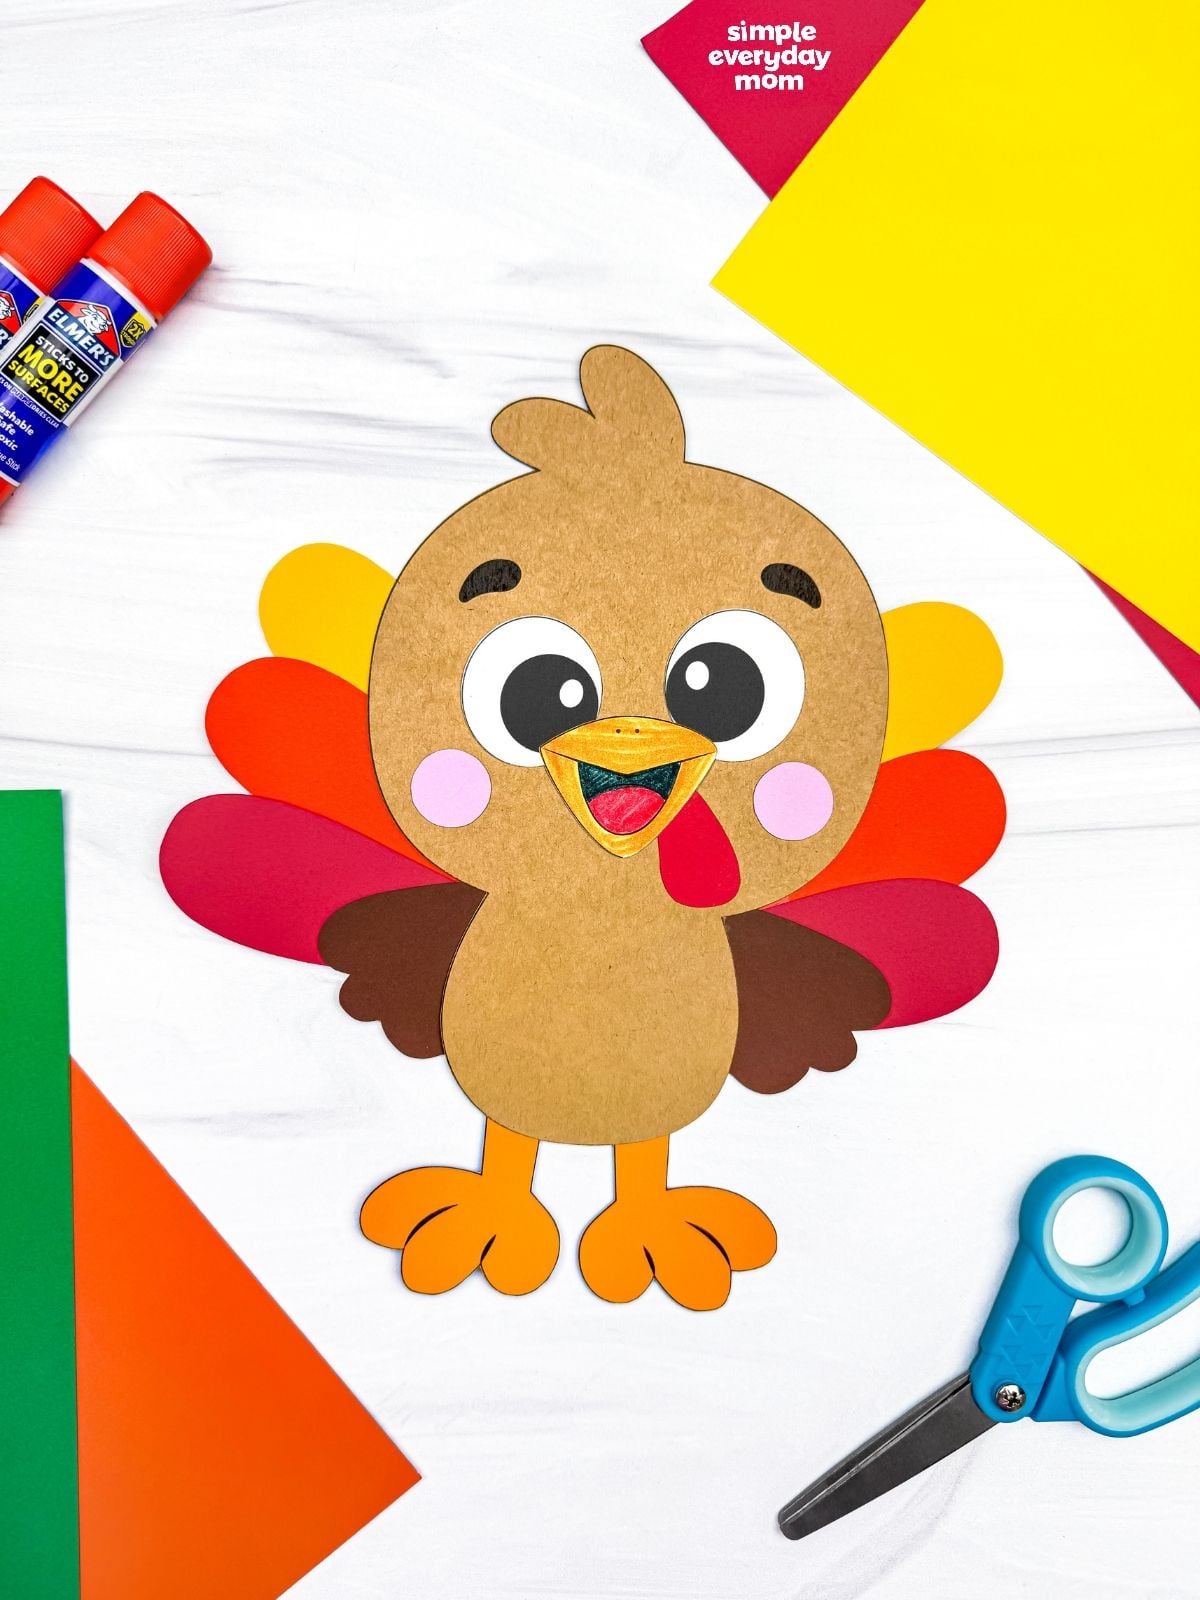
There’s something about a young turkey with big eyes and tiny wings that makes him look a little sillier than the grown-up version. This baby turkey craft is an easy Thanksgiving project for preschoolers, pre-K, and kindergarteners, and it’s a cute way to work some crafting into your November plans.
Turkeys are always a popular choice this time of year, but there’s more you can do with them than just make the same handprint turkey every Thanksgiving. We’ve got lots of turkey activities for kids with different crafts and printables to try at home or in the classroom.
Good To Know
- Themes: Thanksgiving, turkeys, fall, farm animals
- Activity: Kids cut out and assemble colorful paper pieces to make a cute baby turkey with bright tail feathers.
- Template: Includes a free printable template with pieces for the turkey’s head, body, wings, feathers, beak, and feet.
- Ages: Preschool, pre-K, kindergarten & early elementary school
- Time: 20-25 minutes
- Skills: Fine motor skills, scissor skills, hand-eye coordination, spatial awareness, following directions, and creativity
A Fun and Easy Thanksgiving Turkey Activity
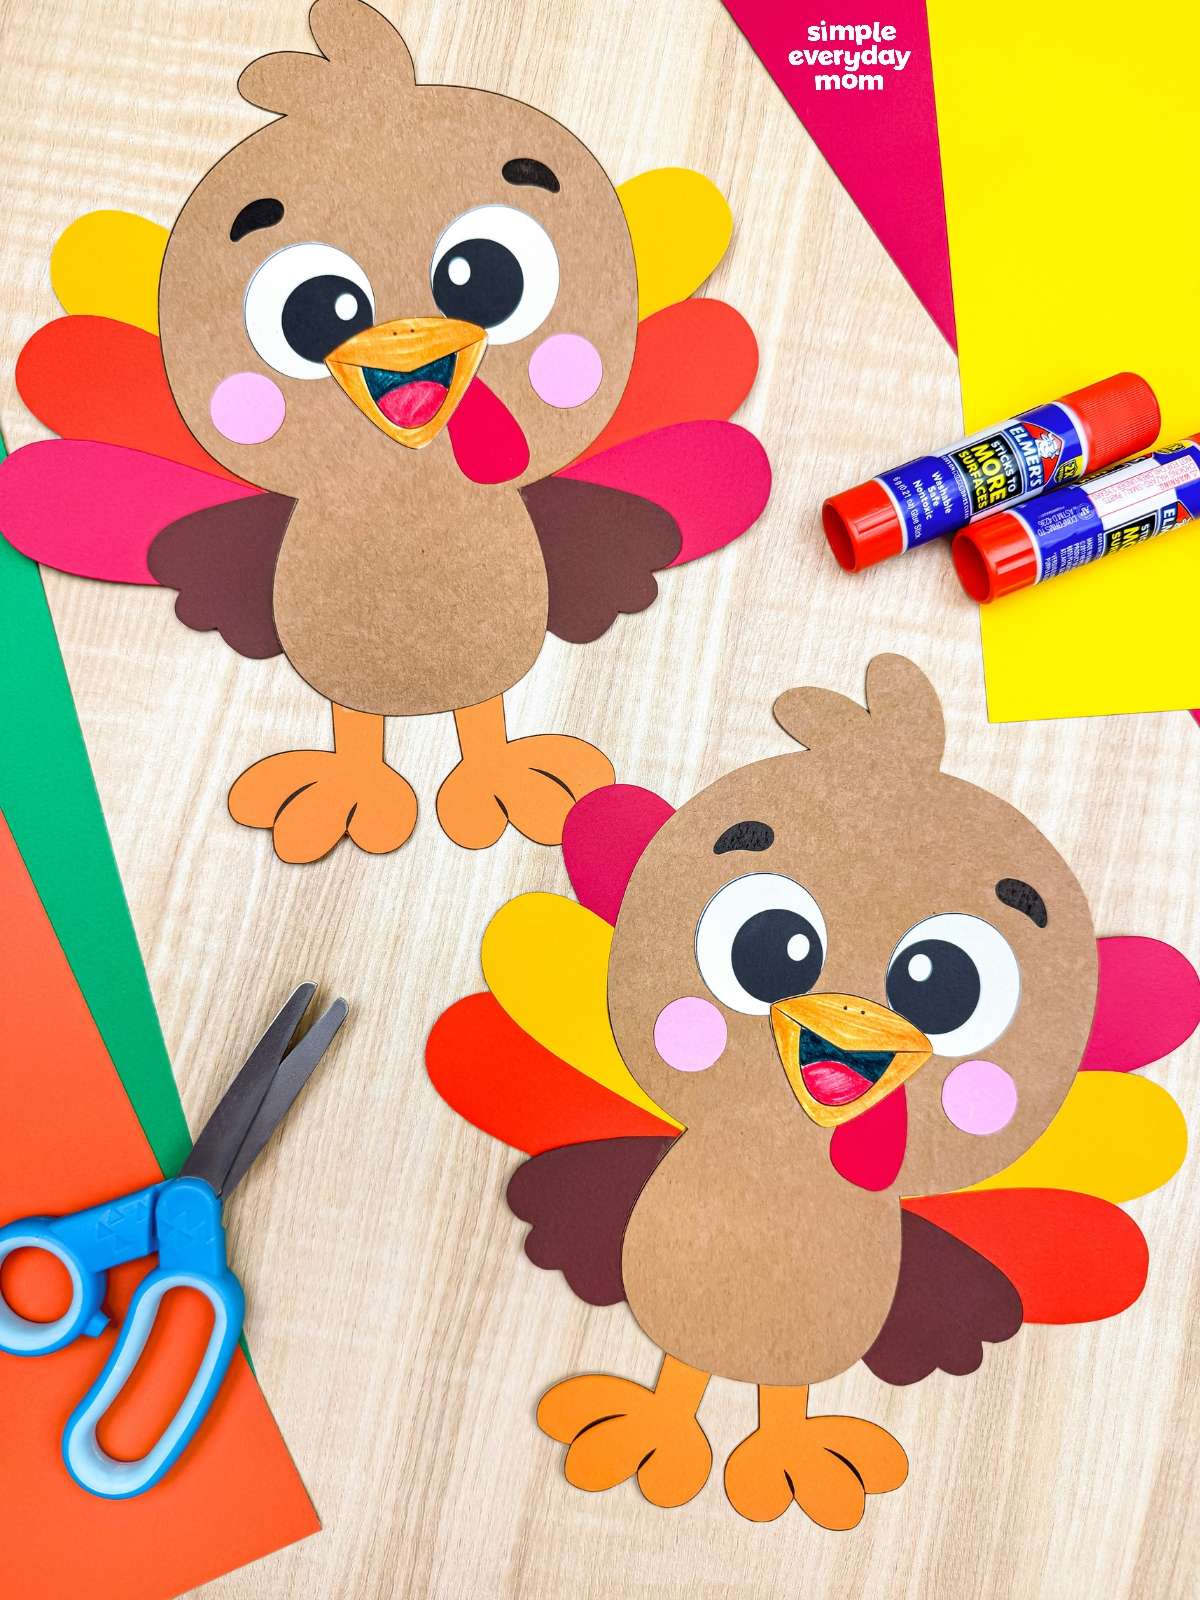
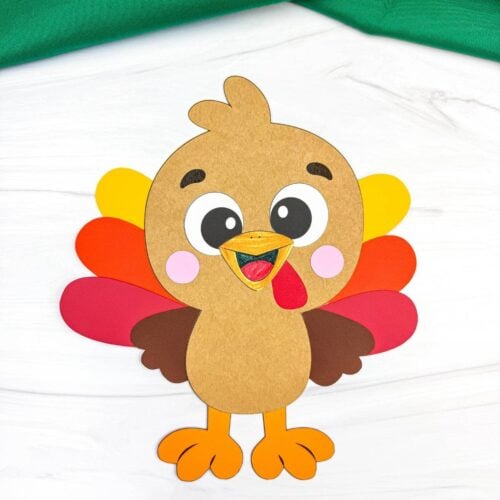
My favorite part of this little turkey is his big, happy expression. Between the oversized eyes, rosy cheeks, and wide-open beak, he looks pretty excited about something! The colorful feathers behind him give the project a nice pop of fall color, and kids can choose how they want to arrange them.
There’s also plenty of fine motor practice worked into this one. Kids can cut out the different pieces, glue the feathers behind the body, and put the face together. They can even practice recognizing and naming colors as they choose which feathers go where.
The finished turkey would look cute on a Thanksgiving bulletin board, especially with a whole group of them together. You could also use it as a simple craft to go along with a turkey story during circle time. And since the pieces are fairly straightforward, you can cut them ahead of time for younger kids who aren’t quite ready to handle all the cutting themselves.
Supplies
- Colored cardstock or construction paper
- Scissors
- Glue
- Markers
- Baby turkey template (click the “click here to get your freebies” image at the end of the post)
Directions
Start by printing the template, then gather the materials for this fun activity. Get those scissors ready, and let’s help the kids bring this baby turkey to life!
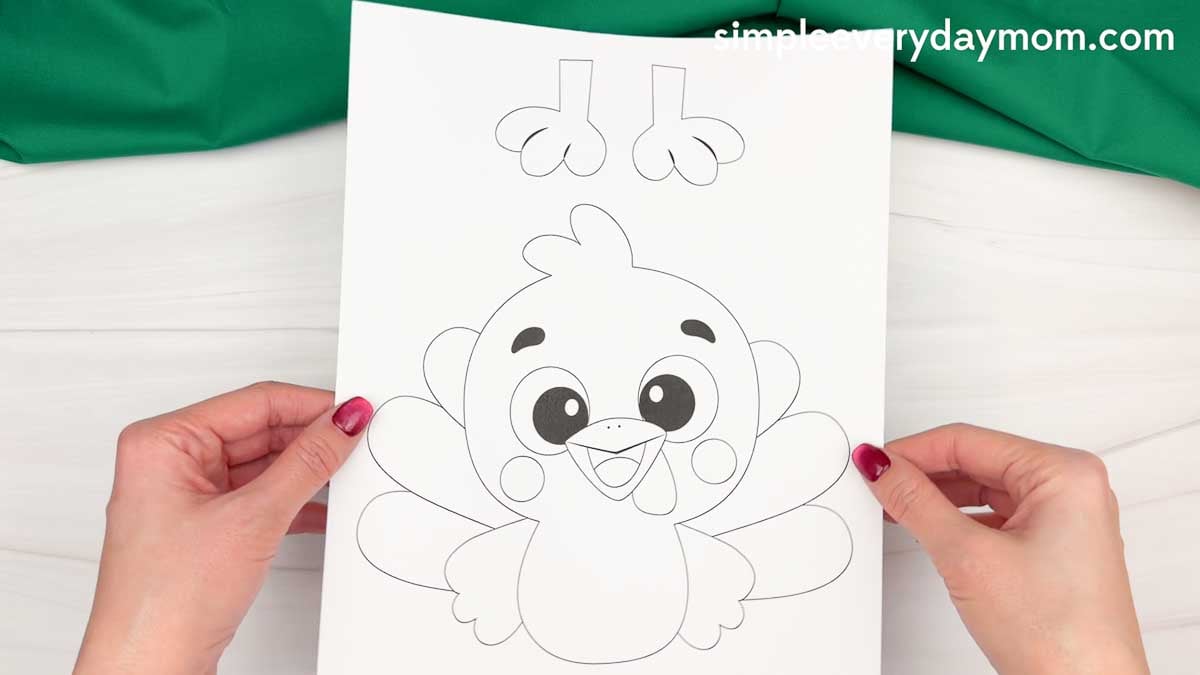
Look for the eye pieces and glue them onto the turkey’s face, just below the eyebrows.
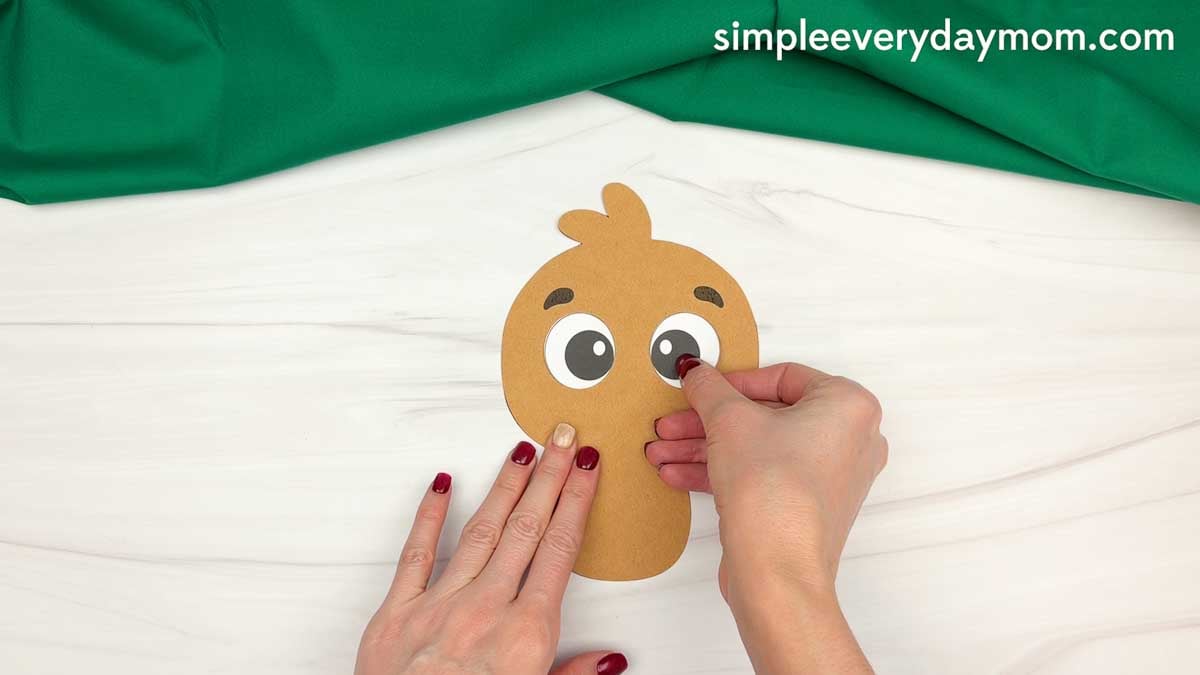
Find the red snood piece and glue it just below the turkey’s right eye, toward the center of its face. This little detail makes the turkey look even more adorable!
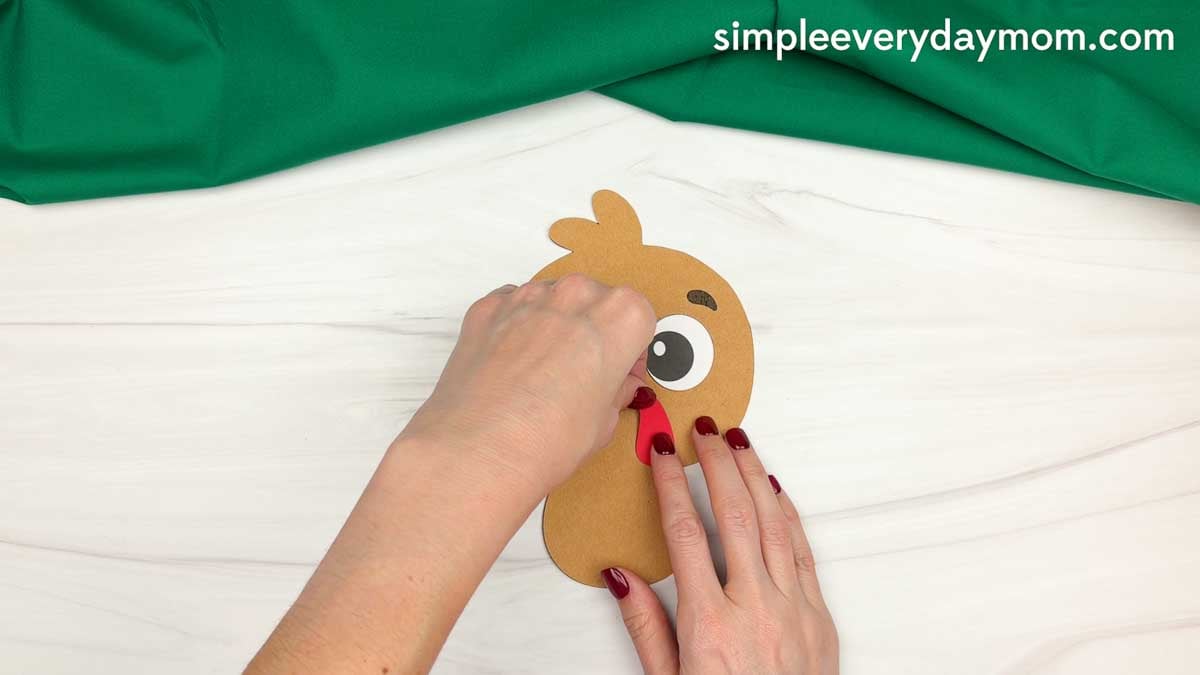
Use a black marker and let your child color the inside of the turkey’s mouth, leaving the tongue uncolored for now. This is a fun way for kids to practice coloring within the lines.
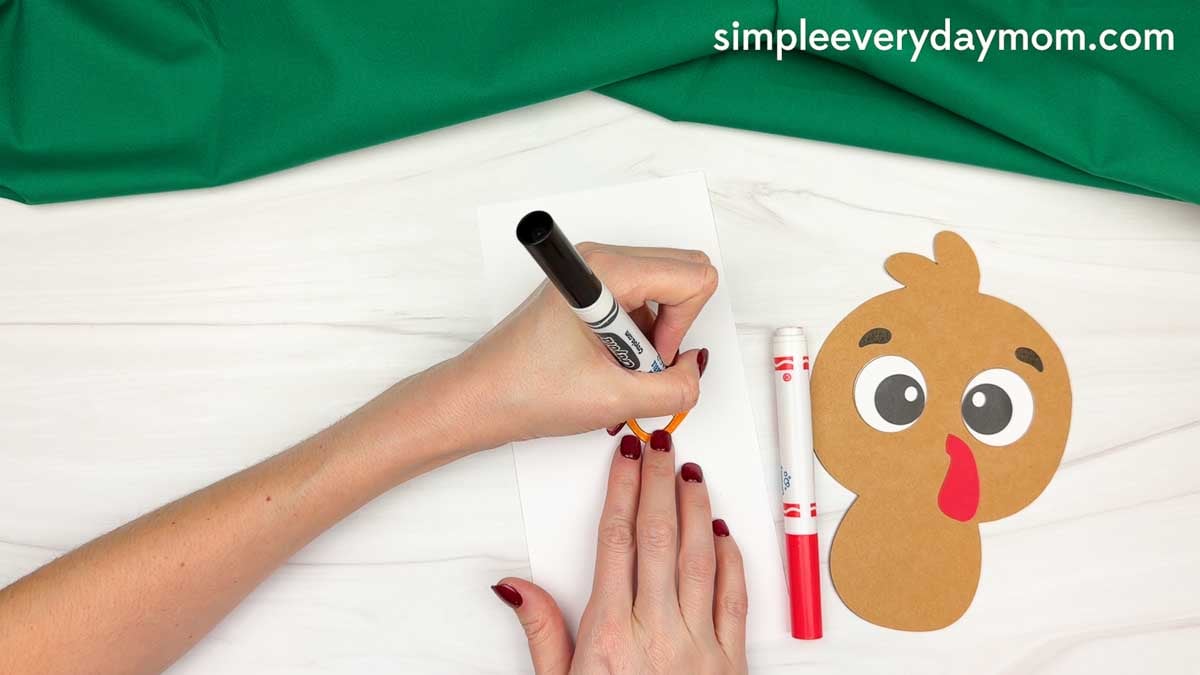
Take a red marker and have your child color the tongue inside the beak. Encourage them to stay inside the lines as they add this cheerful detail to their turkey’s smile.
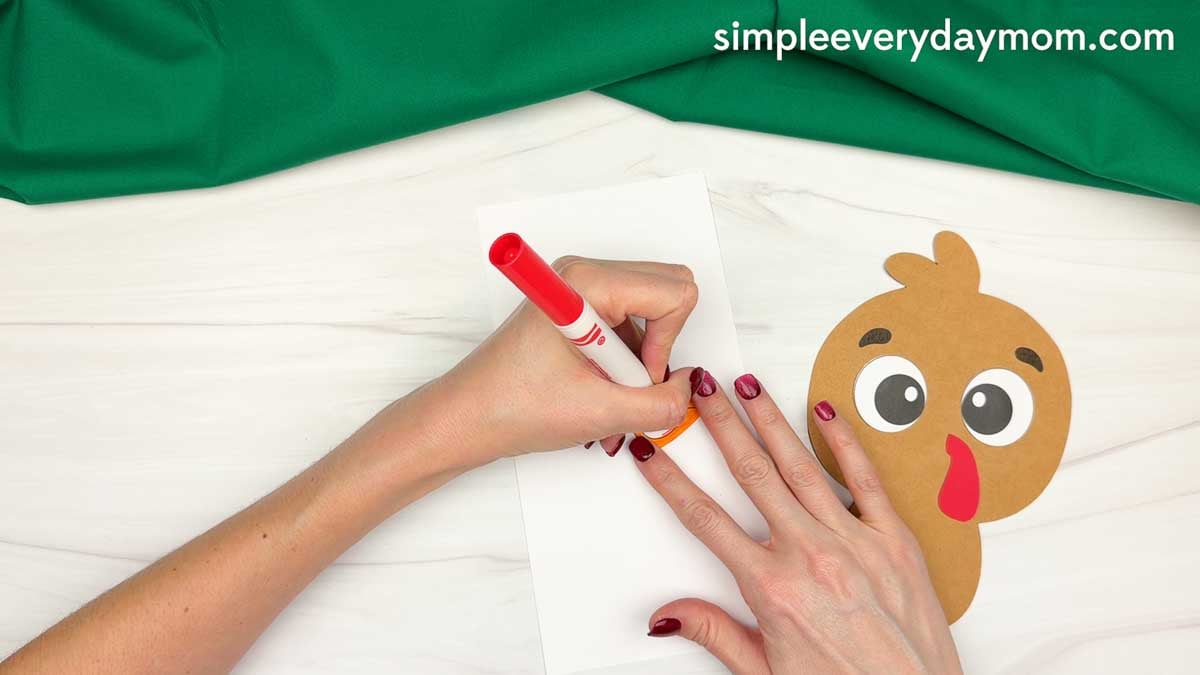
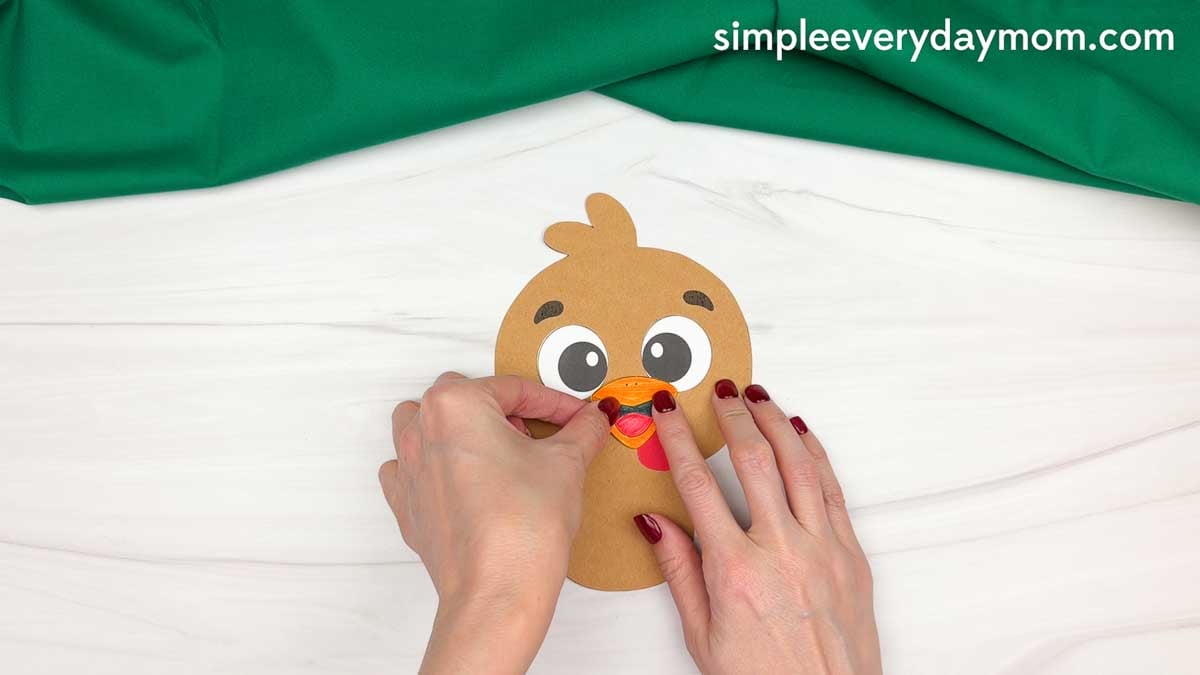
Once the beak is colored, glue it between the turkey’s eyes, slightly overlapping the top of the red snood. Your little turkey now has a big, happy smile!
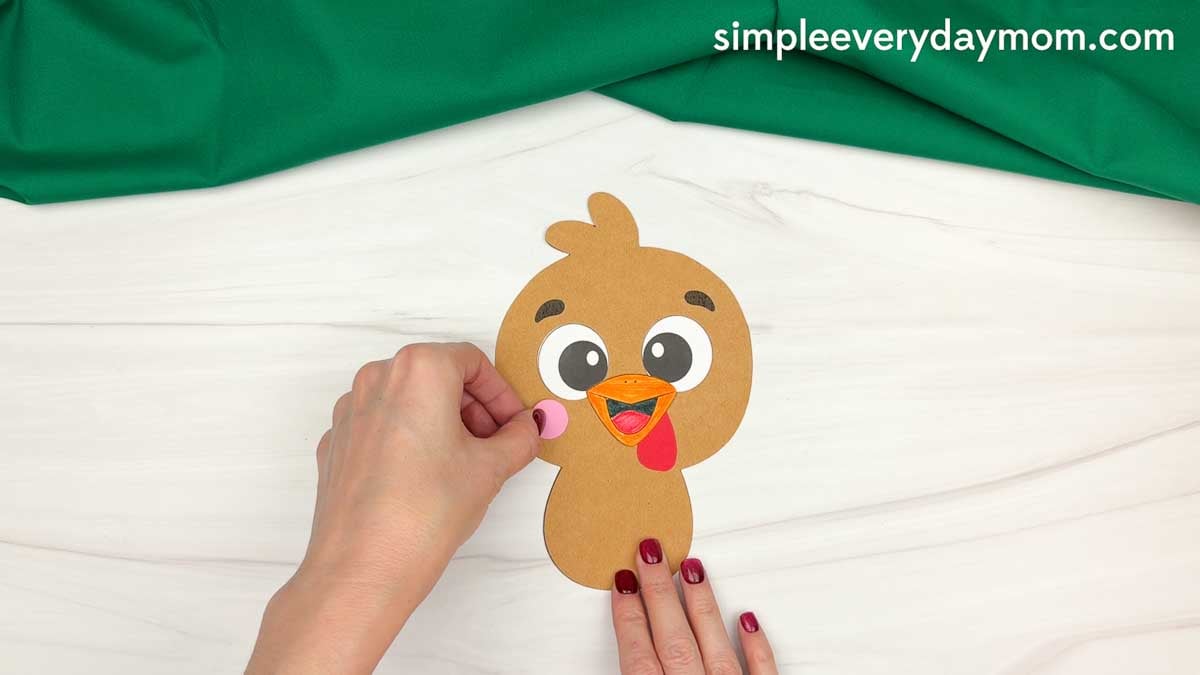
Look for the two pink cheek pieces. Glue one onto each side of the turkey’s face, just below the eyes.
It’s time to add the wings! Find the two dark brown wing pieces and glue one onto each side of the turkey’s body. Position them so the rounded ends peek out from the sides.
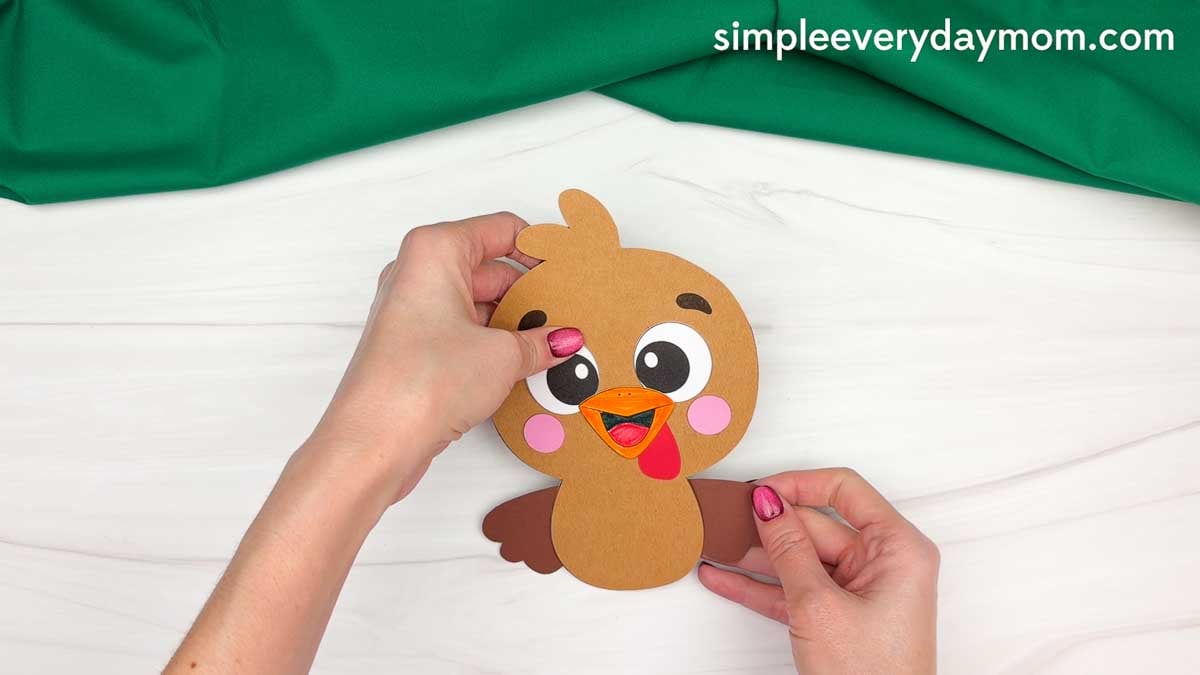
Let’s give our baby turkey some colorful feathers! Look for the feather pieces and glue three along one side of the turkey, behind its head and body. Arrange them so they fan outward, with each feather peeking out from the side.
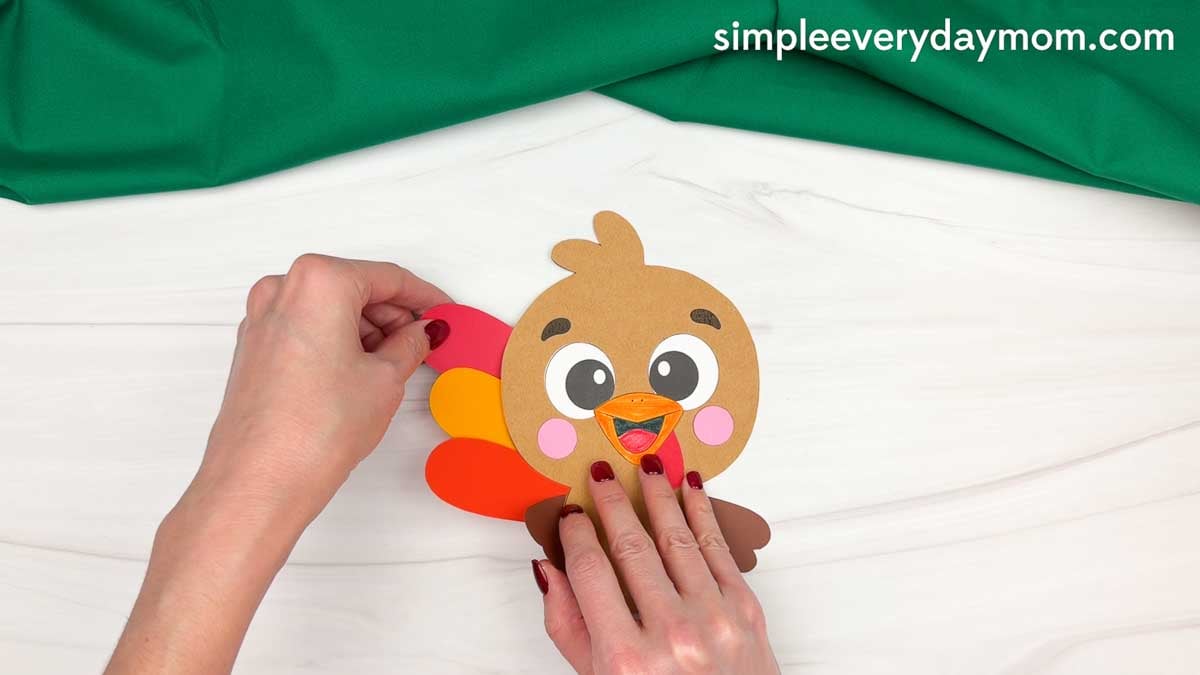
Repeat the process on the opposite side, gluing the remaining three feathers behind the turkey. Try to line them up with the feathers on the other side to create a colorful, balanced look.
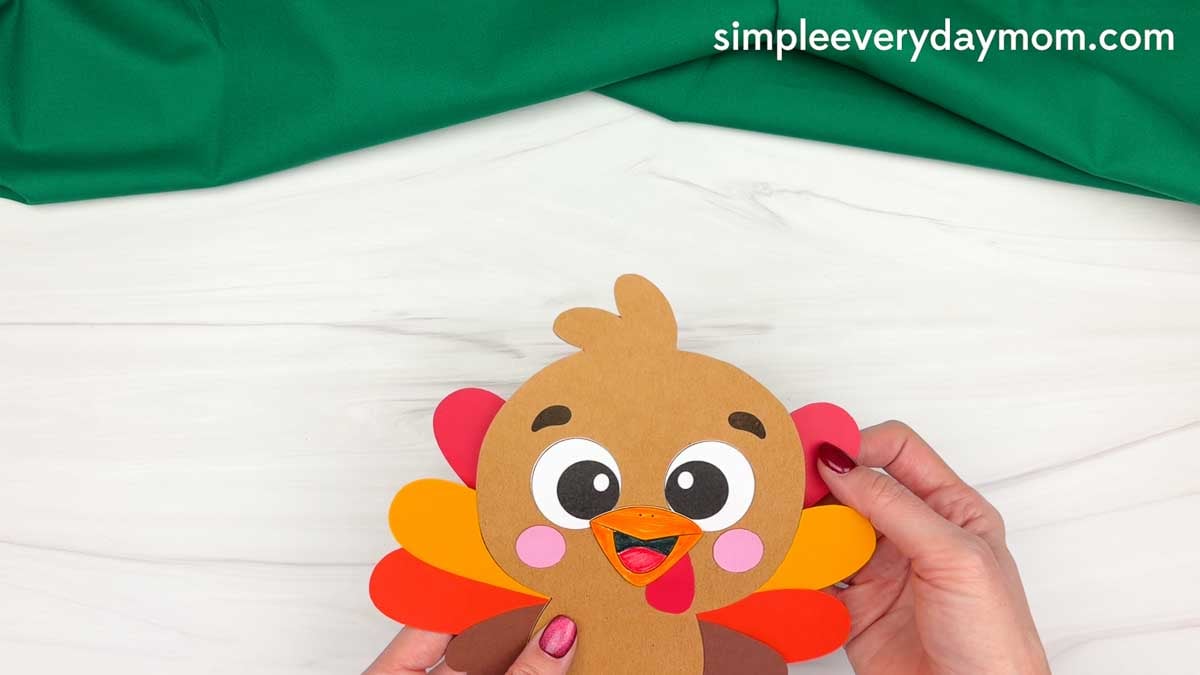
Finally, look for the two feet pieces and glue them to the bottom of the turkey’s body. Position them side by side so the toes peek out underneath.
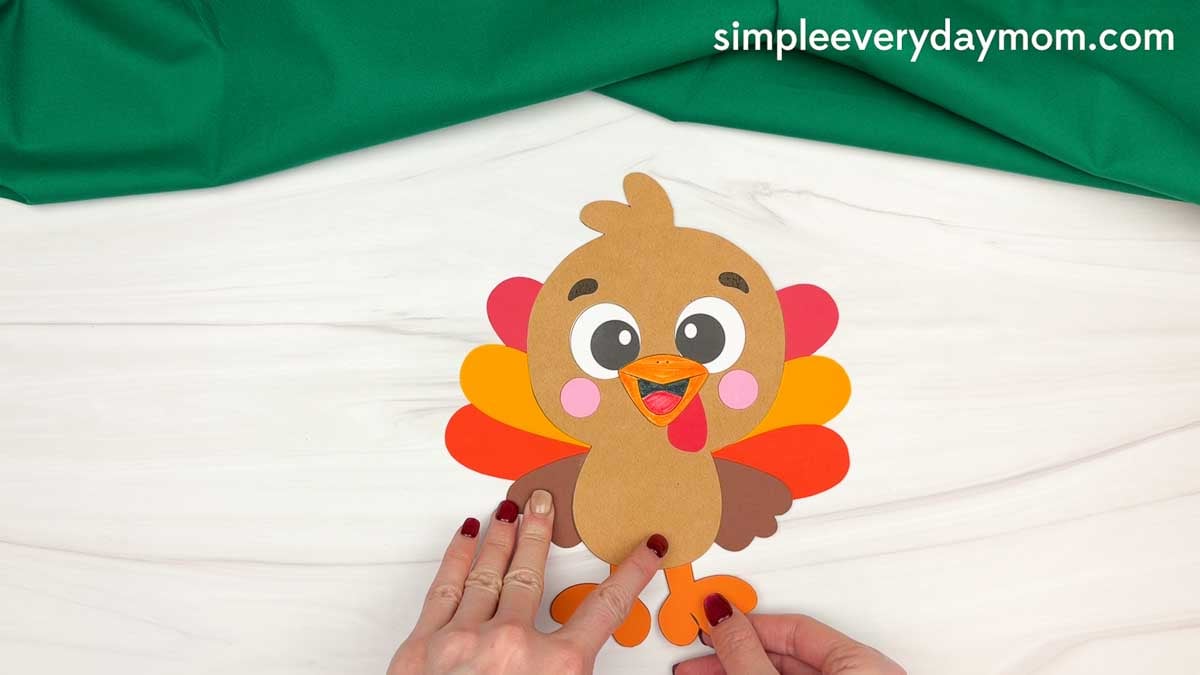
Who knew making a little turkey could be so much fun? This easy paper craft helps kids develop fine motor skills, hand-eye coordination, and sequencing skills as they bring their colorful Thanksgiving turkey to life.
For more ways to keep the holiday learning going, browse the Thanksgiving crafts and activities below to create fun themed lesson plans, classroom centers, or screen-free activities for kids.
Thanksgiving Books for Children


Turkey Trouble – If you’ve never read this book, you have to add it to your holiday collection! It’s so cute and fun and kids just love it! Follow the turkey around the farm as he disguises himself as different animals so the farmer doesn’t catch him for Thanksgiving dinner!
How To Catch A Turkey – Kids who love the How To Catch books will want to see all the crazy contraptions kids make to try to catch a turkey loose at the school!
Pete The Cat: The First Thanksgiving -Every Pete the Cat book is fantastic, but this one takes it up a notch with flaps for the kids to open. It’s a great way to get the kids excited about reading and Thanksgiving!
Cute Thanksgiving Crafts
Fall Turkey Craft: This turkey looks like he’s having a pretty good time sitting in a big pile of fall leaves. Instead of the usual feathers sticking out behind him, he’s surrounded by colorful paper leaves that kids can arrange however they’d like. I think the big, excited expression is what makes this one especially cute. It’s also a nice way to use those familiar red, orange, and yellow fall colors in a Thanksgiving project.
Magician Turkey Disguise Craft: This turkey thinks becoming a magician might be his ticket out of Thanksgiving dinner. He’s got the whole outfit figured out, too, with a tall top hat, tuxedo, bow tie, and magic wand. I like that this disguise is so different from the usual turkey crafts, and the finished turkey looks like he’s ready to put on a show. It’s a good choice for older kindergarteners and early elementary kids who enjoy projects with more pieces to assemble.
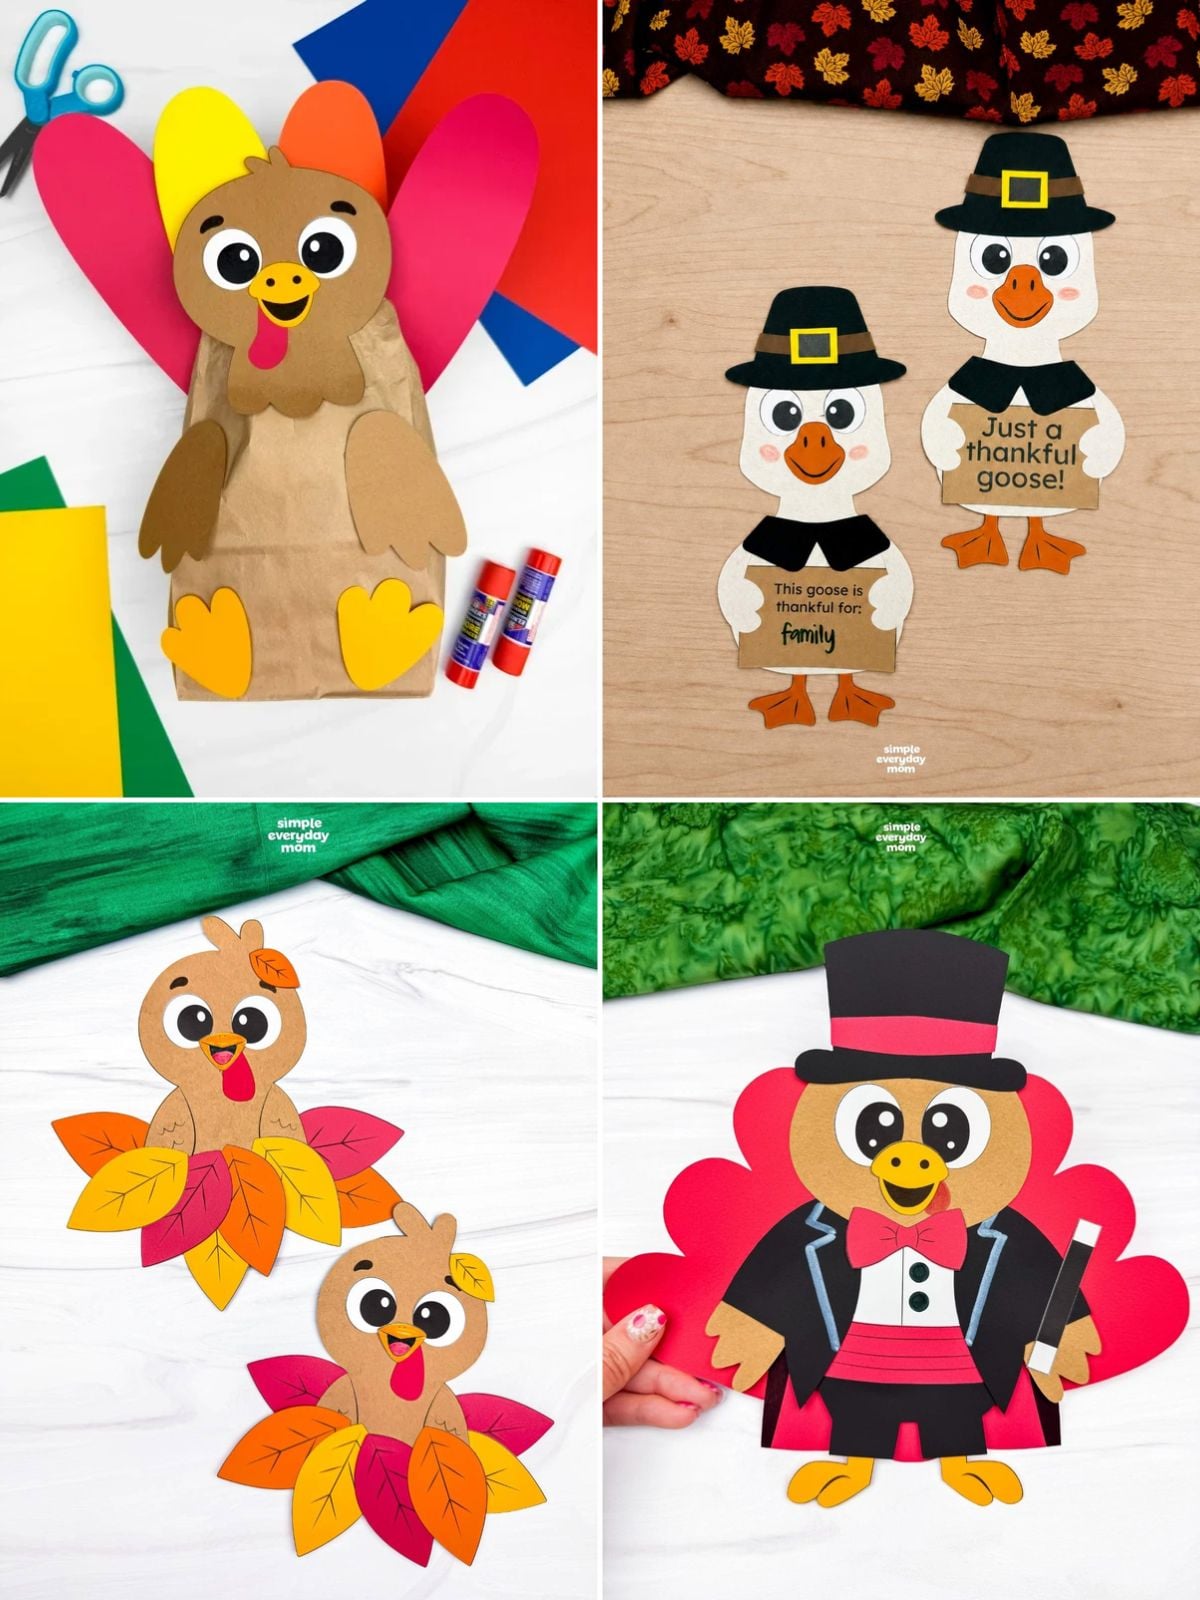
Thankful Goose Craft: This little goose has a pilgrim hat and a sign that lets kids share something they’re thankful for. What I like about this project is that their answers can be just about anything, from family and friends to their favorite food. Some of those answers might even give you a good laugh. It’s a simple way to get kids talking about gratitude, and the finished geese would make a cute classroom display with everyone’s different responses.
Stuffed Paper Bag Turkey Craft: Most paper turkey crafts are flat, but this one has a round, stuffed body that makes him look a little more like a Thanksgiving decoration. Kids use a regular brown paper bag and fill it to give the turkey his plump shape. Then they add the colorful feathers and face. I like that it’s something different from a regular cut-and-glue project, and kids can actually set their finished turkeys on a table instead of just hanging them up.


Thanksgiving Learning Activities
Reading a Thanksgiving book is even better when you’ve got a few activities to go along with it. These Run Turkey Run activities are based on the story of a turkey trying to escape becoming Thanksgiving dinner. There’s a maze, character cards, and some other early learning pages, but I especially like the pattern activity because it fits right in with the silly story. It’s a nice way to keep kids thinking about the book after you’ve finished reading it together.
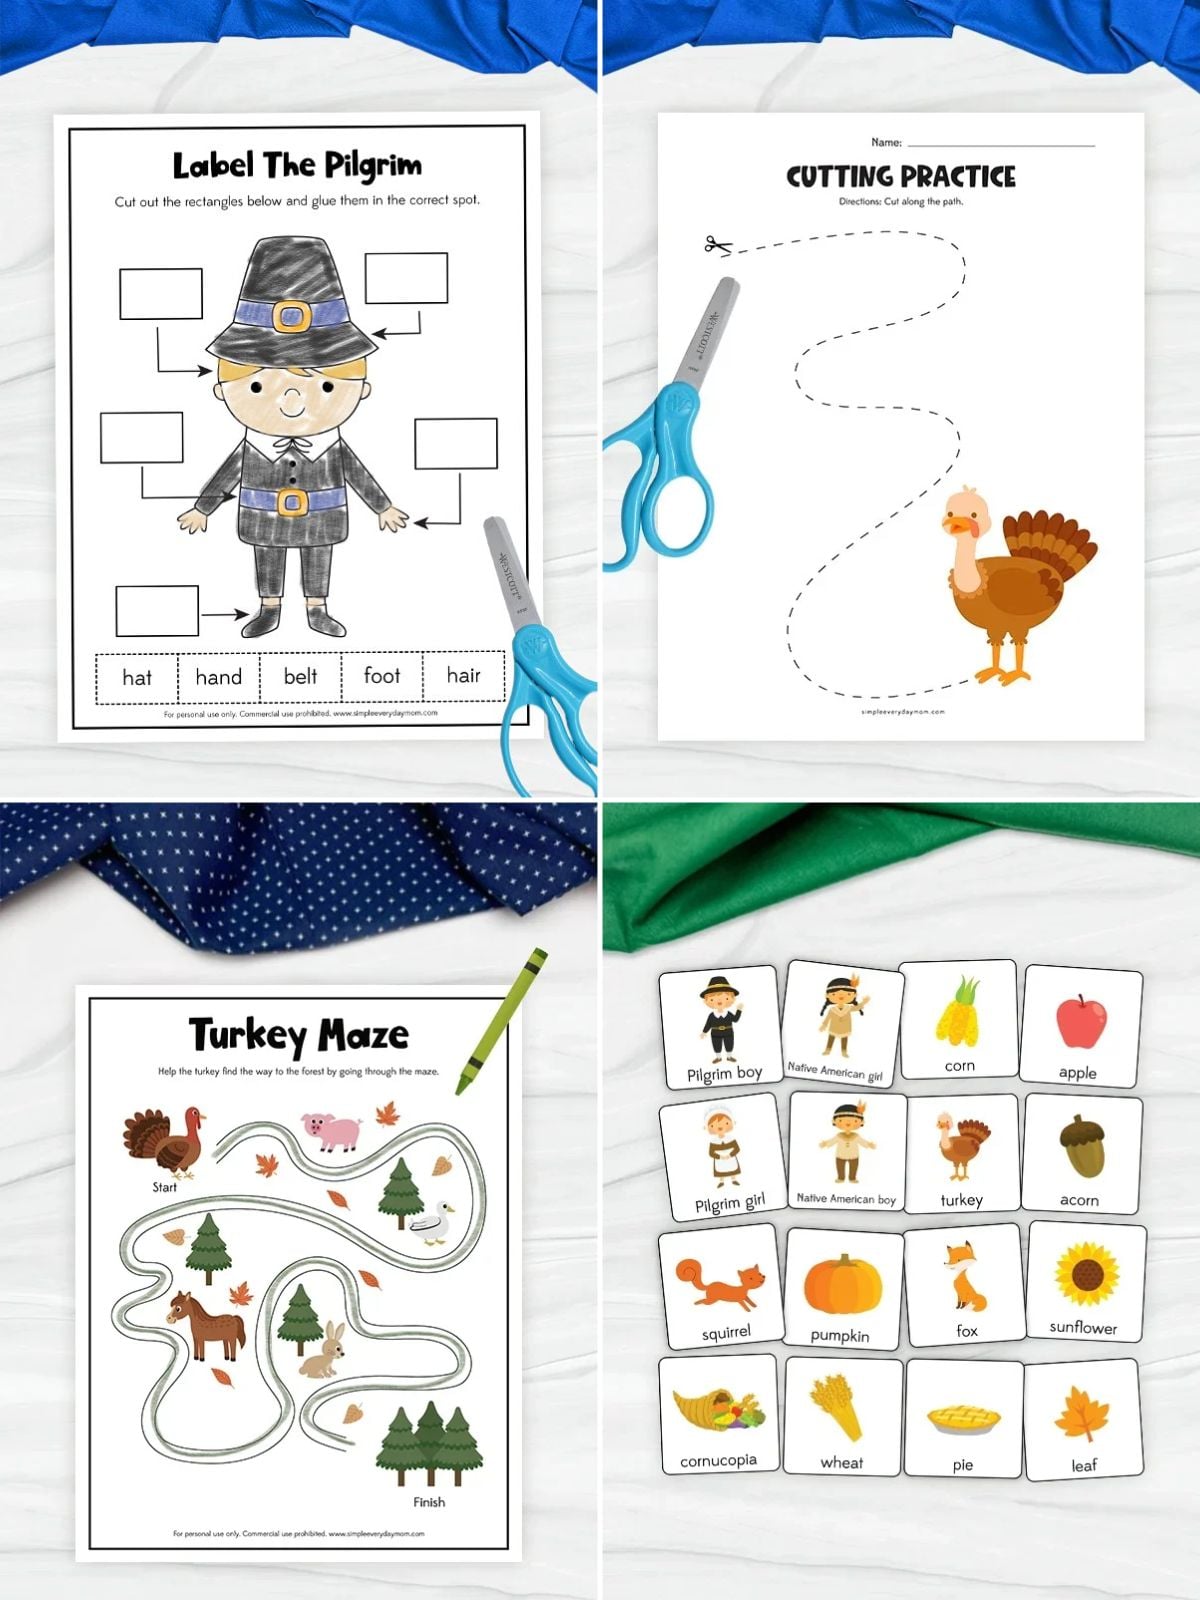
Memory games are always handy to have around, especially when you need something kids can play more than once. These Thanksgiving memory game printables feature familiar fall pictures like pumpkins, turkeys, and pies. Kids turn over the cards and try to remember where they’ve seen the matching picture. You can start with fewer pairs for younger kids, then add more cards as they get better at remembering where everything is hidden.
I like having a mix of activities that let kids practice different skills without switching away from the Thanksgiving theme. These pilgrim worksheets include letter P tracing, a letter maze, and a cut-and-paste labeling page. The labeling activity is a nice change from handwriting practice because kids get to match the words to the pilgrim’s clothing. They’re simple enough to work into a preschool or kindergarten morning without needing much preparation.
Scissor practice is one of those skills that takes a lot of repetition, but it doesn’t have to be the same straight lines every time. These Thanksgiving cutting practice worksheets have kids follow different paths, including zigzags and curves, with familiar fall pictures along the way. There are also cut-and-paste pages where kids place the pictures into boxes. I like that they get to work on controlling their scissors while doing something that feels a little more interesting than regular cutting drills.
Share With Us
Did you make this activity with your kids or students? We’d love to feature them on our social media!
For a chance to have your child’s project featured, simply snap a picture of the completed project and post it to our Facebook page, email it to us directly by clicking here, or use #simpleeverydaymom on your social media!
Baby Turkey Craft
Video
Materials
- Colored cardstock or construction paper
- Scissors
- Glue
- Markers
- Baby turkey template
Instructions
- Print the template and gather the materials for this fun activity.
- Begin by gluing the eye pieces onto the turkey’s face, below the eyebrows.
- Glue the snood below the turkey’s right eye.
- Use a marker to color the beak and tongue.
- Glue the beak in between the eyes, slightly overlapping the snood.
- Next, glue the cheek pieces below the eyes on both sides of the face.
- Grab the wing pieces and glue them onto the back of both sides of the turkey's body.
- Glue three feathers behind one side of the turkey, fanning them outward.
- Repeat on the opposite side with the remaining feathers.
- Finally, glue the feet to the bottom of the turkey’s body so they peek out underneath.
Did you make this?
Don’t forget to leave a comment below and make sure to follow on Pinterest, Facebook and TikTok for more!
Free Baby Turkey Template


Meet Sam
Sam is the crafter and founder of Simple Everyday Mom. She has been featured in Oprah Mag, Good Housekeeping, The Spruce Crafts, Country Living, The Bump, and more.


