3 Ingredient Easy Color Changing Slime Recipe
All activities require adult supervision. By using this site, you agree to our terms of use. This post may contain affiliate links. As an Amazon Associate and a participant in other affiliate programs, I earn a commission on qualifying purchases. Read our disclosure policy.

How many times have your kids begged you to make slime, but you think it’ll be a nightmare to make?
That was me for a loooooong time.
I thought it was just too hard, too time consuming and definitely too messy to make.
But, I finally caved and made some homemade slime. And guess what?
I haven’t looked back since!
Making slime for my kids is now one of my favorite things to do. It’s oddly satisfying to watch glue, baking soda and contact lens solution transform into slime.
Plus, there are so many different combinations you can make that you’ll never get bored! Case in point, this awesome color changing slime.
It’s the newest slime we’ve added to our easy slime recipes for kids.
Read on below to see how amazingly simple it is to make for your kids!
How To Make Color Changing Slime Without Pigment
I just love how family friendly Elmer’s glue is making it to create your own DIY slime.
Not too long ago, in order to make color changing slime you’d have to hunt down special pigments to add to your slime recipe.
Not any longer!
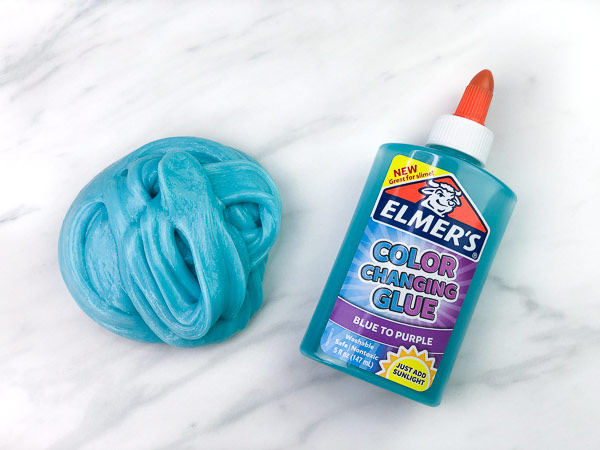
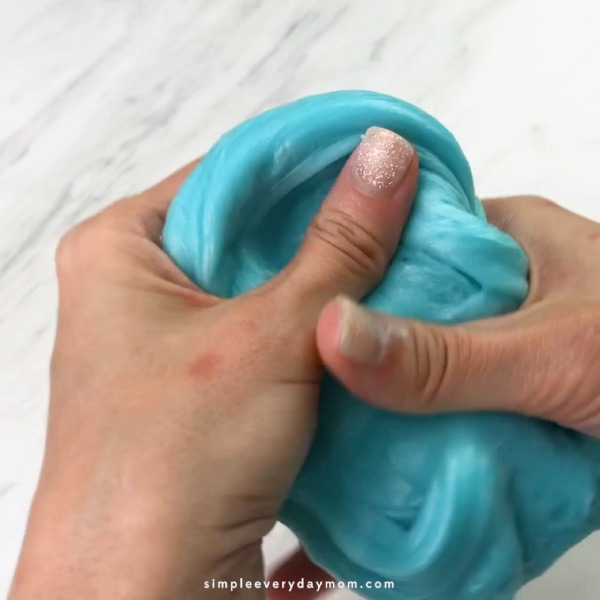
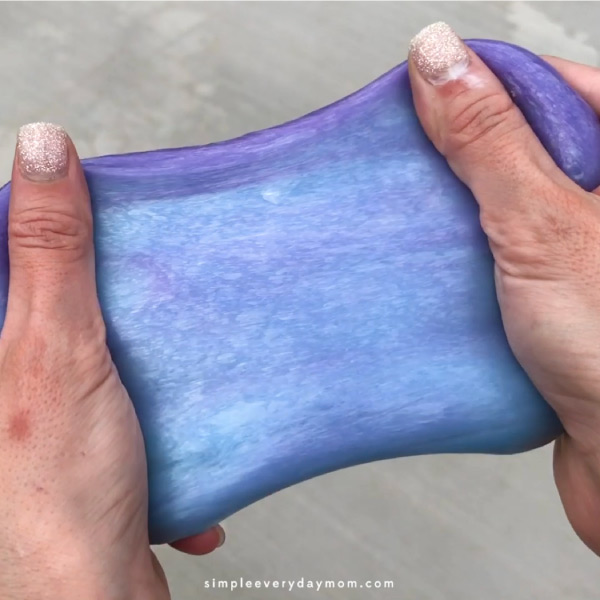
Now, Elmer’s has created their own special glue that magically transforms from one color to another with sunlight. It’s such a simple pleasure, but I’m telling you, kids cannot get enough of it!
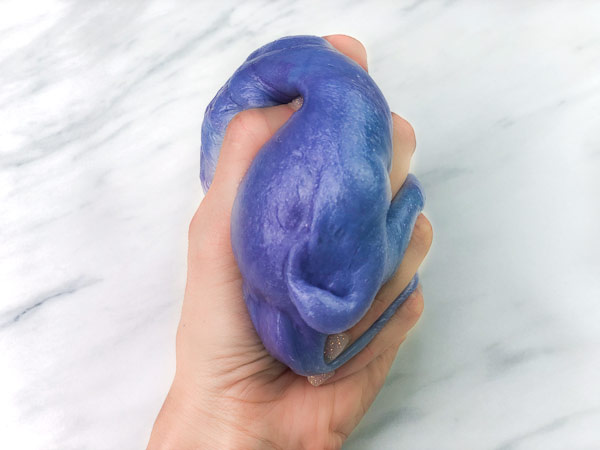
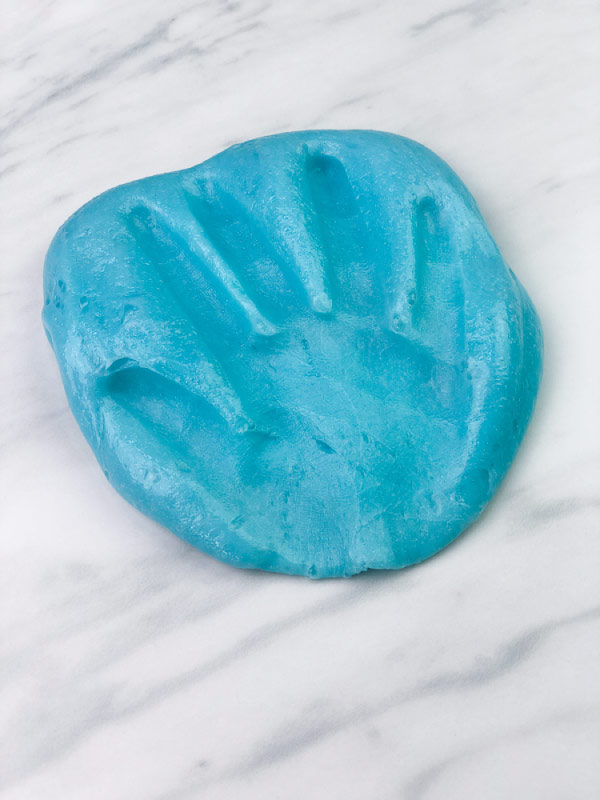
After we made this batch at home, we quickly ran outside to see if this was really going to work. I had my doubts since the entire time we were making it inside it showed no hint of turning purple.
But, it did change color!
It not only changed color, it changed color the instant we stepped outside.
Just like magic.
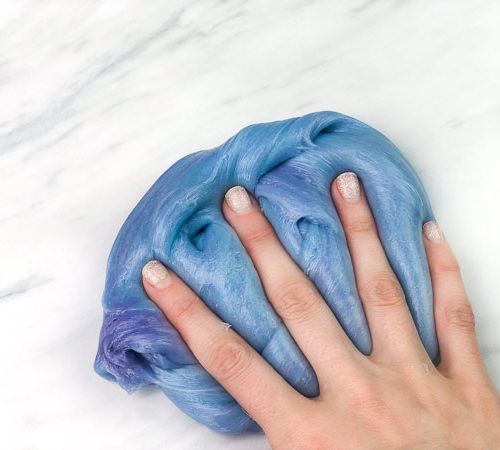
Since it changed color so quickly, I had a really hard time photographing it in between the two stages of blue to purple.
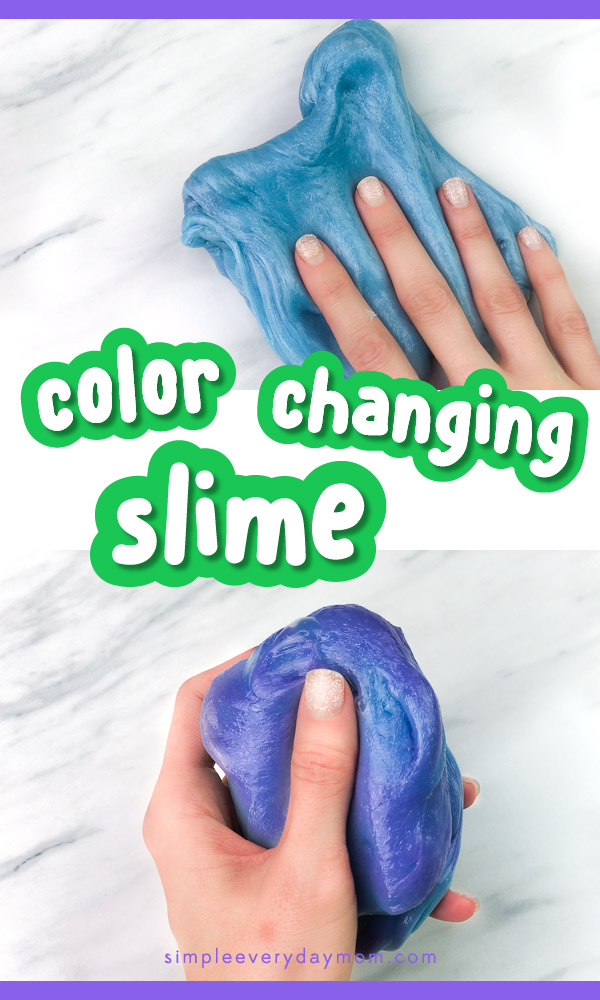
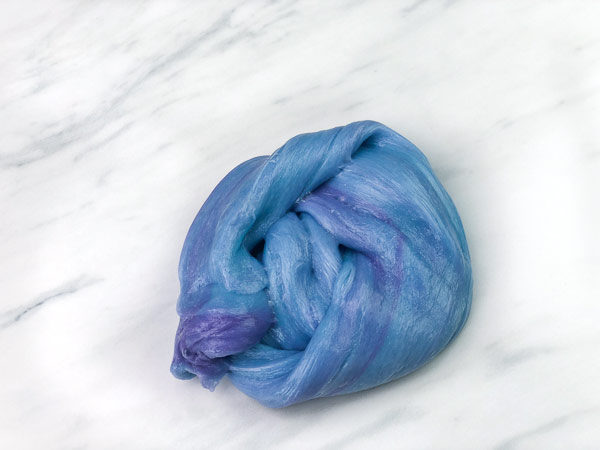
As you’ve already seen, we chose the glue that changes color from blue (inside) to purple (outside), but they also have another one that changes from yellow to red!
We’re already anxiously awaiting any new color changing glue options Elmer’s may release!
Supplies
- Elmer’s color changing glue
- Baking soda
- Contact lens solution (with boric acid)
- Water
- Mixing bowl
- Fork
Color Changing Slime Directions
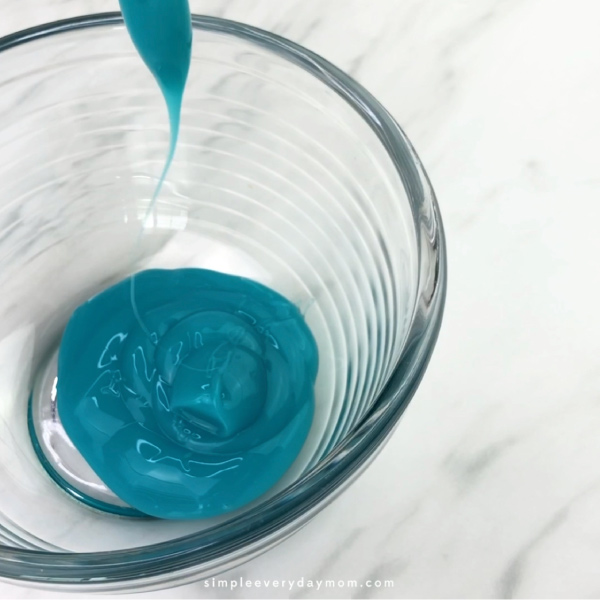
Pour the entire bottle of Elmer’s color changing glue into a medium sized mixing bowl. Pour 1/2 cup of water in and mix with the glue.
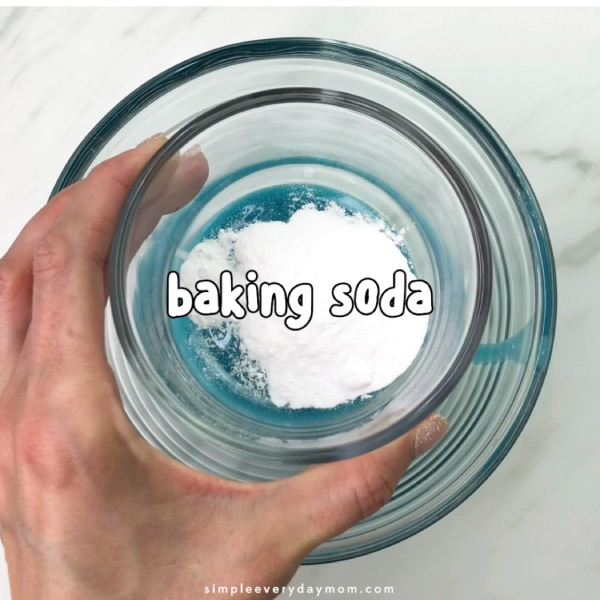
Add 1 teaspoon baking soda to the bowl and mix.
Add 1 tablespoon contact lens solution to the bowl and mix with the fork.

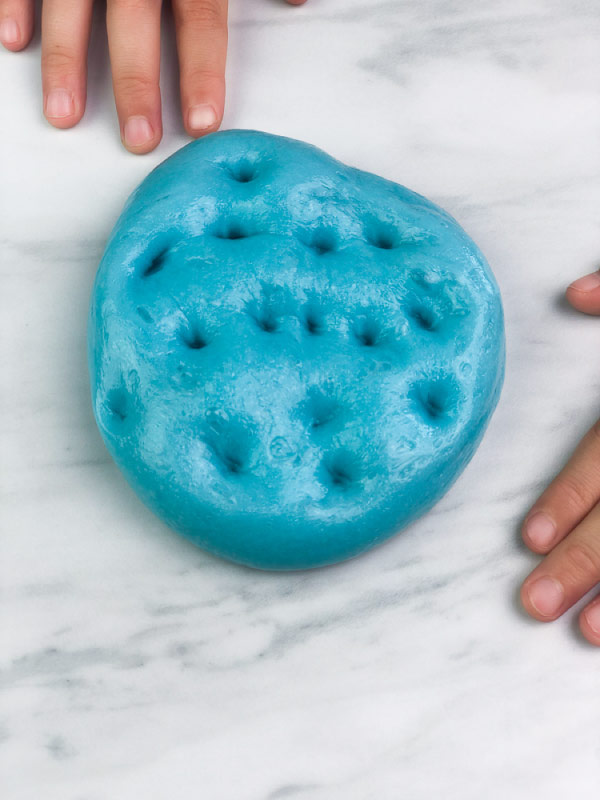
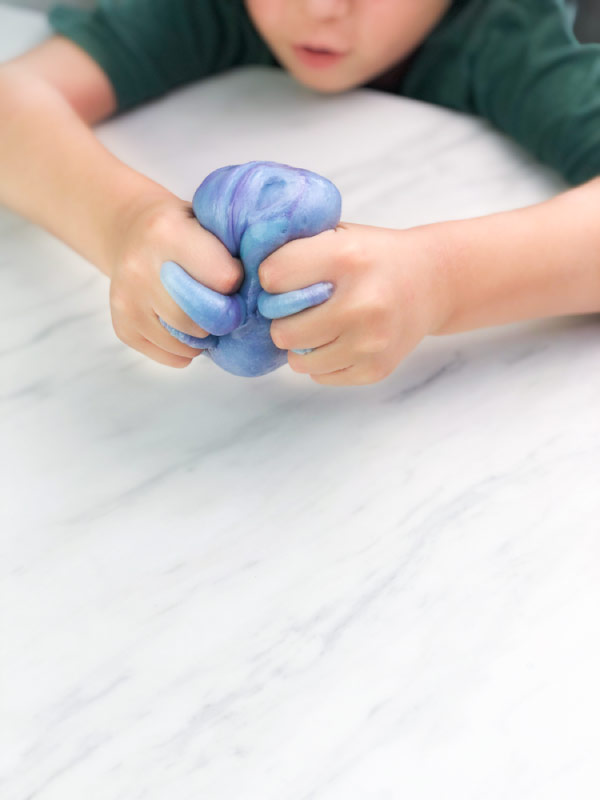
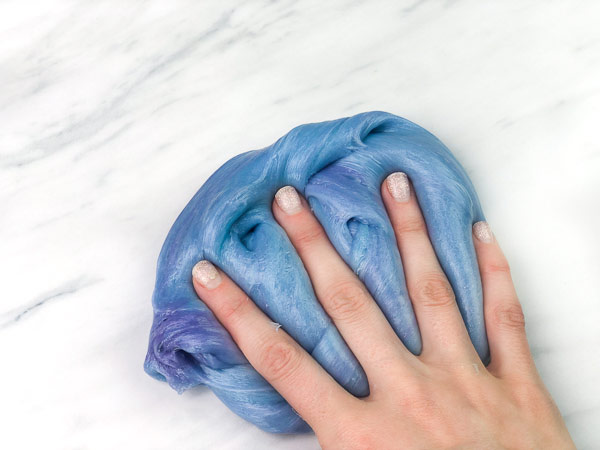
Once the slime begins to stick to itself, use your hands to knead and mix the slime until it reaches the consistency you’d like. If after working it with your hands it’s still too sticky, add a small amount (about 1/2 tablespoon at a time) of contact solution and mix again.
We used a total of 3 tablespoons plus 1 teaspoon of contact solution because we don’t like our slime sticky!
Bring your simple slime outside and watch it changes colors before your eyes!
Slime Troubleshooting
As you can see, this color changing slime is amazing and super simple to make. If you do happen to run into problems, check out some of our easy tips below.
Did your slime turn out too sticky? No problem. Simply add more contact lens solution, a little at a time, to the mixture and knead until it’s fully mixed and to your desired consistency. We like our on the less sticky side to contain the mess, but it’s your call how oozy you want your slime.
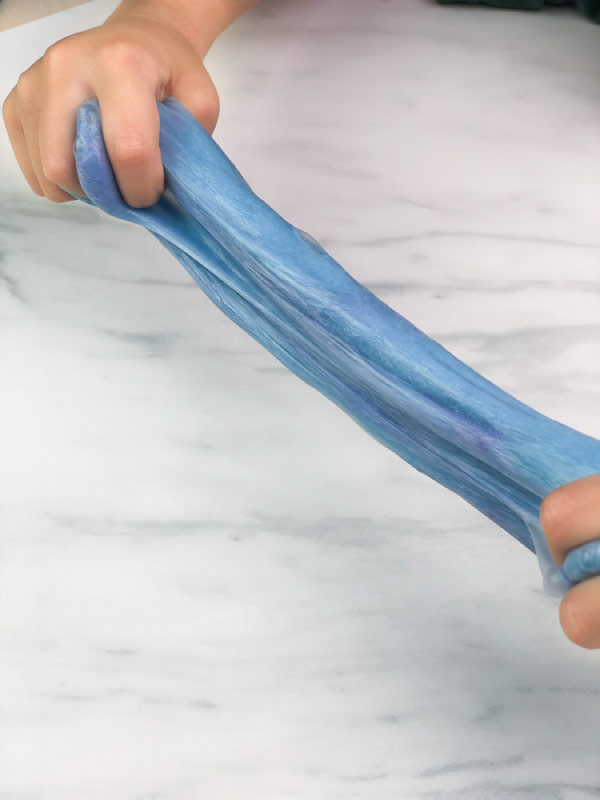
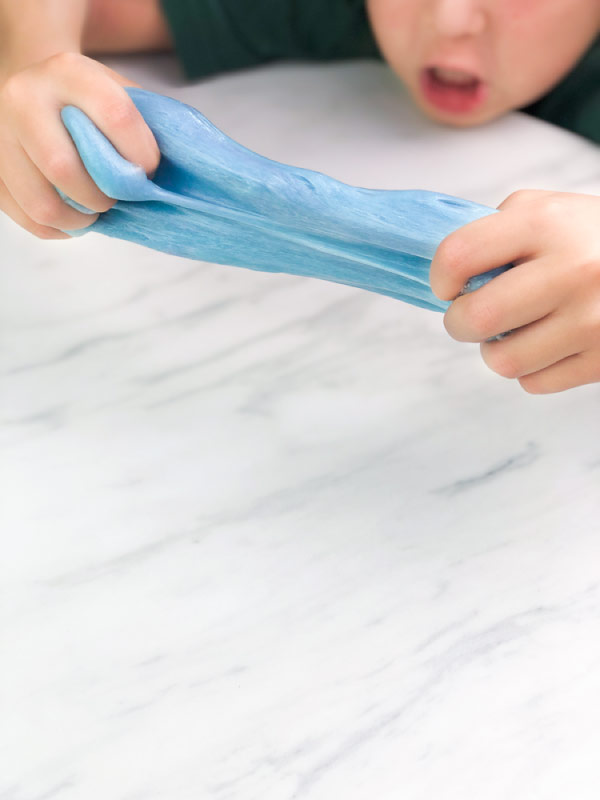
Is your slime breaking instead of stretching? You probably added too much contact lens solution to the mix. Next time you make a fresh batch of slime, add a little at a time so you don’t get a stiff slime that breaks.
There are two ways we have found to fix this problem.
One way is to add lotion to the slime. Simply grab any lotion you have lying around the house and add it to the slime. Knead it together and watch it regain its stretchiness.
Another way to make your slime more pliable is to soak it in hot water for around 5 minutes. Once you pull it out of the water it will be slippery and goopy, but keep kneading, pulling and working it and it will get back to a smooth, stretchy slime!
Slime Safety Tips
Please always have adult supervision when children are playing with slime.
You also want to be sure your child knows that this type of slime is not edible. If any part of the slime is ingested, immediately call for medical advice.
Parents or another adult should always make the slime. This type of slime should not be used with children 3 and younger.
If your child has sensitive skin use gloves while playing with the slime or watch them to be sure the slime isn’t irritating to the skin.
Always have your child wash their hands after playing with slime.
More Fun Activities For Kids
Easy Color Changing Slime Recipe
Video
Equipment
- Mixing bowl
- Fork
Materials
- Elmer’s color changing glue
- Baking soda
- Contact lens solution with boric acid
- 1/2 cup water
Instructions
- Pour the entire bottle of Elmer’s color changing glue into a medium sized mixing bowl.
- Add 1/2 cup water to the glue and mix well.
- Add 1 teaspoon baking soda to the bowl and mix.
- Add 1 tablespoon contact lens solution to the bowl and mix with the fork.
- Once the slime begins to stick to itself, use your hands to knead and mix the slime until it reaches the consistency you’d like. If after working it with your hands it’s still too sticky, add a small amount (about 1/2 tablespoon at a time) of contact solution and mix again. We used a total of 3 tablespoons plus 1 teaspoon contact solution.
- Bring your simple slime outside and watch it changes colors before your eyes!
Did you make this?
Don’t forget to leave a comment below and make sure to follow on Pinterest, Facebook and TikTok for more!

Meet Sam
Sam is the crafter and founder of Simple Everyday Mom. She has been featured in Oprah Mag, Good Housekeeping, The Spruce Crafts, Country Living, The Bump, and more.