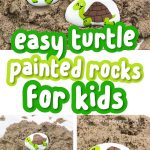
How To Make Easy Turtle Painted Rocks For Kids [VIDEO TUTORIAL]
All activities require adult supervision. By using this site, you agree to our terms of use. This post may contain affiliate links, sponsored links, and ads. As an Amazon Associate and participant in other affiliate programs, I earn from qualifying purchases.. Read our disclosure policy.
With all the nice weather here lately, we’ve been itching to do some fun outdoor crafts.
I don’t know why I think of rock painting as an outdoor activity since it can be done inside or outside, but on cool evenings we love to go outside as a family and paint some rocks!
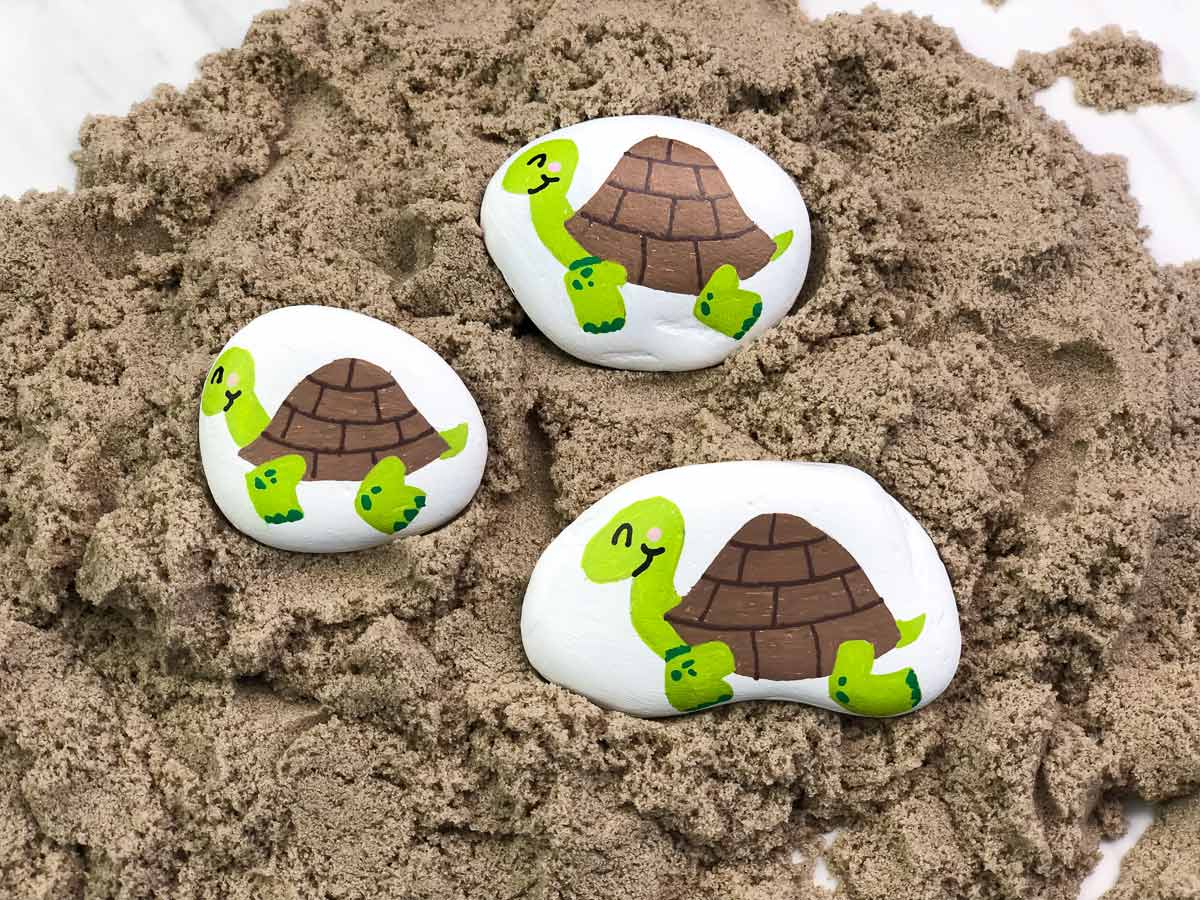
We’ve done a few different easy rock paintings in the past and today we’re sharing how we make these turtle painted rocks for kids.
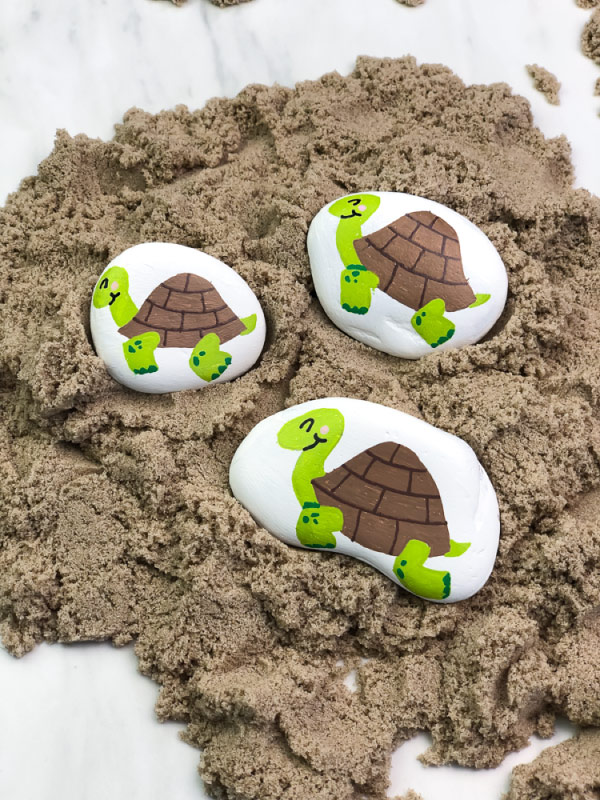
Once your kids learn the steps to creating this cute little turtle, they’ll want to make a whole bale of turtles. And yes, apparently a “bale” of turtles is the name for a group of turtles.
You learn new things every day, right? Thank you Google!
Read on below to see how simple it is to make these painted rocks at home.
Related: Ladybug Painted Rock Art
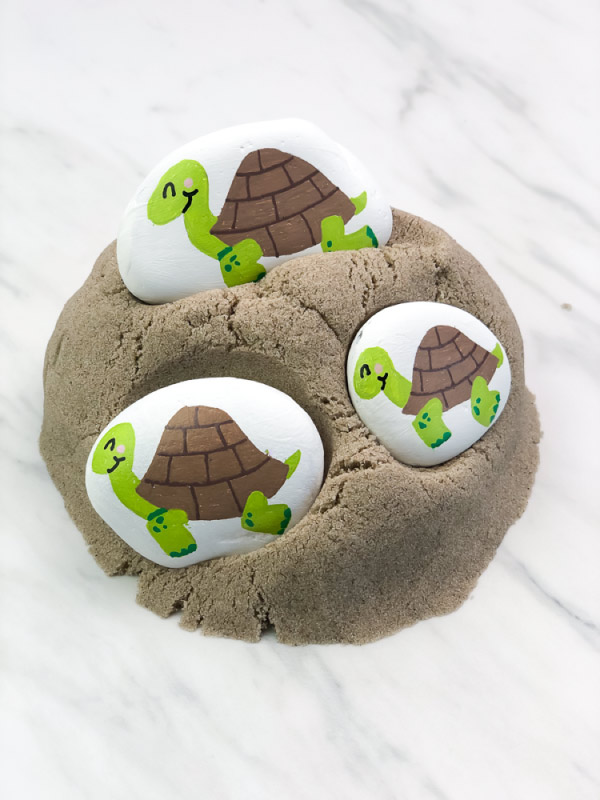
Hand Painted Turtle Rocks
This post contains affiliate links for your convenience. You can read my full disclosure here.

Rock Painting Supplies
- Smooth, flat rocks (I buy mine here or here)
- White acrylic paint or white spray paint (to prep the rocks)
- Pencil
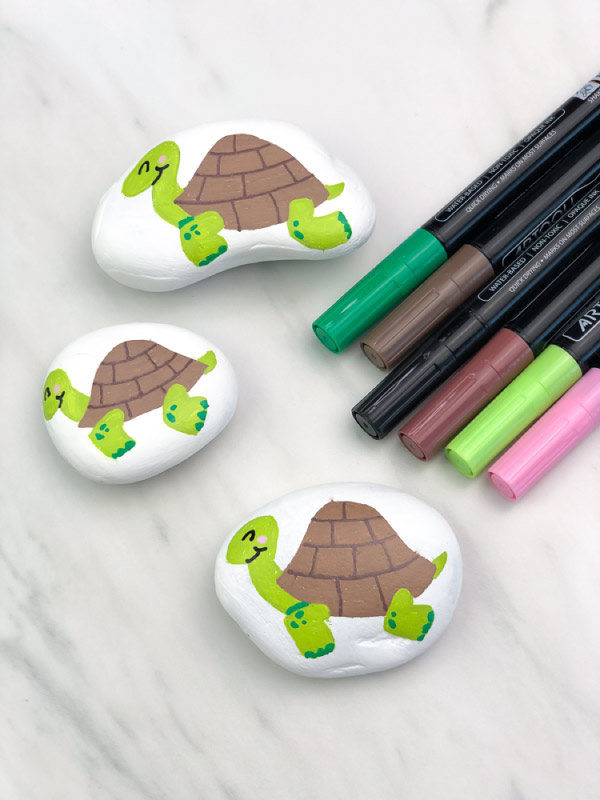
- Paint pens (these ones are my newest favorites!!)
- Sealant (optional)
Directions
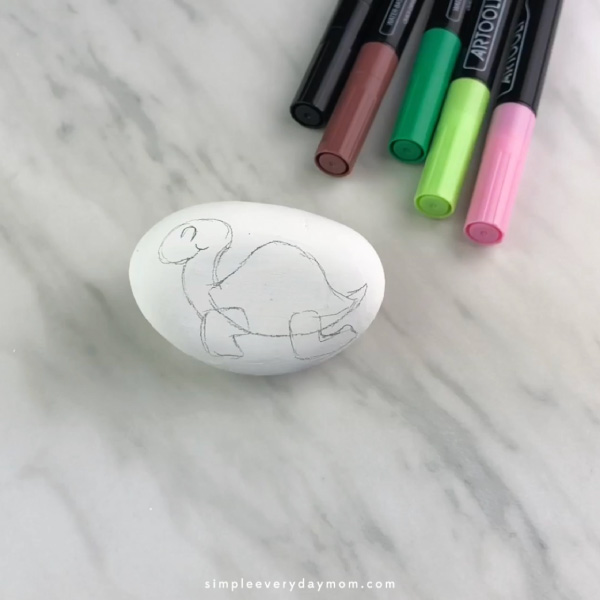
- Prepare your rocks by painting them white. With this set of rocks, we used white acrylic paint and painted 2-3 thin coats on each side. Let dry completely before painting the turtle on.

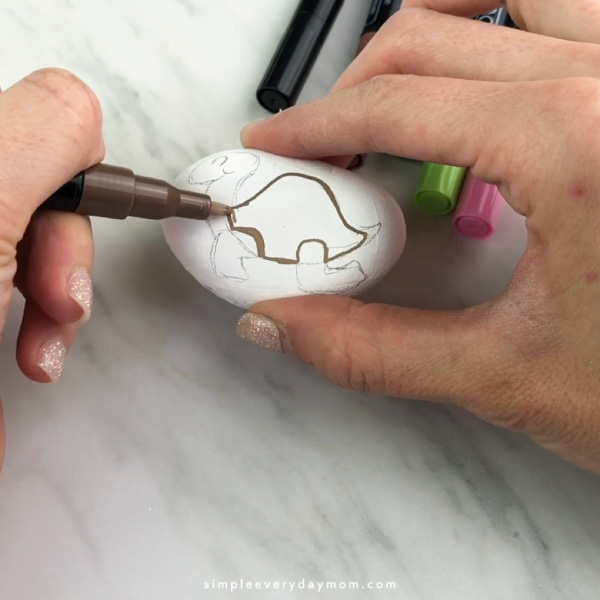
- For all the following directions, use a pencil to draw the turtle on first so you can erase if you make a mistake. Once it looks like you want it to, then use the paint pens over the pencil lines. I like to start by making the shell, then the head, legs and tail.
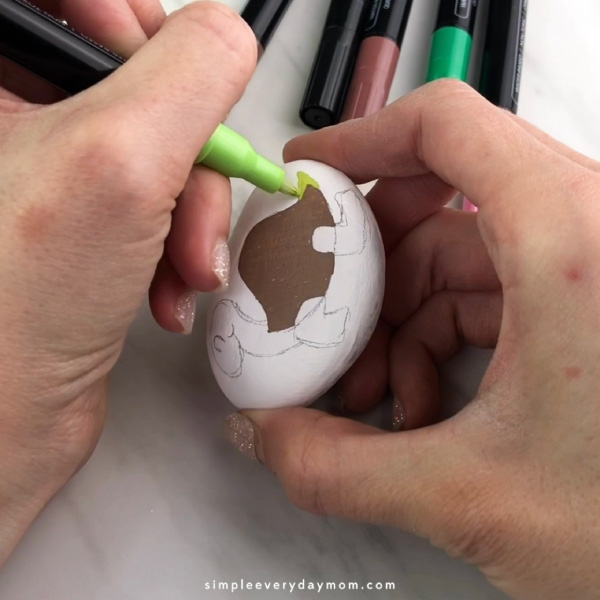
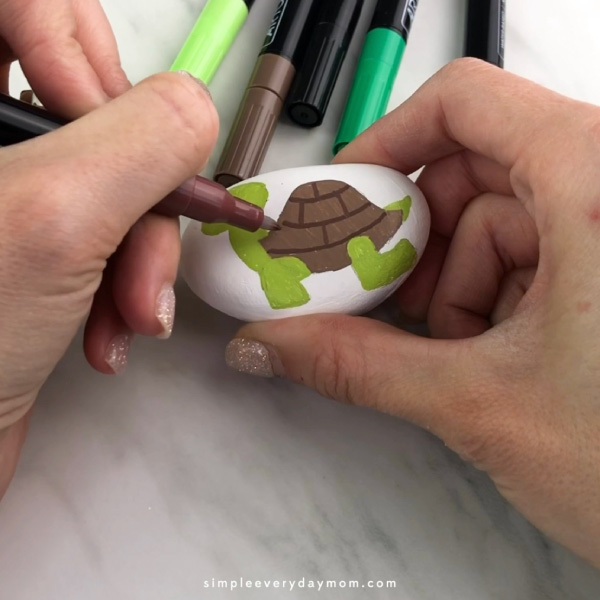
- Using the light brown paint pen, make the shell by drawing a wide bell shape that flares slightly on the edges.
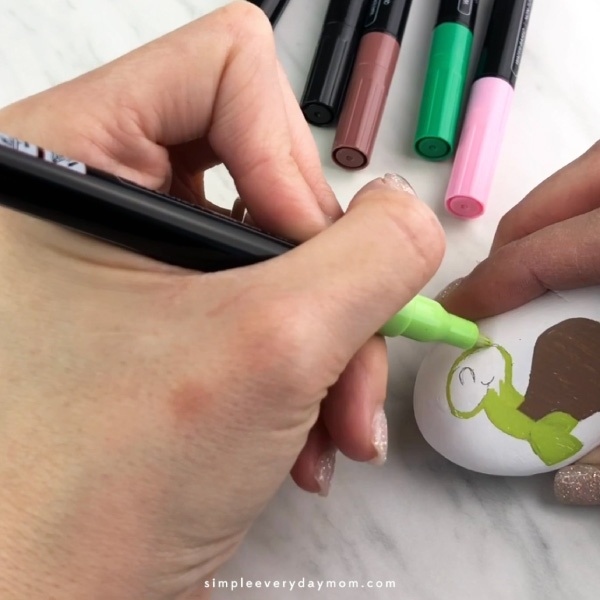
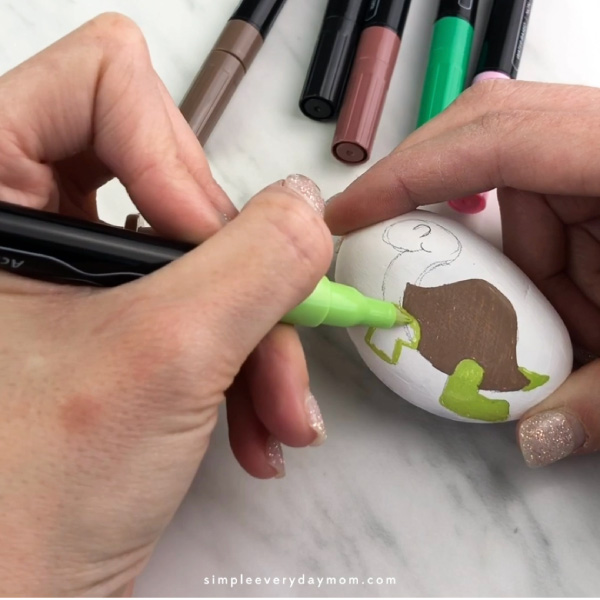
- Next use the light green paint pen to make the head. Start at the front end of the shell and draw a thin neck and oval shaped head.
- Use the light green paint pen to make the tail. Simply draw a small triangular extension to the back of the shell.
- Continue using the light green paint pen to add two legs, one in front and one in back, each with a bend at the knee.
- Draw the shell pattern on the turtle with the dark brown paint pen. Make 3 slightly curved lines that run to the edge of the shell. Next make a straight line in the middle of the top section of the shell that extends just to the first horizontal line you drew. Continue making vertical lines in each section of the shell by staggering them between the previous vertical lines on the layer before.
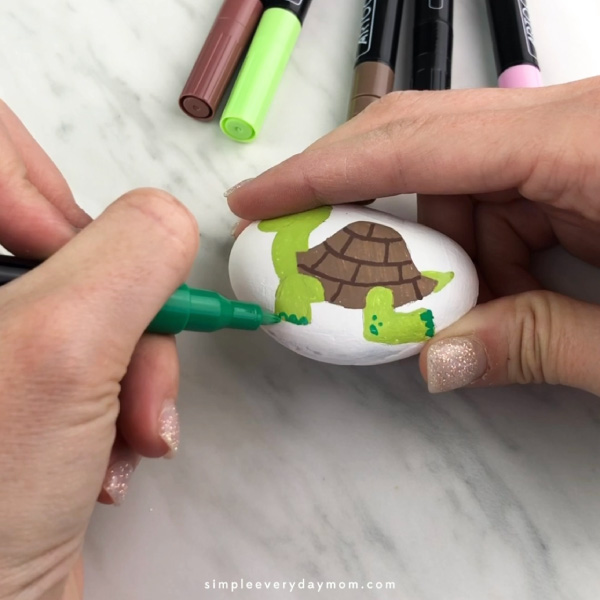
- Using the dark green paint pen, draw 2-3 little toes on each of the legs by making semicircles at the bottom of each foot. Draw a few accent spots on the legs as well.
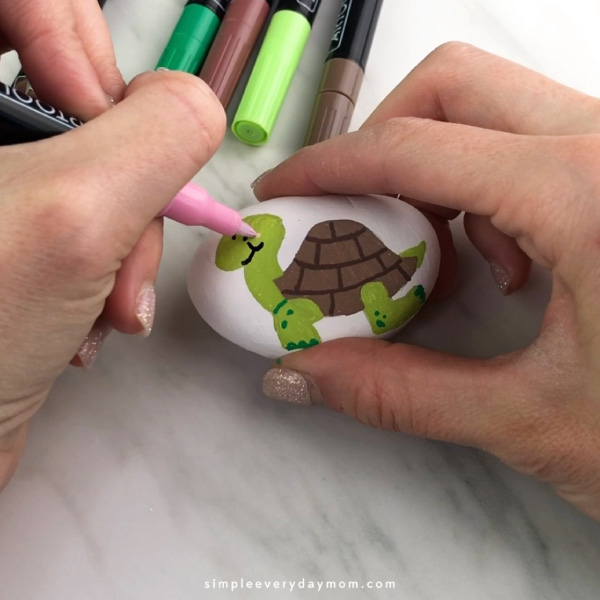
- Use the black paint pen to draw on the eye and smile.
- Draw on a cheek with the light pink paint pen by making a circle that fits just at the end of the turtle’s smile line.
- If you want, seal your rock with a sealant.
- Admire your adorable turtle rock!


Easy Painted Rock Tips
If you only read the directions and you’re feeling a little confused or overwhelmed, please watch the video!
The video will show you each and every step of painting the turtle on and it’s so much easier to understand when you see the painting in progress!
You may notice in the video that I draw on every part on the turtle even though I end up painting over the details.
I like to do this because I think it improves the final result.
When I go back over the turtle with the paint pens then I have a better sense where each detail belongs. When I skip the pencil drawing, the result is never as good as when I do it.
If your kids aren’t old enough to draw the turtle on themselves, you can do the pencil drawing for them. Then they can trace over your lines with the paint pens.
In our house, we paint rocks just for fun so we rarely seal them.
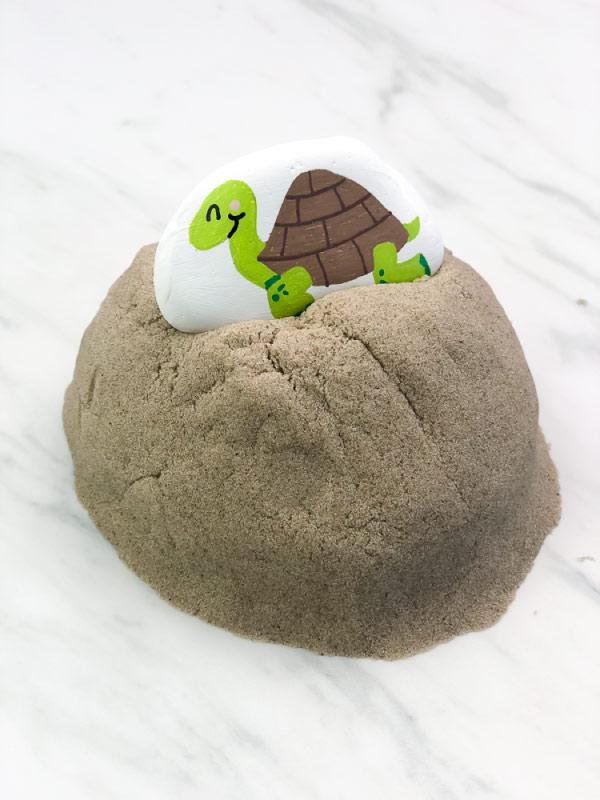
If you’re planning on hiding the rocks out in your community, we suggest sealing them. When you seal them, they’ll look as good as new no matter when someone finds them!
If you make these turtle painted rocks, we’d love to have you share them on our Facebook page so we can see how great your kids did!
More Fun Crafts For Kids
- Photo Mermaid Craft For Kids
- Zombie Painted Rocks For Kids
- Easy Color Changing Slime Recipe
- Round Pirate Craft

How To Make Easy Turtle Painted Rocks For Kids
Video
Materials
- Smooth flat rocks
- White acrylic paint or white spray paint to prep the rocks
- Pencil
- Paint pens these ones are my newest favorites!!
- Sealant optional
Instructions
- Prepare your rocks by painting them white. With this set of rocks, we used white acrylic paint and painted 2-3 thin coats on each side. Let dry completely before painting the turtle on.
- For all the following directions, use a pencil to draw the turtle on first so you can erase if you make a mistake. Once it looks like you want it to, then use the paint pens over the pencil lines. I like to start by making the shell, then the head, legs and tail.
- Using the light brown paint pen, make the shell by drawing a wide bell shape that flares slightly on the edges.
- Next use the light green paint pen to make the head. Start at the front end of the shell and draw a thin neck and oval shaped head.
- Use the light green paint pen to make the tail. Simply draw a small triangular extension to the back of the shell.
- Continue using the light green paint pen to add two legs, one in front and one in back, each with a bend at the knee.
- Draw the shell pattern on the turtle with the dark brown paint pen. Make 3 slightly curved lines that run to the edge of the shell. Next make a straight line in the middle of the top section of the shell that extends just to the first horizontal line you drew. Continue making vertical lines in each section of the shell by staggering them between the previous vertical lines on the layer before.
- Using the dark green paint pen, draw 2-3 little toes on each of the legs by making semicircles at the bottom of each foot. Draw a few accent spots on the legs as well.
- Use the black paint pen to draw on the eye and smile.
- Draw on a cheek with the light pink paint pen by making a circle that fits just at the end of the turtle’s smile line.
- If you want, seal your rock with a sealant.
- Admire your cute turtle rock!
Did you make this?
Don’t forget to leave a comment below and make sure to follow on Pinterest, Facebook and TikTok for more!

Meet Sam
Sam is the crafter and founder of Simple Everyday Mom. She has been featured in Oprah Mag, Good Housekeeping, The Spruce Crafts, Country Living, The Bump, and more.