

Snowman Fork Painting Craft for Kids [Free PDF Template]
All activities require adult supervision. By using this site, you agree to our terms of use. This post may contain affiliate links, sponsored links, and ads. As an Amazon Associate and participant in other affiliate programs, I earn from qualifying purchases.. Read our disclosure policy.
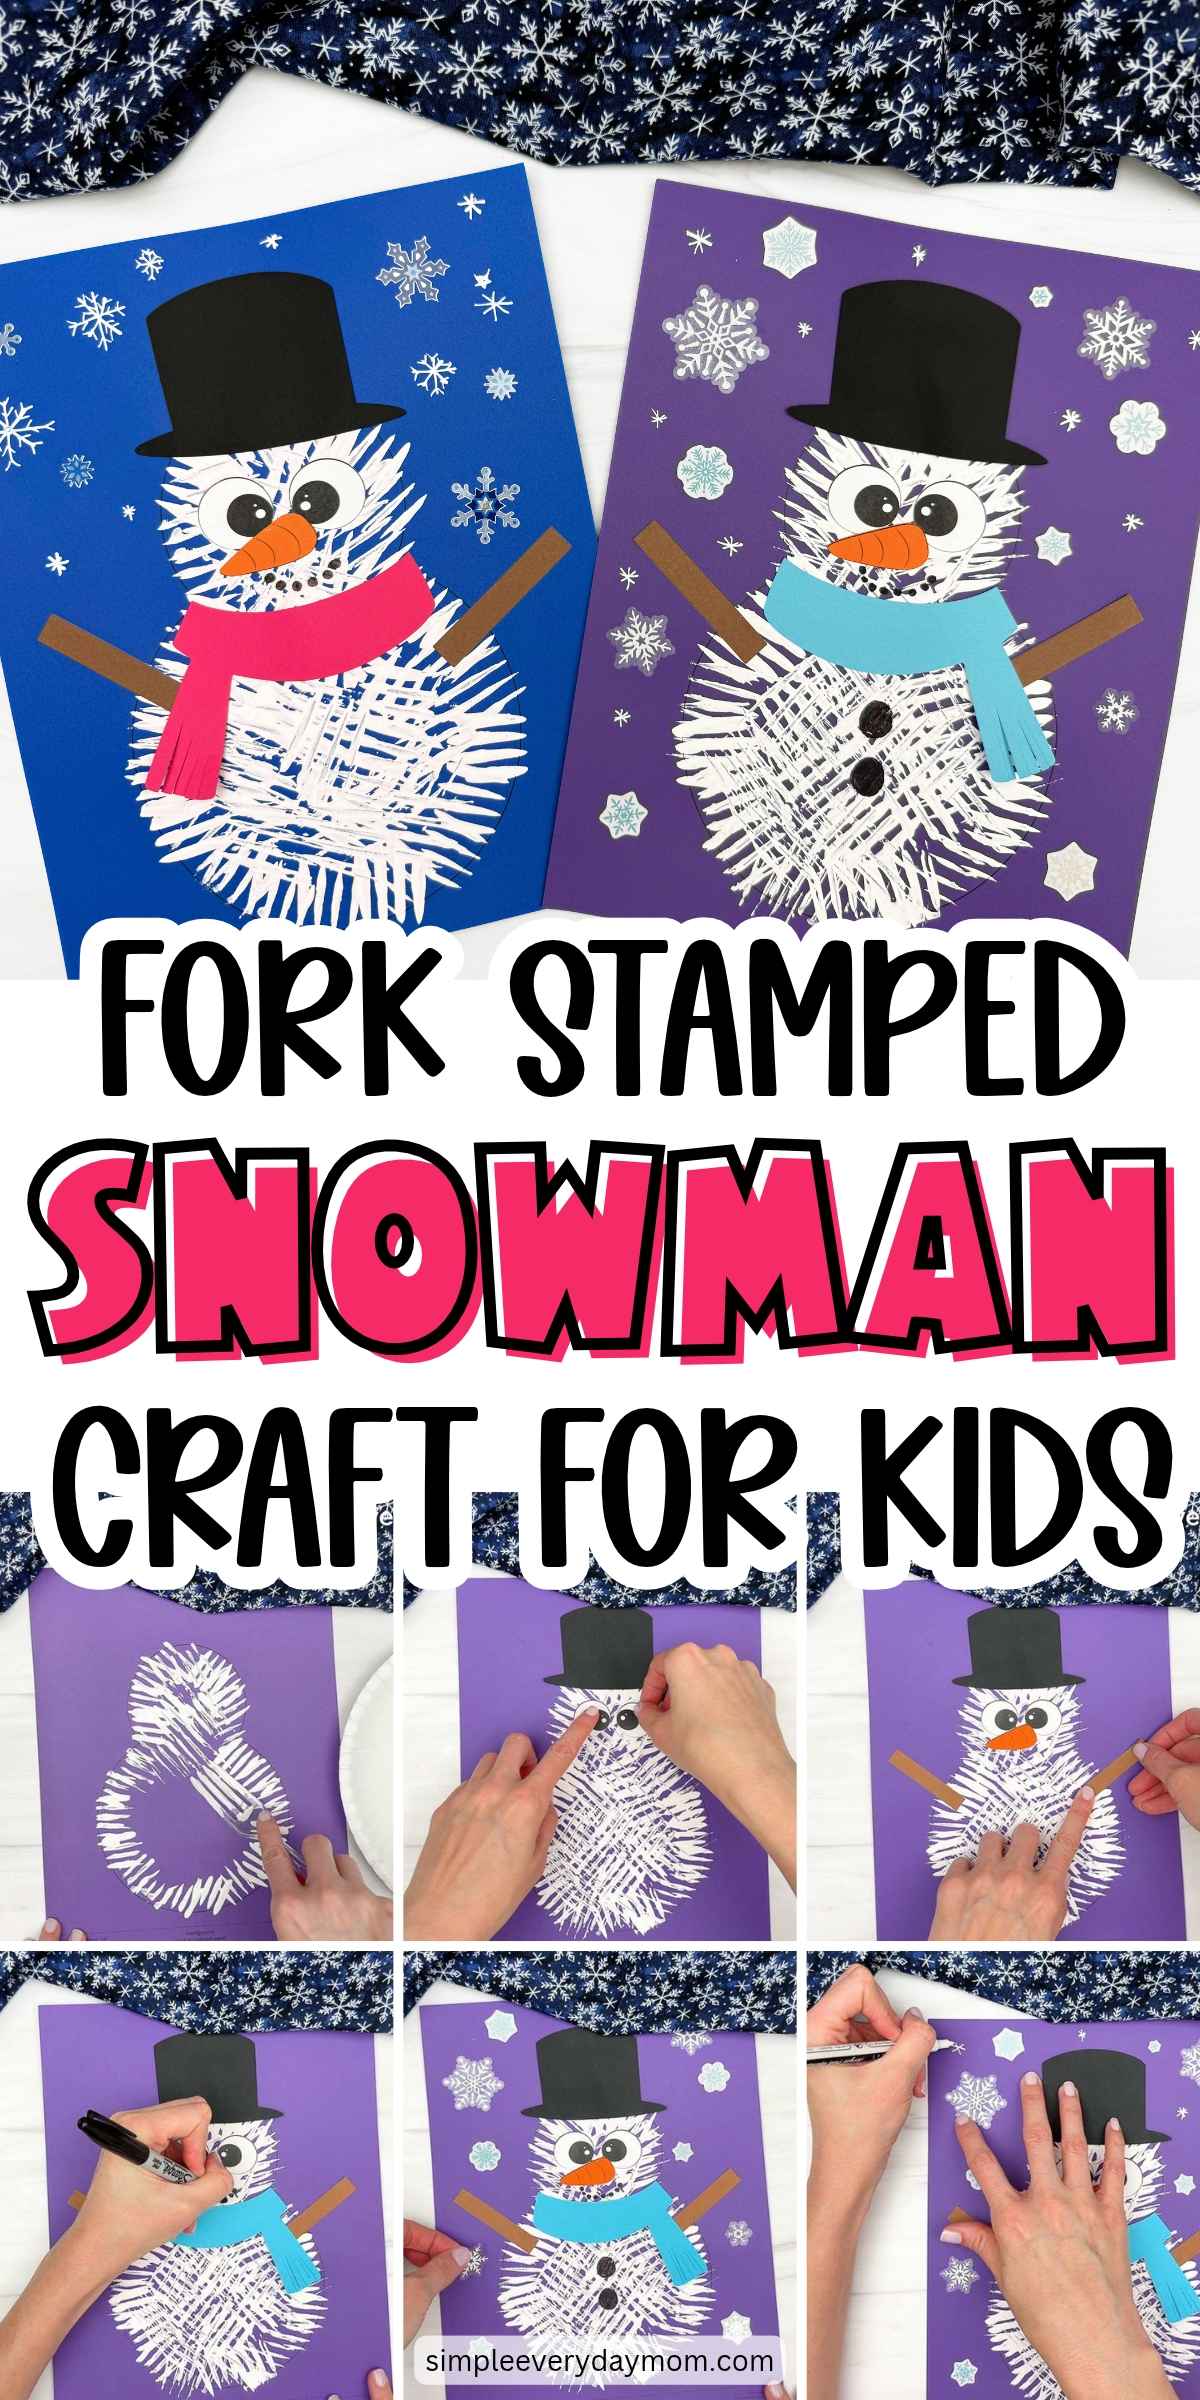
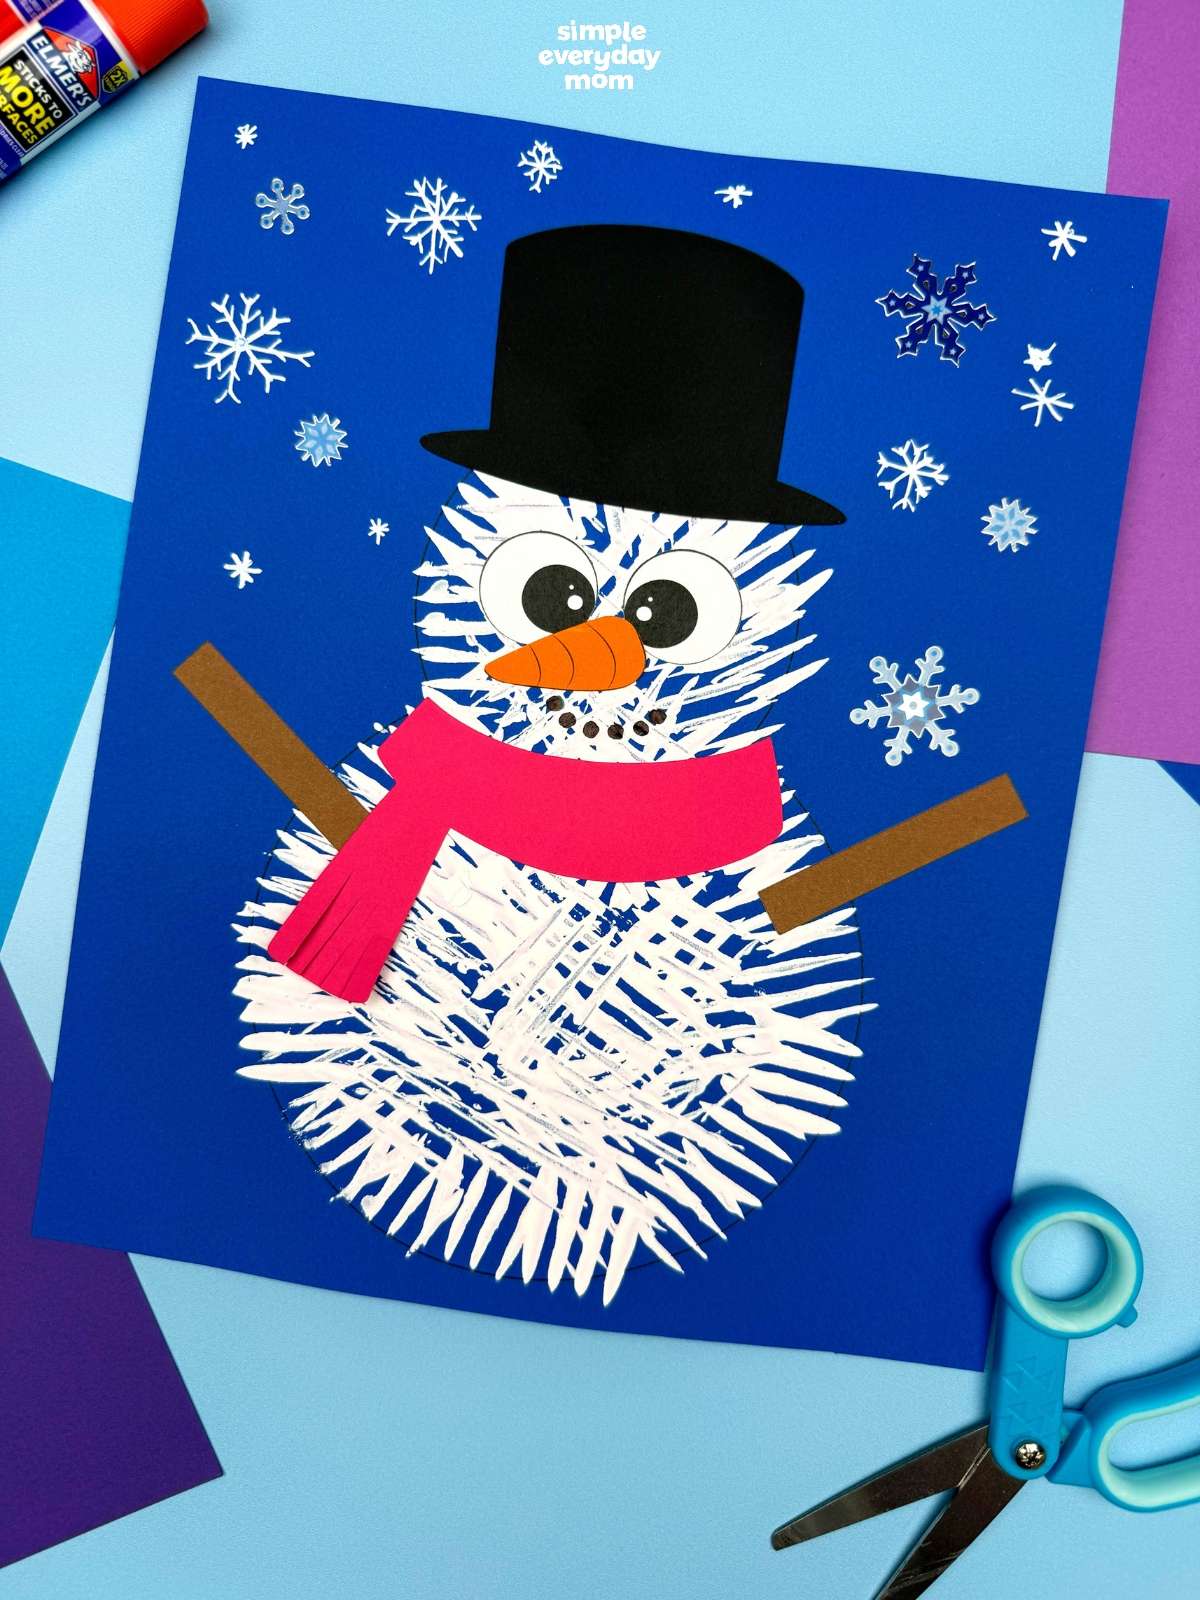
There’s something about painting with a fork that makes an ordinary craft a little more exciting for kids! This snowman fork painting craft lets preschool and kindergarten kids use a fork instead of a paintbrush to make a snowman with a fun, textured look. It’s a simple winter art project that takes about 25–35 minutes, plus drying time.
When it’s too cold to play outside, making a snowman indoors is a pretty good alternative. We have even more snowman activities for kids that are perfect for keeping kids busy during those long winter days.
Good To Know
- Themes: Winter, snowman
- Activity: Use a fork dipped in white paint to stamp a snowman, then add the paper pieces and snowflake decorations.
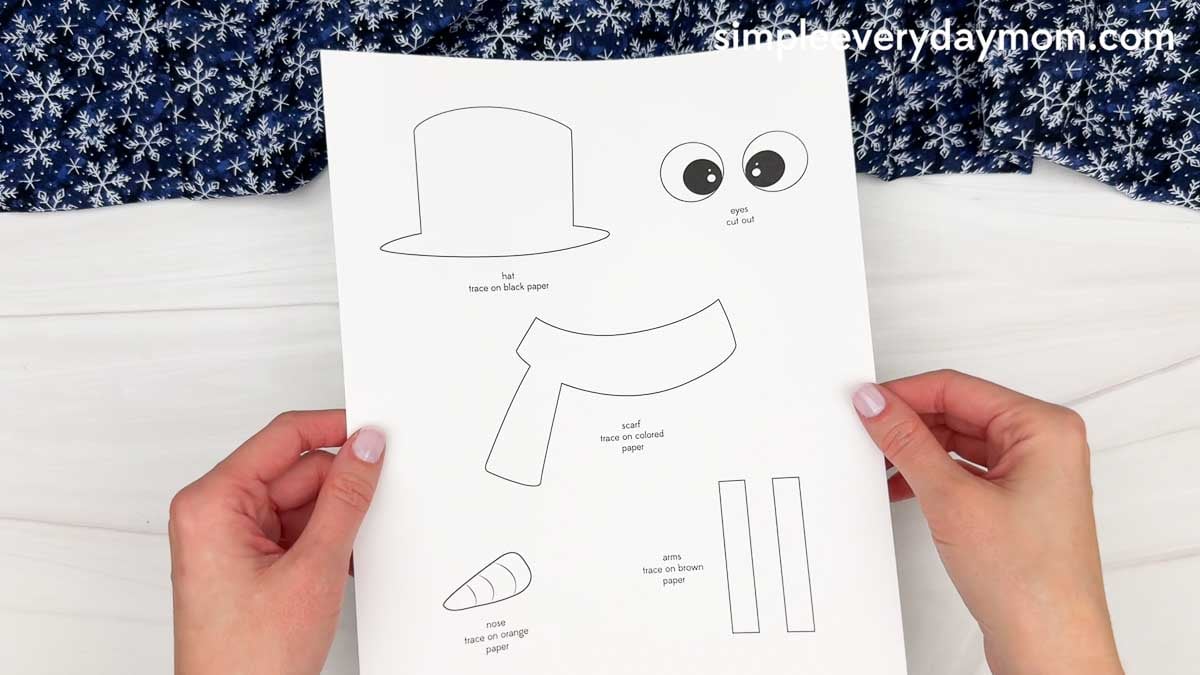
- Template: Includes a free printable template for the snowman’s hat, scarf, face, and arms.
- Ages: Preschool through 2nd grade
- Time: 25-35 minutes
- Skills: Fine motor skills, hand-eye coordination, scissor skills, painting techniques, creativity, and following directions
Fun Winter Art Idea
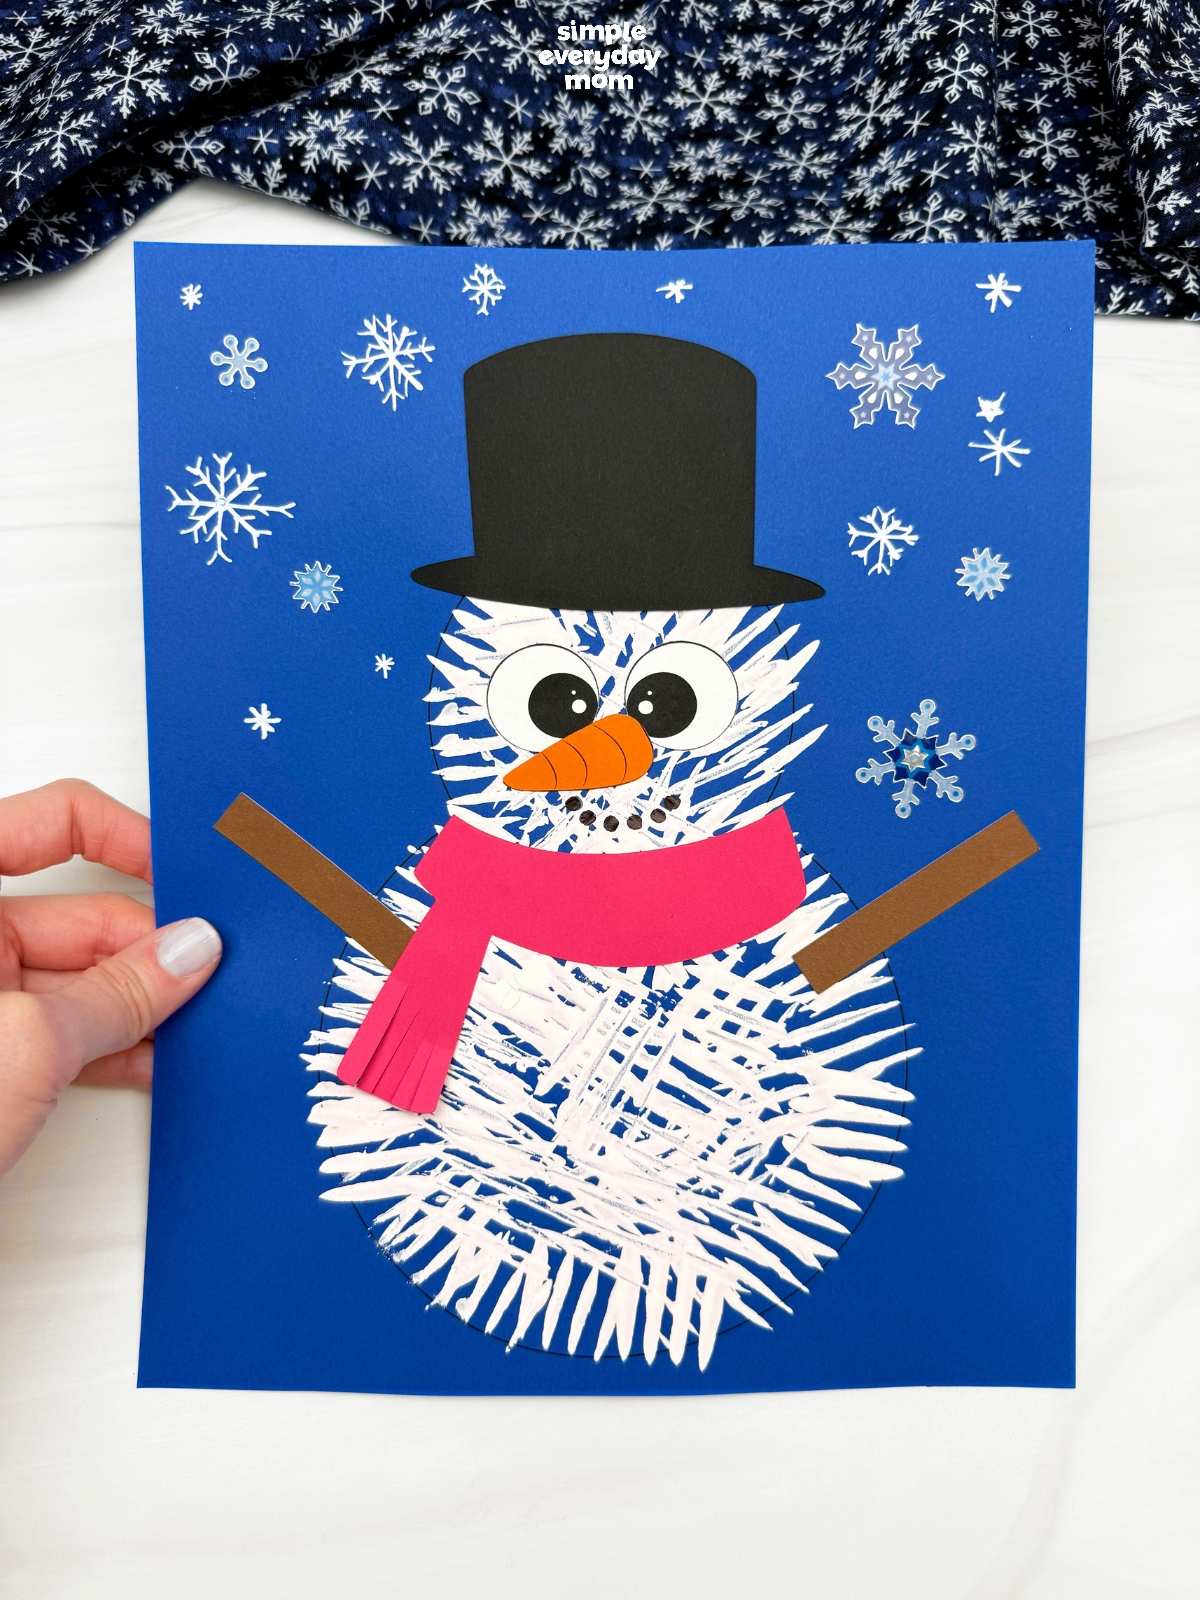
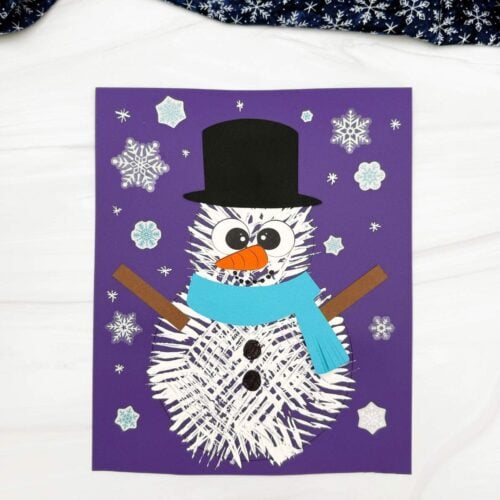
The fork painting is what makes this project so cute. Kids can layer the white paint to create their snowman’s body, and the little lines left behind give it a fluffy, snowy appearance. Once the paint dries, they can add a carrot nose, top hat, scarf, and stick arms to finish their snowman.
There’s also plenty of fine motor practice mixed in. Kids work on hand-eye coordination as they press and move the fork through the paint, then practice cutting and gluing as they put their snowman together.
You don’t need anything fancy to make this one, either. Just some basic craft supplies, white paint, and a fork. The printable template makes adding the snowman’s details easier, so kids can spend more time on the part they’ll probably enjoy most: painting!
Supplies
- Colored cardstock or construction paper
- Scissors
- Glue
- Fork
- Paint
- Markers
- White marker
- Snowman template (click the “click here to get your freebies” image at the end of the post)
Directions
Start by printing the template, then gather the materials for this fun activity. Get those scissors ready, and let’s help the kids bring this snowman to life!
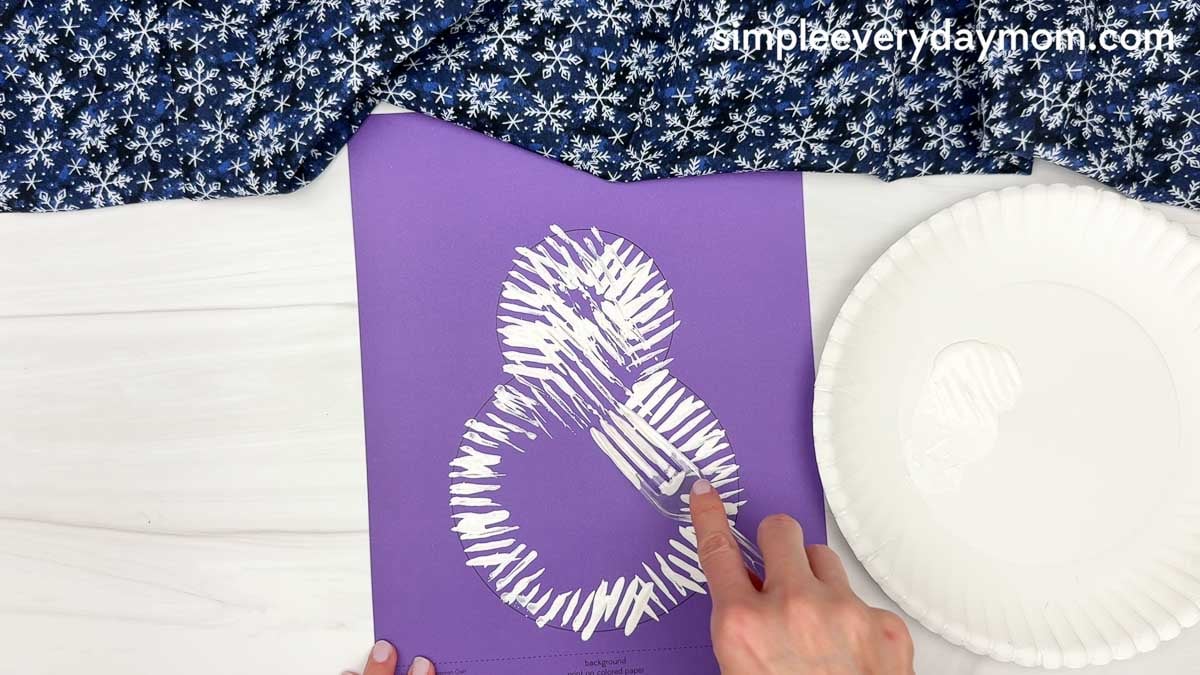
Dip a fork into the paint, and start stamping inside the snowman outline on the colored background paper. Keep stamping until the head and body are filled with white paint, creating a fun, snowy texture. Then let the paint dry.
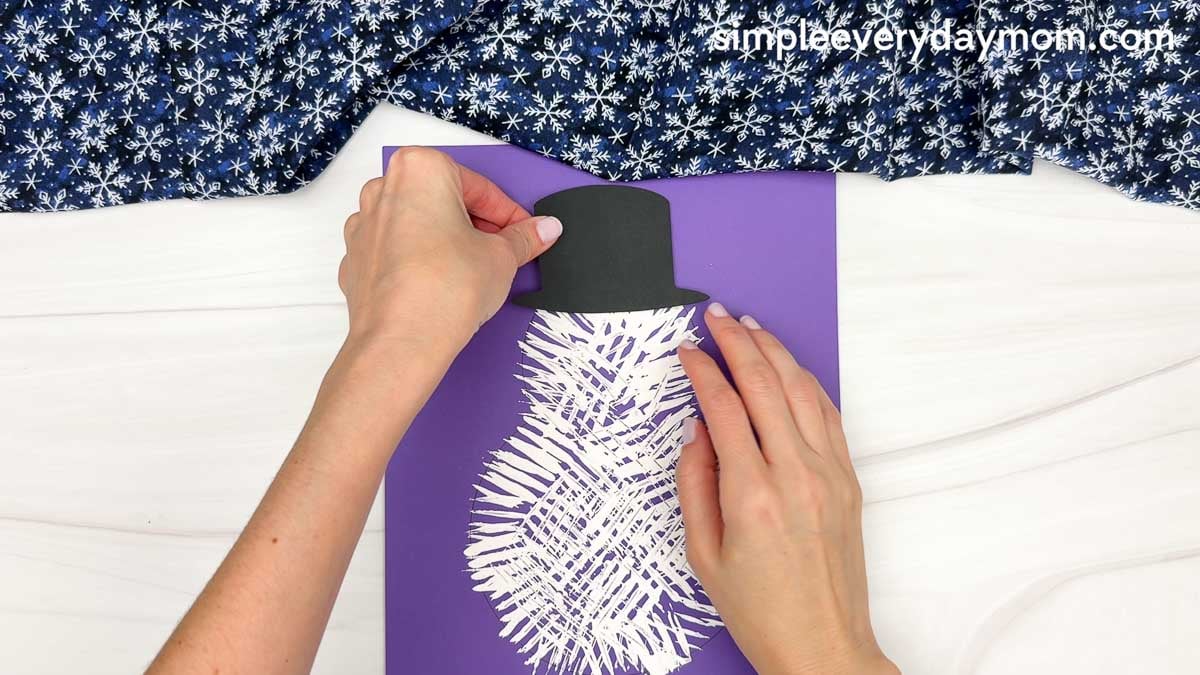
Once the paint is dry, look for the black hat and glue it to the top of the snowman’s head.
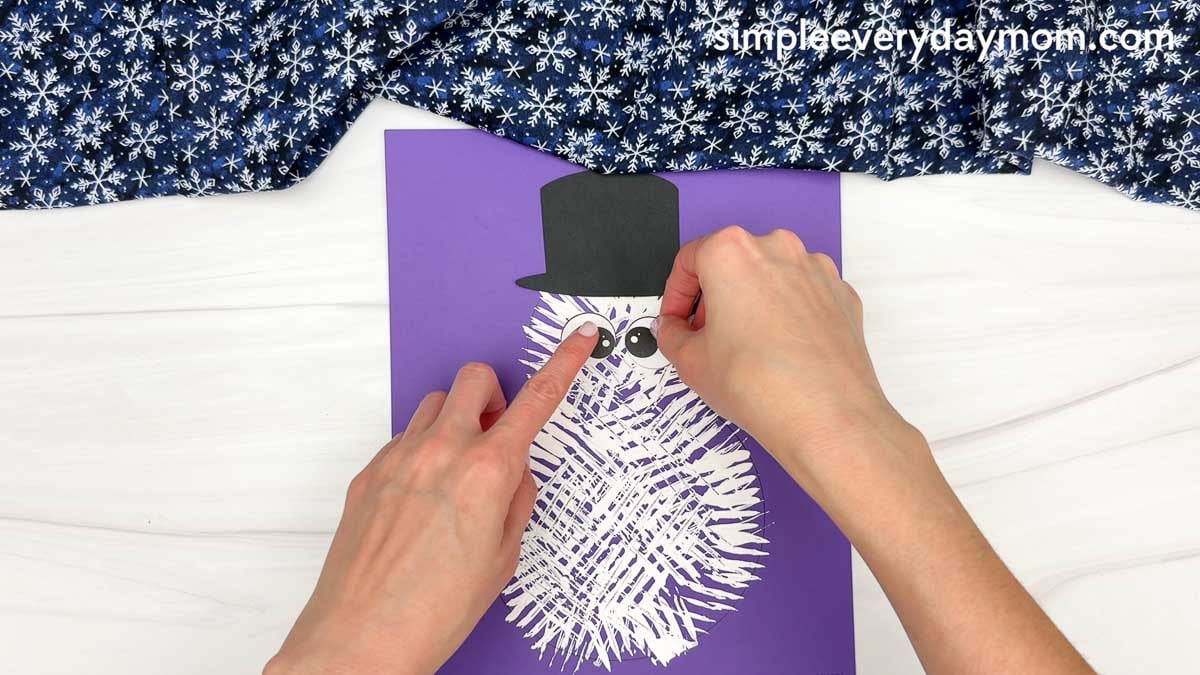
Glue the eyes just below the hat. Make sure they’re side by side so your snowman has a cute, cheerful expression!
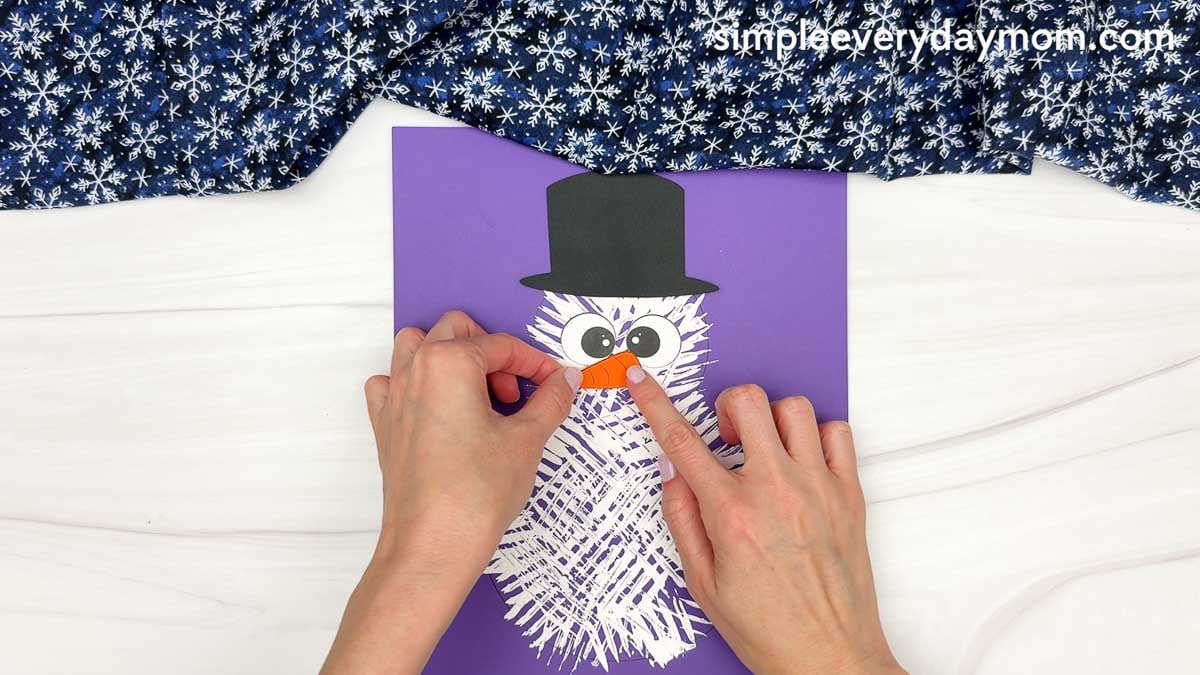
Glue the orange nose just below the eyes to complete another part of its face.
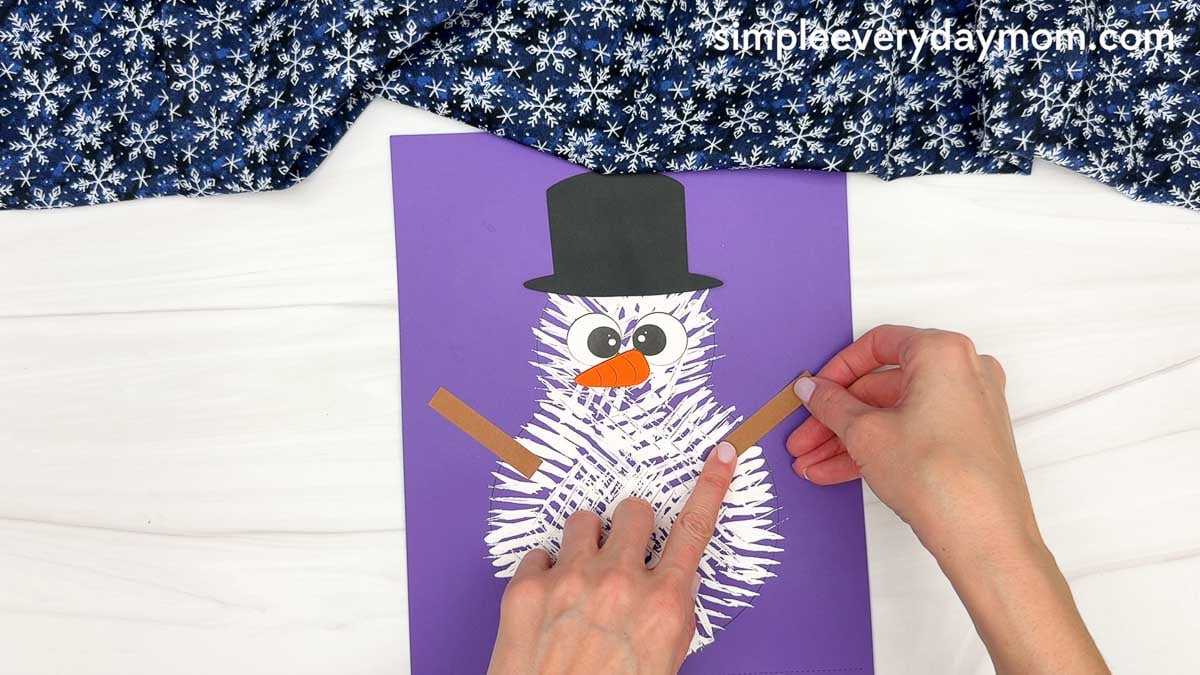
Glue the brown paper arms to the left and right sides of the snowman’s body, angling them slightly upward.
Let’s keep our snowman warm! Look for the scarf and glue it across the neck, just below the face. Let one end hang down along the right side of the body.
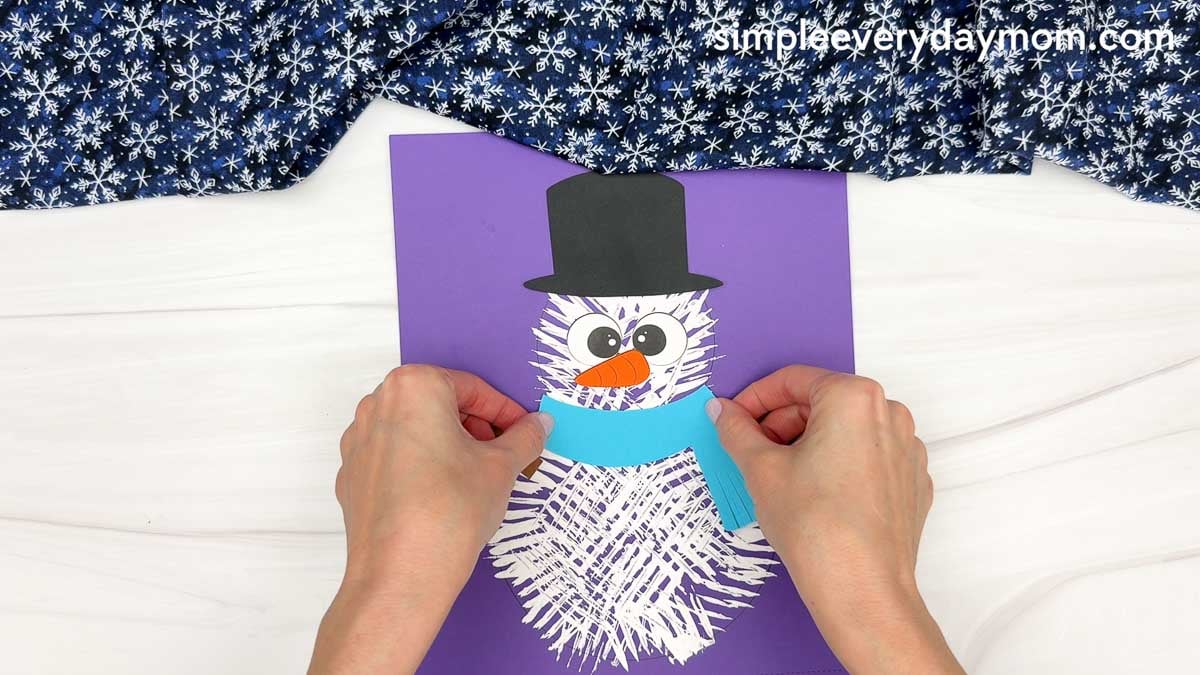
Grab a black marker and draw a happy smile below the carrot nose.
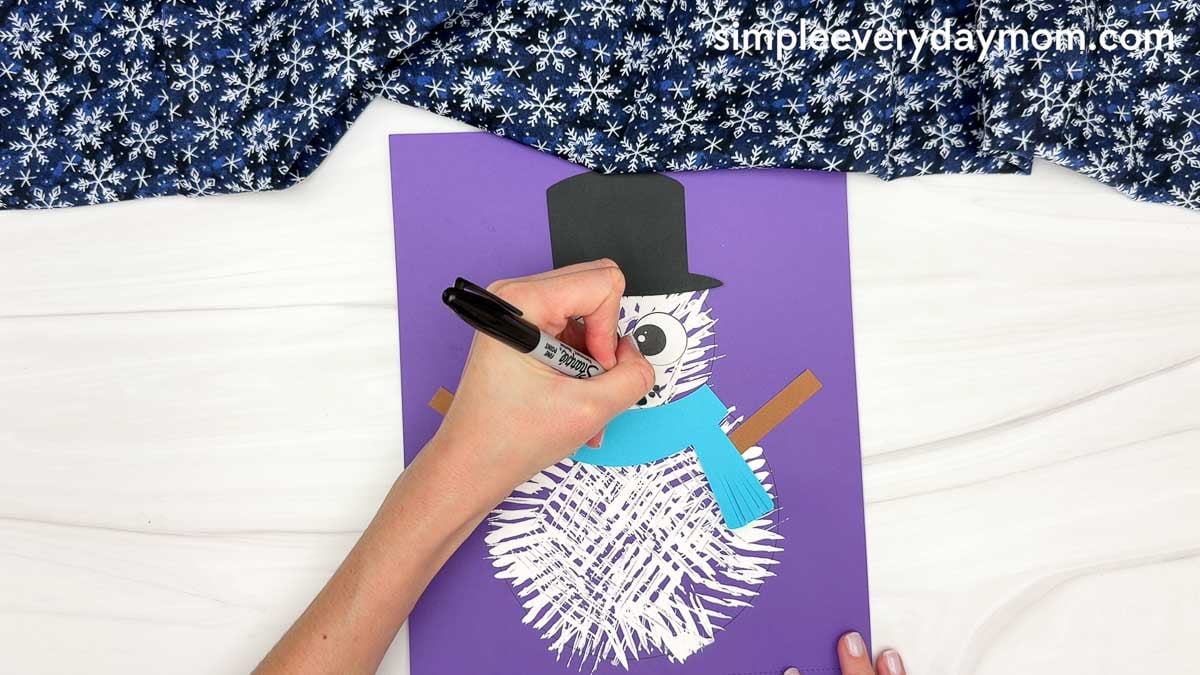
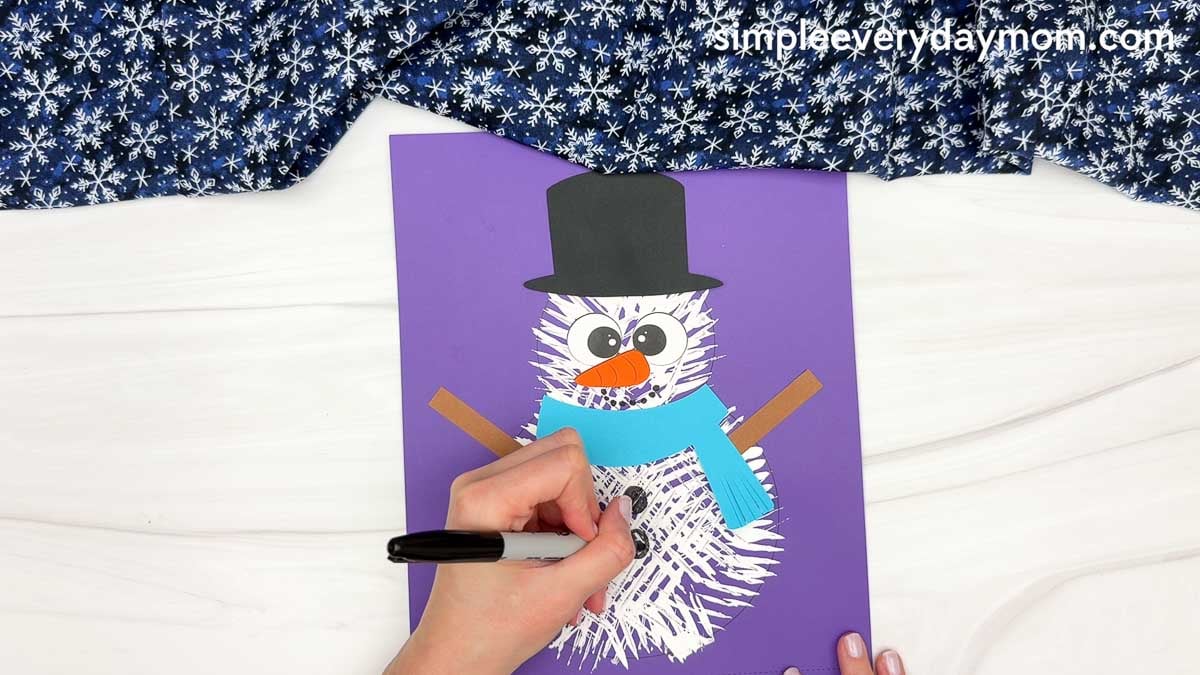
Use the same black marker to draw two round buttons down the center of the snowman’s body.
Let’s make it look like a snowy winter day! Add some snowflake stickers around the snowman to decorate the background.
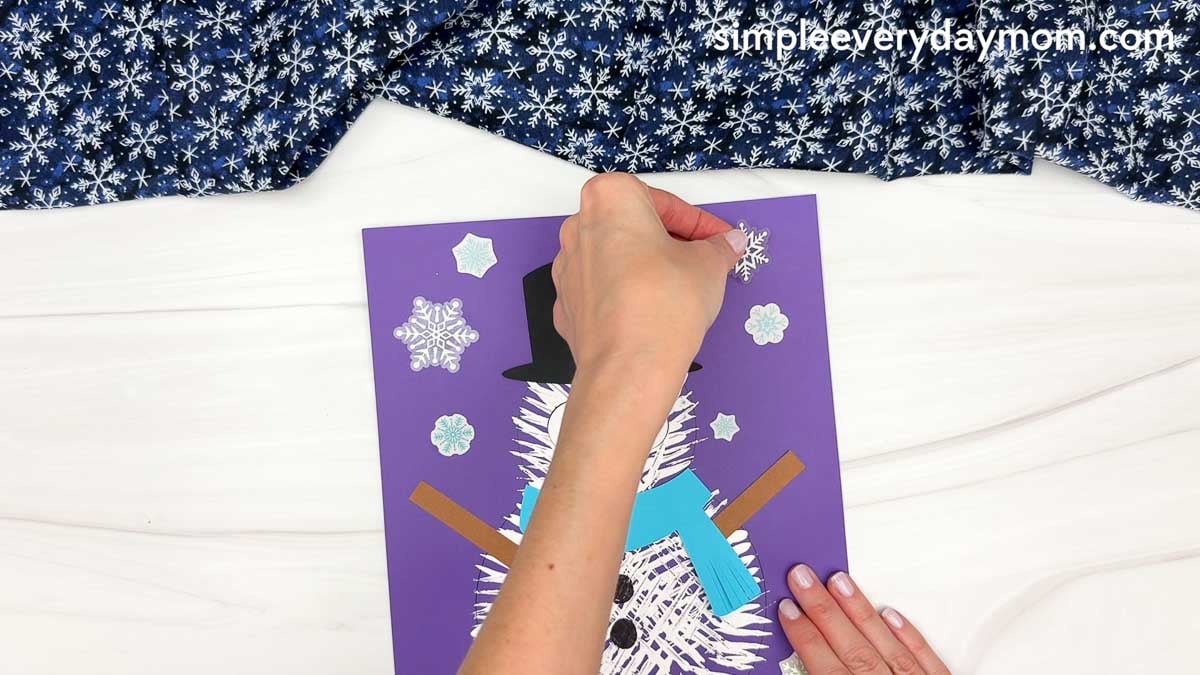
Let your child choose where to place each sticker, and encourage them to add more to create their own snowy scene!
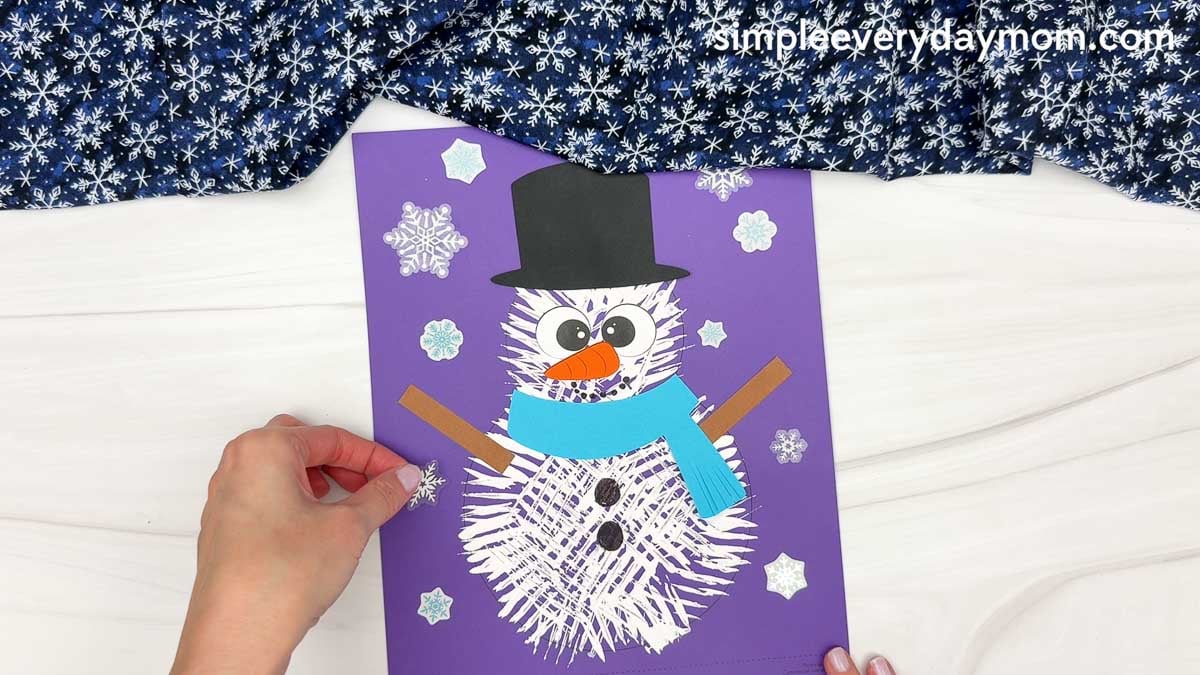
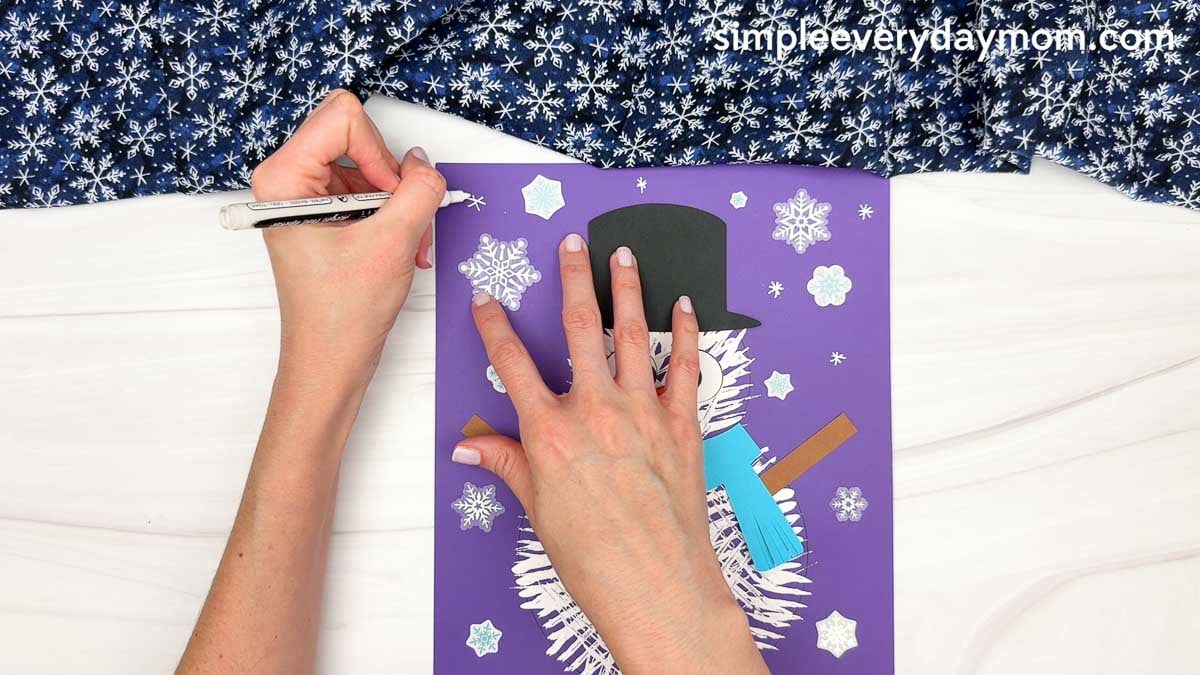
For the finishing touch, use a white marker to draw little snowflakes in the empty spaces. It’s a fun way to make your winter scene even more magical!
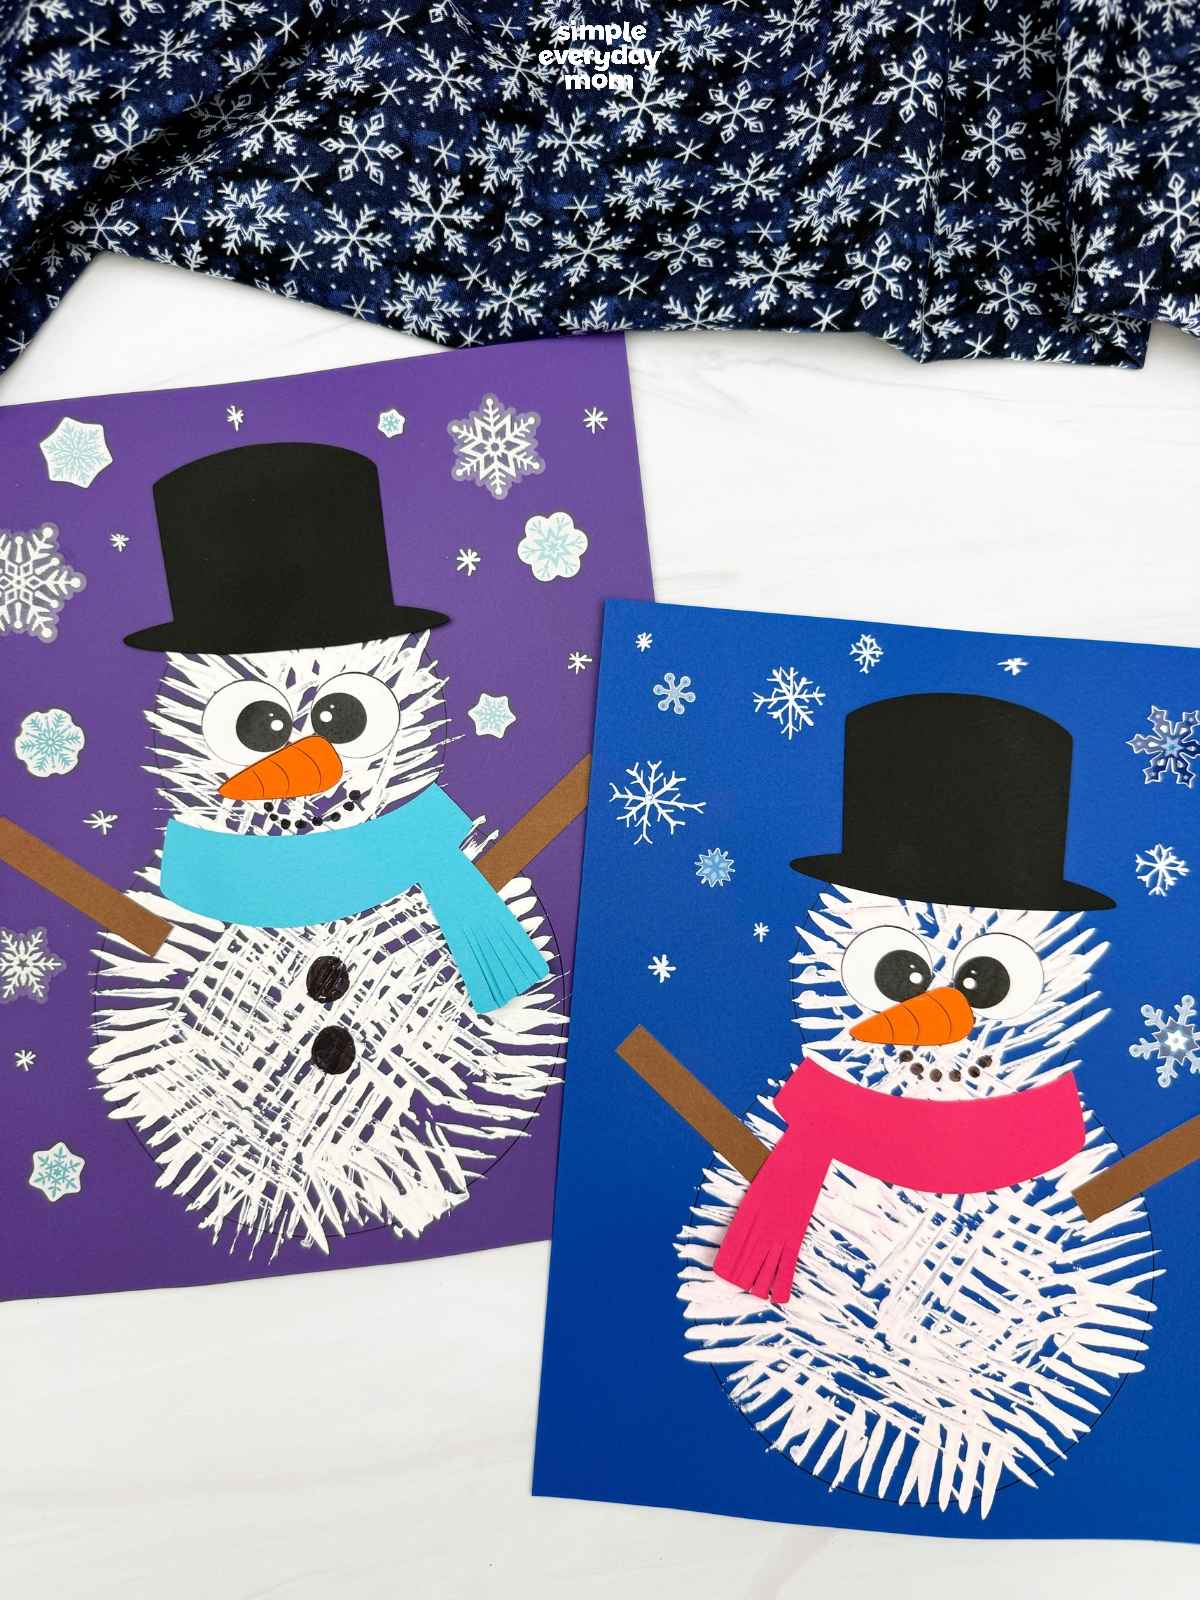
Your little artist has made an adorable snowy friend! This easy snowman craft encourages creativity, builds fine motor skills, and gives kids a chance to explore a fun painting technique.
Don’t let the winter fun stop here! Browse the crafts and printables below for more hands-on activities to include in your classroom centers, winter units, or family craft time.
Winter Books for Children


The Biggest Snowman Ever – When the mayor of Mouseville announces the town snowman contest, Clayton and Desmond claim that they will each make the biggest snowman ever.
The Snowy Day – This story shows a child’s wonder at a new world and the hope of capturing and keeping that wonder forever.
Sneezy The Snowman– Sneezy is COLD! And he’s trying to warm up without success. But, the kids know exactly how to help him!
Easy Winter Crafts
Fork Painted Snowy Owl Craft: Since the kids already have their forks out, why not let them make a snowy owl, too? This time, the white paint creates the owl’s feathery body instead of a snowman. It’s neat how the same painting technique can make two completely different crafts. This would be a cute project to pair with a winter animal lesson, especially if you’re learning about birds that live in snowy places.
Polar Bear Photo Craft: A polar bear is cute on its own, but putting your child’s face right in the middle makes it even better. This craft turns kids into little polar bears, which makes for a pretty funny finished project. It’s also one of those crafts that’s worth saving because you’ll have a sweet picture of your child from that age. Make a whole classroom of them for a winter bulletin board, and each bear will have its own personality.
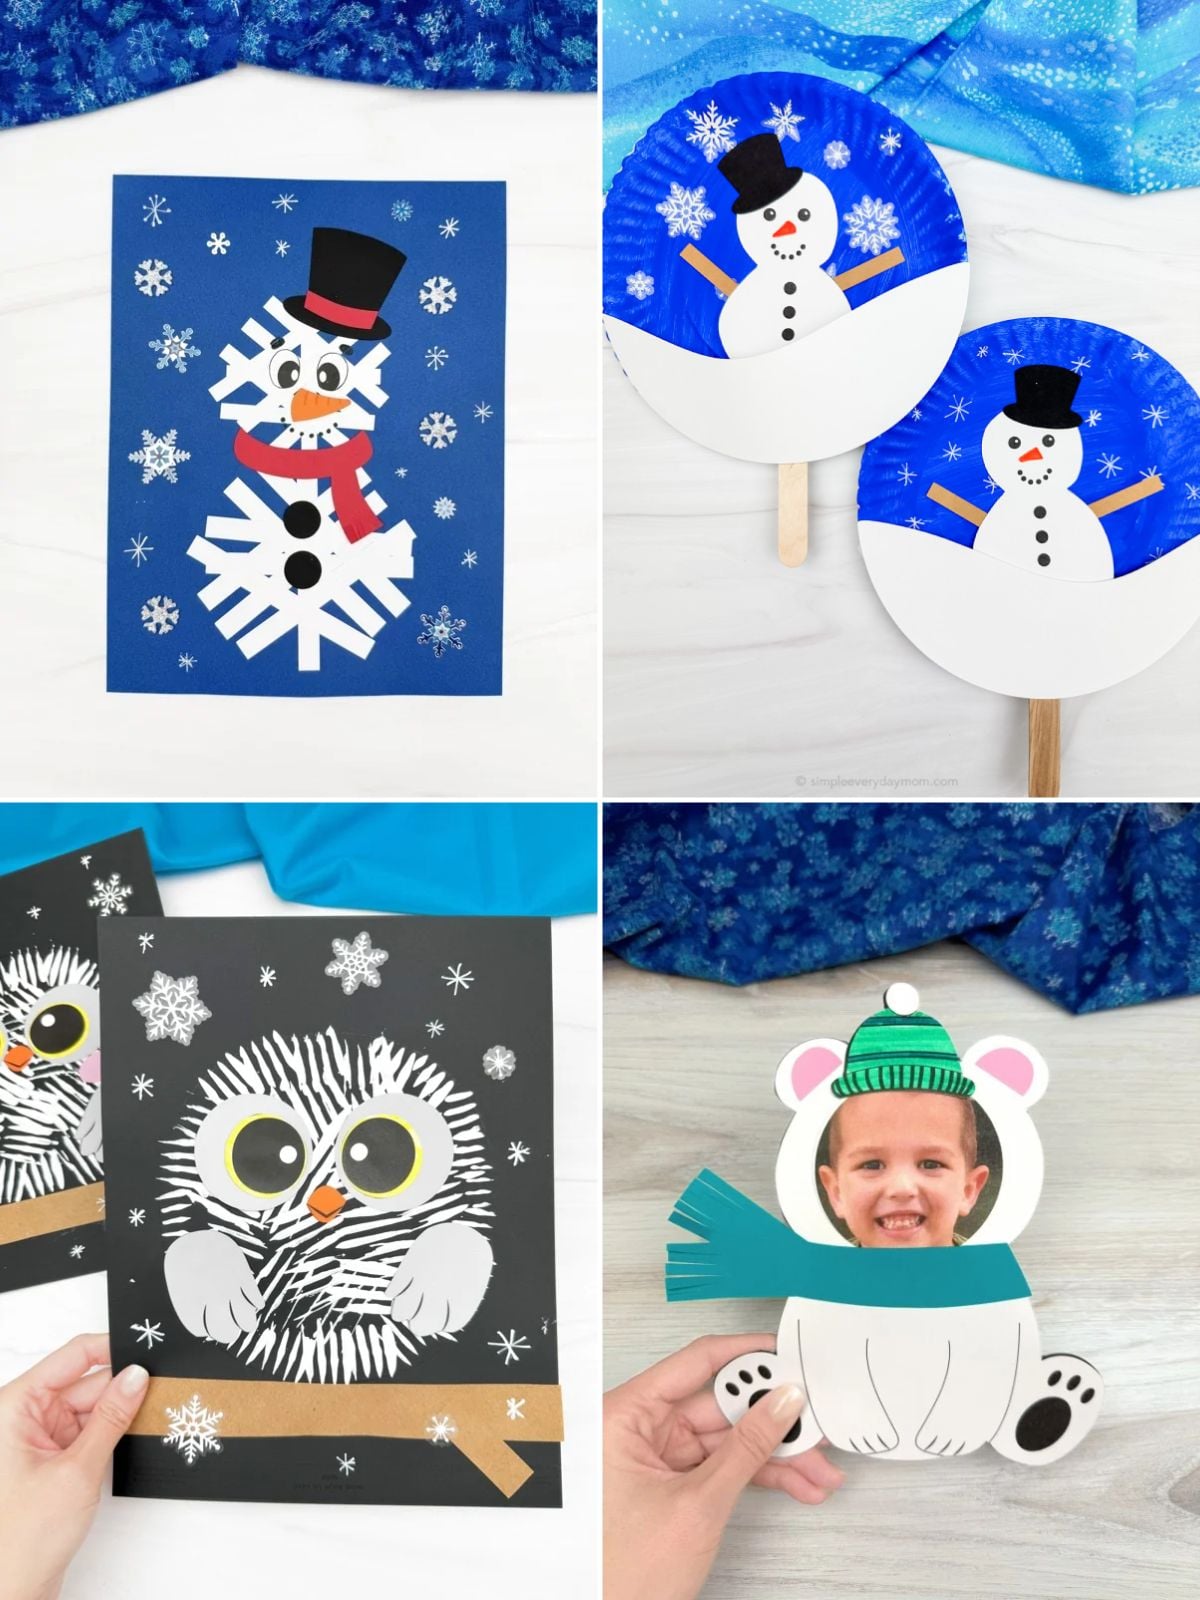
Paper Strip Snowman Craft: Here’s another snowman that doesn’t require any actual snow. Instead of using a flat piece of paper for the body, kids use paper strips to give their snowman a different look. Add a colorful scarf, a black top hat, and some snowflakes in the background, and he’s ready for winter. This one is especially good for kids who enjoy working with paper and putting all the little pieces together.
Moving Snowman Paper Plate Craft: Most crafts get hung on the fridge or displayed somewhere, but this snowman is meant to move around! Kids create a winter scene on a paper plate with a snowman puppet they can move through it. I think the best part is that they can keep playing with it after they’re finished making it. They can pretend their snowman is exploring the snow, meeting friends, or whatever else they come up with.


Winter Ideas For Kindergarten
Scissor practice doesn’t have to mean cutting strips of plain paper. These winter cutting worksheets give kids winding paths to follow, along with activities where they cut and match numbers or pictures. I like that there’s more to do than just cut a line and be finished. Kids get to figure out where the pieces belong, too, which makes the practice a little more interesting.
Have kids take a closer look at the snowmen on these snowman matching worksheets. Some pages have them matching snowmen to their shadows, while others work on numbers, pictures, and colors. The shadow matching is especially good for getting kids to slow down and notice the details. They might look similar at first, but they’ll need to pay attention to find the right matches.
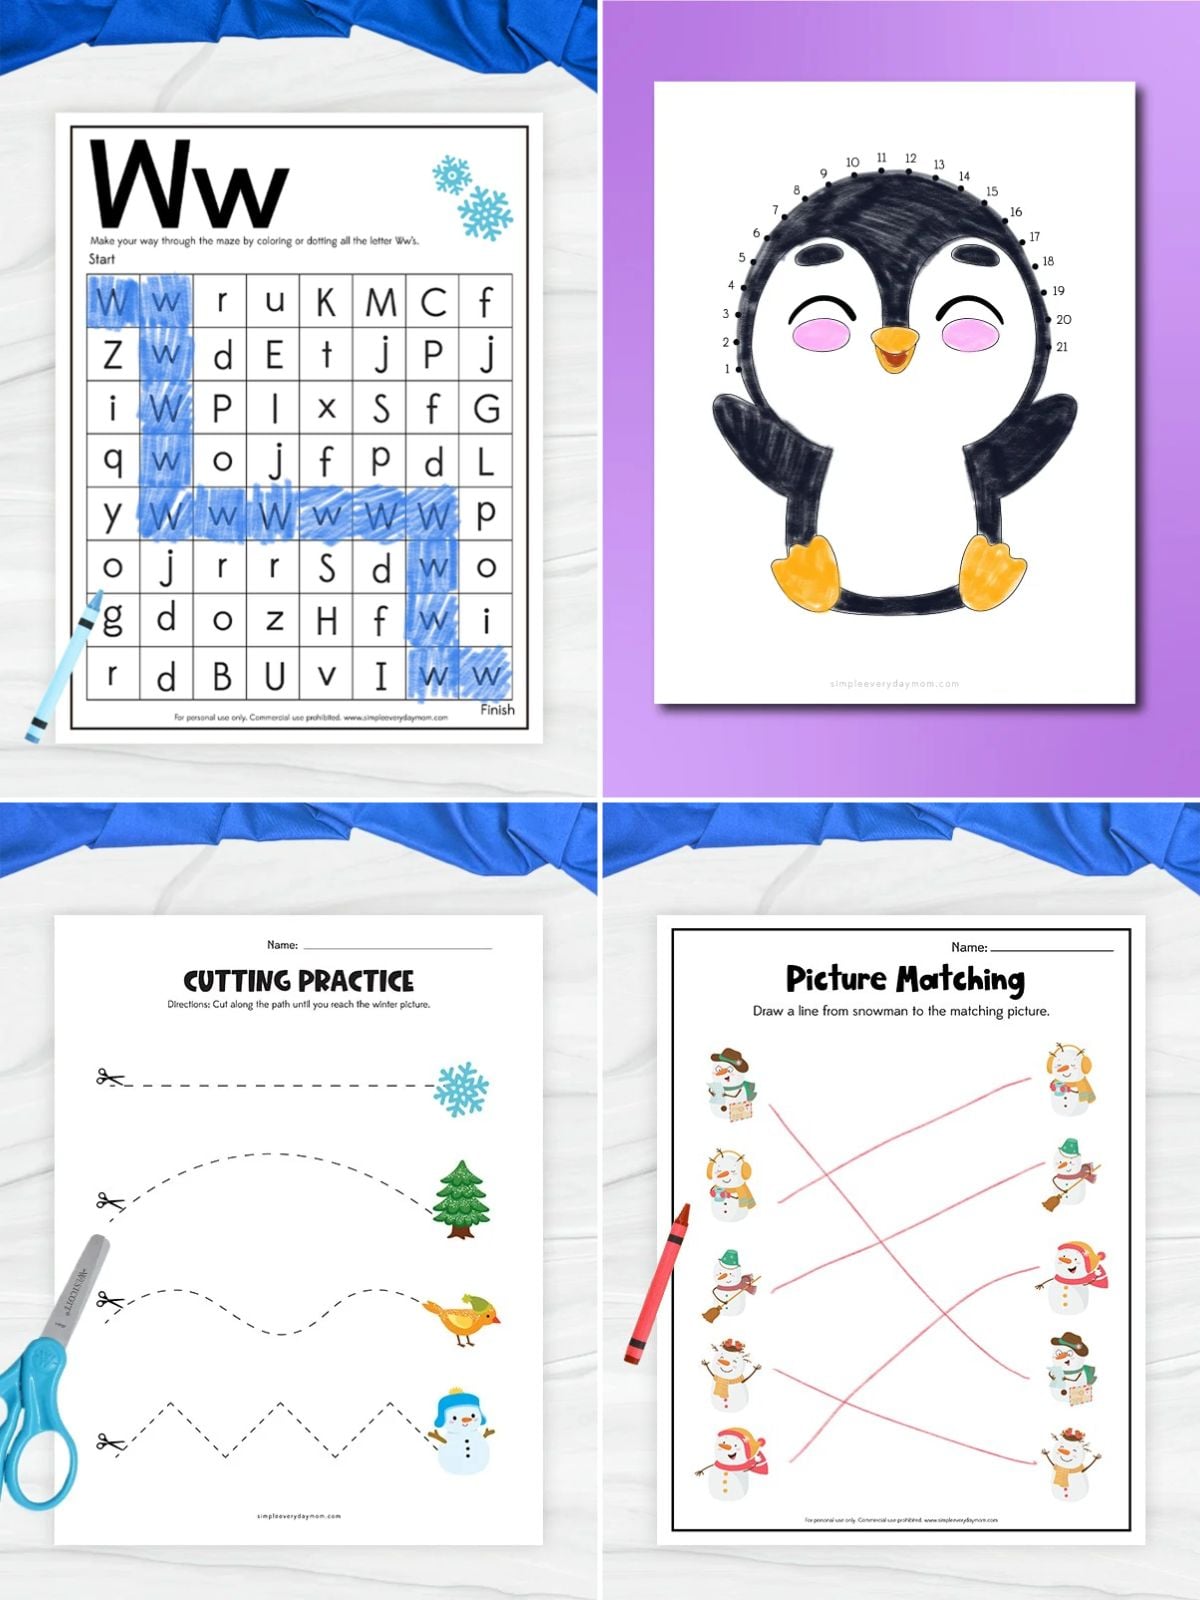
These penguin dot to dots are a nice option when kids want to color but could also use a little number practice. They connect the numbered dots to reveal the penguin picture, then color it however they’d like. There’s something satisfying about watching a picture appear one line at a time, especially when the finished result is a cute penguin.
Dot markers are always a good option when you need an easy activity that doesn’t take much prep. These arctic animal dot art pages let kids fill in the circles to decorate cute winter animals while working on hand-eye coordination and fine motor skills. They’re especially nice for younger kids who are still learning to control their coloring tools. Just print the pages, grab the dot markers, and they’re ready to go!
Share With Us
Did you make this activity with your kids or students? We’d love to feature them on our social media!
For a chance to have your child’s project featured, simply snap a picture of the completed project and post it to our Facebook page, email it to us directly by clicking here, or use #simpleeverydaymom on your social media!
Snowman Fork Painting Craft
Video
Materials
- Colored cardstock or construction paper
- Scissors
- Glue
- Fork
- Paint
- Markers
- White paint pen
- Snowman template
Instructions
- Print the template and gather the materials for this fun activity.
- Begin by cutting out all the template pieces.
- Dip a fork into paint and stamp inside the snowman outline until the head and body are filled in. Let the paint dry.
- Once dry, glue the hat to the top of the snowman’s head.
- Look for the eyes and glue them below the hat.
- Take the nose and glue it below the eyes.
- Glue the arm pieces to the left and right sides of the snowman’s body.
- Glue the scarf across the snowman’s neck, below the face.
- Use a marker to draw a smile below the nose.
- Draw two buttons down the center of the snowman’s body.
- Add snowflake stickers around the snowman to decorate the background.
- Finally, use a white marker or paint pen to draw additional snowflakes in the empty spaces to complete the winter scene.
Did you make this?
Don’t forget to leave a comment below and make sure to follow on Pinterest, Facebook and TikTok for more!
Free Snowman Template


Meet Sam
Sam is the crafter and founder of Simple Everyday Mom. She has been featured in Oprah Mag, Good Housekeeping, The Spruce Crafts, Country Living, The Bump, and more.


