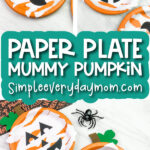
Paper Plate Mummy Pumpkin Craft For Kids [Free Template]
All activities require adult supervision. By using this site, you agree to our terms of use. This post may contain affiliate links. As an Amazon Associate and a participant in other affiliate programs, I earn a commission on qualifying purchases. Read our disclosure policy.
With school back in session, we’re obsessing over Halloween!! We love fall and preparing for all the upcoming holidays!
We’ve already shared lots of Halloween activities and pumpkin crafts for kids, but we have even more fun ideas to share.
We’ve made them as simple as possible, with suggestions on how to make them with younger or older kids so the whole family can have fun together!
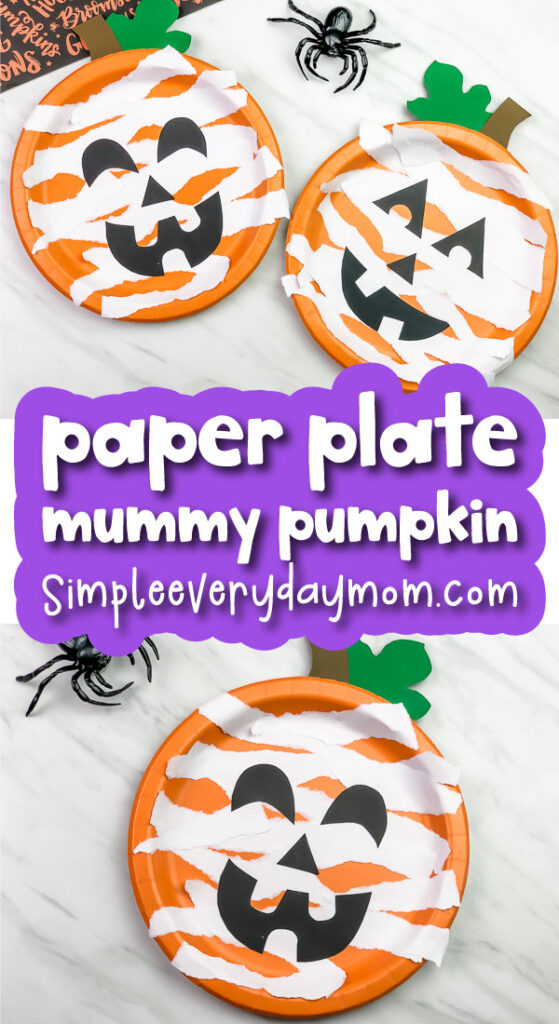
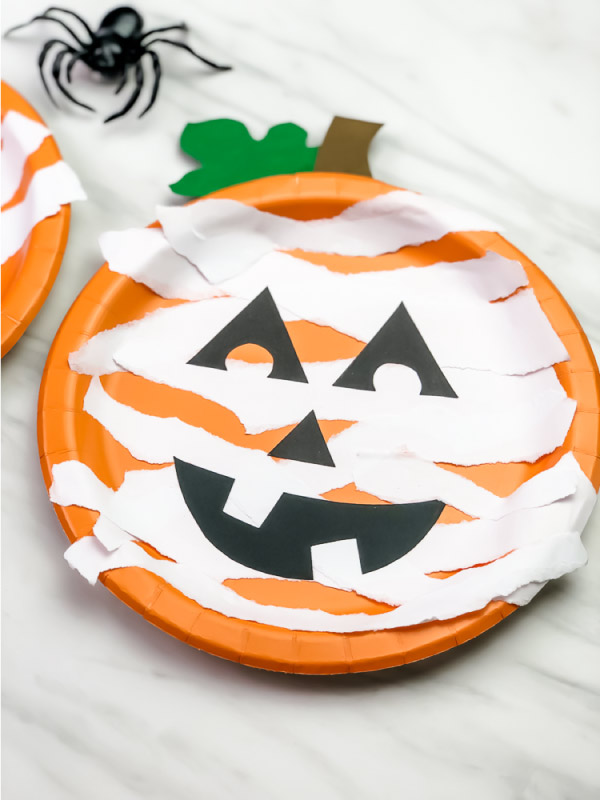
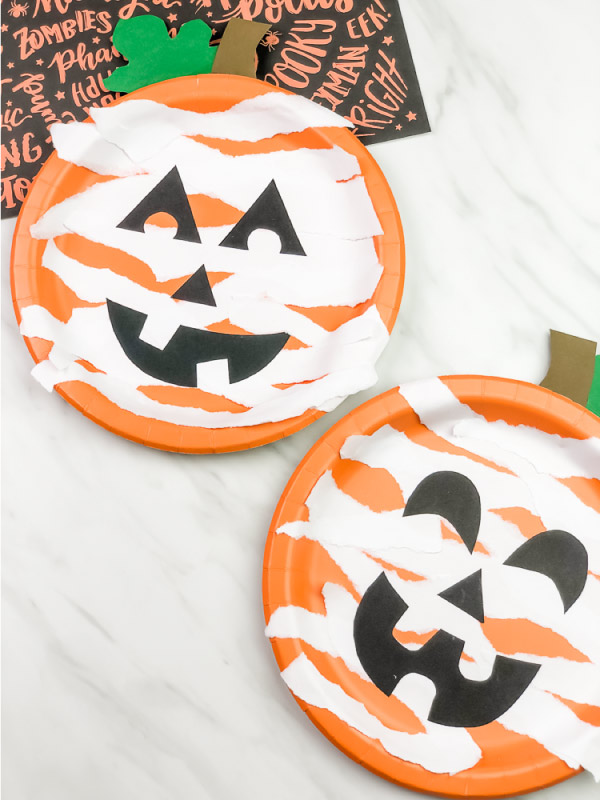
This paper plate mummy pumpkin craft combines a traditional jack-o-lantern with a mummy to create a new twist on a simple craft.
It’s an easy, low-prep, and cheap craft for toddlers, preschoolers, or elementary-aged children. This craft would be great for library storytime or even at a daycare facility.
Wherever you make this mummy pumpkin craft, the kids will love it! Read on below or watch the video to see how simple it is to make with your kids.
Pumpkin Paper Plate Craft
Supplies
- Orange paper plate
- White printer paper
- Colored card stock (in black, green and brown)
- Glue stick
- Scissors
- Pumpkin face template (download form at the end of the post)
Directions
Download the pumpkin face template and print on the corresponding colored card stock. Cut out your choice of eyes, nose and mouths.
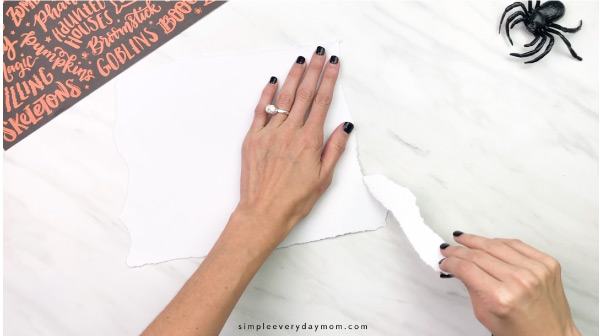
Take the piece of white printer paper and tear all four sides so there are not any straight edges. Next, tear narrow strips of paper to make the mummy wrapping.
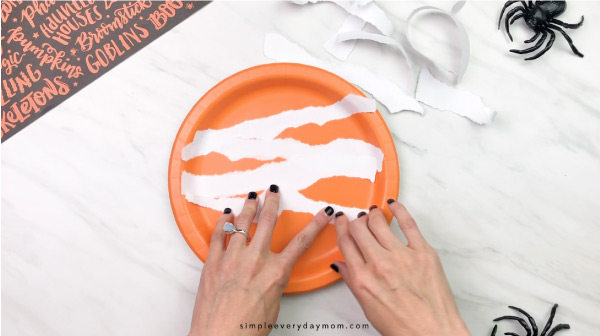
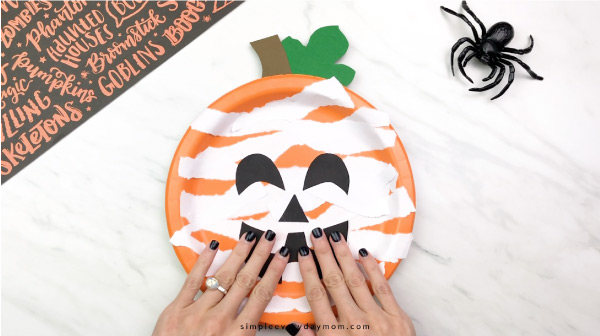
Use the glue stick to glue the strips of paper in all directions on the orange paper plate.
Glue on the eyes, nose and mouth on top of the strips of paper.
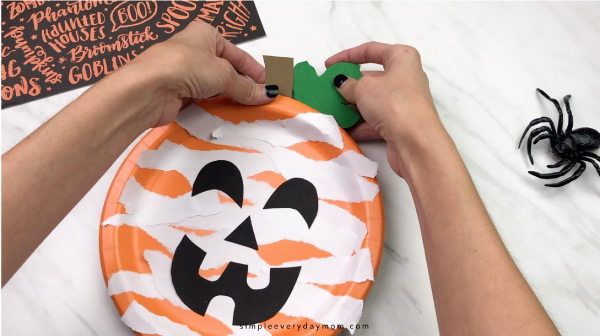
Secure the pumpkin stem and leaf to the back of the orange paper plate with the glue stick.
Pumpkin Craft Notes
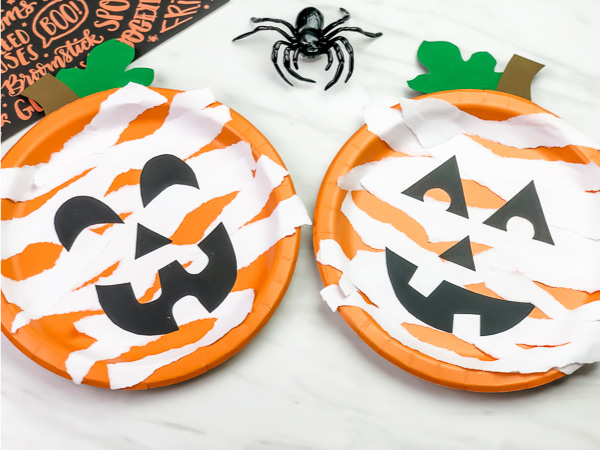
When preparing the ripped printer paper, we like to first tear all the edges off so there are no clean edges. This will help the paper look more mummy like.
In our example, we glued all of the facial features on top of the mummy paper, but you can experiment with what you like best.
Try placing parts of the eyes, nose or mouth under the ripped printer paper to make it have more depth.
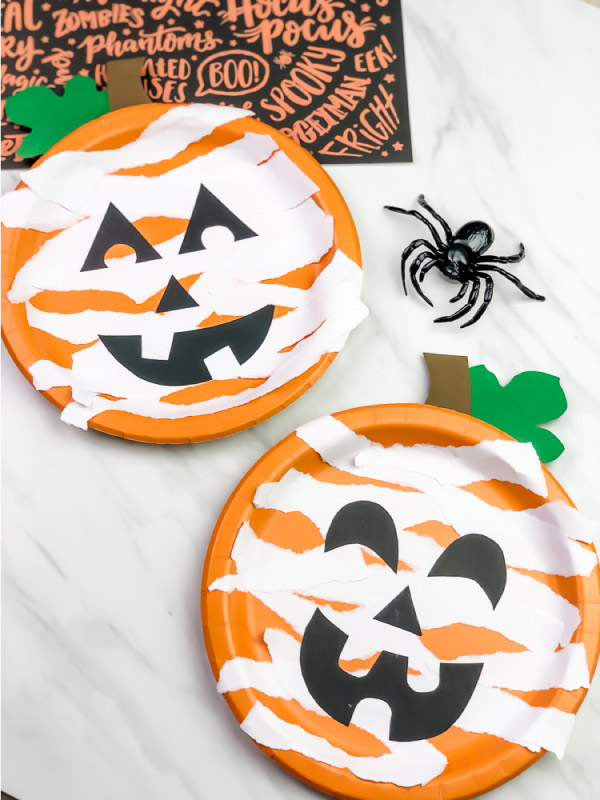
There are also several different expressions on the template so you can mix and match until you find the perfect one!
Paper Plate Halloween Craft Benefits
This paper plate pumpkin is not only fun but also helps with developmental skills!
Like many of our other paper plate crafts, this pumpkin craft helps children develop and refine fine motor skills.
Depending on the age and skill level of your child, there’s something in this craft to help!
For toddlers who are just beginning to work on their skills, we recommend having all the face pieces and paper strips pre cut/torn and ready to go. They can work on fine motor skills by gluing the pieces onto the paper plate.
Preschool and kindergarten children can attempt to rip the printer paper themselves to create the strips that become the mummy wrap.
Elementary kids will be able to do all the above steps, but can also work on cutting out the facial expression pieces all by themselves.
We of course also have to point out how working on creating this paper plate pumpkin helps children develop creativity!

Children will have to use their imagination to look at all the eyes and mouths and visualize how they want their final project.
We’re sure this pumpkin craft will be a blast for kids and they won’t even know they’re working on valuable skills!
Don’t forget to download your free Jack o’lantern face template by entering your email at the end of this page.
Share With Us
Did you make this mummy pumpkin with your kids or students? We’d love to see how they turned out!
Share your pictures with us on our Facebook page or in our private Facebook group.
More Paper Plate Crafts For Kids
More Halloween Ideas For Kids
Mummy Paper Plate Pumpkin Craft
Video
Equipment
- Scissors
Materials
- Orange paper plate
- White printer paper
- Colored card stock in black, green and brown
- Glue stick
- Pumpkin face template download form at the end of the post
Instructions
- Download the pumpkin face template and print on the corresponding colored card stock. Cut out your choice of eyes, nose and mouths.
- Take the piece of white printer paper and tear all four sides so there are not any straight edges. Next, tear narrow strips of paper to make the mummy wrapping.
- Use the glue stick to glue the strips of paper in all directions on the orange paper plate.
- Glue on the eyes, nose and mouth on top of the strips of paper.
- Secure the pumpkin stem and leaf to the back of the orange paper plate with the glue stick.
Did you make this?
Don’t forget to leave a comment below and make sure to follow on Pinterest, Facebook and TikTok for more!
Free Pumpkin Face Template

Meet Sam
Sam is the crafter and founder of Simple Everyday Mom. She has been featured in Oprah Mag, Good Housekeeping, The Spruce Crafts, Country Living, The Bump, and more.


Thank you!
You’re welcome ◡̈
I entered my Email which I really do not like to do on unfamiliar web sites! Entered that I did want the template for the pumpkin Mummy plate but I received nothing?
Hi! I checked my email and it looks like you signed up and then unsubscribed before the email was able to be sent. You can try the form again, and then just wait to get the download link before you decide to unsubscribe again ◡̈
Can I have the template please
Of course! All you need to do is enter your email in the form at the end of this post to have the link sent to you. Once you’ve been confirmed as an email subscriber (by clicking the link in the first email), you simply enter your email in any of the forms and it’ll automatically redirect you to the download page.
Can I please have the template, thank you.
Of course! All you need to do is enter your email in the form at the end of the post and the link will be sent to you 🙂
May I please have the link to download template.
Of course! Simply enter your email in the form at the end of the post and the link will be emailed to you 🙂
Please send me the template for the facial expressions
Of course! If you put your email in the form at the end of the page, the link to download will be emailed to you ?
Thank you it was a big hit in my classroom. I was wondering if u had a scarecrow template or cornicopia art and craft.
Yay, so glad to hear it! Hmm, I don’t but I’ll keep that in mind for future projects!