Sam I Am Puppet Craft W/Free Printable Template
All activities require adult supervision. By using this site, you agree to our terms of use. This post may contain affiliate links. As an Amazon Associate and a participant in other affiliate programs, I earn a commission on qualifying purchases. Read our disclosure policy.
With Dr. Seuss’ birthday coming up in just a few short weeks, we wanted to share our newest craft, this Sam I Am Printable puppet!
It’s another addition to our growing collection of Dr. Seuss crafts. So if your kids love Dr. Seuss books, be sure to take a look at all of ours!
Normally, with Dr. Seuss, the first characters that come to mind are the Cat in the Hat, the Lorax or maybe Thing 1 or Thing 2 from his most popular books. But, we went a different direction with one of the main characters from Green Eggs & Ham.
If you didn’t already know, Green Eggs & Hame even has their new tv show on Netflix! I haven’t sat down to watch it yet, but my preschooler sure loves it.
If your little one also loves the show, they’ll have tons of fun making this Sam I Am puppet. It’s super simple and doesn’t take very long to make at all.
Green Eggs And Ham Craft
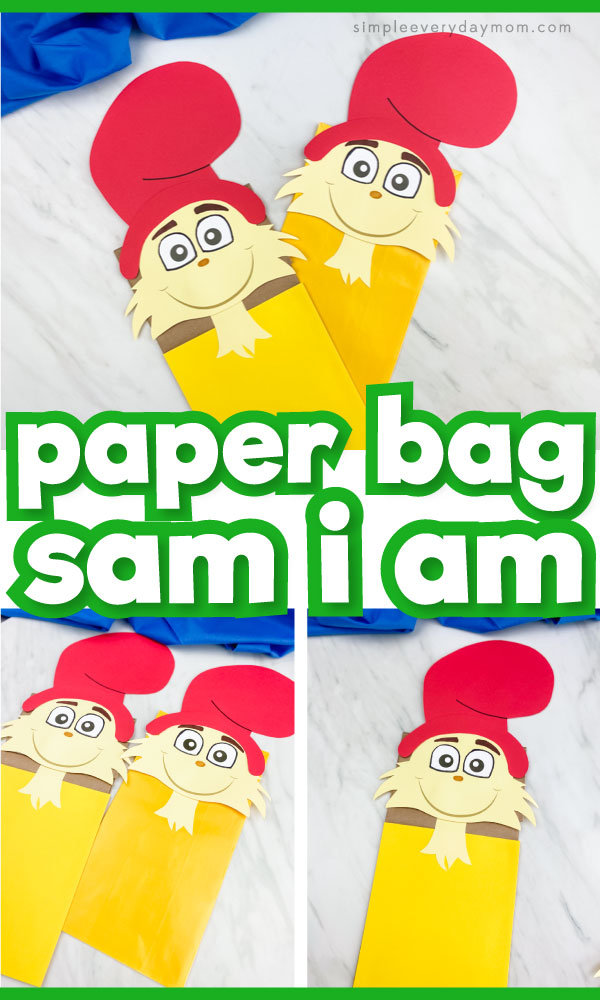
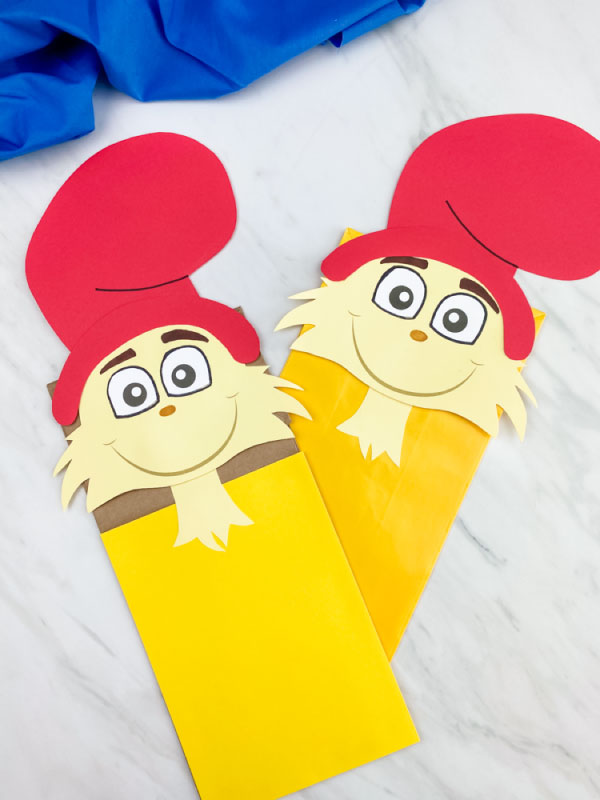
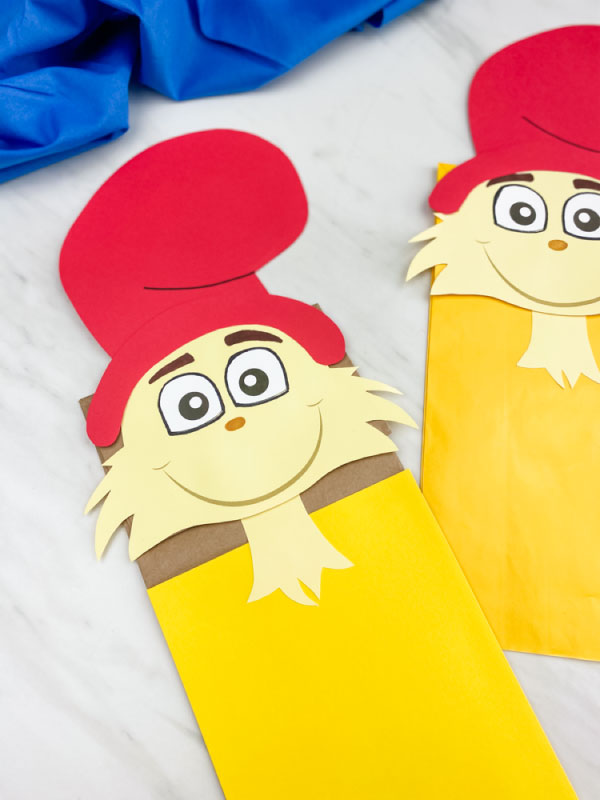
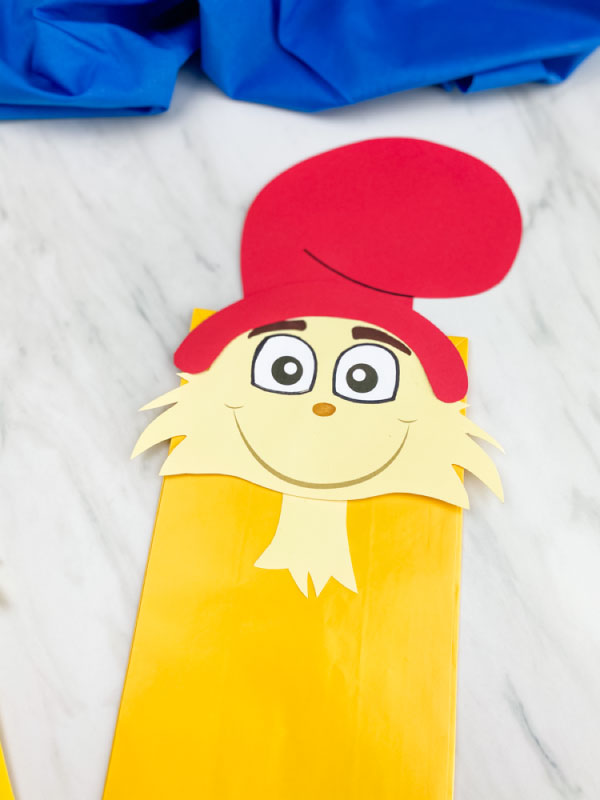
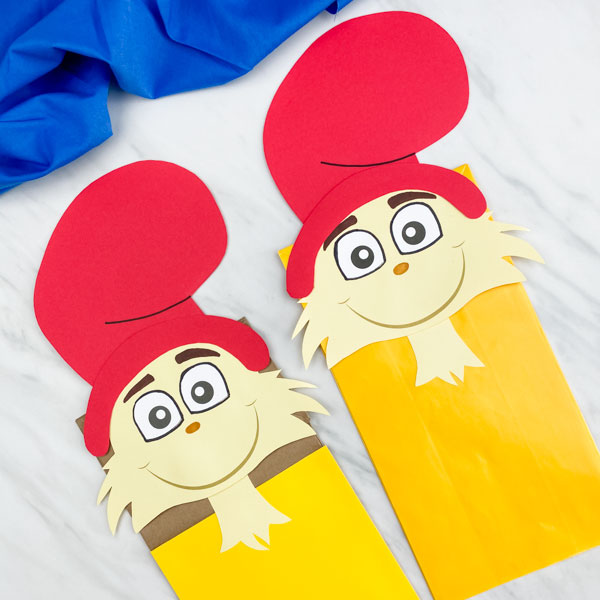
As you may have seen from our pictures, we tried this Sam I Am craft two ways. The first puppet craft we made was using a decorative yellow paper bag and the second was with a traditional brown paper bag.
Either option is a good choice, depending on what you’re looking for.
If you want to make this craft quicker and easier, opt for the premade yellow paper bag. If you want a sturdier puppet, stick with the yellow card stock on the brown paper bag.
Overall, we preferred the brown paper bag version because our yellow paper bag was way too thin to feel like it would stand up to kids using it.
Supplies
- Brown or yellow paper bag
- Colored card stock (in red, cream and yellow)
- Markers
- Scissors
- Glue stick
- Sam I Am template (click the “click here to get this freebie” image at the end to open the form)
Sam I Am Craft Directions
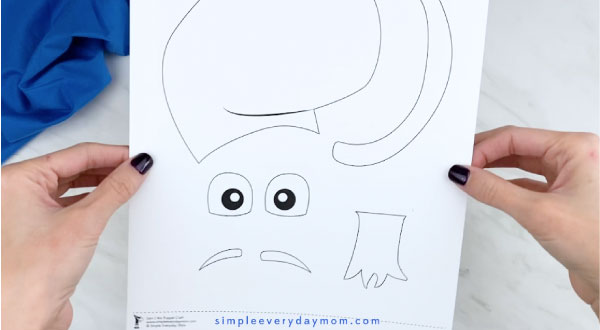
Start by downloading the Sam I Am template and printing it out. Once you have the template printed, gather the materials needed for this fun activity. Get those scissors ready, and let’s help the kids bring this Sam I Am template to life!
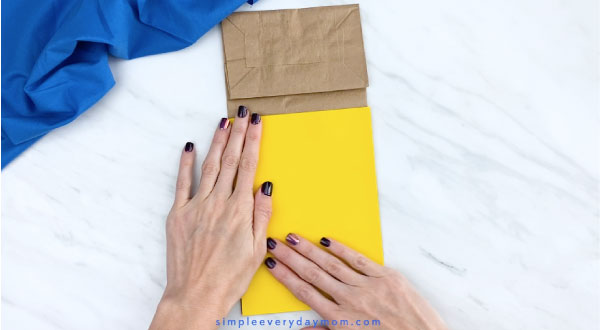
If you’ve chosen a brown paper bag for this craft, let’s jazz it up a bit. Together with your kids, cut a rectangular piece of yellow card stock that will beautifully fit the bottom portion of the paper bag. Then, add a little glue and stick it securely in place. It’s like giving the paper bag a bright, sunny makeover!
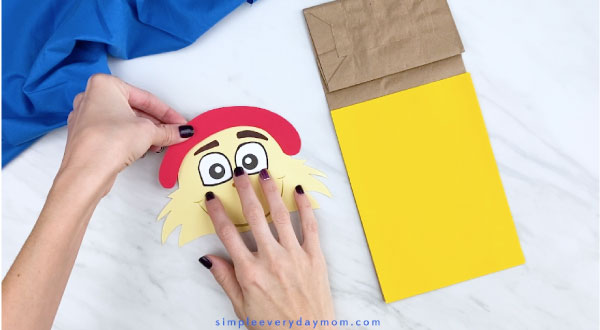
Let’s start bringing Sam to life by working on his face. Have your kids pick up the eyes and glue them right in the middle of the head piece.
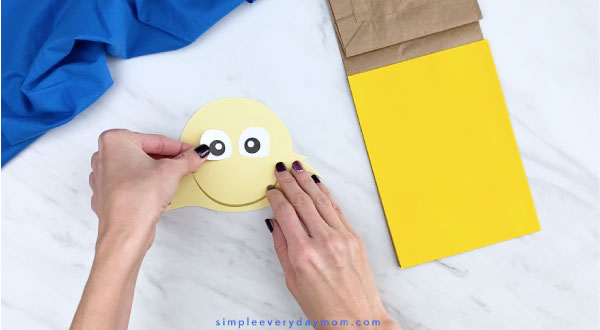
(Optional) For an extra touch, show your kids how to outline the eyes with a black marker. This little detail makes Sam’s eyes truly stand out. Let your kids try their hand at it too.
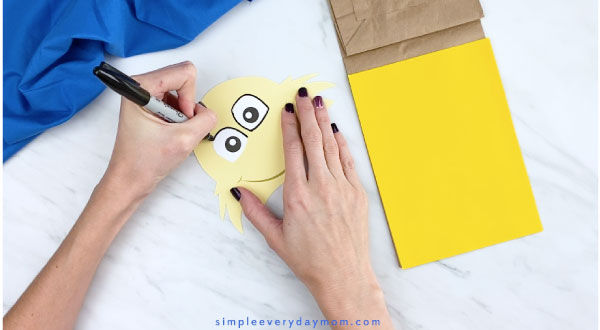
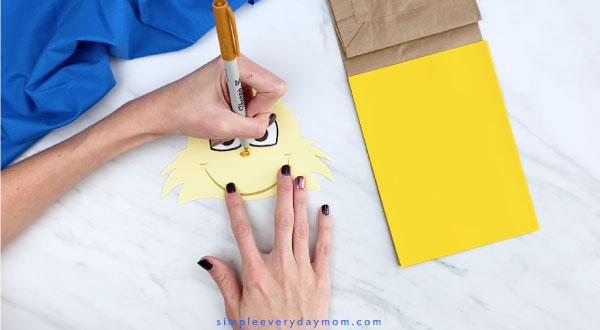
With a light brown marker, draw a small oval nose beneath the eyes. This can be a fun exercise in symmetry and placement. Guide their hands if needed, but let them take the lead.
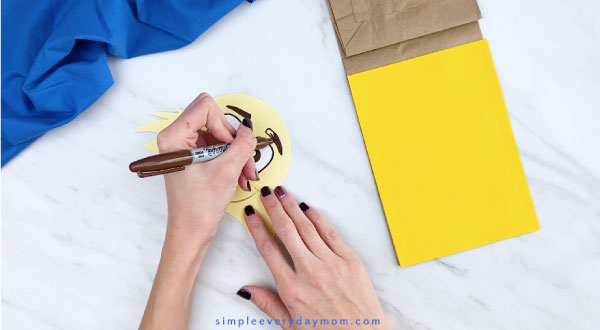
Now, grab the dark brown marker to draw Sam’s eyebrows just above his eyes. This step is quite fun because the eyebrows can change Sam’s expression. Happy, surprised, or maybe a little mischievous? Let your kids decide!
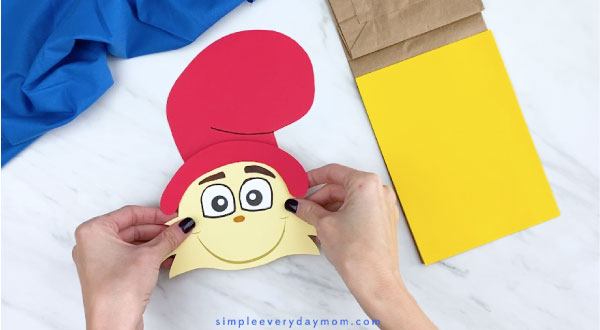
Place the red hat brim on top of Sam’s head and secure it with glue. This iconic red hat truly brings Sam’s character together.
Now, take the hat piece you’ve prepared and glue it to the backside of Sam’s head.
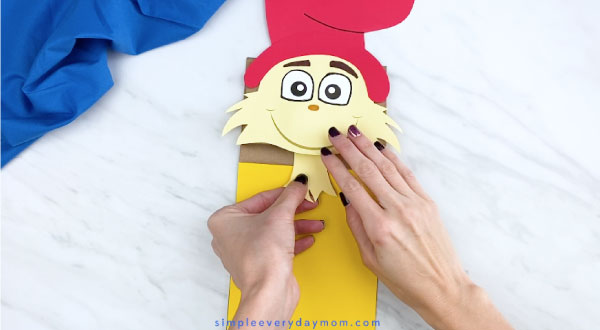
It’s time to glue Sam’s completed face onto the top flap of the brown paper bag. This is when Sam truly starts to come into his own as a puppet.

Finally, position Sam’s neck so it covers both the yellow paper and the paper bag, ensuring it sits underneath the flap. Glue it down carefully.
Don’t be surprised if Sam I Am is your kid’s new favorite Dr Seuss character after making this craft!
We love that it uses simple to find and cheap materials, so you can make as many as your kids want without worrying about the cost. Plus, it’s easy peasy to make!
Dr Seuss Ideas For Kids
If your kids love all things Dr Seuss, then why not celebrate his birthday on March 2nd? This is also known as National Read Across America Day. Dr. Seuss’s classic books and unmistakable characters are great inspirations when planning easy crafts and activities for your children. Here are some fun ideas to get you started!


Popular Dr. Seuss Books


Are You My Mother? is a cute book about a little bird who’s trying to find his mom in a big world!
Oh, The Places You’ll Go! – This book is a classic Dr. Seuss book about the ups and downs of life. It’s such a great read and will soon become your kid’s new favorite book!
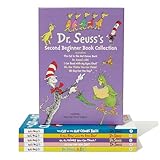
Dr. Seuss Second Book Collection– This boxed set of five Beginner Books by Dr. Seuss—The Cat in the Hat Comes Back, Dr. Seuss’s ABC, Oh Say Can You Say?, Oh the Thinks You Can Think!, and I Can Read with My Eyes Shut! is a great addition to your home library.
Dr. Seuss Book Crafts
Horton Hears a Who Paper Cup Craft – This craft is perfect for kids to make as a reminder that ‘a person’s a person, no matter how small!’ Our free printable template makes this craft easy for even the youngest of children. It’s also a great way to improve fine motor skills and hand-eye coordination!
Fork Painted Thing 1 and Thing 2 – If you’re looking for some Dr Seuss crafts that’ll keep your kids occupied for hours, then this fork painting project is perfect! This fun craft is great for children of all ages and can be made with just a fork, paint, and paper.
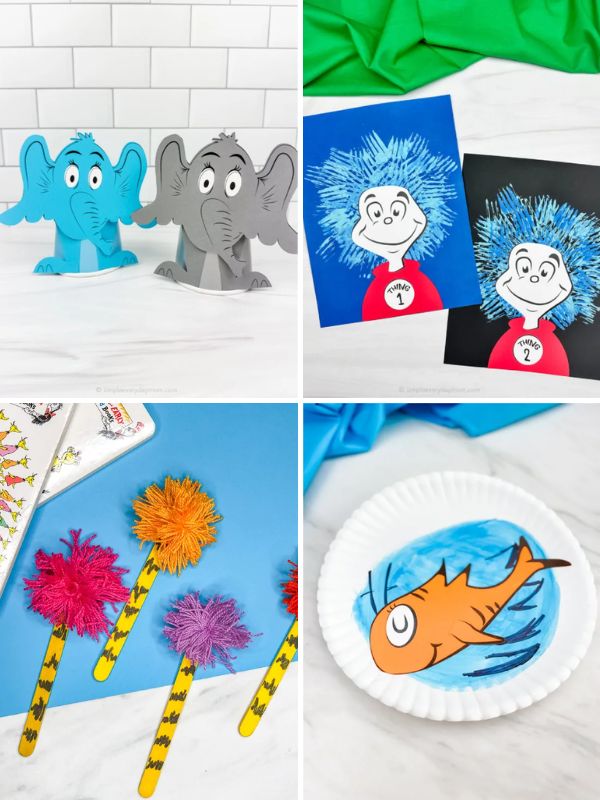
Dr. Seuss Truffula Tree Craft – This Dr Seuss Day, make this easy Lorax craft with your little ones! The truffula trees are the iconic symbol from Dr. Seuss’s story ‘The Lorax,’ and this simple craft lets your kids make their own. This craft is also a fun way to encourage creativity and celebrate this special day!
Dr. Seuss Paper Plate Fish Craft – Do your kids love the fish from the fun Cat in the Hat story? Then they’ll love this simple paper plate craft!
Kids can recreate the classic Dr Seuss character using our printable craft template and some basic supplies. It’s a great activity for a rainy day or when you want to add a touch of Dr Seuss to your day!
Dr. Seuss Free Printables
Our Dr. Seuss color by number printables are perfect for young children learning their numbers and colors. They’ll have so much fun completing the colorful pictures they won’t even realize they’re learning! Get the digital download today and always have some fun Dr Seuss activities on hand.
These Dr. Seuss color in bookmarks would be a fun activity to do on Dr Seuss’s birthday. You can read your little one their favorite book, then let them color in these bookmarks to save their place. This creative craft activity is great for kids of all ages!
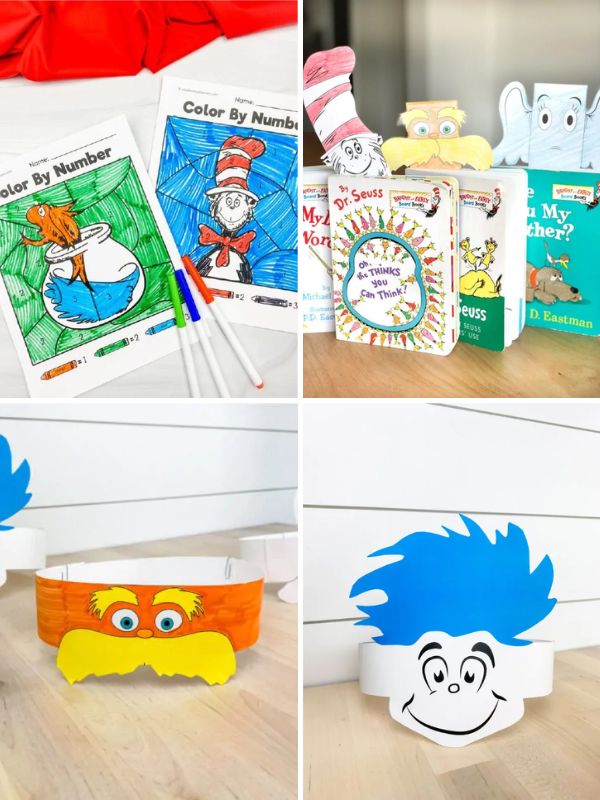
Get creative and have some fun with these free printable Dr. Seuss hats! They’re easy to assemble and let your kids dress up as their favorite character. Either print them onto colored craft paper or have your kids color them themselves. They’ll love wearing these hats while reading their favorite Dr Seuss books!
For both young and older kids, these Grinch cutting pages are great for practicing fine motor skills. With different difficulty levels and illustrations from the classic book, it’s an engaging activity for the holiday or some year-round Grinch-themed fun.
Share With Us
Did you make this activity with your kids or students? We’d love to feature them on our social media!
For a chance to have your child’s project featured, simply snap a picture of the completed project and post it to our Facebook page, email it to us directly by clicking here, or use #simpleeverydaymom on your social media!
Sam I Am Printable Puppet Craft
Video
Materials
- Brown or yellow paper bag
- Colored cardstock or construction paper
- Markers
- Glue stick
- Scissors
- Sam I Am template
Instructions
- Download the free printable Sam I Am template, print and cut out the pieces.
- If you’re using a brown paper bag, cut a rectangular piece of yellow card stock to fit the bottom portion of the paper bag. Glue it in place.
- Begin assembling Sam’s face by gluing the eyes in the middle of the head.
- Optional: Outline the eyes with the black marker to make them pop.
- Use the light brown marker to draw on a small oval nose beneath the eyes.
- Use the dark brown marker to draw Sam’s eyebrows slightly above his eyes.
- Place the red hat brim on the top of Sam’s head and glue in place.
- Take the entire piece from step 7 and glue Sam’s hat to the backside.
- Glue Sam’s completed face to the top flap of the brown paper bag.
- Position Sam’s neck halfway on top of the yellow paper and half on the paper bag, making sure it is underneath the flap. Glue it down.
Did you make this?
Don’t forget to leave a comment below and make sure to follow on Pinterest, Facebook and TikTok for more!
Free Sam I Am Template


Meet Sam
Sam is the crafter and founder of Simple Everyday Mom. She has been featured in Oprah Mag, Good Housekeeping, The Spruce Crafts, Country Living, The Bump, and more.


Super cute! Only thing I would suggest is he needs arms! Maybe holding the Sam I am sign and a plate of green eggs and ham.
Thanks! True; I just wanted to keep it simple for the little kids!
Can I get all the Dr. Seuss activities or do I have to request one at a time?
This is so cute.
Thanks!
I always appreciate your printable’s! I’m a preschool teacher of two year olds and I Love doing crafts with them. Thank You!!
Oh, so glad to hear you guys like them!