Easy Halloween Sensory Bottle For Kids
All activities require adult supervision. By using this site, you agree to our terms of use. This post may contain affiliate links, sponsored links, and ads. As an Amazon Associate and participant in other affiliate programs, I earn from qualifying purchases.. Read our disclosure policy.
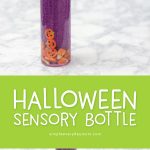
Inside: Learn how to make this easy Halloween sensory bottle for kids with mini erasers, glitter, hair gel, and water.
Recently, my kids and I have ventured into the realm of sensory bottles.
At first, we didn’t really get the hype, but once we made one of our own, we suddenly understood what it was all about!
There is something very calming about watching glitter and other objects float around in these sensory bottles.
With Halloween coming up, we’ve been thinking up tons of Halloween ideas for kids.
We’ve used these fun Halloween color by number printables, played with this slimy Halloween sensory bin, worked with these Halloween tangram mats, created this cool Frankenstein craft and so much more!
Yesterday, we made a trip to Target’s dollar spot to see what cool goodies we could use inside our sensory jar.
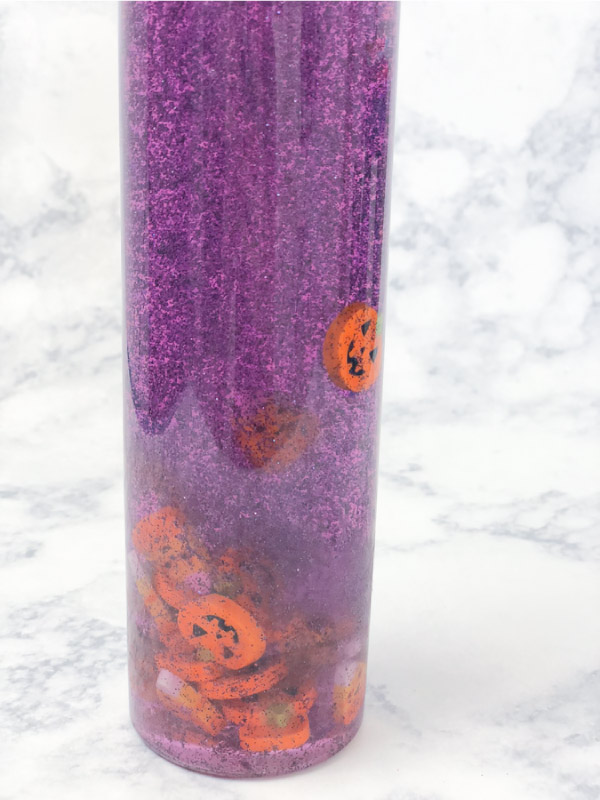
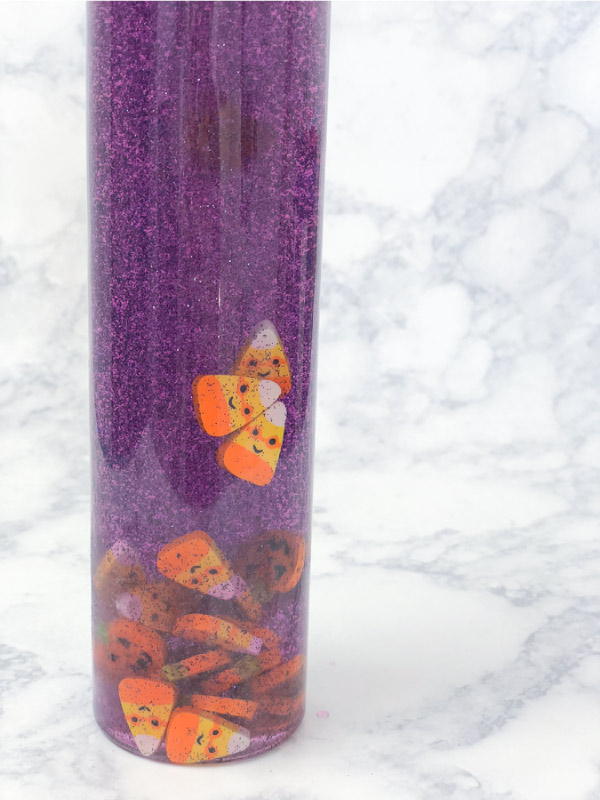
We ended up getting a huge pack of Halloween mini erasers that were perfect for our sensory bottle. It came with jack o’lanterns, candy corns, Frankensteins and cats.
Read on below to see how to make one of these fun bottles for your family too!
Halloween Sensory Bottle DIY
This post contains affiliate links for your convenience. You can read my full disclosure here.

Sensory Bottle Supplies
- Sensory Bottle
- Halloween Themed Mini Erasers (I bought mine in the dollar spot at Target)
- Clear Hair Gel
- Neon Purple Food Dye
- Black or Purple Glitter (I used black in this recipe)
- Water
- Small Mixing Bowl
- Whisk
Halloween Sensory Bottle Recipe
1. Add the hair gel and water to a mixing bowl. The size of your sensory bottle will determine the amount of hair gel and water to use. For a slow-moving sensory bottle like this one, mix about 6 parts water to one 1 part hair gel. I used about 1/4 cup of stiff hold hair gel and 10 oz water.
2. Add 3 drops neon purple hair gel to the water and gel mixture and mix well until combined.
3. Add as much glitter as you would like to the water & gel mixture. I used just under 1 tablespoon black glitter. Whisk until the glitter is fully incorporated into the mixture.
4. Pour the mixture into the sensory bottle and add the Halloween themed mini erasers.
5. Twist the lid on tightly, give the bottle a good shake and see how the mini erasers move around in the mixture. If the mixture is too thick, add some water directly to the bottle and shake again. Repeat this process until your sensory bottle has the viscosity you want.
6. Hot glue the lid onto the bottle if you don’t plan to reuse this bottle for another sensory project.
You’re done!
Now you’ve got a fun Halloween sensory bottle for your kids to play with.
In our family, we just use them for fun, but they also make a great calming aid when kids get too worked up.
More Sensory Activities For Kids
- Glittery Ocean In A Bottle For Kids
- Fall Leaves Glitter Sensory Bottle For Kids
- Halloween Sensory Bin For Kids

Meet Sam
Sam is the crafter and founder of Simple Everyday Mom. She has been featured in Oprah Mag, Good Housekeeping, The Spruce Crafts, Country Living, The Bump, and more.