Fork Painted Pumpkin Craft for Kids [Free PDF Template]
All activities require adult supervision. By using this site, you agree to our terms of use. This post may contain affiliate links, sponsored links, and ads. As an Amazon Associate and participant in other affiliate programs, I earn from qualifying purchases.. Read our disclosure policy.
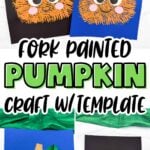
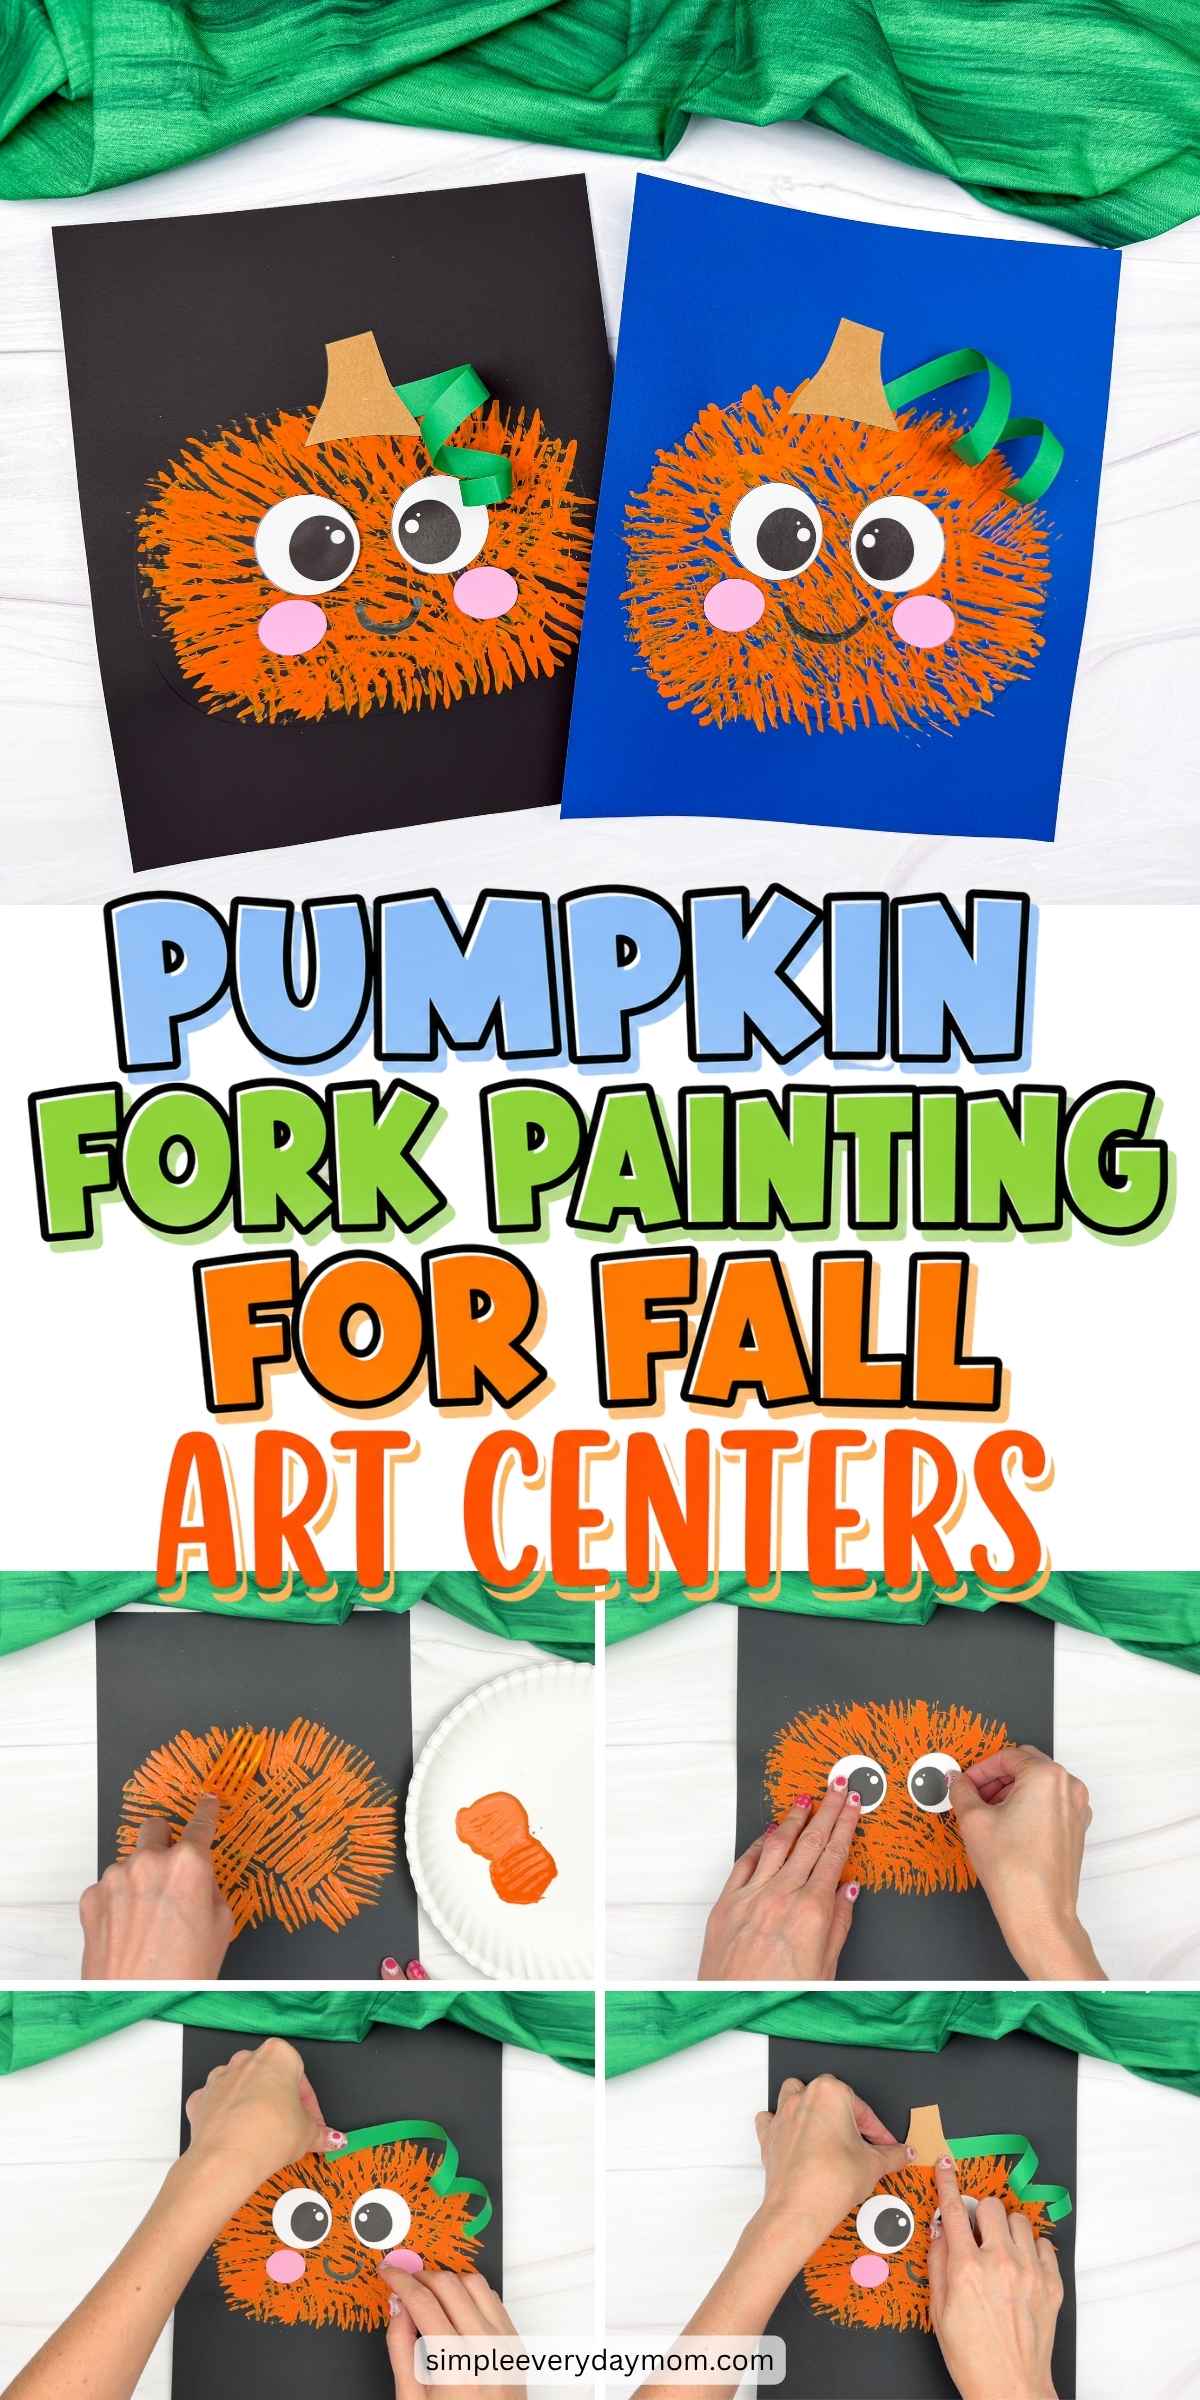
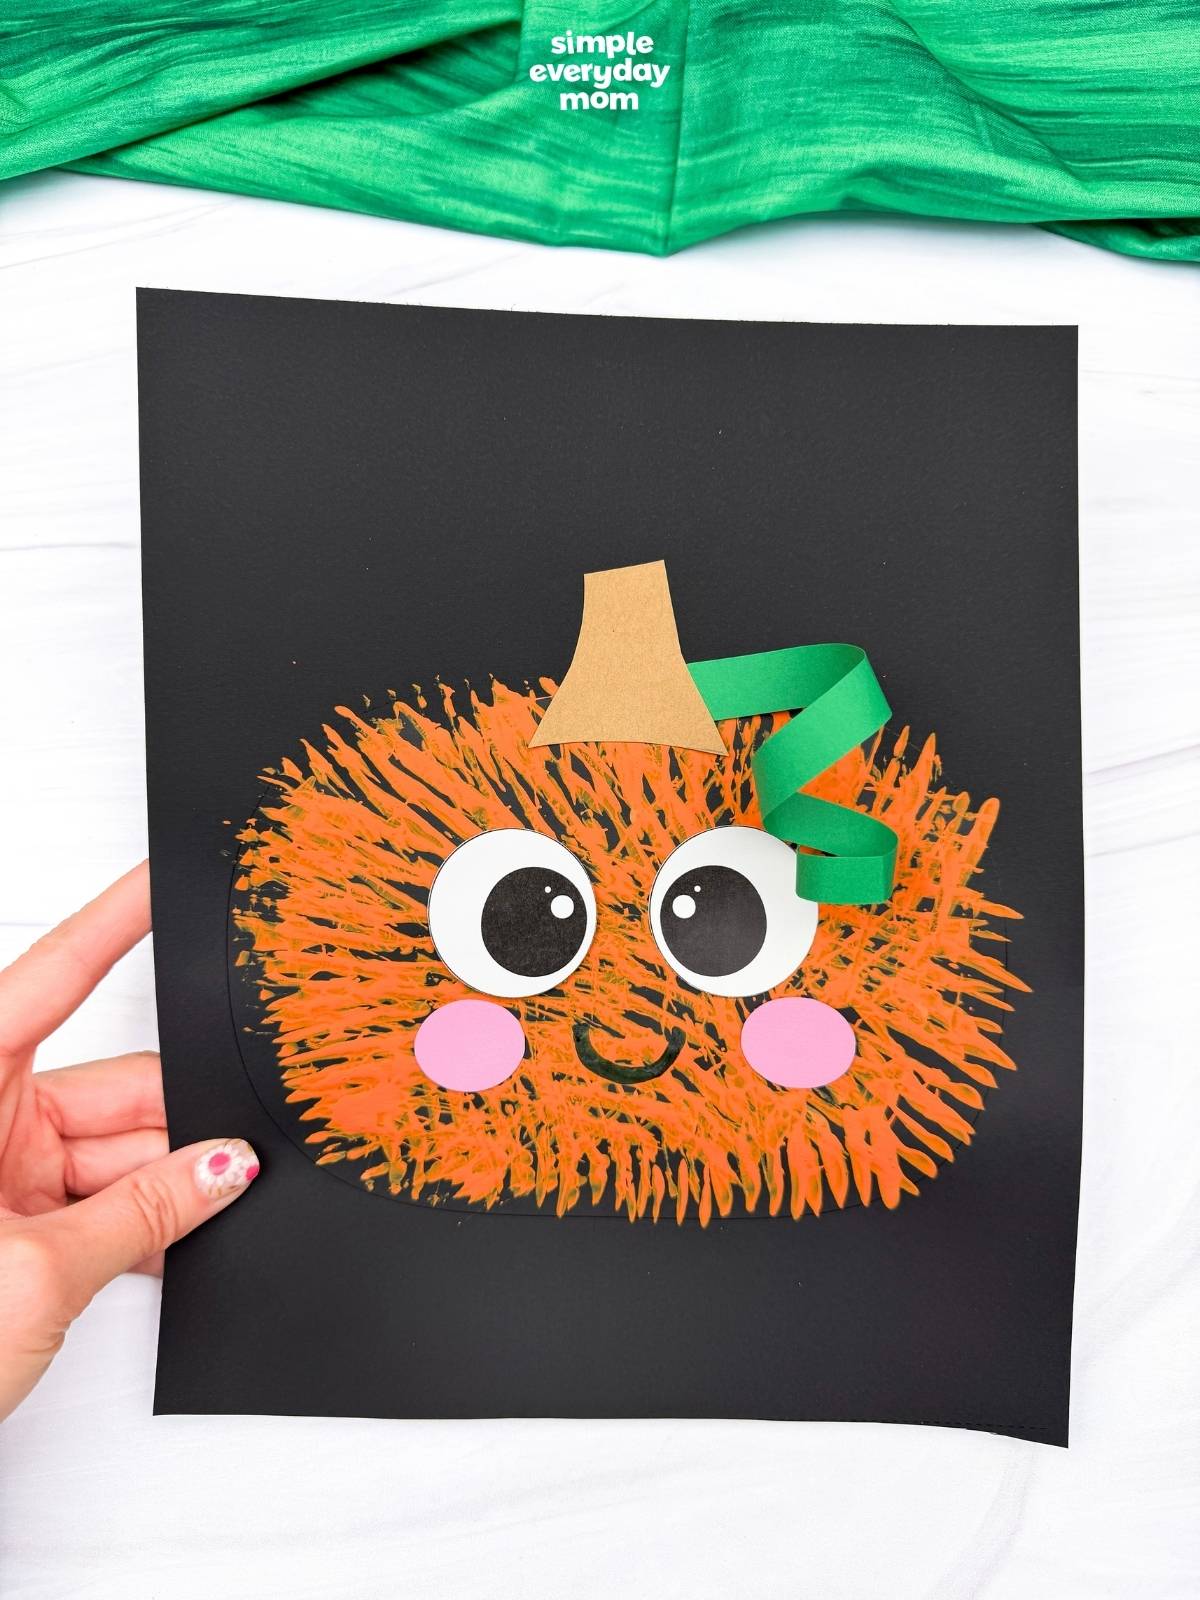
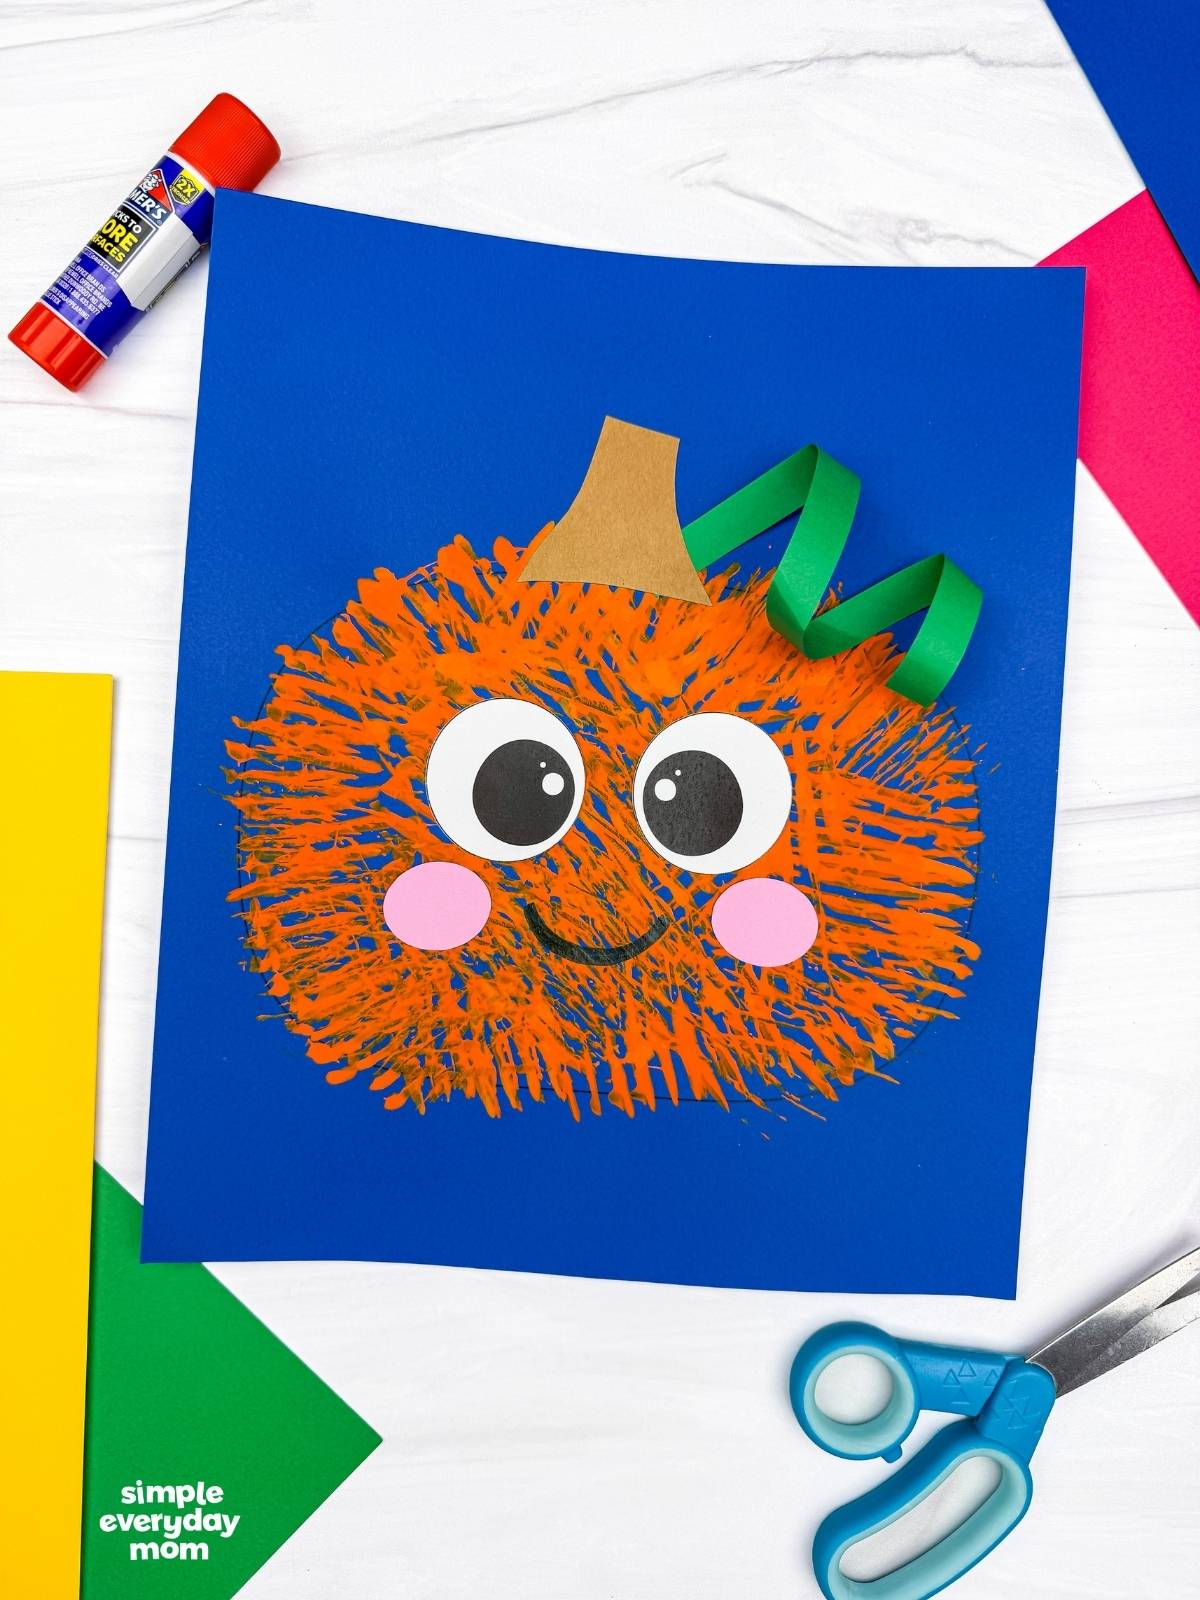
Autumn is a wonderful time to fill the day with colorful art projects! This fork painted pumpkin craft has preschoolers to 2nd graders turn a simple fork into a painting tool to create some fall art. Kids will paint our free pumpkin template, add the finishing details, and see their artwork come to life in about 20 minutes, plus little extra time for it to dry.
Be sure to explore even more pumpkin crafts for kids after finishing this project. You’ll find fun activities that fit classrooms, homeschool lessons, art time, and family fun. There are so many imaginative ways to celebrate fall and make memories together.
Good To Know
- Themes: Pumpkins, Fall, Halloween
- Activity: Use a fork to stamp orange paint into a textured pumpkin, then add a stem, curly vine, eyes, cheeks, and a smile
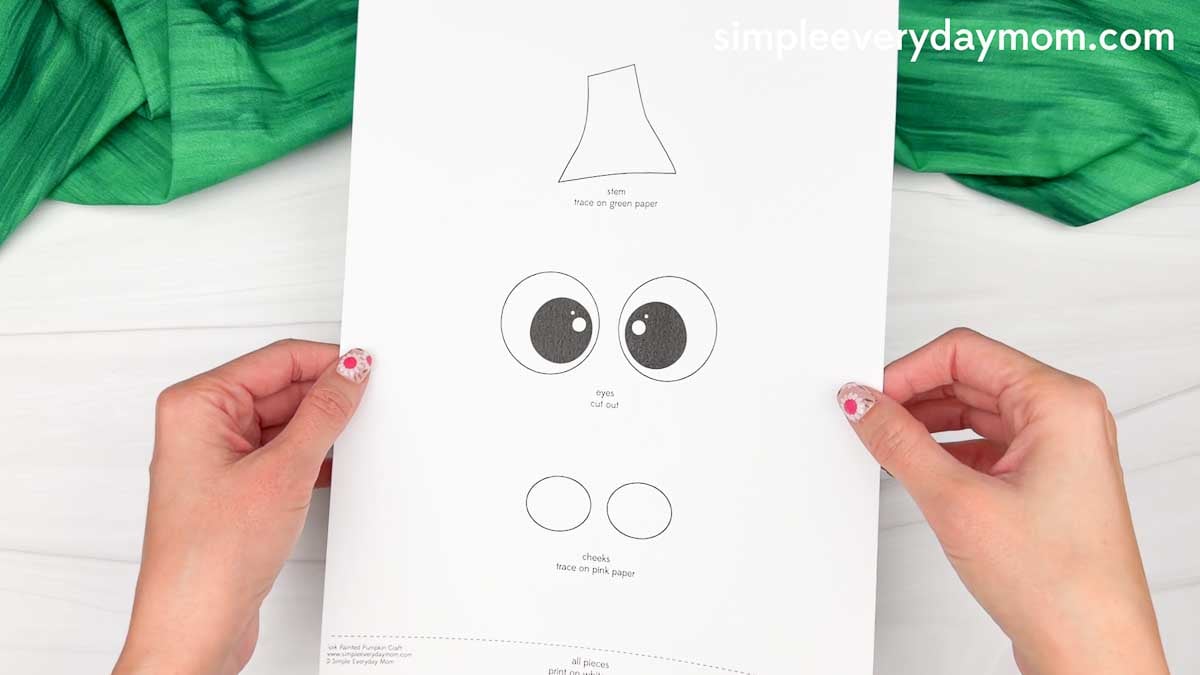
- Template: Includes printable pumpkin face and accent pieces
- Ages: Preschool through early elementary
- Time: 20–30 minutes
- Skills: Painting, stamping, cutting, gluing, hand-eye coordination, and fine motor practice
A Hands-On Harvest Art Activity for Kids
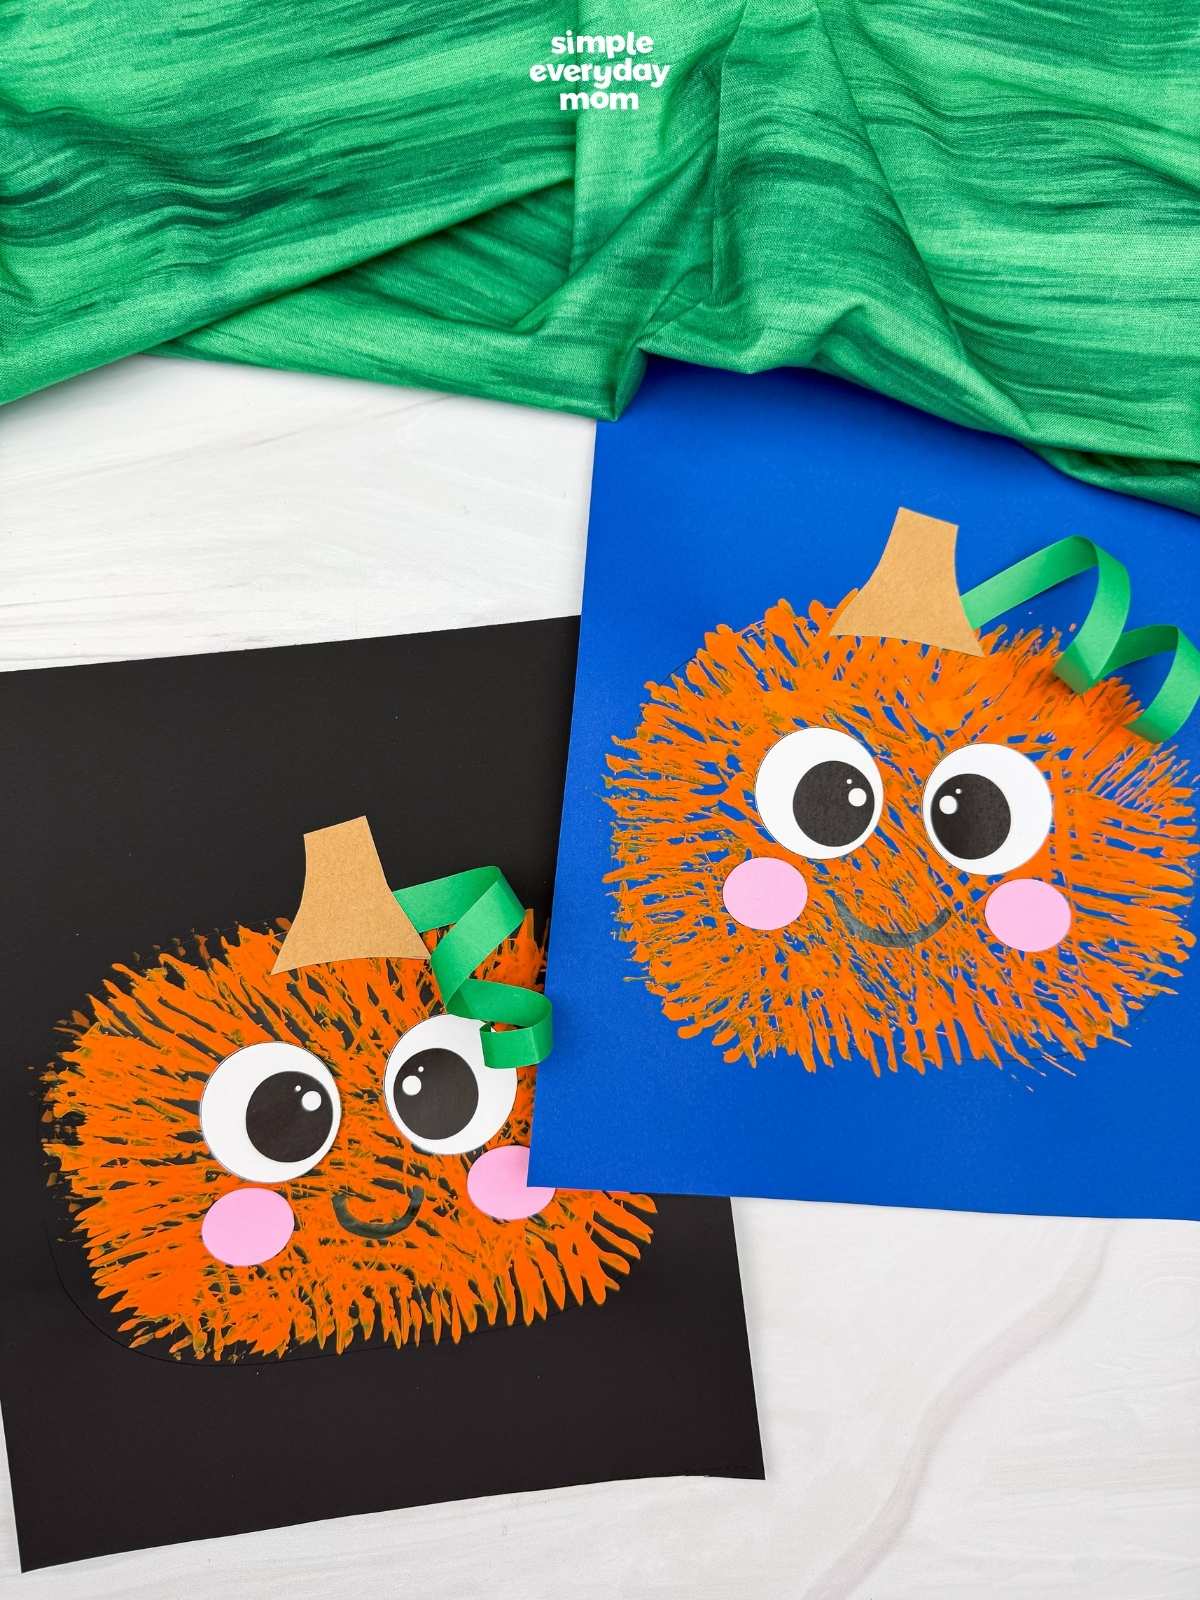
Nothing says autumn quite like a bright orange pumpkin! Have kids express their creativity during the fall season and make a piece of pumpkin art by having them stamp paint with a fork. Every painted line creates an interesting texture, so each pumpkin will be a little different.
Creating this painted pumpkin activity offers more than colorful fun. Fork painting helps build hand strength, improve coordination, and gives children extra practice controlling their movements. Finishing the pumpkin by adding the facial features and other details also works on important early learning skills like cutting and gluing.
The printable template makes this project simple to set up at home or in the classroom. So grab a fork, paint, paper, and a few common supplies to create this pumpkin art for kids.
Supplies
- Colored cardstock or construction paper
- Scissors
- Glue
- Markers
- Paint
- Fork
- Pumpkin Template (click the “click here to get your freebies” image at the end of the post)
Directions
Print the template and gather the materials for this fun activity. Get those scissors ready, and let’s help the kids bring this pumpkin to life!
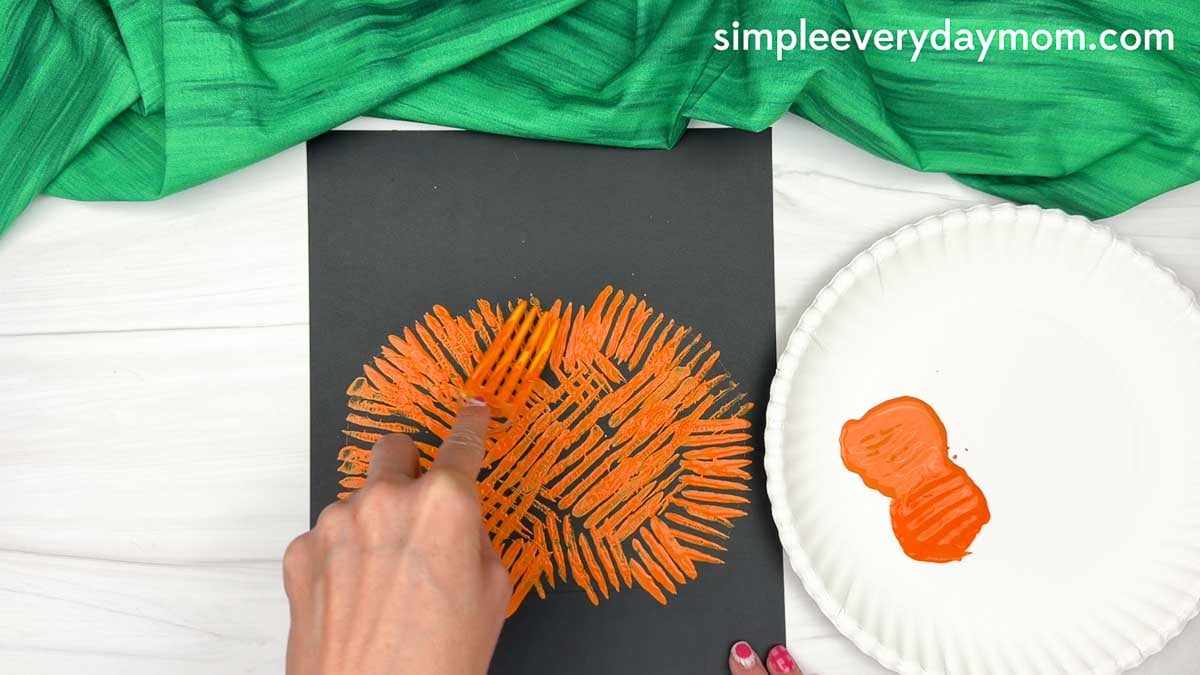
Start by grabbing your background paper, fork, and orange paint. Dip the back of a fork into the paint, then press and drag it across the background paper to form a large, rounded pumpkin shape. Set it aside for a few minutes to let the paint dry.
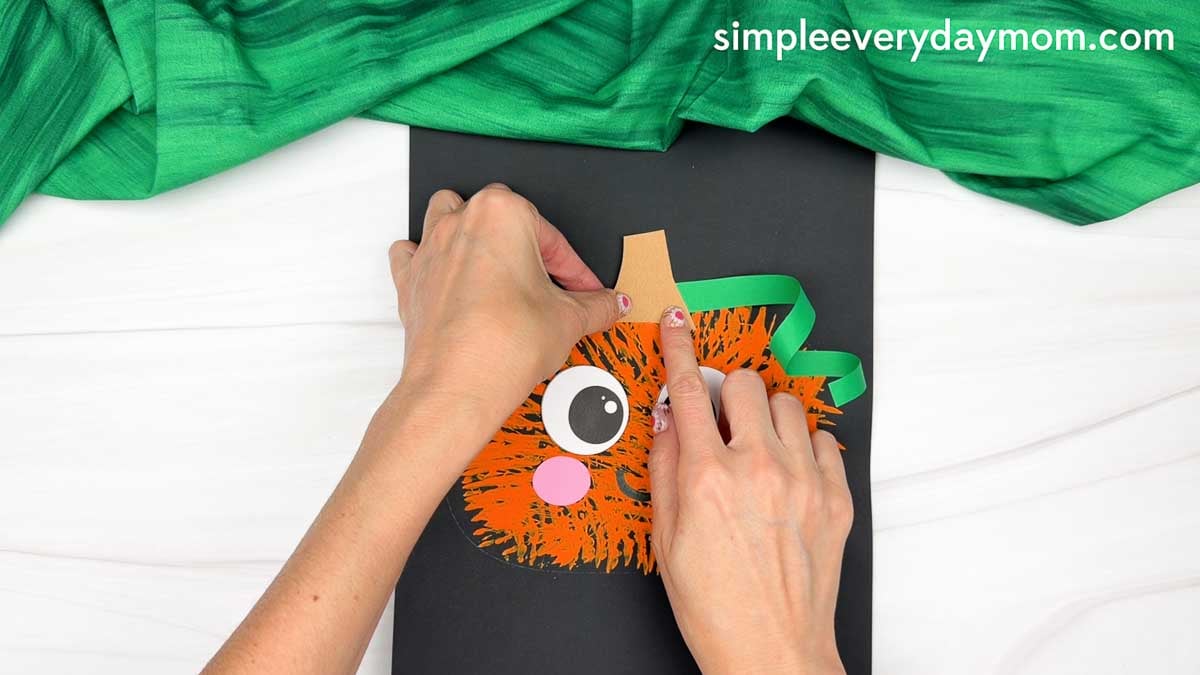
Once the paint is dry, glue the eye pieces near the top center of the pumpkin. Kids can place them close together or slightly apart to give their pumpkin a unique expression.
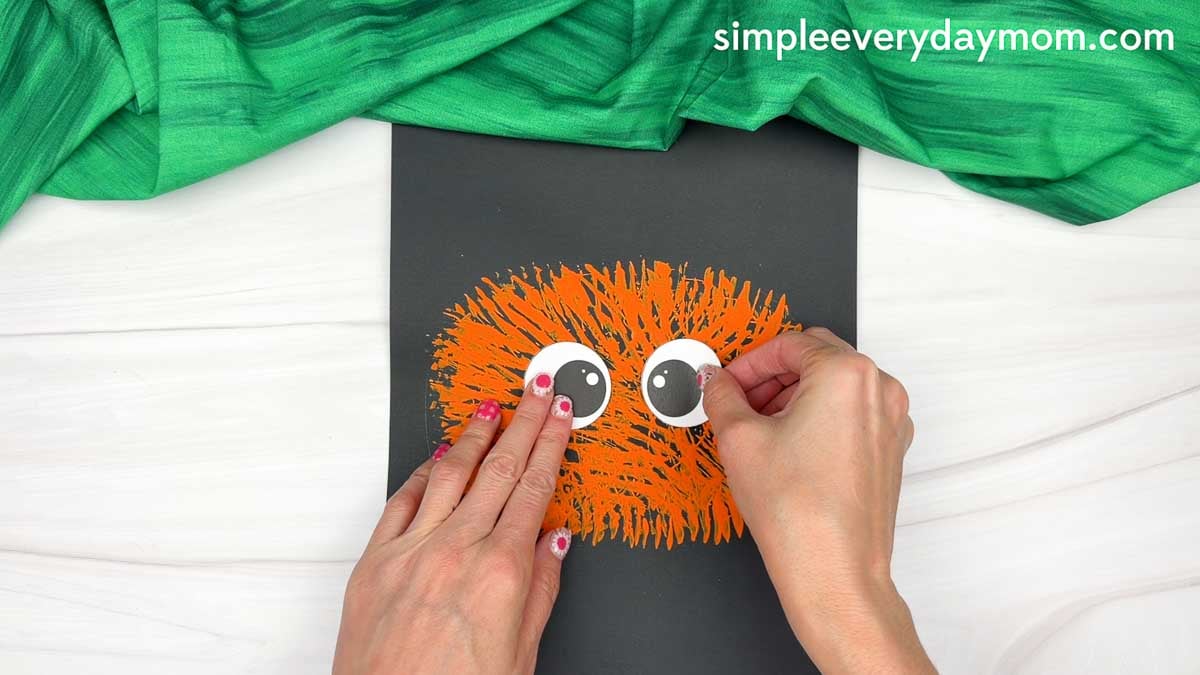
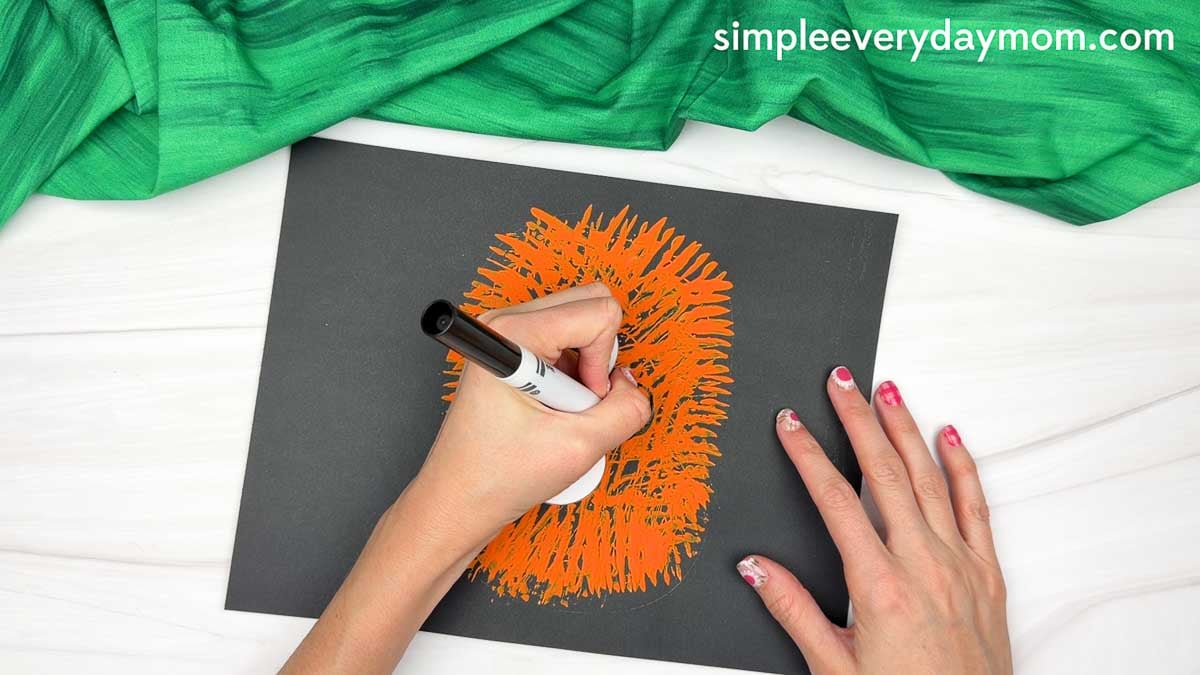
Use a marker to draw a curved smile below the eyes. This is a fun moment to talk about emotions and let kids decide whether their pumpkin looks happy, silly, or excited.
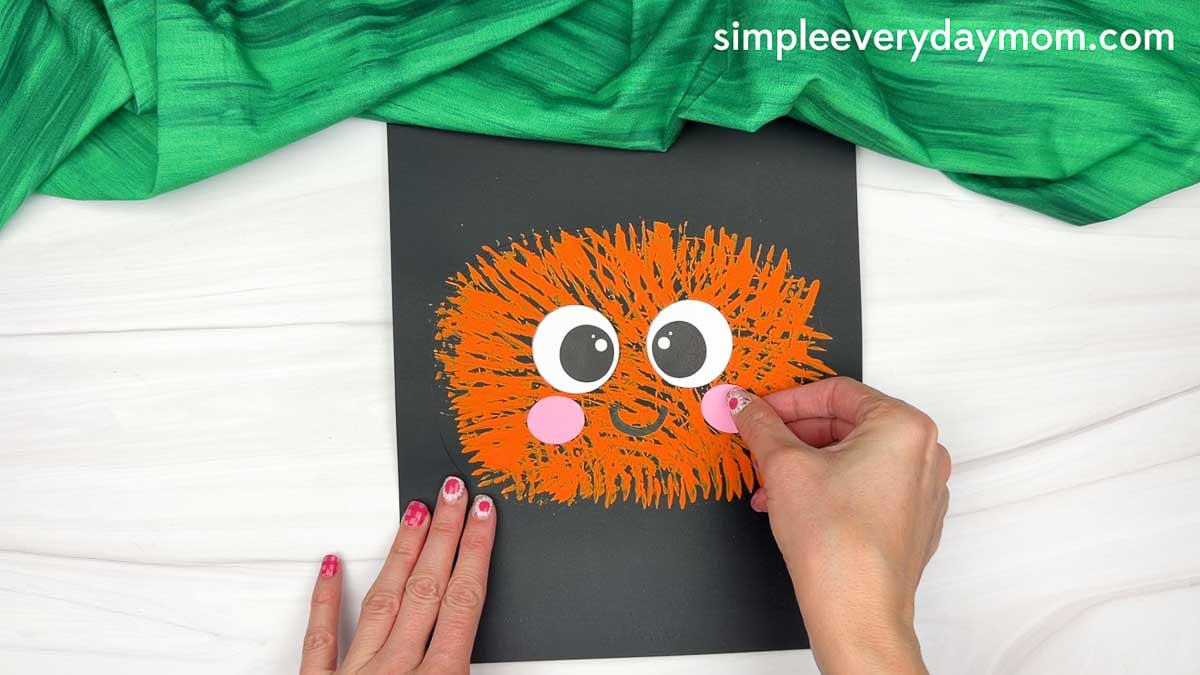
Glue one cheek piece on each side of the smile.
Curl the vine piece around a pencil or marker to give it a playful spiral shape. Glue one end at the top of the pumpkin.
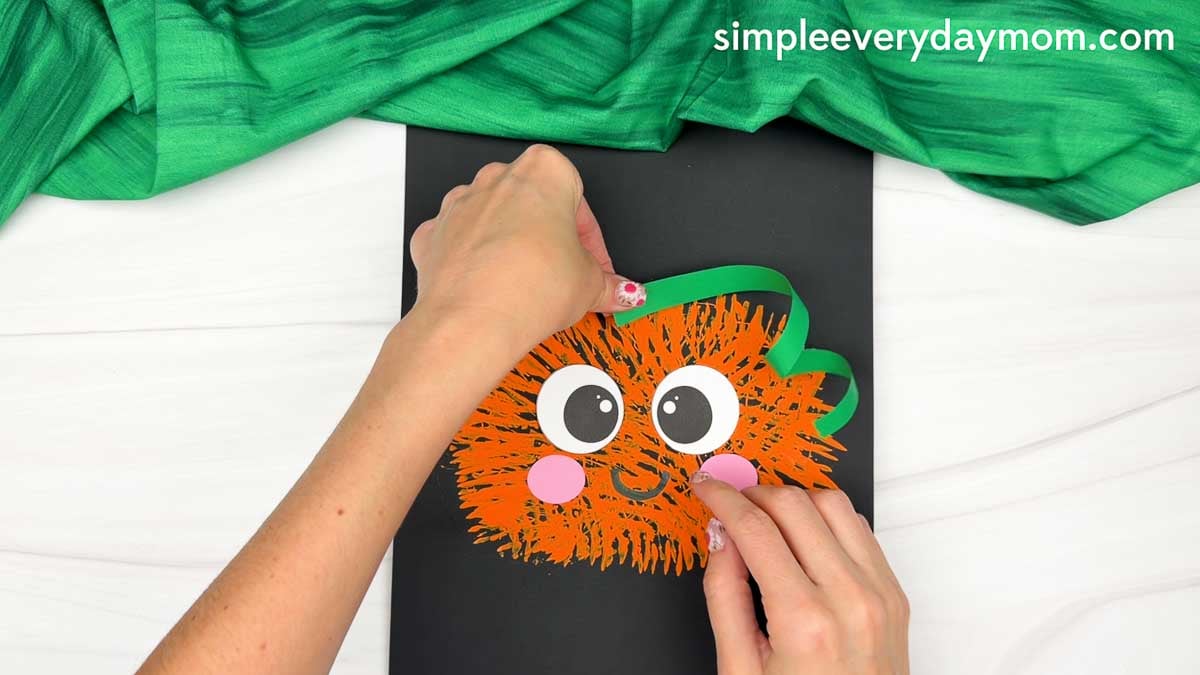
Finally, glue the stem piece at the top center of the pumpkin, covering the end of the vine. Once everything is secure, our adorable textured pumpkin is ready to display for fall.
This fork painted pumpkin craft is a fun way to explore fall art while building fine motor skills, creativity, and hand eye coordination. Kids will love turning simple fork prints into a smiling pumpkin they can proudly display at home or in the classroom.
Don’t forget to browse the related fall crafts and educational printables below the post. You’ll find more pumpkin, harvest, and seasonal activities that work well for classrooms, homeschool lessons, and themed units.
Fall Books for Children


Fletcher and the Falling Leaves Fletcher the fox is worried when the leaves begin falling from his favorite tree, and he tries everything he can to save them. This sweet fall story helps preschoolers explore the changing seasons as Fletcher discovers a beautiful surprise waiting when autumn turns to winter.
Pete The Cat Falling For Autumn: Pete is not a fan of fall. But he decides to do some detective work and finds out that there are many things about this season he loves, like corn mazes, hayrides, wearing scarves, and apple picking! This story helps kids learn that even though they might not love every season of the year, there are still good parts to each one.
The Scarecrow Everyone stays away from the lonely old scarecrow until one tiny crow needs his help. This sweet fall story shows kids how an unexpected friendship can grow through kindness, caring, and the changing seasons.
Adorable Harvest-Themed Crafts
Handprint Hedgehog Craft – Turn little hands into hedgehog spikes! Children will trace and cut out their own handprints, then layer them behind the hedgehog’s body to create a cute woodland friend. It’s a fun fall activity that encourages creativity and makes a keepsake they’ll love to display at home or in the classroom.
Mushroom Craft – These woodland wonders will be a hit with your kiddos. They’ll cut and assemble a smiling paper mushroom using our printable template to practice scissor skills and fine motor coordination. It’s a simple hands-on project that’s great for preschool, pre-k, and kindergarten kids at home, in the classroom, or during a fall nature unit.
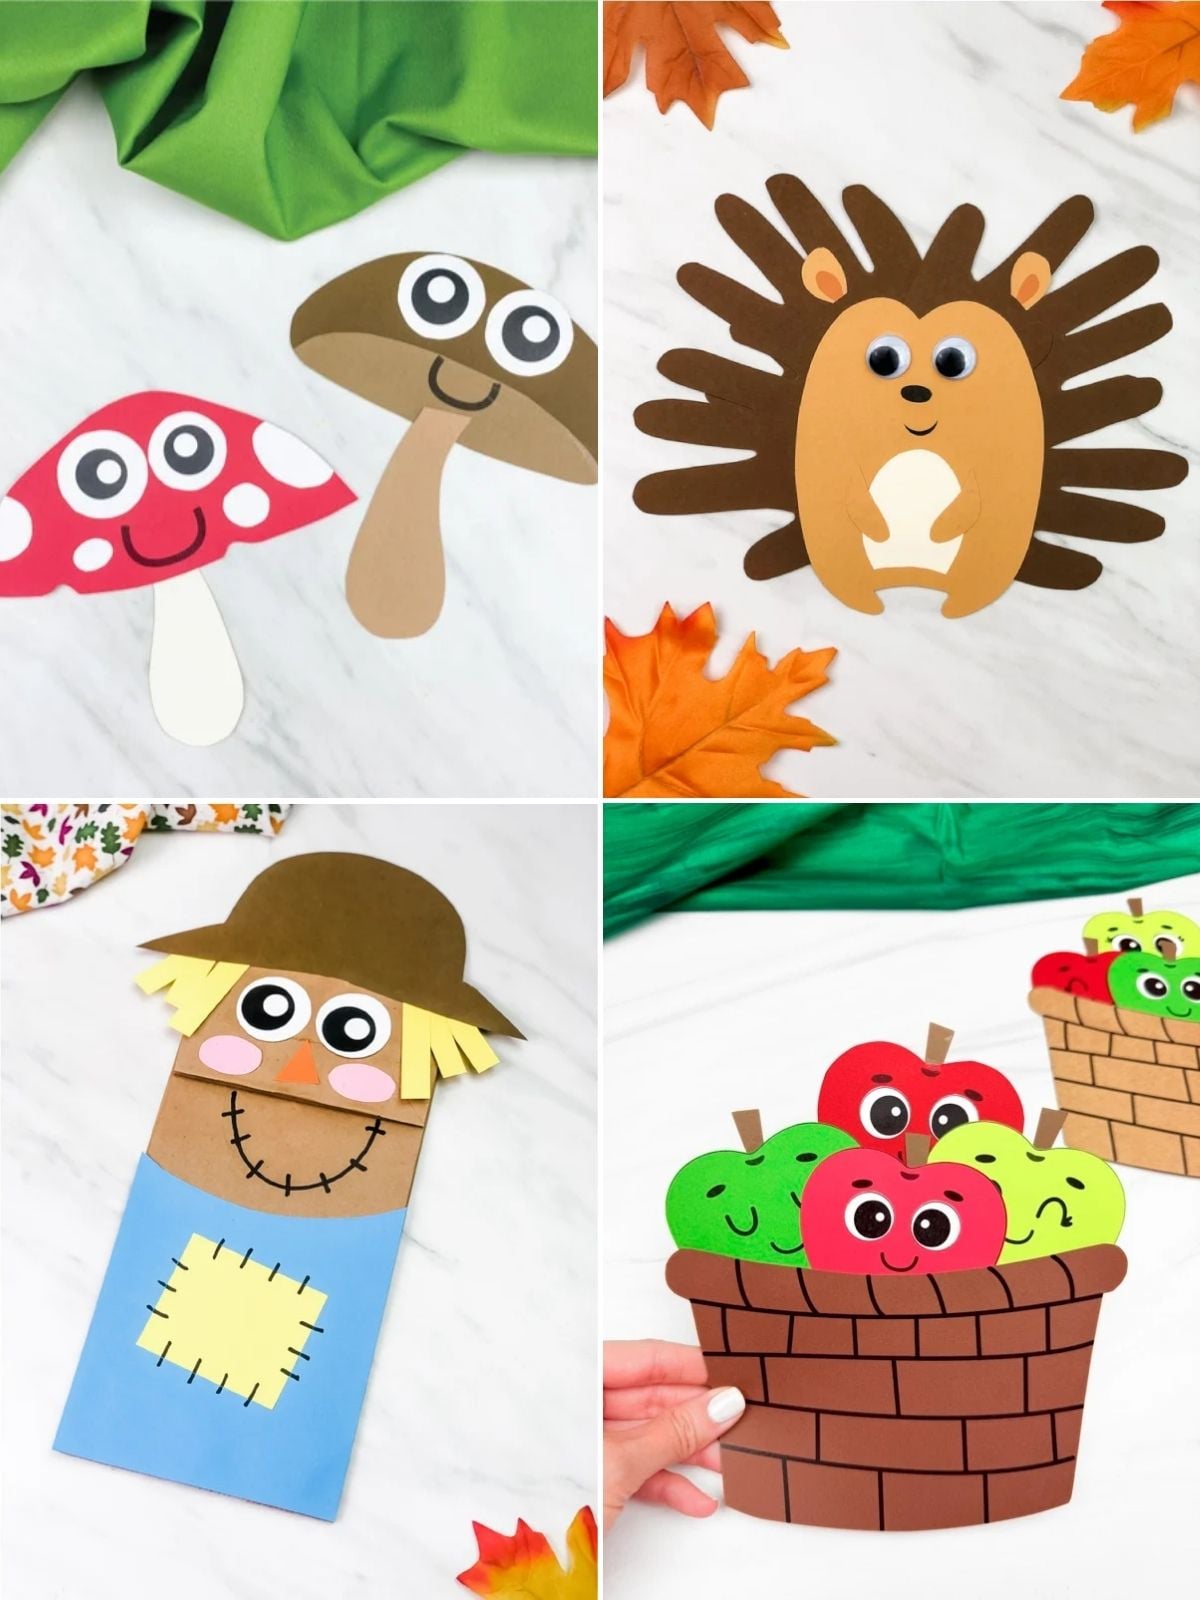
Scarecrow Puppet Craft – Build a friendly farm helper with a paper bag and our free scarecrow template! Kids can use our free template to cut, glue, and decorate a cute scarecrow on a paper bag, then bring their harvest buddy to life through imaginative play. It’s a fun fall activity that’s great for getting creative and using big imaginations.
Apple Basket Craft – Fill the day with apple picking fun by making this adorable basket filled with apples! Kids will cut out the printable pieces and assemble the apple basket to practice scissor skills and following directions. It’s a sweet fall project that fits right into apple themed lessons, classroom centers, or creative times at home.


Fall Learning Printables
Harvest fun is combined with our favorite activity to make these printable scarecrow coloring pages. This relaxing activity has kids color friendly scarecrows in 3 different fall scenes.
Coloring encourages creativity and strengthens fine motor skills. These pages are a good choice for classroom centers, a fun activity at home, or festive fall celebrations throughout the season.
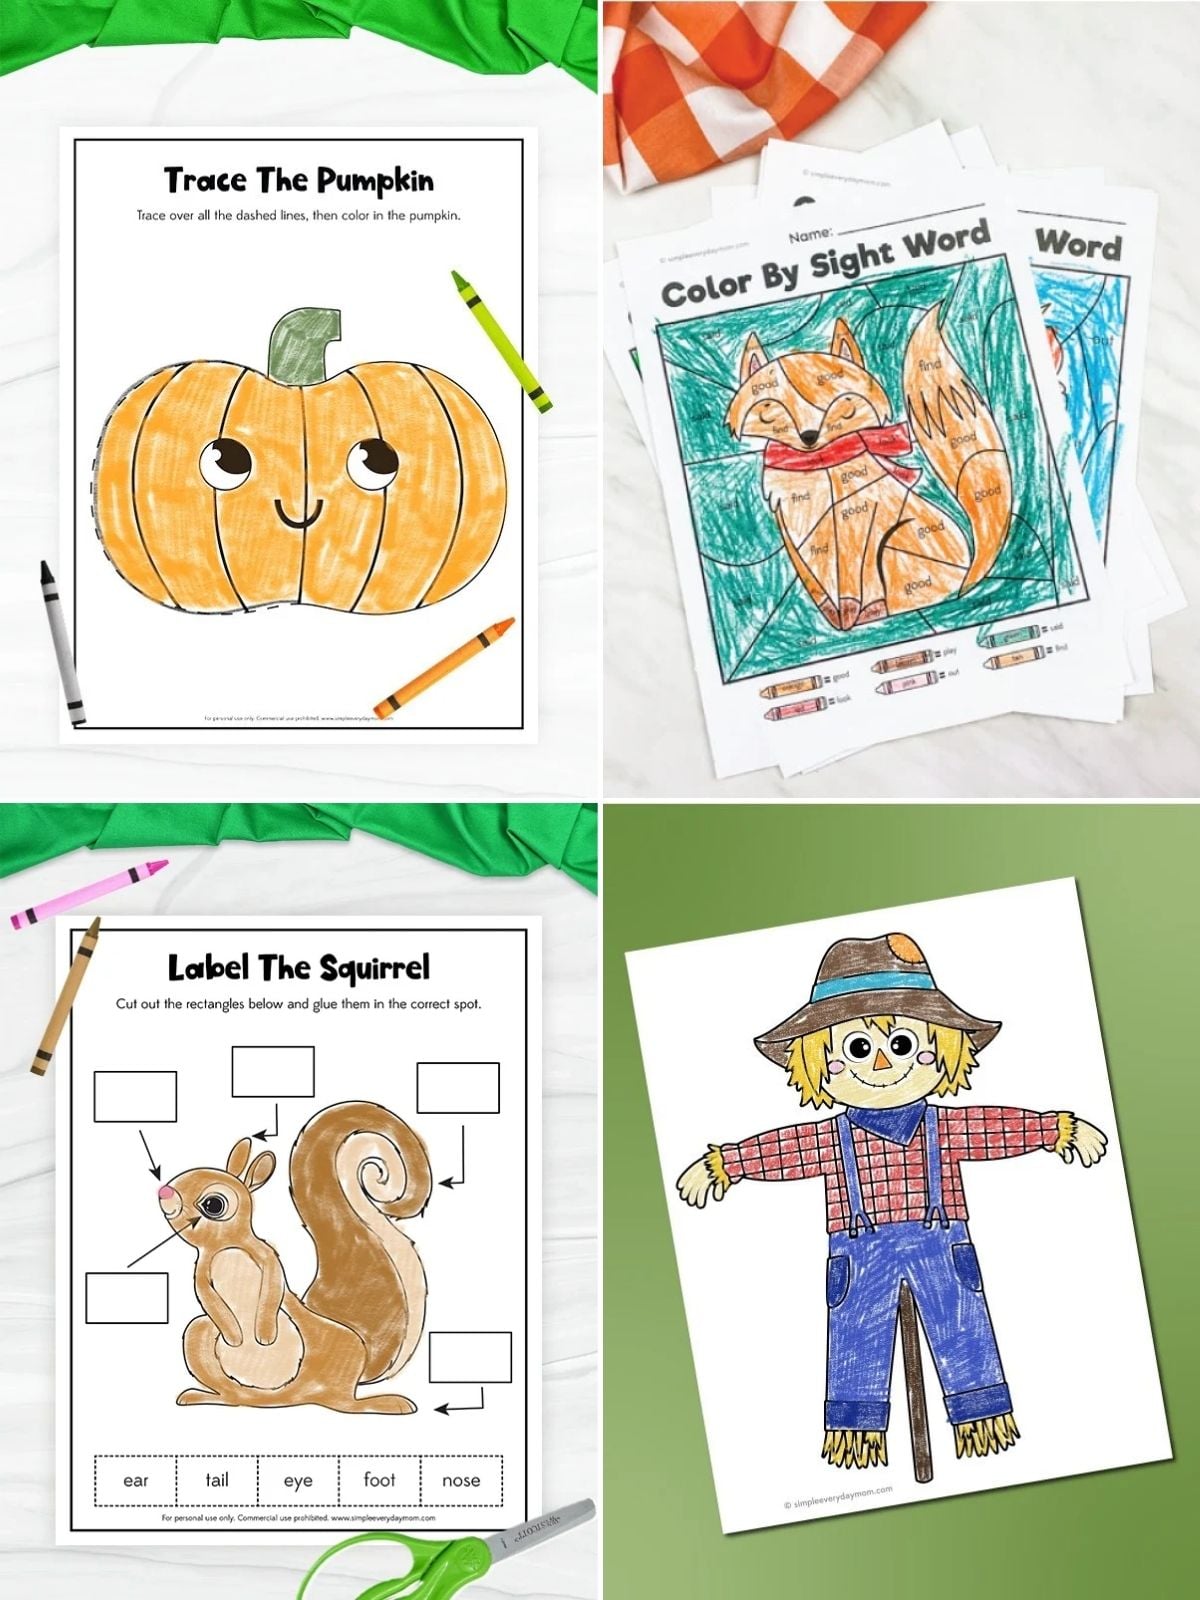
Help kids harvest new reading skills with these fall color by sight words worksheets! Children will read the sight words, match them to the color key, and bring each autumn themed picture to life.
This engaging activity strengthens word recognition, reading fluency, color identification, and following directions while also building fine motor skills through coloring. They’re a fun way to reinforce early literacy in the classroom or at home.
These squirrel worksheets are packed with woodland learning fun! Kids will search for and color the letter S in a maze, label the parts of a squirrel with a cut-and-paste activity, and trace both uppercase and lowercase S along with the word “squirrel.”
These activities will strengthen letter recognition, handwriting, vocabulary, fine motor skills, and early science knowledge.
These pumpkin tracing worksheets offer a fun mix of early learning practice for fall! Kids will strengthen pencil control by tracing straight, curved, zigzag, and wavy lines to help pumpkins reach their destinations, complete a pumpkin by tracing and coloring, and trace uppercase and lowercase P. Each line they trace will help them refine fine motor skills, hand-eye coordination, and the pre-writing skills needed for confident handwriting.
Share With Us
Did you make this activity with your kids or students? We’d love to feature them on our social media!
For a chance to have your child’s project featured, simply snap a picture of the completed project and post it to our Facebook page, email it to us directly by clicking here, or use #simpleeverydaymom on your social media!
Free Fork Painted Pumpkin Template

Fork Painted Pumpkin Craft
Video
Materials
- Colored cardstock or construction paper
- Scissors
- Glue
- Markers
- Paint
- Fork
- Pumpkin Template
Instructions
- Print the template and gather the materials for this fun activity.
- Begin by dipping the back of a fork into paint and pressing it onto the background paper to form a rounded pumpkin shape.
- Allow the paint to dry completely.
- Glue the eye pieces near the top center of the pumpkin.
- Use a marker to draw a curved smile below the eyes.
- Glue one cheek piece on each side of the smile.
- Curl the vine piece and glue one end behind the top of the pumpkin.
- Finally, glue the stem piece to the top center of the pumpkin, covering the end of the vine.
Did you make this?
Don’t forget to leave a comment below and make sure to follow on Pinterest, Facebook and TikTok for more!

Meet Sam
Sam is the crafter and founder of Simple Everyday Mom. She has been featured in Oprah Mag, Good Housekeeping, The Spruce Crafts, Country Living, The Bump, and more.