All activities require adult supervision. By using this site, you agree to our terms of use. This post may contain affiliate links, sponsored links, and ads. As an Amazon Associate and participant in other affiliate programs, I earn from qualifying purchases.. Read our disclosure policy.
If you’re planning a frog theme with kids, having a handful of go-to crafts makes the day run smoothly. This collection of frog crafts for kids brings together projects that work well for preschool through early elementary (ages 3–8).
Below, you’ll find a mix of paper projects, recycled builds, puppets, and a few crafts kids can actually play with when they’re done. Many use everyday supplies like paper, glue, and markers, and several include printable templates so kids can get right into the making.
These work well for classroom centers or rainy afternoons. You can also mix these into your seasonal plans alongside our spring crafts for a whole week of themed activities.
Pin
Pin
Frog Paper Cup
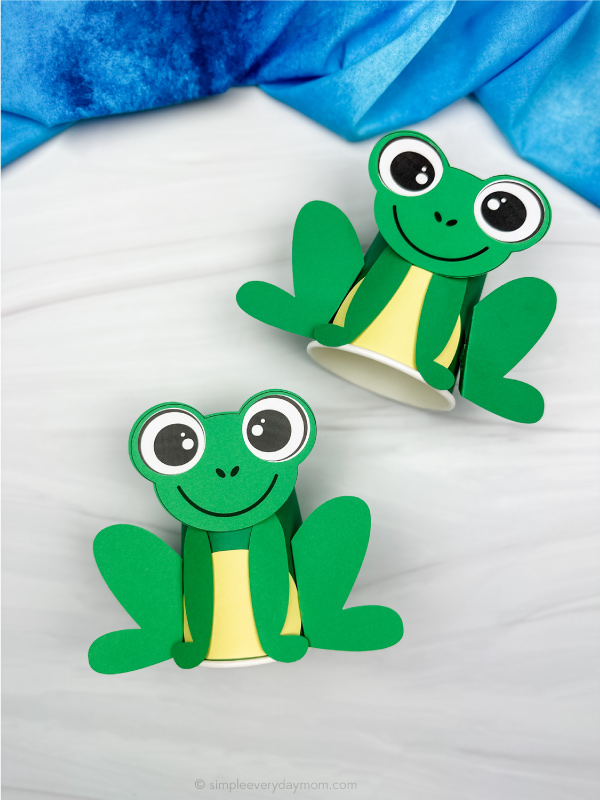
Flip a green paper cup upside down, then cut the eyes, belly, and legs from colored cardstock using the printable template and glue the pieces on in layers. Folding the back legs at the dashed line helps them pop outward, giving the finished character a sturdy stand-up shape.Kids love that it comes together quickly with just scissors and glue—and ends up looking like a little desk buddy.
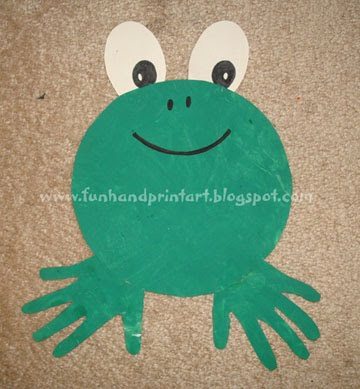
Let kids paint a sheet of paper green, then trace a bowl for the body and trace both hands for big feet once everything dries. Cut out the shapes, glue on two white paper ovals for eyes, and finish the face with a black marker.The hand-sized feet make the final artwork feel extra personal for toddlers and preschoolers.Related: Frog Cutting Practice Worksheets
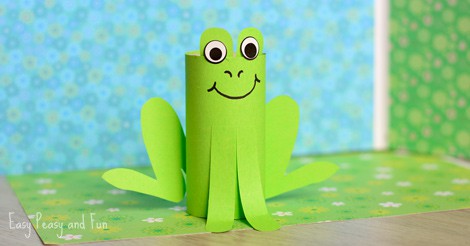
Wrap a paper tube with green paper (or paint it), then cut matching paper legs and a simple eye strip to glue in place. Stick on wiggle-eye stickers, draw the face with a black marker, and attach the front and back legs so it sits nicely.Kids love how fast it comes together, and it's a great way to reuse cardboard tubes you already have at home.Also try: Frog Worksheets
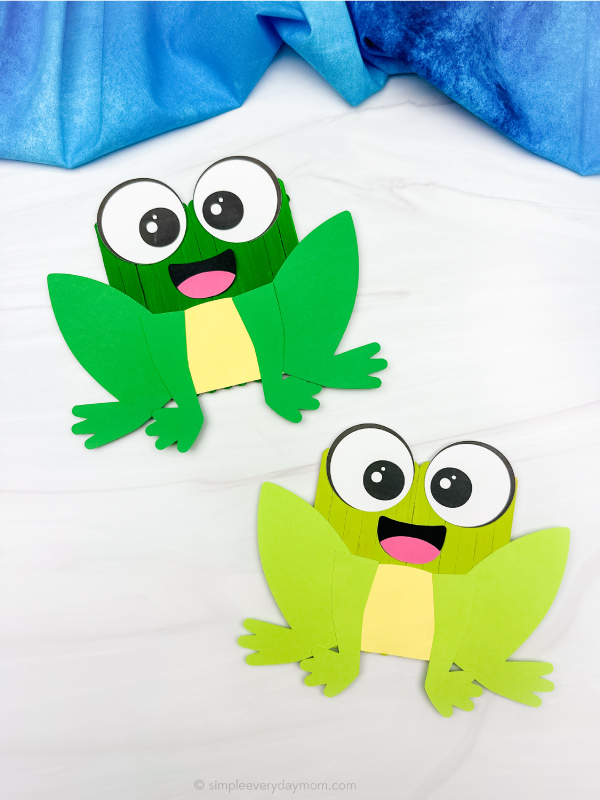
Glue popsicle sticks into a wide panel, paint it green, and let it dry before adding the cut paper pieces from the printable template. Permanent glue dots or hot glue help it hold its shape, while cardstock pieces like the belly, legs, eyes, and mouth bring the face together.Since it's sturdy and flat, kids can use it for pretend play or display it like a bit of art “poster.”
Cover a toilet paper roll with green construction paper, staple one end shut, and thread a long piece of string through the tube. A red paper strip becomes the inside of the mouth, while simple paper circles form the eyes, and a small cut-out fly attaches to the string for a “catch it” game.Because it doubles as a toy, kids keep playing as they try to snag the dangling paper snack again and again.Related: Frog Color By Number
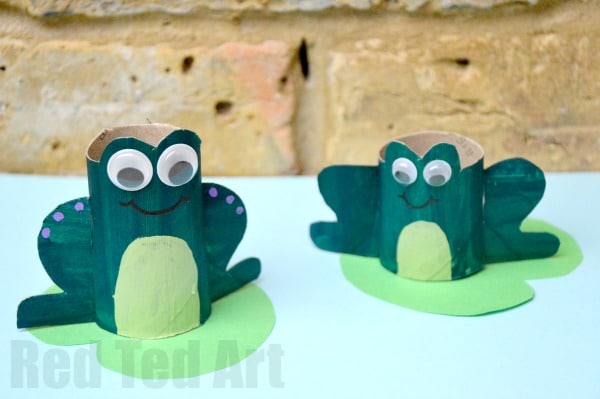
Paint a toilet paper roll, glue on googly eyes, and cut around the top to create raised eye bumps. The leftover strip becomes legs by cutting mirrored shapes and slotting them into little cuts at the bottom of the roll.A quick pen-drawn smile (plus optional tummy dots with paint or paper) gives it personality, and kids enjoy how the pieces lock together.Also try: Frog Craft
Flatten an empty paper towel roll, trace the printable template, and use the “squash and cut” technique to cut out the body shape and leg line. Pop it back into a cylinder, bend the legs out, fold the head down, then paint and decorate with spots and googly eyes (or the printable paper eyes).Turning a flat roll into a 3D character feels surprisingly magical to kids, so it's an excellent pick for hands-on play afterward.Related: Spring Math Worksheets
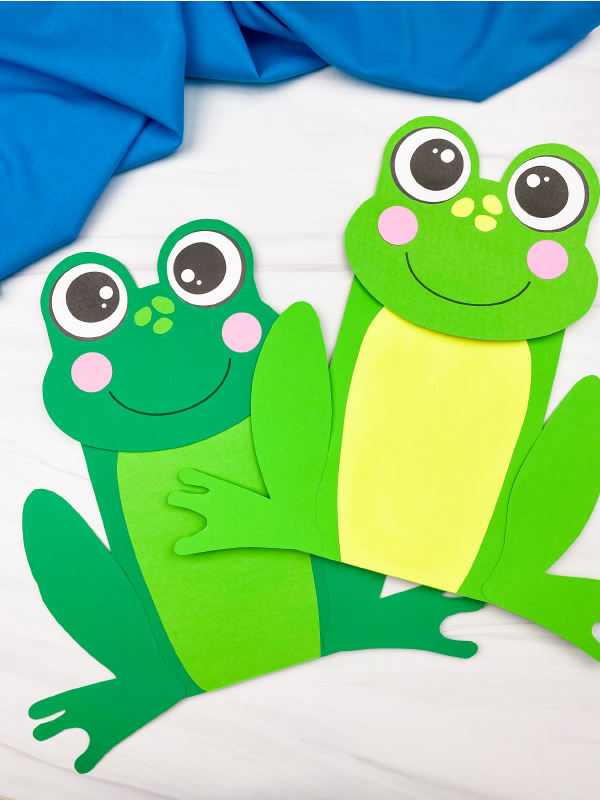
A brown paper bag becomes a simple puppet when kids cut the head and body pieces from colored cardstock using the printable template. They build the face by gluing on eyes and cheeks (optional spots add extra personality), then attach the head to the bag flap and the body to the front.Once it dries, the bag opens and closes like a mouth, making it perfect for quick storytelling.
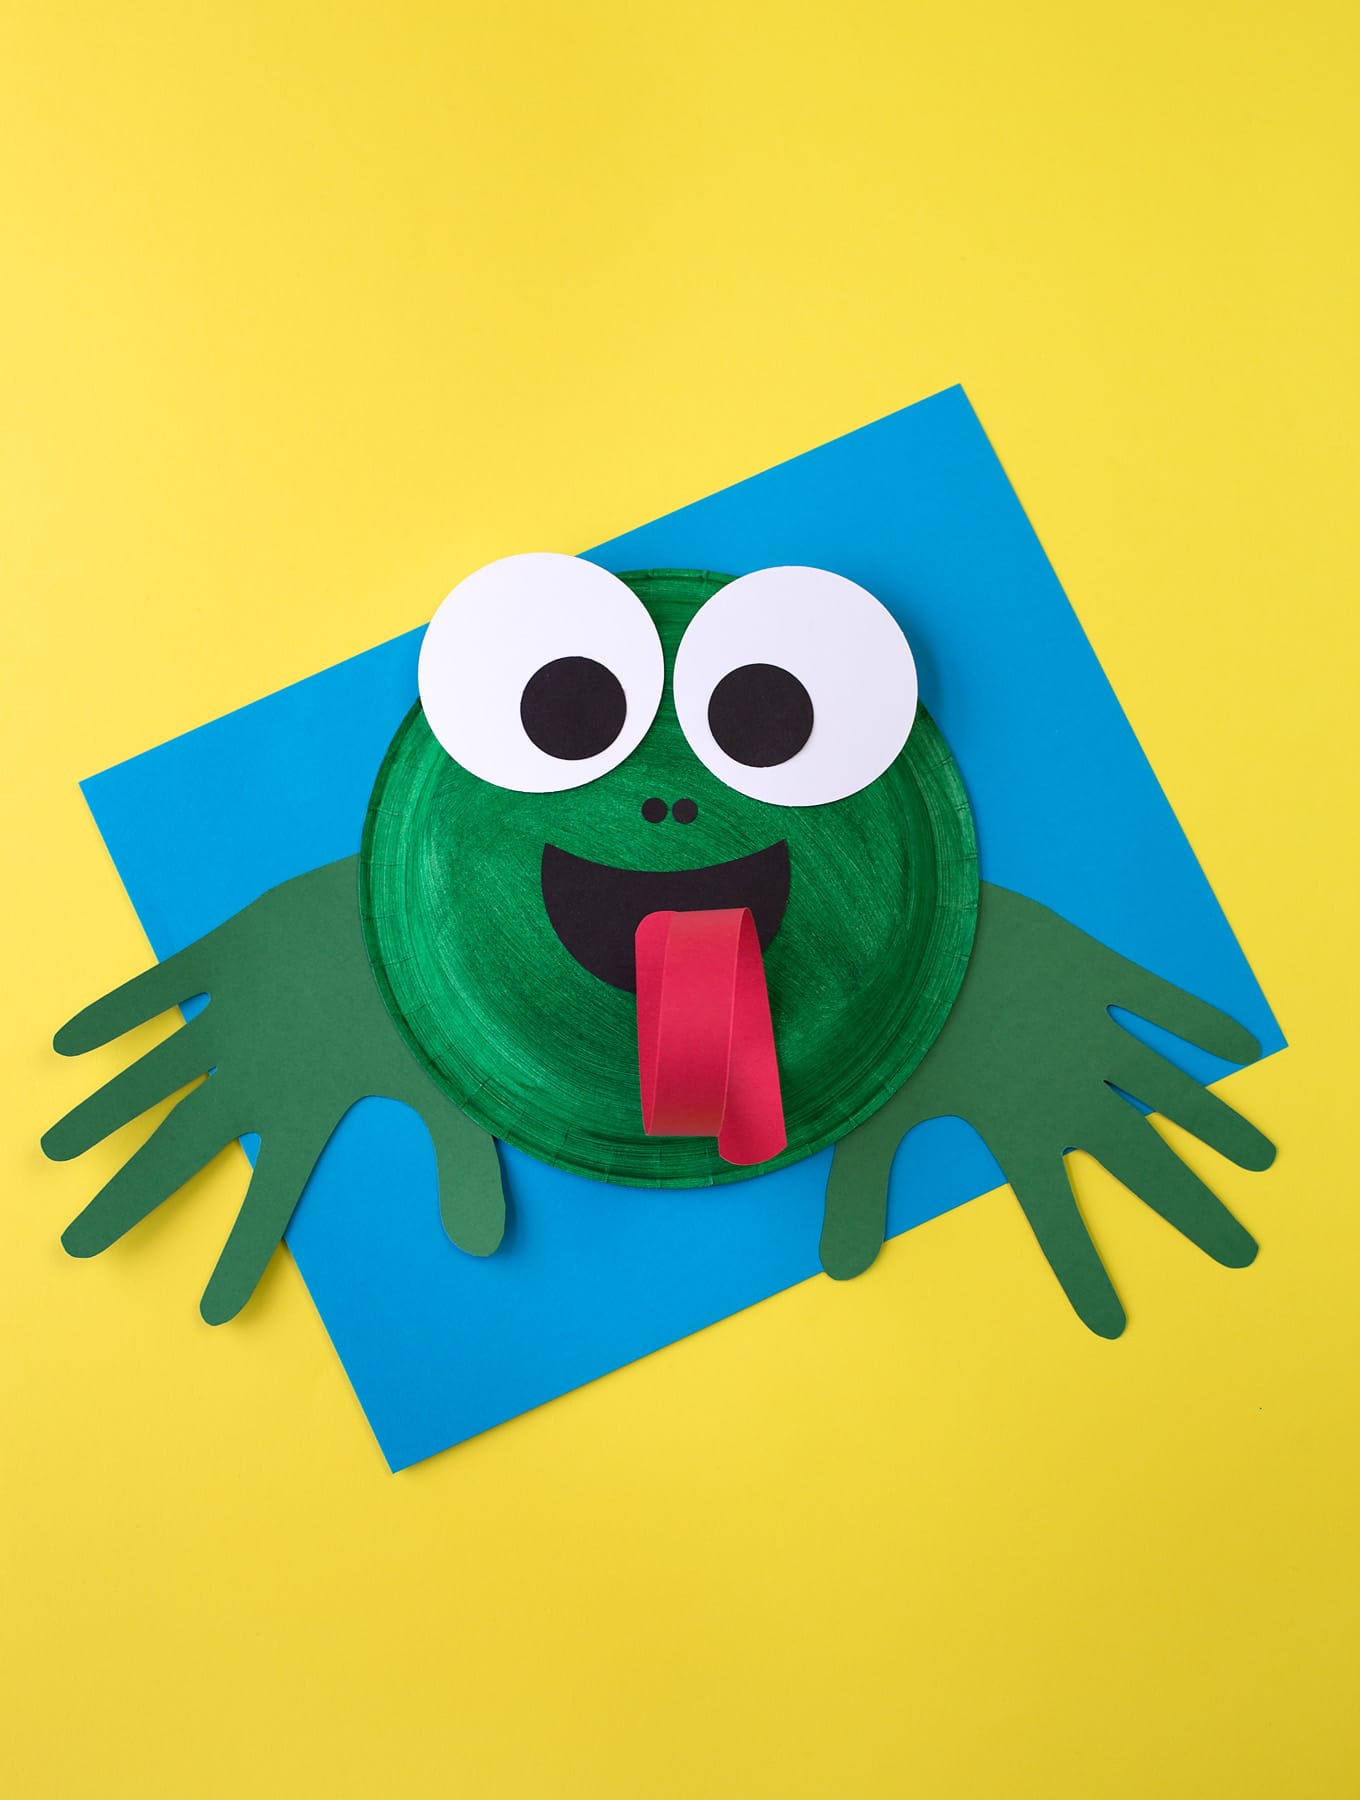
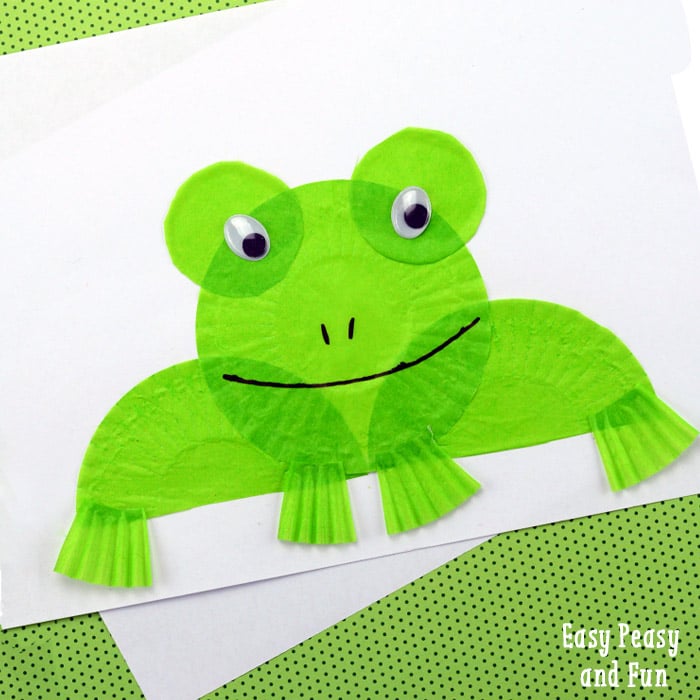
Paint the back of a small white paper plate with green tempera paint, then trace the eyes and mouth from the free template onto construction paper and cut them out. Green paper handprints get glued to the back as legs, and a curled 1-inch red paper strip becomes a pop-out tongue on the front.The handprint “legs” make it extra memorable for preschoolers, and the curled tongue adds a playful 3D touch.Also try: Spring Pattern Worksheets
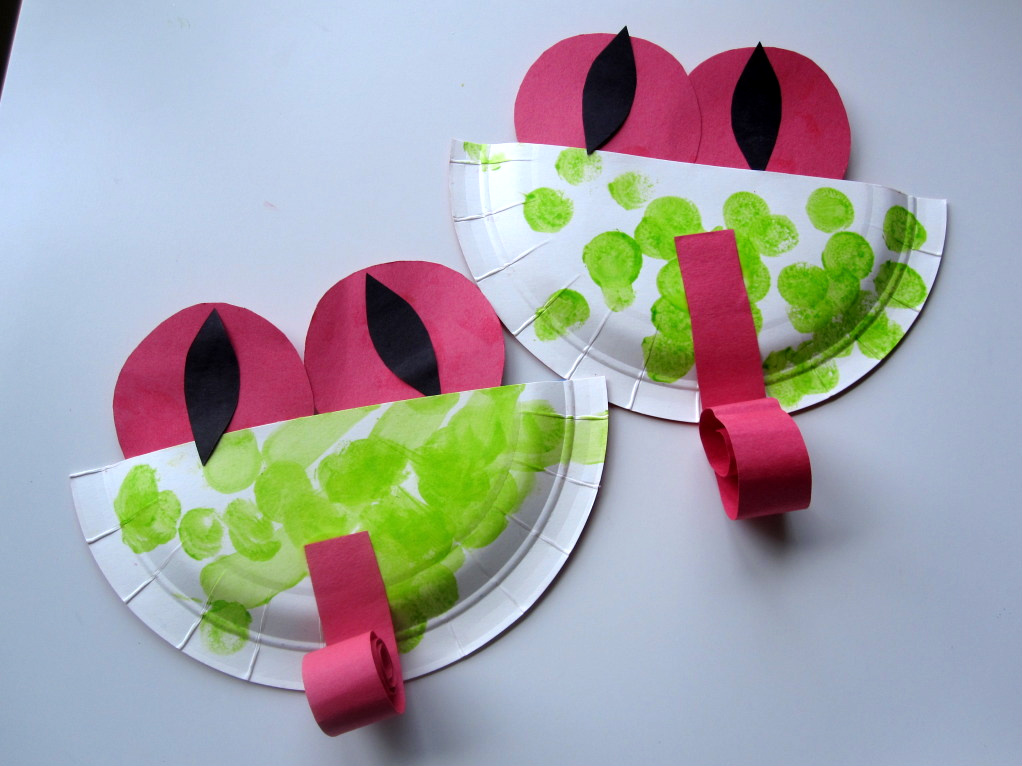
Cut a paper plate in half, paint it green, then add paper eyes made from red paper with black pupils. Roll a strip of red paper tightly to create a sticky-looking tongue, and glue it to the front once everything dries.Kids love the simple paint-and-glue steps, and rolling the tongue is great fine-motor practice.Related: Spring Color By Letters
Paint a paper plate green, cut it in half, and overlap the pieces so one becomes the head and the other becomes the body. Add darker green paper circles if you'd like, glue on big googly eyes (or paper eyes), and draw the smile and nostrils with a black marker.Finish with cut-paper legs and a red tongue strip for a big, bold art that shows up well on a bulletin board.Also try: Spring Tracing Worksheets
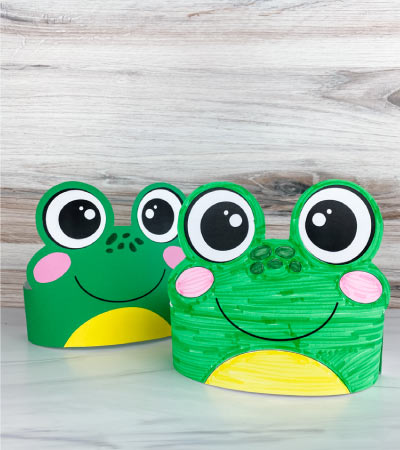
Print the template on cardstock or construction paper, then cut out the band and face pieces and glue them together. Tape on extenders to fit, and use markers to color the print-and-color version or add little spot details.Kids love wearing the finished art right away, and it's easy to prep for a group.
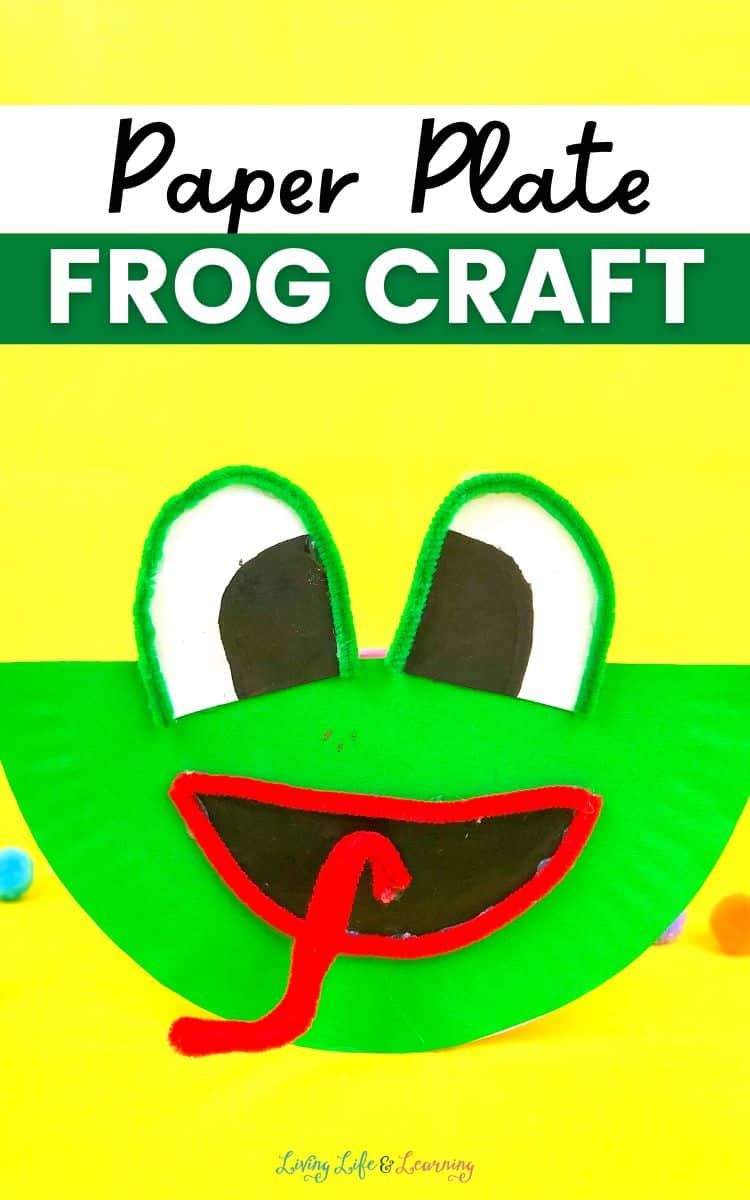
Cut a paper plate in half and cover it with green paper, then use the other half to create arched eye pieces and black paper accents for the face. Green and red pipe cleaners outline the eyes and mouth for a raised, bendy look, and a glue gun can help keep the wires in place.The combination of paper shapes and fuzzy wire makes it feel like art and building at the same time.Related: Spring Activity Sheets
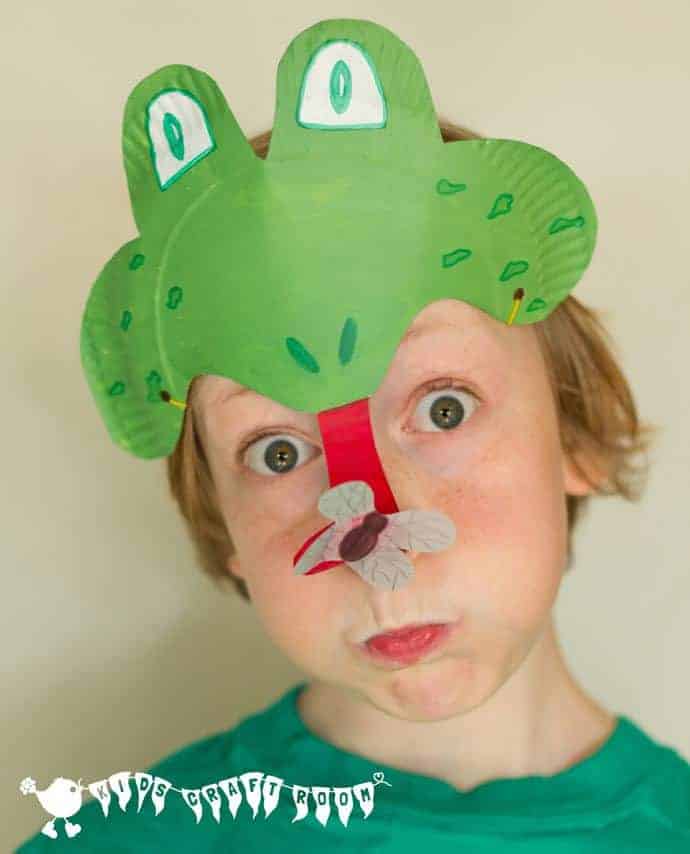
Trace the printable template onto a paper plate, cut out the mask shape, and paint the face green with a red tongue area. Once dry, add eye details with white paint and finish the features with black and green felt-tip pens, then curl the tongue and glue on a tiny tracing-paper fly.Punch holes and tie on elastic so kids can wear it, which makes pretend play feel instant.Also try: Spring Do A Dot Printables
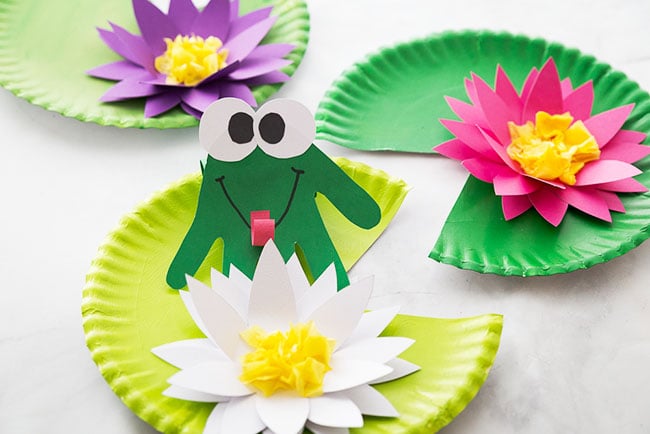
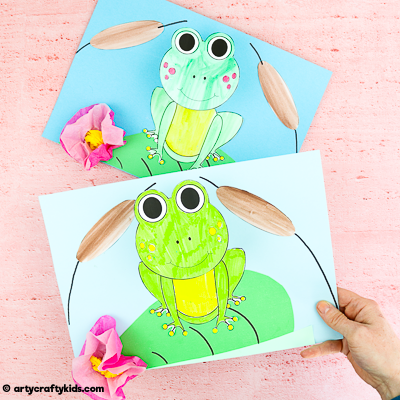
Cut a pie-piece notch out of a paper plate and paint it green to create a leaf base (mixing a few greens looks excellent when you hang several up). Using the free template, stack four cardstock flower layers and add a center made from yellow tissue paper squares dabbed with glue with the end of a pencil.Trace and cut a handprint from dark green cardstock, add simple cardstock eyes and a curled red tongue, then attach it to a looped paper support so it stands up on the plate.Related: Spring Pattern Block Mats
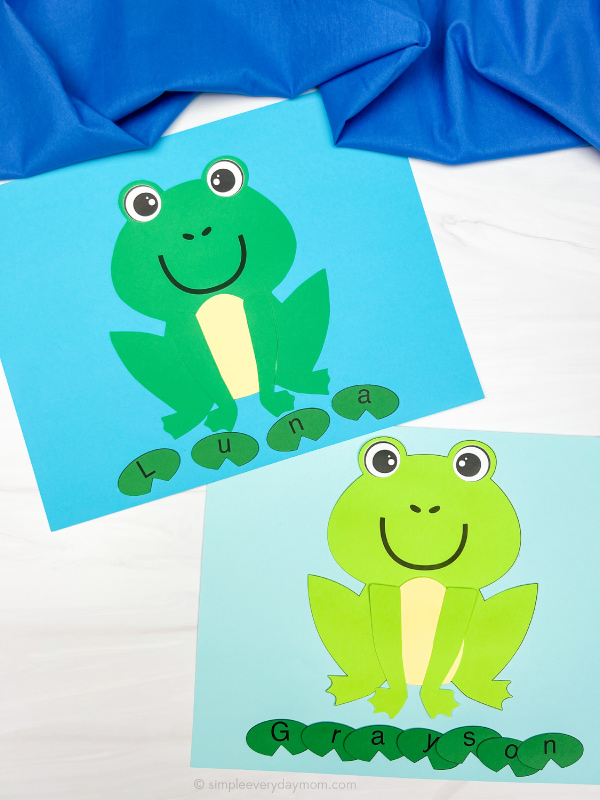
Personalize the printable template with a child's name, print it, and cut the cardstock pieces to build the character for the page. After gluing on the eyes, belly, and legs, kids place the letter pieces underneath to spell their name in the scene.It's a fun mix of art time and early literacy practice, especially for kids who love seeing their own name in print.
Print the template onto cardstock (or use the color-in version), cut out the pieces, and glue the character onto the round base for easy assembly. A paper spring made from two strips folded into an accordion gives it bounce, and curling the tongue around a pencil adds a fun detail.Kids love tapping it to watch it bobble, and optional dot stickers make customizing quick and easy.Also try: Spring Connect The Dots
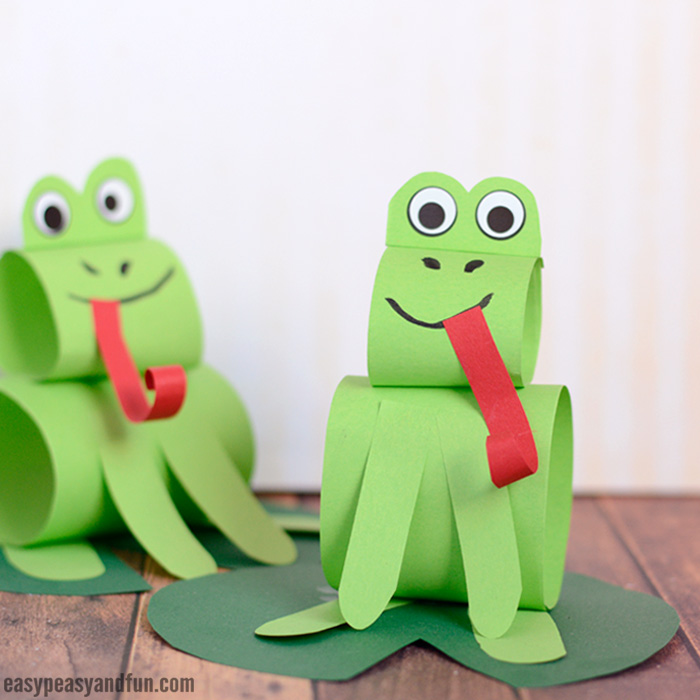
Roll two bright green paper strips into tubes—one for the body and a smaller one for the head—then glue them together into a simple 3D shape. Wiggle-eye stickers, a drawn-on smile, and a curled red paper strip for the tongue bring the face together, while extra green strips become legs.Finish by cutting a dark green circle with a wedge removed for the leaf base, and kids end up with a sturdy little paper pal for pretend play.Related: Spring Cutting Practice Pages
Color the printable on white cardstock, then cut out the character and extra pieces and arrange them on a blue cardstock background. A half-heart-shaped green leaf and a tissue-paper flower (two pink circles with a scrunched yellow center) build the scene, then two paper strips folded into an accordion create the bobble spring.The wiggly head turns the artwork into a toy, which is why kids keep coming back to it.Also try: Spring Worksheets
Cut the body pieces from the printable template, then trace a child's hand twice on green paper and cut out both handprints. The handprints glue onto the larger leg shapes so the fingers become oversized feet, while the rest of the parts layer together with simple glue steps.That personal handprint detail makes kids grin every time they show it off on the fridge.
A green plastic egg becomes the body when kids add pom‑pom cheeks with tack-its and glue, and glue googly eyes on top. Cut legs and a tongue from paper, stick them on with tack-its, and draw face details with Sharpies to finish the look.It feels like making a tiny toy, and the egg shape gives it a fun 3D twist.Related: Spring Bird Craft
Flatten and cut four green cupcake liners to form the body, eyes, and a strip for legs, then glue everything onto a sheet of paper. Stick on wiggly eyes and draw a quick mouth and nostrils with a black marker so the face looks finished.The cupcake liner texture adds instant dimension, and kids can make an entire lineup in one sitting.Also try: Spring Name Craft
Cut a rounded leaf shape from green paper and glue it onto blue construction paper, then make a flower by trimming triangles from a pink and a white cupcake liner and adding a yellow button center. Flatten a small green liner for the character, add two wiggly eyes and a marker-drawn smile, then fold thin green paper strips accordion-style to create a bouncy spring on the back.Kids love the mix of texture and movement—pressing, cutting, folding, and then gluing everything into one bright scene.Related: Spring Color By Number
Sam is the crafter and founder of Simple Everyday Mom. She has been featured in Oprah Mag, Good Housekeeping, The Spruce Crafts, Country Living, The Bump, and more.
Its really hard to get the template. I am signing up with my email and getting response but cant find the template in the email I am receiving. Can you please help me in this?
Hi! Yes! You’ll only receive an email with the template link if it is your first time signing up for that theme of crafts. Otherwise if you have already done that, when you enter your email in the form it’ll automatically redirect you to the download page ◡̈