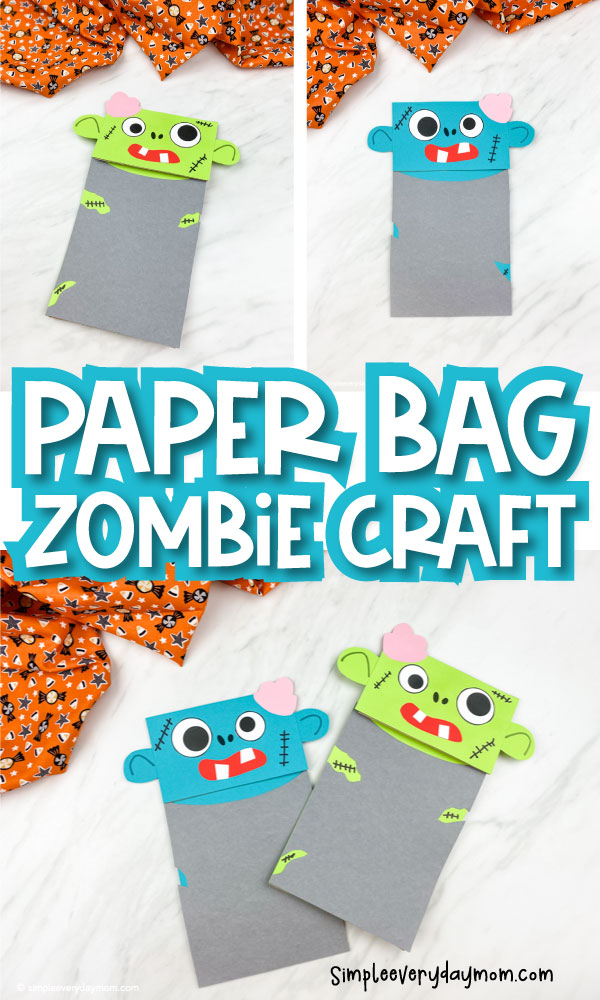
Paper Bag Zombie Craft For Kids [Free Template]
All activities require adult supervision. By using this site, you agree to our terms of use. This post may contain affiliate links. As an Amazon Associate and a participant in other affiliate programs, I earn a commission on qualifying purchases. Read our disclosure policy.
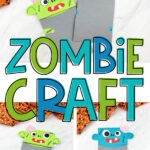
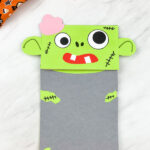
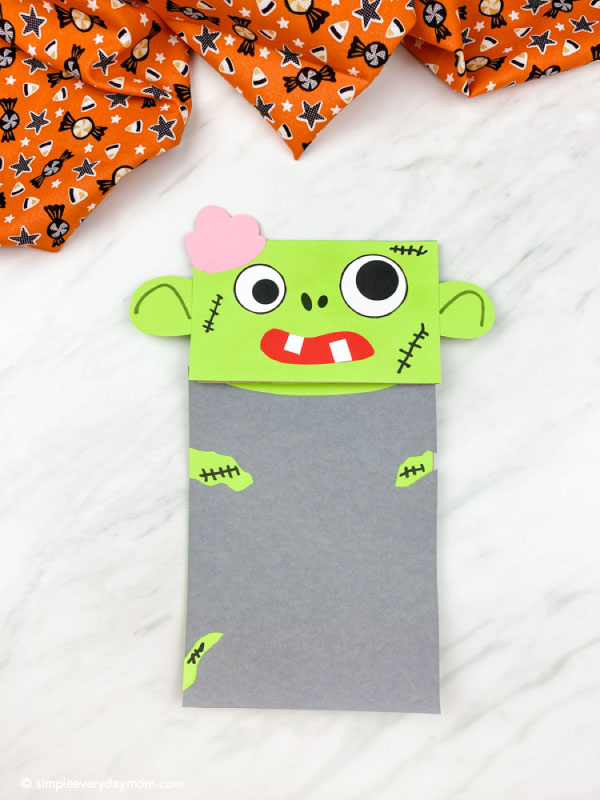
Need a spooky Halloween craft for the kids to make??? This brown paper bag zombie craft is perfect!
We love making Halloween crafts for kids because they’re great for building family memories. This one is extra cool because it’s spooky too!
Be sure to download our free printable template so you can easily recreate it with your kids or students.
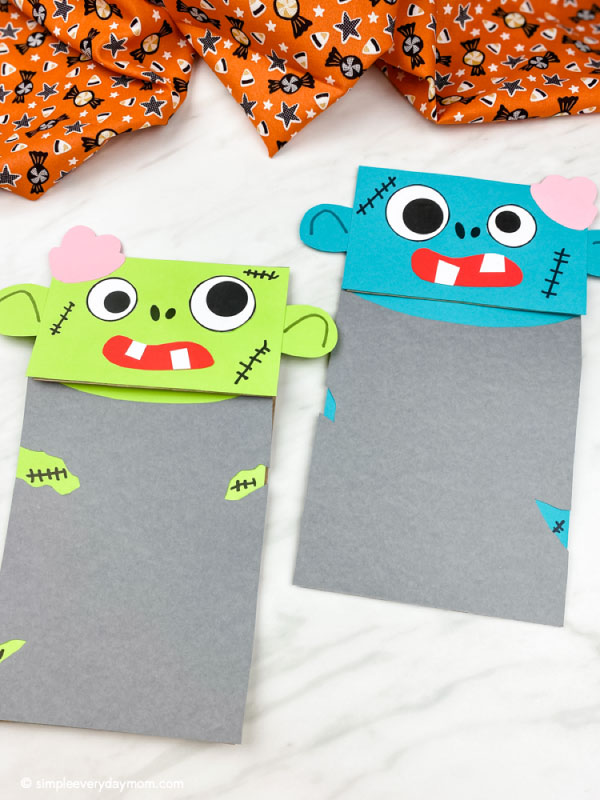
Make it with preschool, kindergarten and elementary children and they’ll have fun not only making it, but playing with it after too!
Easy Zombie Craft
Supplies
- Brown paper bags
- Colored paper (in red, white, pink, gray/black and zombie skin color)
- Scissors
- Glue stick
- Black marker
- Zombie craft template (download form located at the end of this post)
Related: Zombie Painted Rocks For Kids
Directions
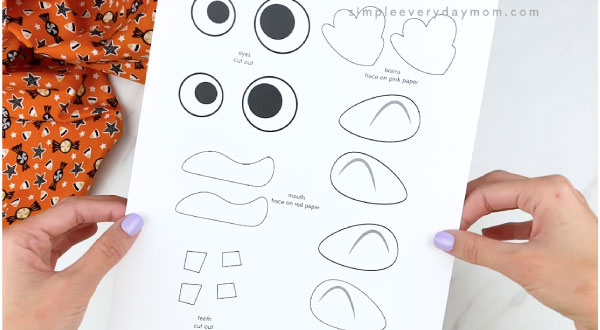
Download the zombie craft template, print and cut out the pieces.
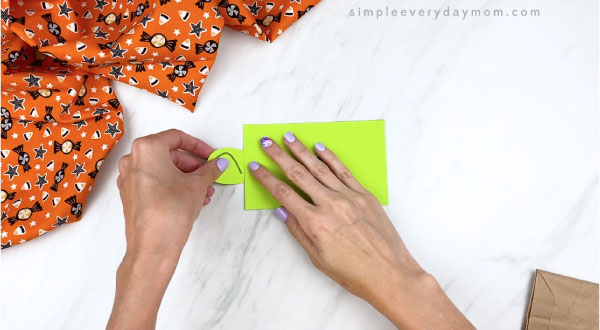
Glue the ears to the back of the zombie’s head. Place the eyes on the face and glue down.
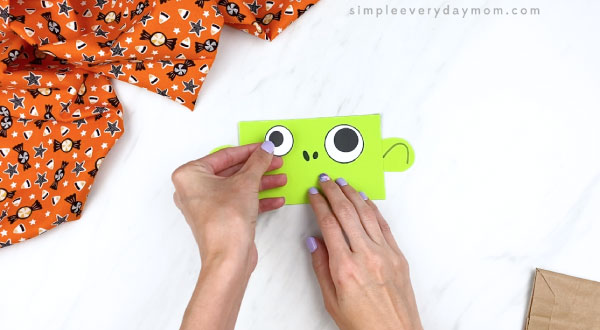
Position the mouth in the middle of the face, just below the eyes and glue in place. Glue the teeth inside the mouth.
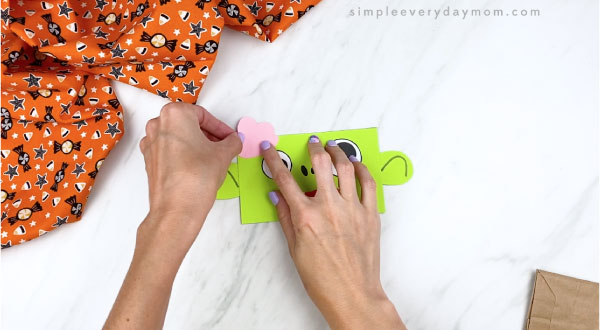
If using, glue the brain somewhere at the top of the zombie’s head. Use the black marker to draw stitches on the face.
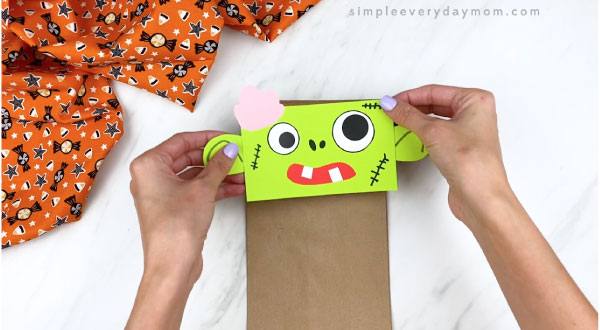
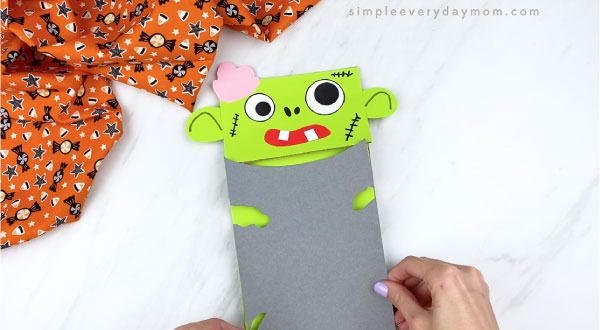
Take the completed zombie head and glue it to the flap of the brown paper bag. Glue the body to the rest of the brown paper bag.
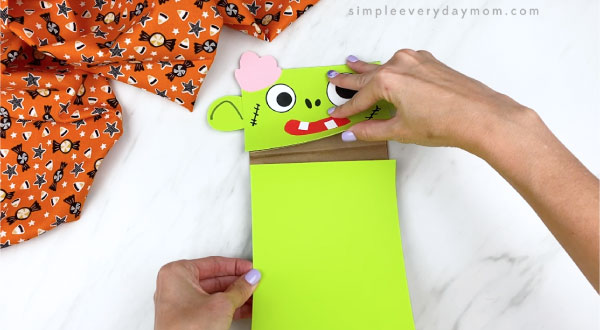
Cut jagged pieces out of the zombie’s shirt, then glue it on the zombie’s body. Use the black marker to draw more stitches on the exposed parts of the zombie’s body.
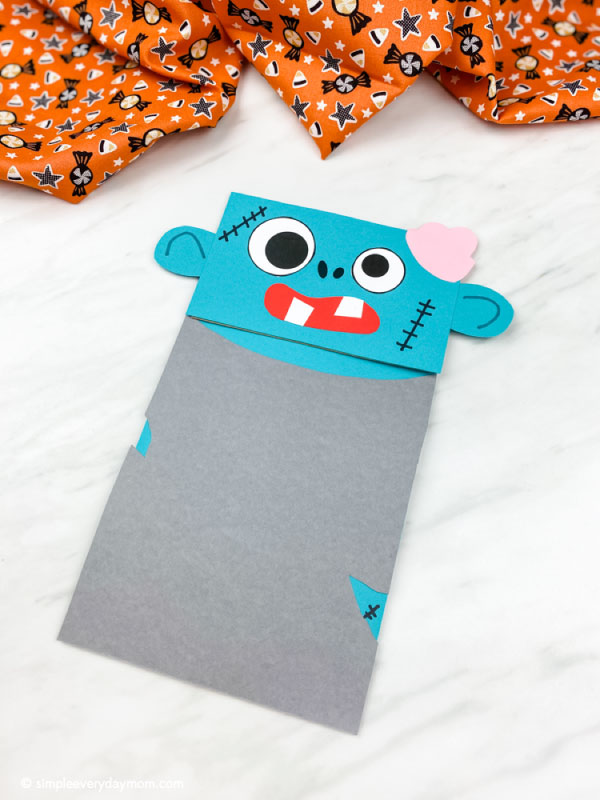
Now you have a spooky zombie puppet to play with!
Halloween Unit For Kids
Want more Halloween ideas to keep the kids entertained and learning? If so, read on below for our favorite ideas.
Reading to children during their early years is important. It helps them learn new vocabulary, share feelings, be patient, and more. Because of this, we like to add new books to each unit study.


Room On The Broom: This has to be one of our favorite Halloween books of all time! The story follows a witch and her cat as they happen upon some animals who help the witch. There’s danger, mystery, and friendship in this adorable children’s story.
5 Minute Spooky Stories: We love Disney’s 5-minute storybooks and this one is perfect for Halloween! See how all your favorite Disney characters celebrate this spooky holiday.
Ten Timid Ghosts: This is a fun countdown book about a witch who moves into a haunted house where 10 ghosts already live. The witch scares the ghosts out one by one until they devise a scheme to get her out of their house. This Halloween children’s book is good for kids who love rhyming stories!
Crafting is important for children. One reason is that it helps them learn how to work with their hands. It teaches them different skills like using their senses, working with shapes, and looking at colors. Add more Halloween projects to your list. Below are some of our top picks!
Are you looking for a fun activity to do with your kids this Halloween? We have the perfect solution! These Halloween do a dot printables are an easy and fun way to engage your children. They’re also great for developing fine motor skills, counting, letter, and number recognition.
These candy corn pictures to color are perfect for young children. They’re not scary, and they don’t require any prep work before doing them! You can print out as many copies of the coloring page as you want, so there will be plenty to go around.
Our Halloween pattern block mats are great for kids of all ages. They can help children learn shapes, colors, and patterns while also improving their fine motor skills. These mats are so much fun that they’ll want to play with them over and over again!
Share With Us
Did your kids or students make this zombie craft? If so, we want to feature them!
We’d love for you to snap a picture of your completed project and share it with us by posting on our Facebook page’s wall or in our private Facebook group.
More Halloween Ideas For Kids
Paper Bag Zombie Craft
Video
Materials
- Brown paper bags
- Colored paper in red, white, pink, gray/black and zombie skin color
- Scissors
- Glue stick
- Black marker
- Zombie craft template download form located at the end of this post
Instructions
- Download the zombie craft template, print and cut out the pieces.
- Glue the ears to the back of the zombie’s head. Place the eyes on the face and glue down.
- Position the mouth in the middle of the face, just below the eyes and glue in place. Glue the teeth inside the mouth.
- If using, glue the brain somewhere at the top of the zombie’s head. Use the black marker to draw stitches on the face.
- Take the completed zombie head and glue it to the flap of the brown paper bag. Glue the body to the rest of the brown paper bag.
- Cut jagged pieces out of the zombie’s shirt, then glue it on the zombie’s body. Use the black marker to draw more stitches on the exposed parts of the zombie’s body.
Did you make this?
Don’t forget to leave a comment below and make sure to follow on Pinterest, Facebook and TikTok for more!
Free Zombie Puppet Template

Meet Sam
Sam is the crafter and founder of Simple Everyday Mom. She has been featured in Oprah Mag, Good Housekeeping, The Spruce Crafts, Country Living, The Bump, and more.