All activities require adult supervision. By using this site, you agree to our terms of use. This post may contain affiliate links, sponsored links, and ads. As an Amazon Associate and participant in other affiliate programs, I earn from qualifying purchases.. Read our disclosure policy.
As leaves begin to change and farms fill with pumpkins, apples, and corn, it’s a great time to bring seasonal creativity indoors. These harvest crafts for kids are perfect for preschool through early elementary children and are designed for parents, teachers, caregivers, and homeschoolers.
Use them at home, in the classroom, daycare, or during fall learning units. This collection includes printable activities, painting, paper creations, and recycled ideas using simple supplies that help build fine motor skills and creativity. Find even more seasonal inspiration in our fall crafts for kids collection.
Pin
Corn Crafts
Pin
Indian Corn
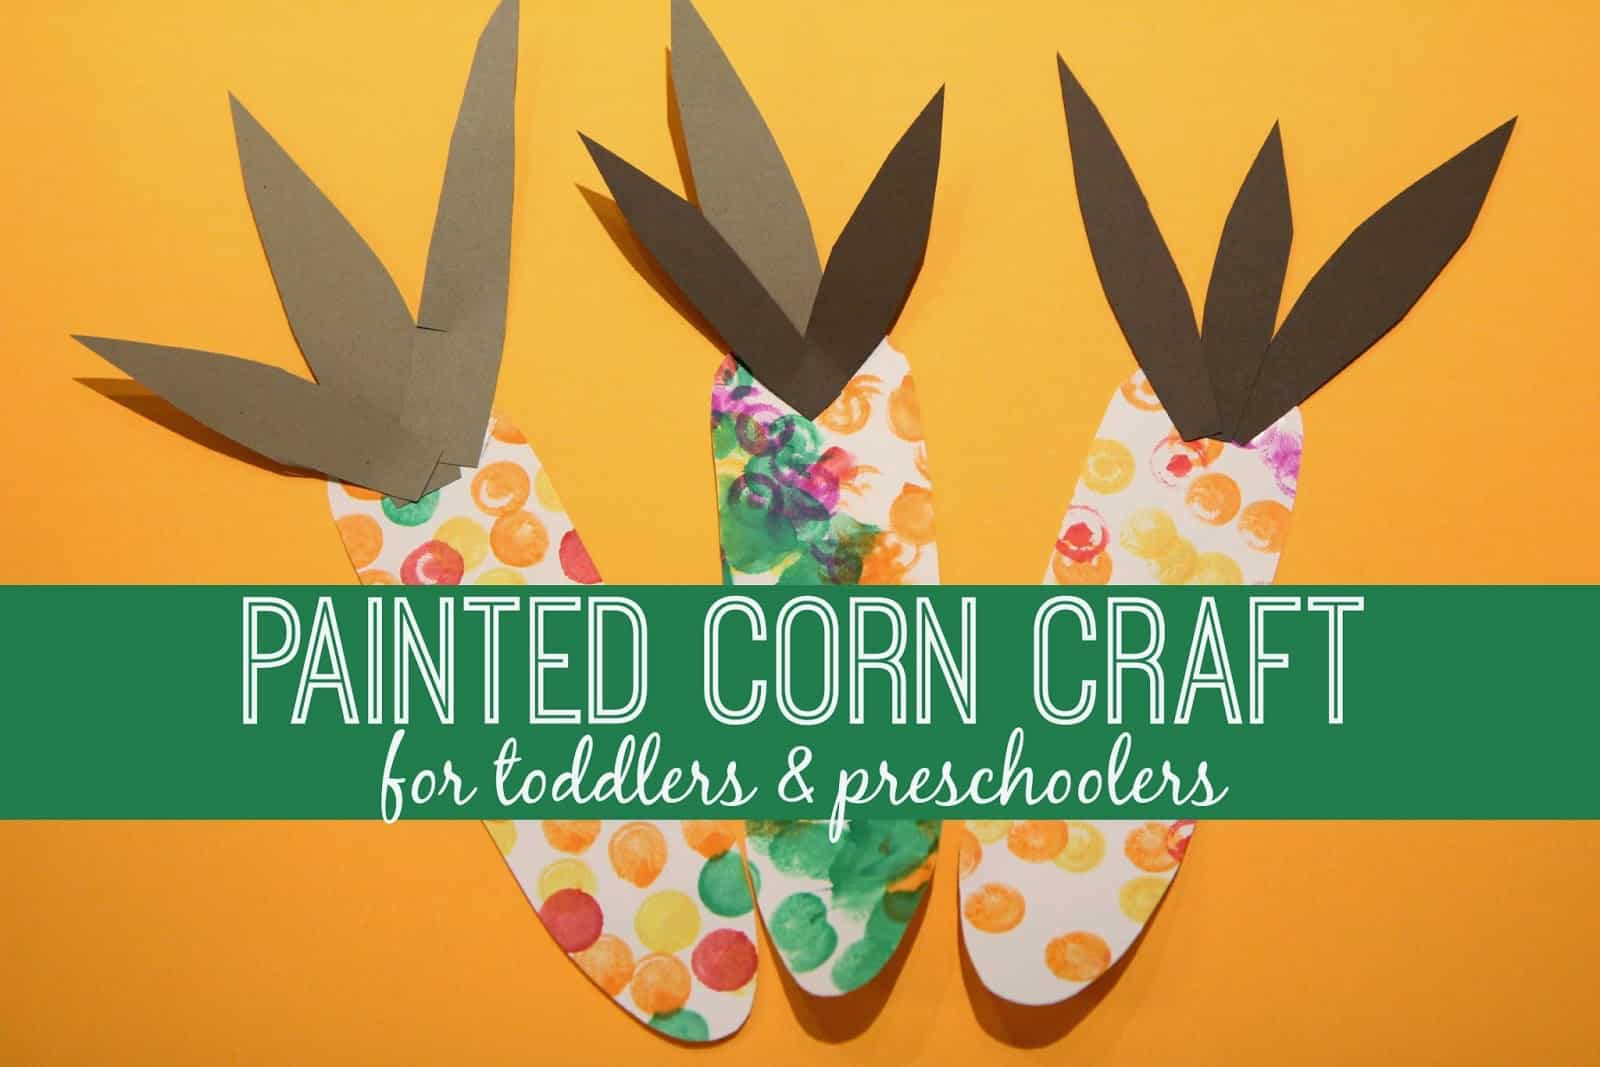
Kids use paint or dot markers to add color/ful kernels to the main paper piece, then glue on the layered leaves, silk, and face details. The mix of bright colors and simple assembly makes it especially fun for preschoolers who like hands-on art without too many complicated steps.It also feels more playful than a standard cut-and-paste project, thanks to the finished piece's strong personality.
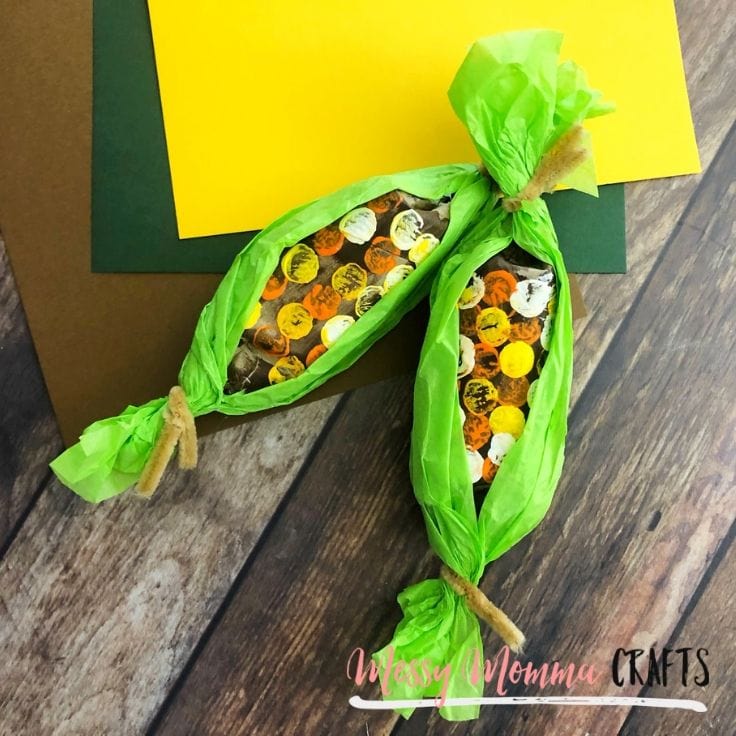
Recycled paper towel rolls, paint, green tissue paper, and pipe cleaners come together to create a textured piece that looks great on a table or shelf. Kids help paint the kernels and wrap the tissue paper around the sides, so the process feels more like building something than just decorating flat paper.Using a cardboard tube gives the finished project a fun three-dimensional look that stands out right away.Related: Corn Worksheets
A brown paper bag, colored paper, scissors, glue, and the printable template come together to make a puppet that kids can play with after making. Little ones cut out the pieces, glue them onto the bag, and turn a basic supply into something they can move and pretend with.That extra play value makes it a great pick for classrooms and home art time alike.
Do-a-dot markers, white cardstock, brown paper, scissors, and glue keep the setup simple and toddler-friendly. Kids dab color all over the paper, let it dry, then attach the paper husks to finish the shape.The painting step is loose and forgiving, which is exactly why younger children tend to enjoy it so much.Also try: Acorn Tissue Paper Craft
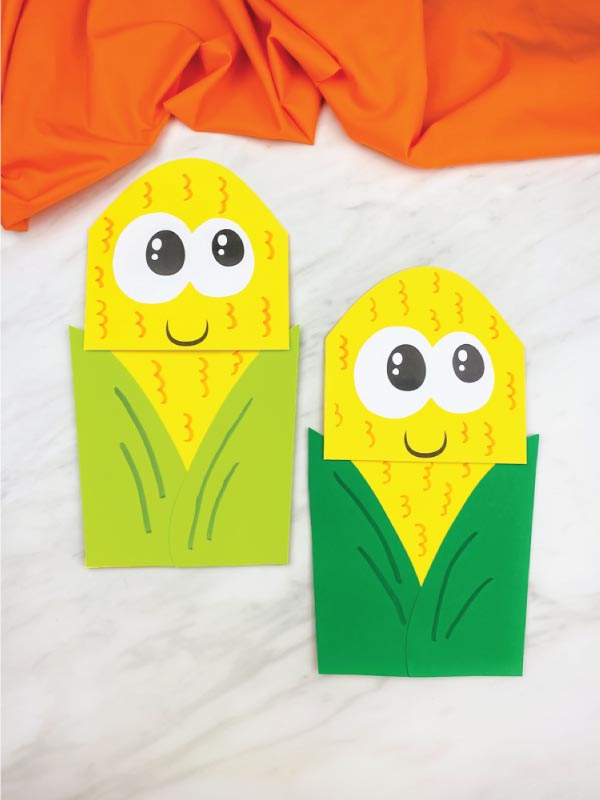
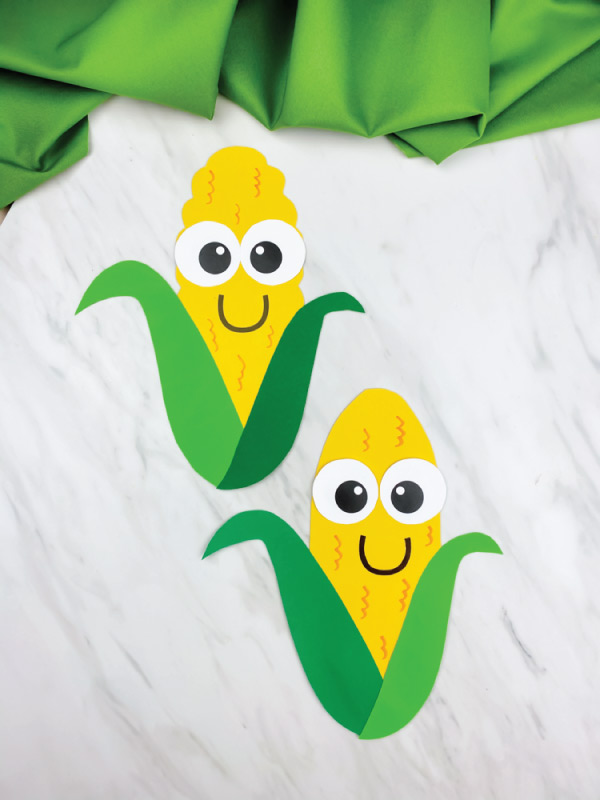
Colored cardstock, scissors, glue, a light orange marker, and the printable template are all you need for this easy paper project. Kids glue the eyes and leaves in place, then add wavy marker lines to create the kernels across the center.The marker detail gives children a little more control and makes the finished piece look full without adding extra steps.
Only beads and pipe cleaners are needed, making this one of the easiest supply lists in the bunch. Kids thread the beads, layer the pipe cleaners together, and twist the ends to shape everything into place.Because it feels like making jewelry and sculpture at the same time, it's a fun option for building fine motor skills without using glue or paint.Related: Acorn Was A Little Wild Activities
Colored paper, glue, scissors, a marker, and the printable template help turn a traced handprint into a keepsake-style project. Kids cut out their handprint, draw the texture lines, and add the face, leaves, and stalk pieces around it.Using their own hand as the base gives the finished art a more personal feel that families usually love saving.
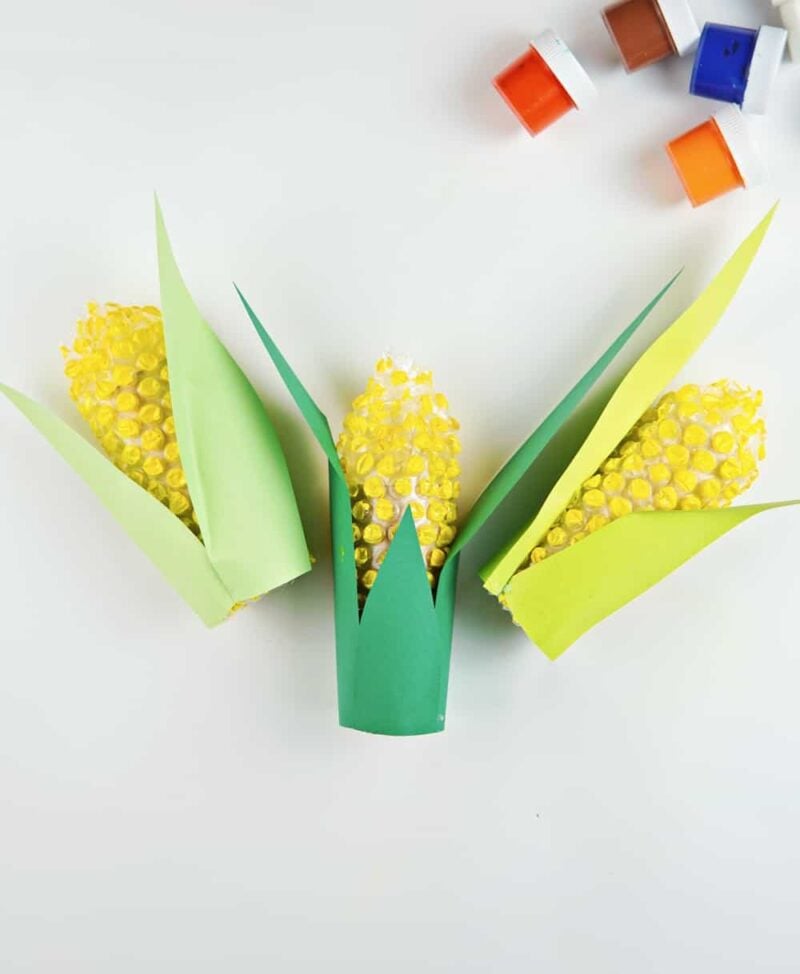
A toilet paper tube, bubble wrap, green cardstock, yellow paint, glue, and rubber bands create a clever recycled art with lots of texture. Kids wrap the bubble wrap around the tube, paint it, and add paper leaves to finish the design.The unusual materials are what make it memorable, especially for children who enjoy activities that look and feel different from standard paper projects.Also try: Paper Plate Acorn Craft
Colored cardstock, glue, scissors, markers, and the printable template turn torn scraps into a cheerful, textured project. Kids spread glue on the background, press down the torn orange pieces, and then add the face details on top.Tearing the paper gives little hands plenty to do, so it works especially well when you want a project that feels busy but not overwhelming.
Paper plates, tissue paper in orange and yellow shades, white glue, markers, ribbon, scissors, and tape come together to make a wreath with lots of texture. Kids cut out the plate center, tear the tissue paper, and cover the ring before adding the leaf and stem pieces.Hanging the finished project,t like seasonal décor,r makes it feel a little more special than art that just gets set on a table.Related: Thankful Pumpkin Craft
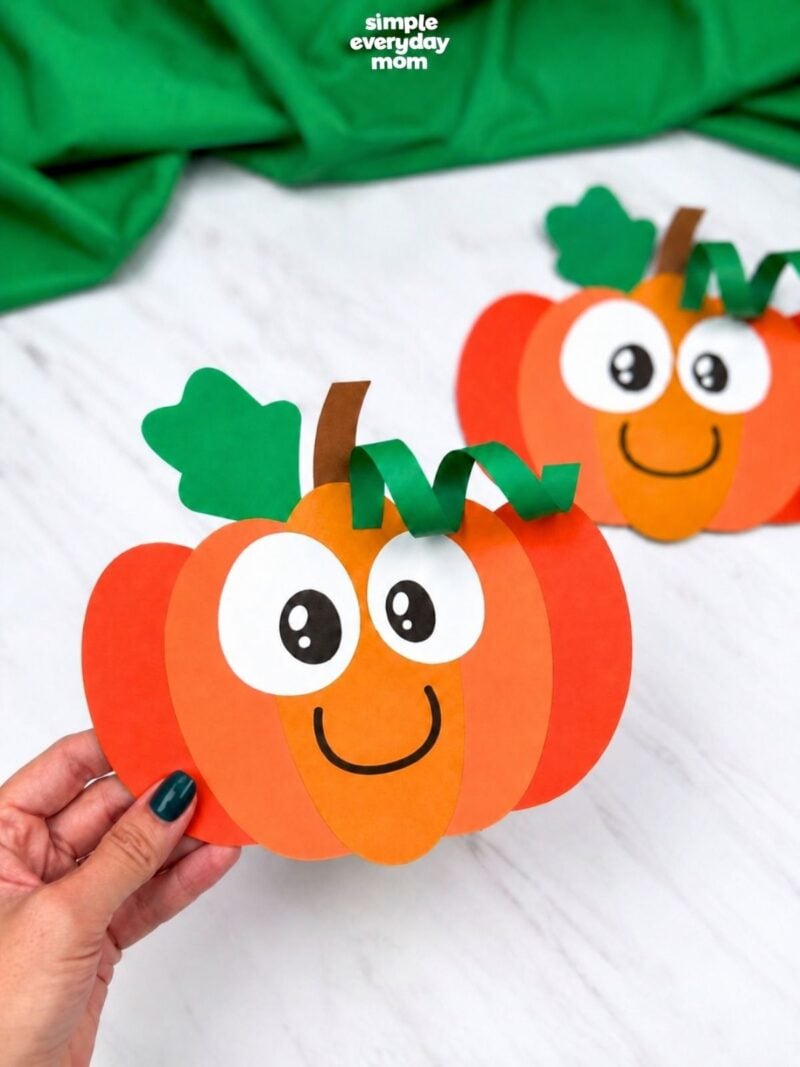
Colored cardstock, scissors, glue, and the printable template keep the process simple for younger kids. Children glue the center and side pieces together to build the rounded shape, then add the eyes and other face details.The layered design gives it a fuller look while still being easy enough for preschoolers to follow.
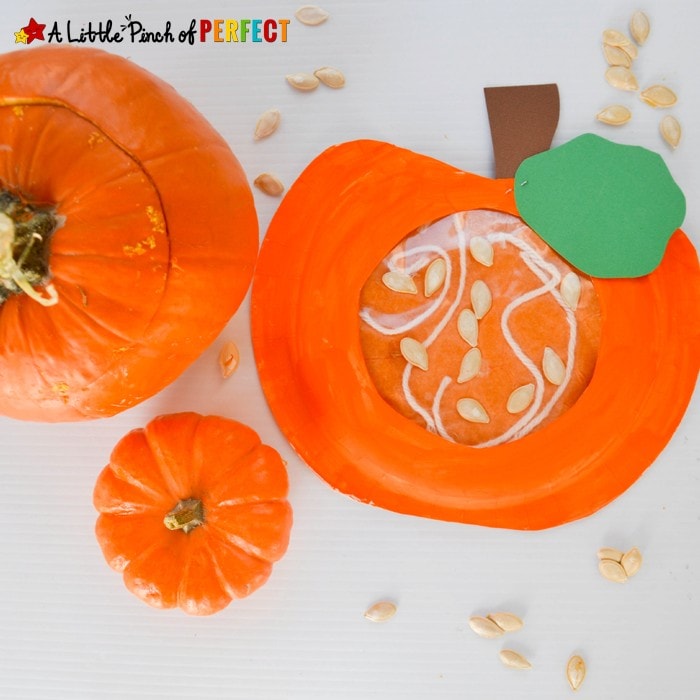
Learning About What’s Inside a Pumpkin Paper Plate
A paper plate base makes this one more hands-on than a basic worksheet-style activity. Kids can decorate the outside and explore an inside view, which adds a simple learning element as they make.That mix of creating and observing makes it a nice fit for home lessons or classroom fall units.Also try: Pumpkin Shape Craft
Paper plates, paint, a paintbrush, markers, colored cardstock, glue, scissors, and the printable template turn everyday supplies into a bright seasonal decoration. Kids paint the plate, cut out the shape, and glue on the stem and face pieces before drawing the final details.Using a paper plate provides a sturdy base, making the project feel more polished when it's done.
A cut 2-liter plastic bottle, orange tissue paper or serviette, Mod Podge, scissors, a knife, and brown and green pipe cleaners make this one a smart upcycling project.Kids help cover and shape the bottle while an adult handles the cutting, and the finished piece works as a little treat holder or party favor. The reusable container element is what sets it apart from flatter paper art.Related: Pumpkin Dot To Dot Printables
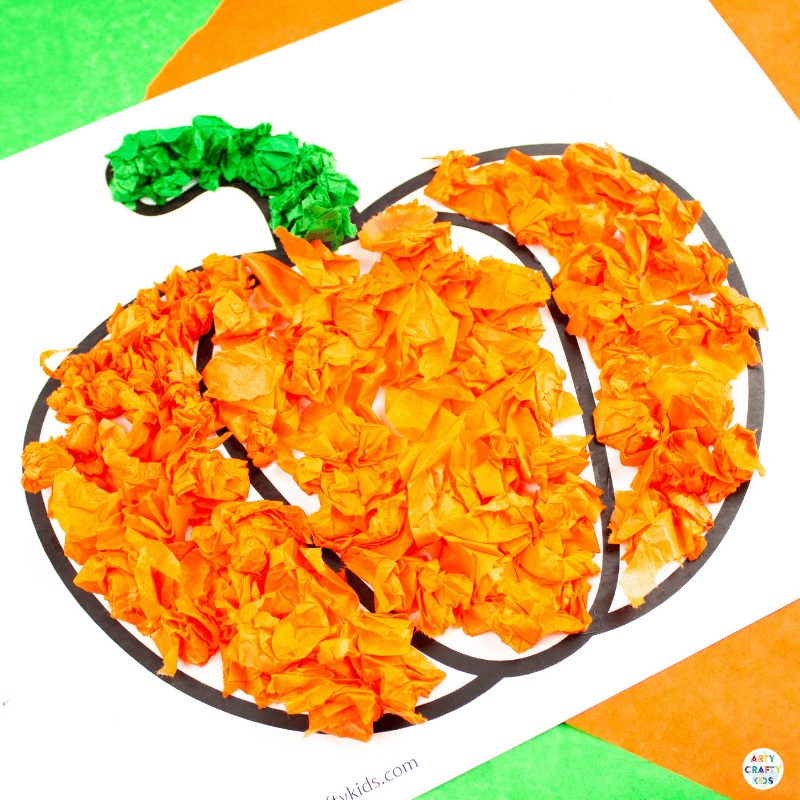
Tissue paper gives the finished piece a soft, layered look that younger kids can build in sections one at a time. The process focuses on placing or pressing the small pieces onto the outline, which is great for fine motor practice without feeling too fussy.It's a nice choice when you want something simple that still looks colorful and full once complete.Also try: Pumpkin Tracing Worksheets
Tissue paper, glue, and the printable template keep this one simple while still giving kids plenty to do. Children scrunch or layer the paper pieces onto the outline, so the final result has brighter color and more texture than a flat coloring page.It's an easy option for back-to-school or seasonal projects when you want something low prep but still engaging.
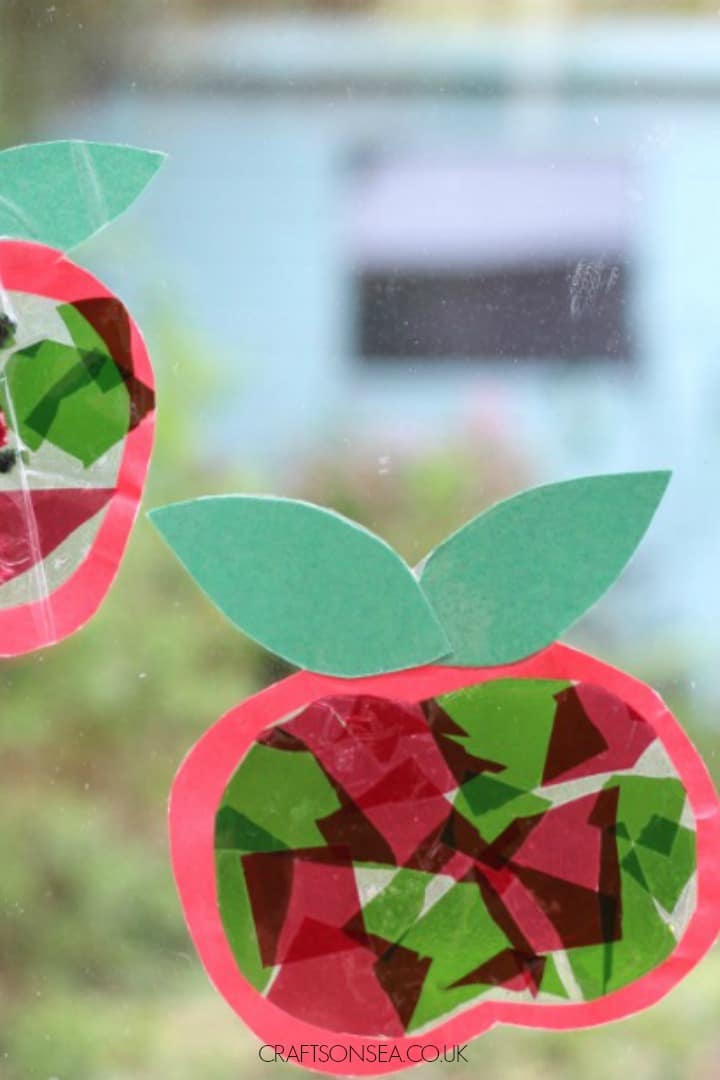
Contact paper, colored card, colored cellophane, scissors, and washi tape create a bright window decoration that catches the light beautifully. Kids cut and place the cellophane inside the outline, then seal it between the sticky layers before trimming it out.Watching the colors glow in a sunny window is what makes this one feel extra rewarding.Related: Apple Headband Craft
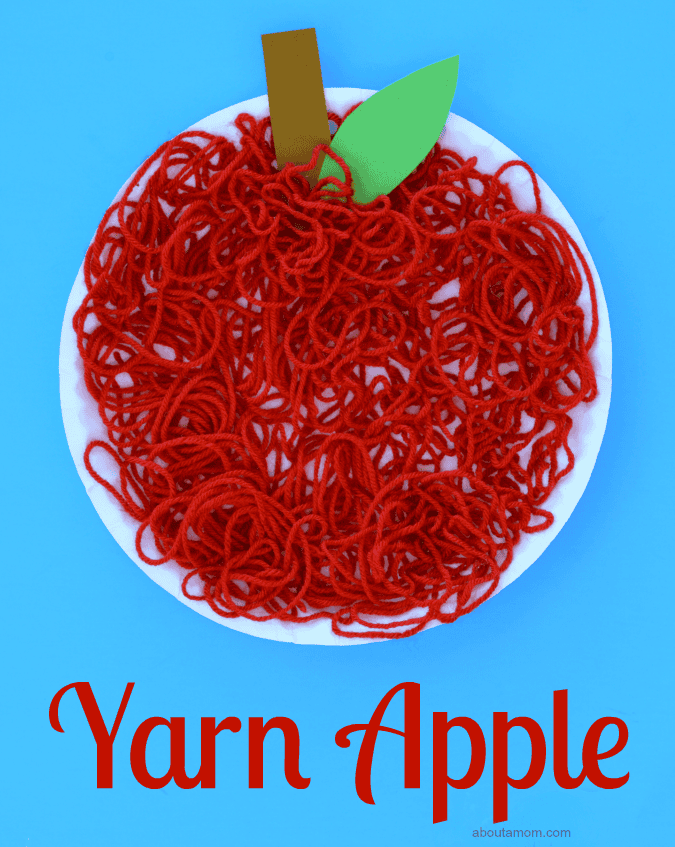
A paper plate, red or green yarn, scissors, glue, and green and brown paper are all it takes to make this textured project. Kids cut the yarn into pieces, glue it across the plate, and then add the leaf and stem to finish it off.The yarn gives the surface a cozy, shaggy look that feels different from most paper art and makes cutting practice more fun.Also try: Paper Strip Apple Craft
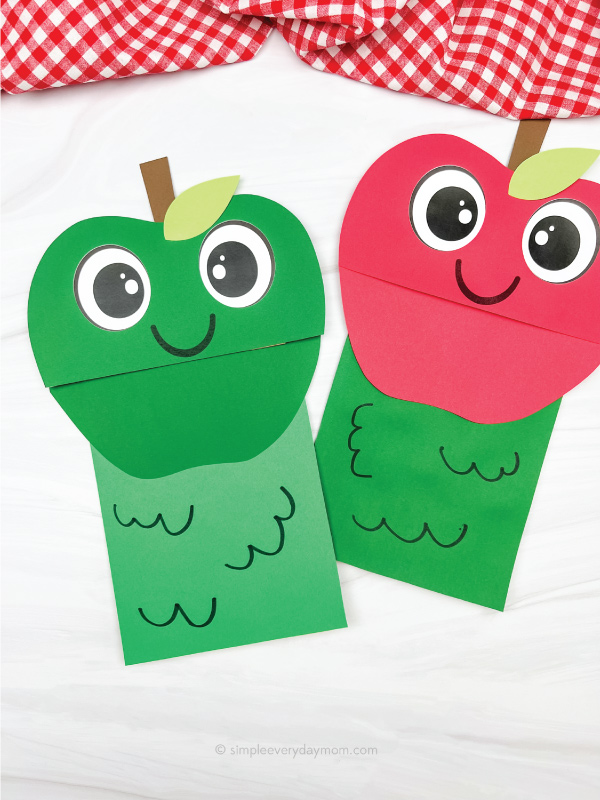
A brown paper bag, colored paper, scissors, glue, a black marker, and the template turn a lunch bag into a playful puppet. Kids cut out the pieces and attach them to the bag, creating something they can use for pretend play right away.That mix of creativity and storytelling gives it more staying power than a project that ends once the glue dries.
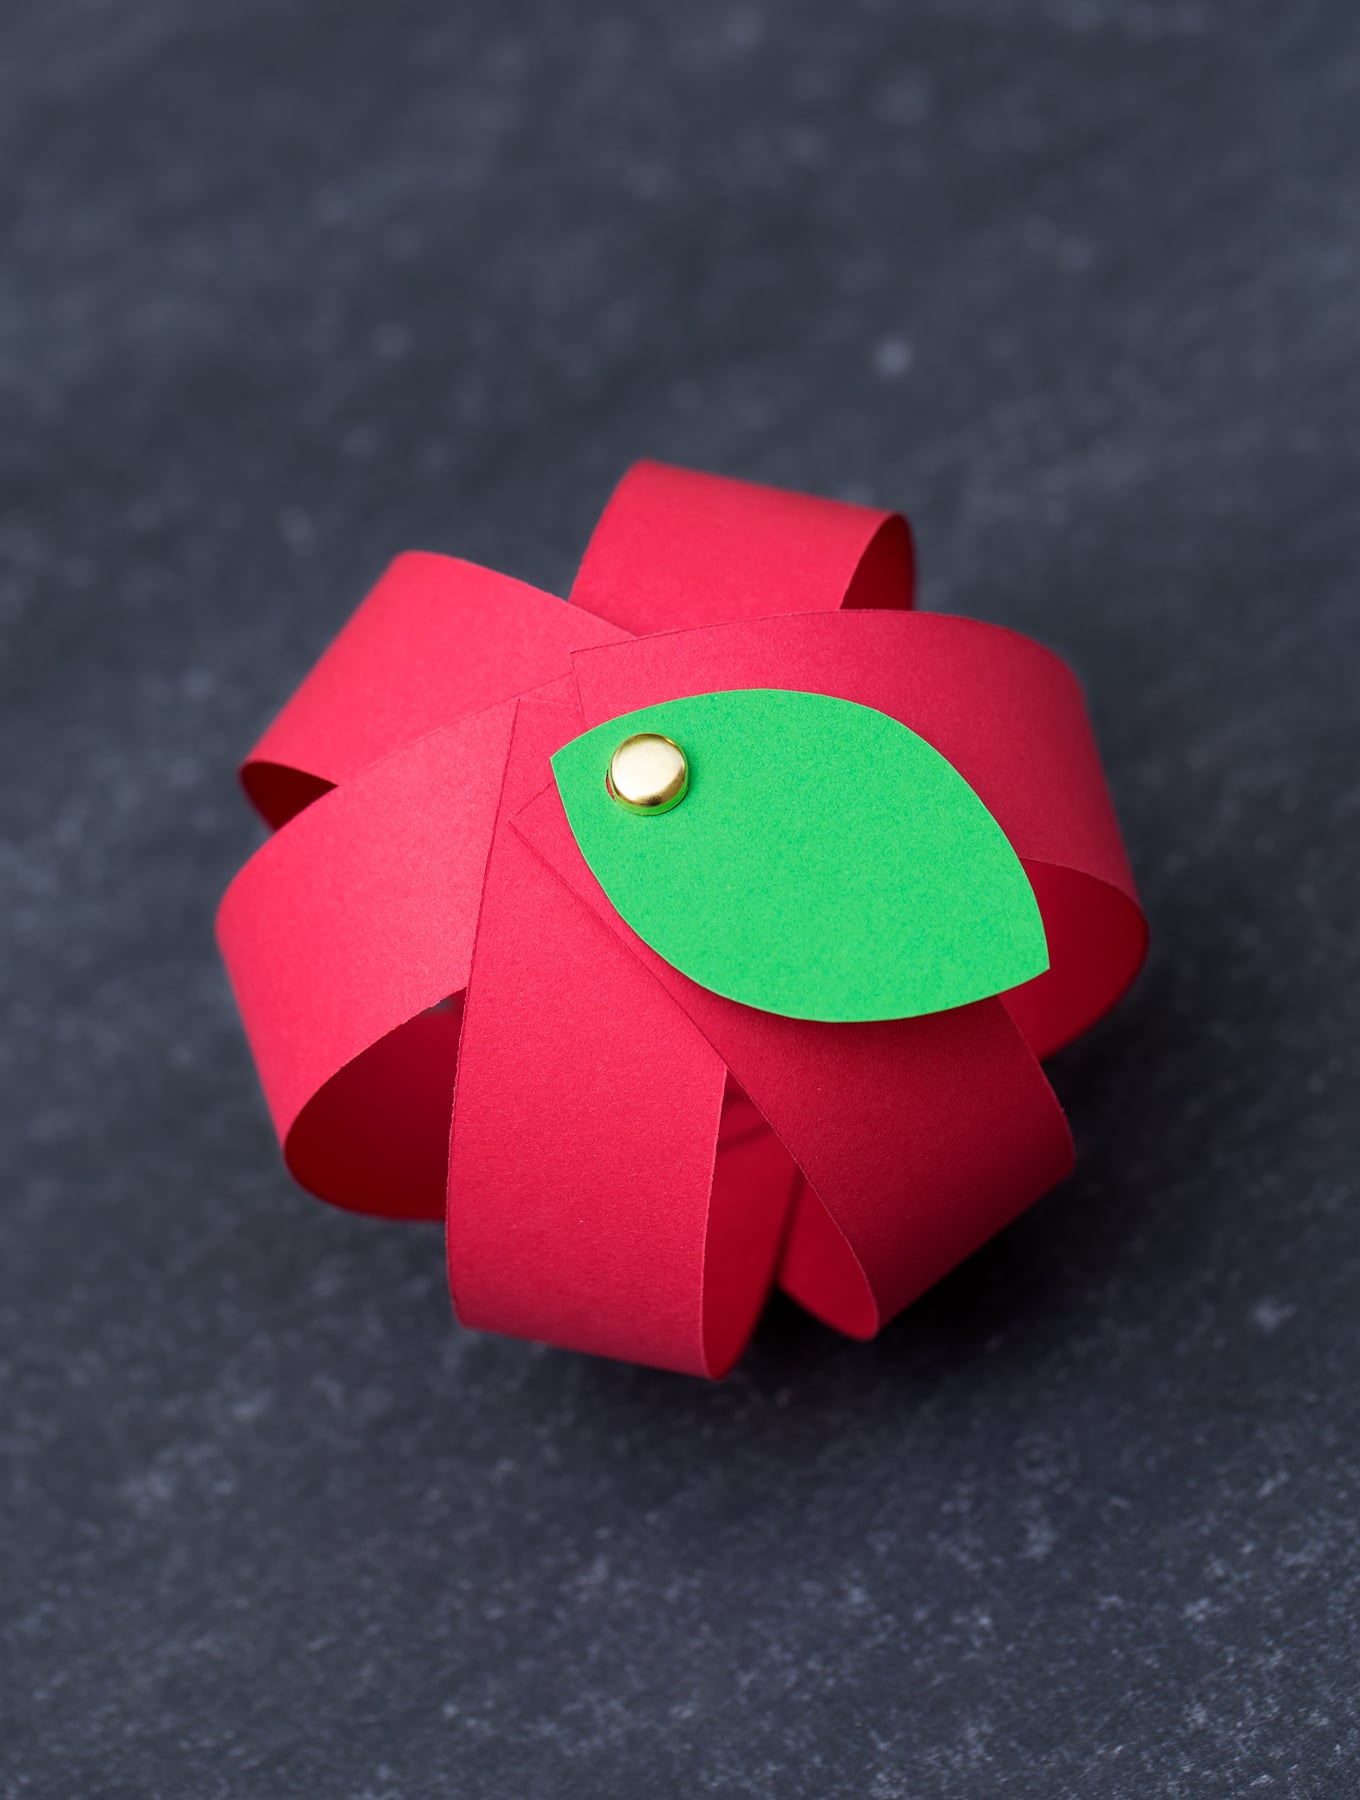
Cardstock, a hole punch, scissors, brass fasteners, and printable strips come together to create a rounded, three-dimensional design. Kids cut the strips, punch the holes, fasten the ends, and gently bend the paper outward to build the shape.The finished piece looks fuller than standard flat art, giving it a fun, display-ready feel.Related: Apple Activity Pages
Coffee filters, markers, water, and a paper outline create a bright art project with a simple color-mixing step.Kids color the filter, spray it with water, let it dry, and glue it behind the cutout to make the finished piece. The moment the colors start to blend is usually the part that children enjoy most.Also try: Apple Color By Numbers For Fall Harvest Season
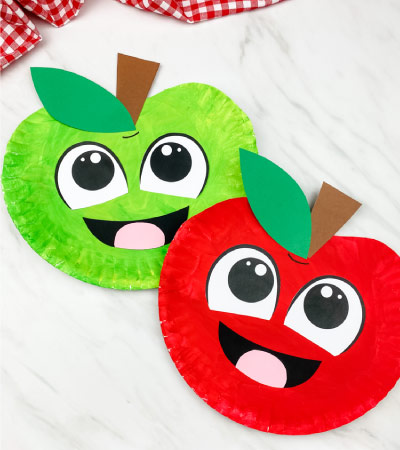
A paper plate, paint, a paintbrush, colored paper, scissors, glue, markers, and the printable template turn simple supplies into a sturdy finished piece. Kids paint the plate first, then add the cut paper parts and draw a few final details once it dries.Because the base is thick and easy to hold, it works well for younger children who still like art with a little structure.
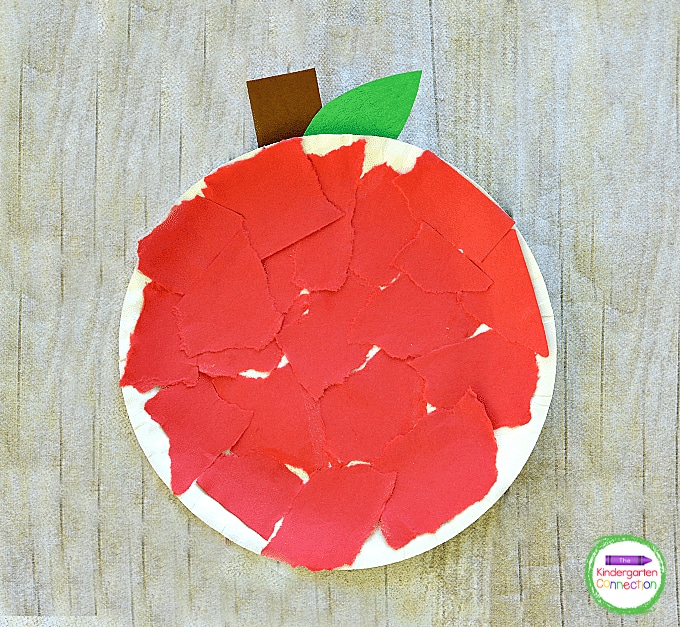
Paper plates, red or green construction paper, brown paper, and glue sticks make this one especially easy to prep. Kids tear the colored paper into small pieces, cover the plate, and then add a stem and leaf on the back.The tearing step keeps little hands busy and gives the final project a nice textured look without needing paint.Related: Apple Coloring Pages
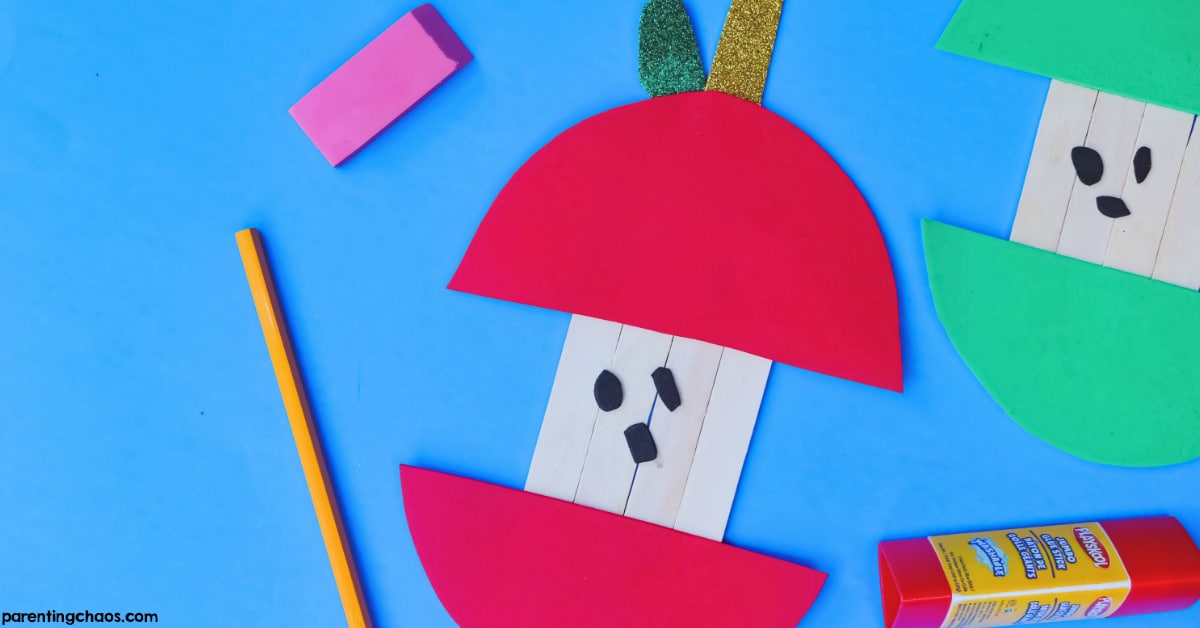
Jumbo sticks, a glue stick, red, green, black, gold, and green foam sheets come together for a fun, playful twist. Kids glue the sticks into a base, add the foam halves, then finish with seeds, a stem, and leaves.Counting the seeds as they go adds a little extra learning without taking away from the fun.Also try: Apple Cutting Practice Pages
Colored paper and a printable template help kids build a smiling character with a bow and handprint hair. Children cut, glue, and layer the pieces to create a finished project that feels more personal than standard template art.Using handprints for the hair is a sweet detail that gives it extra charm for families and teachers.
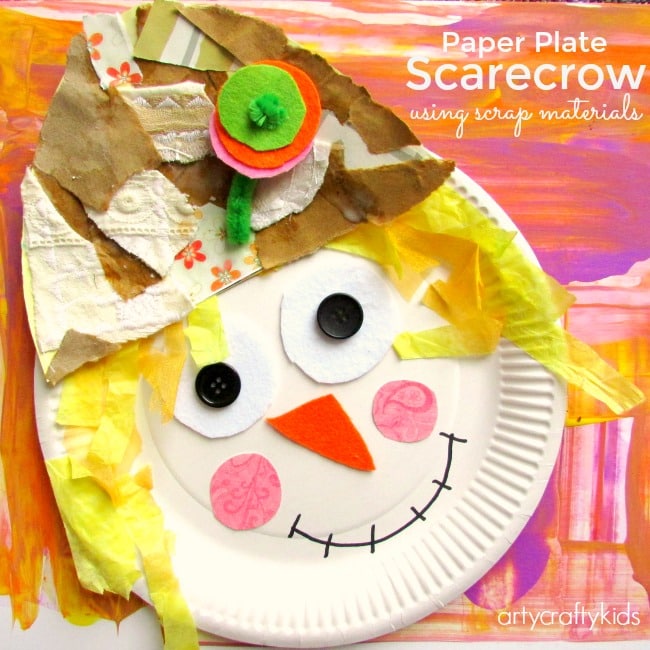
A paper plate base and recycled materials give this project a more tactile, mixed-media feel. Kids build the face and hat using layered pieces, which makes the process hands-on without being too difficult to manage.The recycled elements help it stand out from more typical cut-and-paste activities.Related: Scarecrow Photo Craft
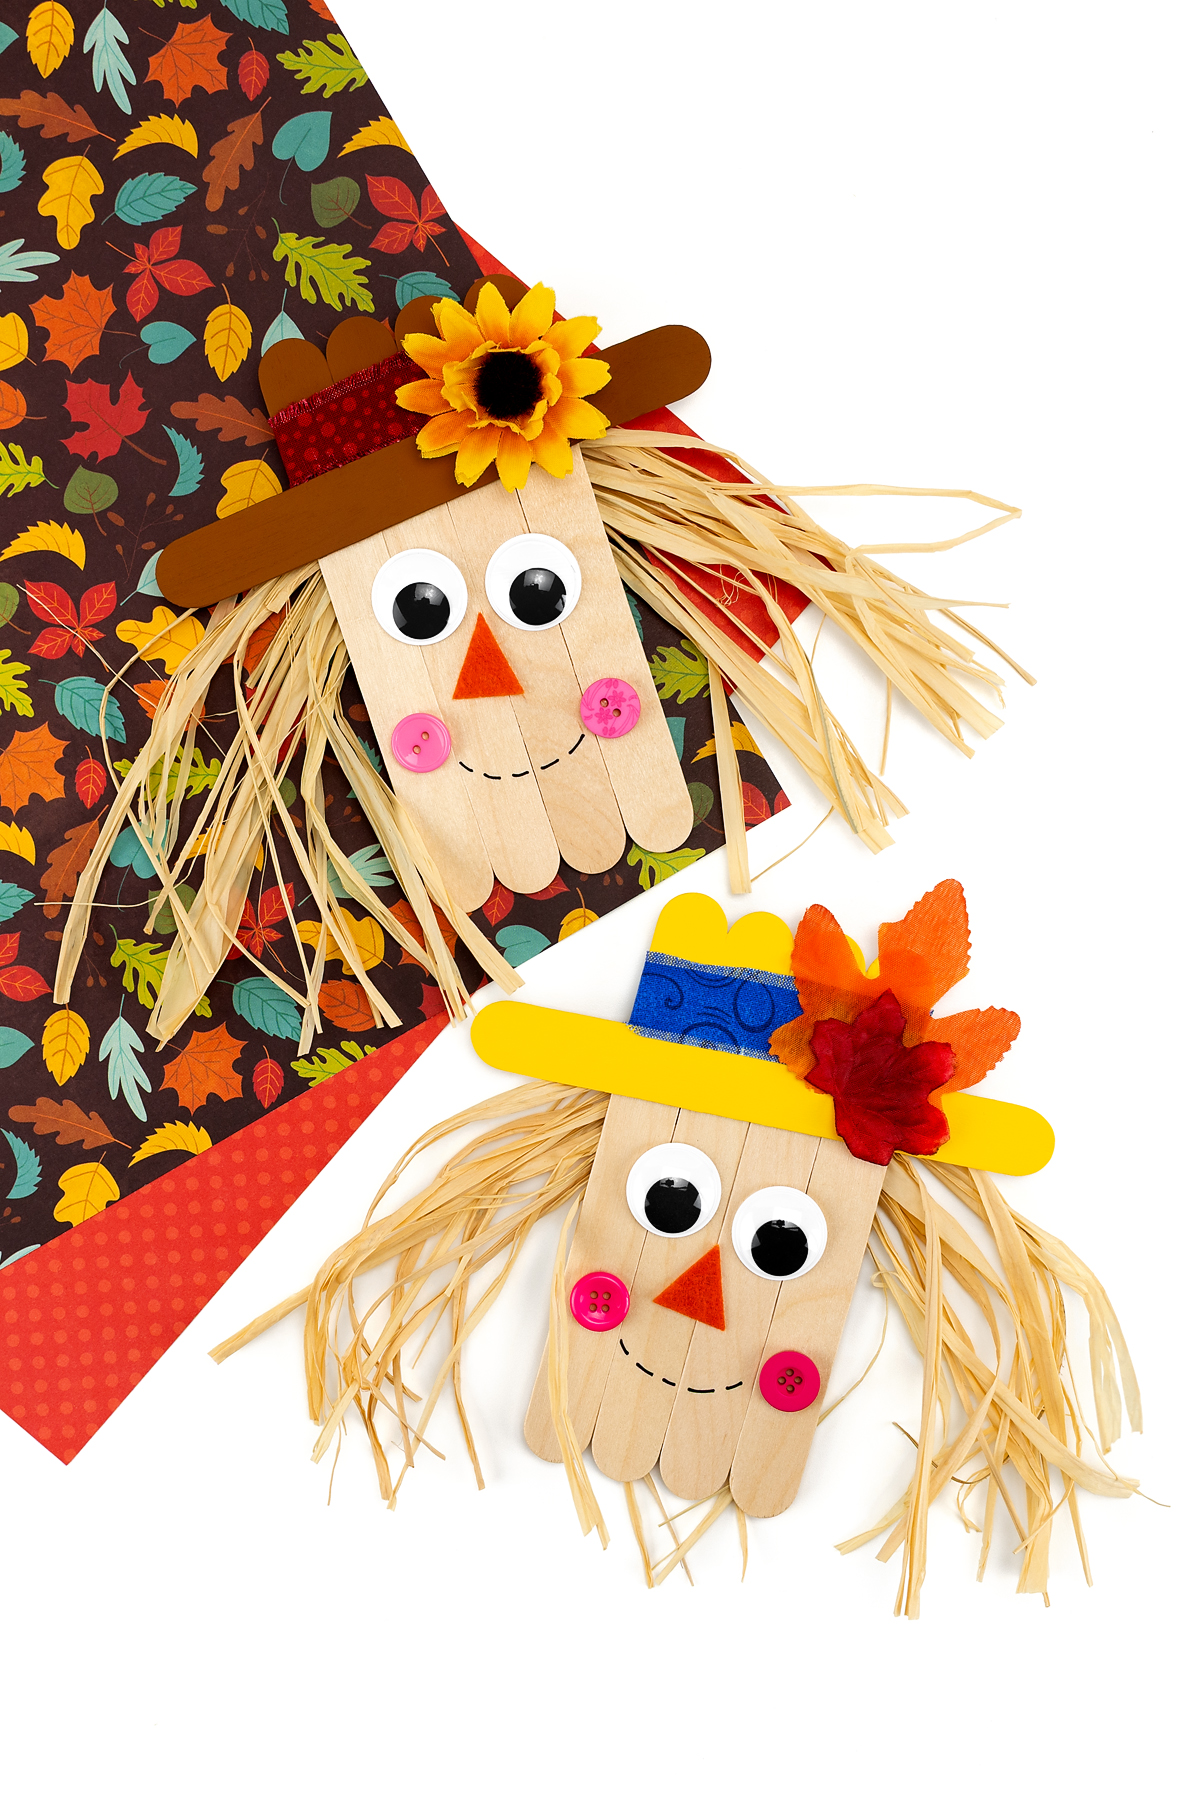
Wide and mini popsicle sticks, paint, felt, buttons, raffia, scrap fabric, and a few decorative extras come together to make a sturdy mixed-media art piece. Kids help paint the sticks, assemble the base, and add the face and clothing details for a handmade finish.The combination of wood, fabric, and raffia adds more texture to the project than most paper-based options.Also try: Scarecrow Color By Numbers
Colored cardstock, scissors, glue, a black marker, and the printable template come together to make a silly character with lots of personality. Kids glue on the face, hat, hair, shirt, patches, and post, then use the marker to add stitched details that pull everything together.The tongue-out expression gives it a playful look that feels especially fun for little ones.
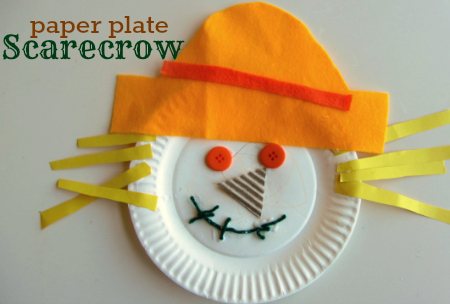
A paper plate, crayons, glue, scissors, yarn, buttons, textured paper, felt, and yellow construction paper give kids plenty of materials to explore. Children color the face, glue on the features, and use the different textures to make the mouth, hair, and hat.That sensory element is what makes it especially memorable for toddlers and preschoolers.Related: Scarecrow Name Craft
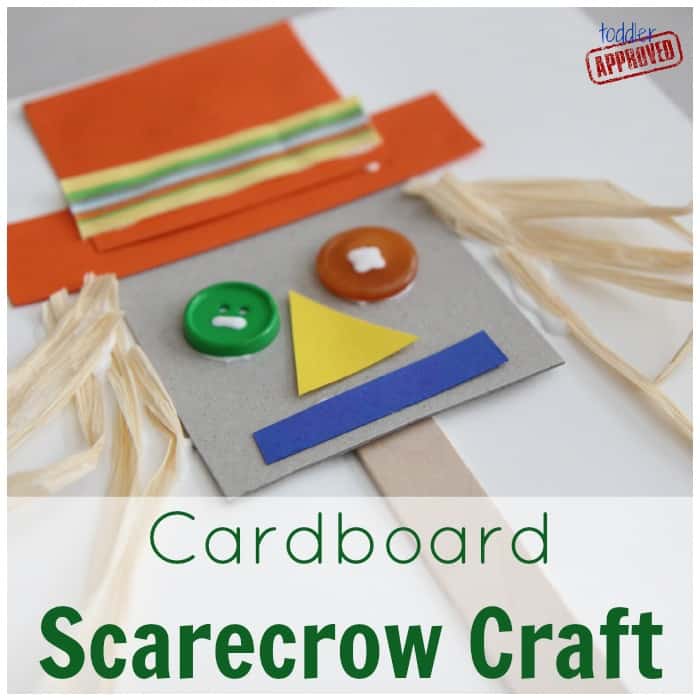
Cardboard, cardstock, ribbon, glue, buttons, raffia or yarn, scissors, and a popsicle stick come together in a simple project with lots of shape work built in. Kids glue the cardboard onto the stick, add the hat and face pieces, and finish with straw-like hair for texture.Because it uses bold basic shapes throughout, it doubles as a fun review of early geometry skills.Also try: The Scarecrow’s Hat Activities
Colored cardstock, scissors, glue, a black marker, and the printable template make this a great pick for combining creativity with shape practice. Kids glue together circles, triangles, rectangles, and squares to build the face, hair, hat, and patch details.It feels fresh because the learning is built right into the art, rather than feeling like a separate lesson.
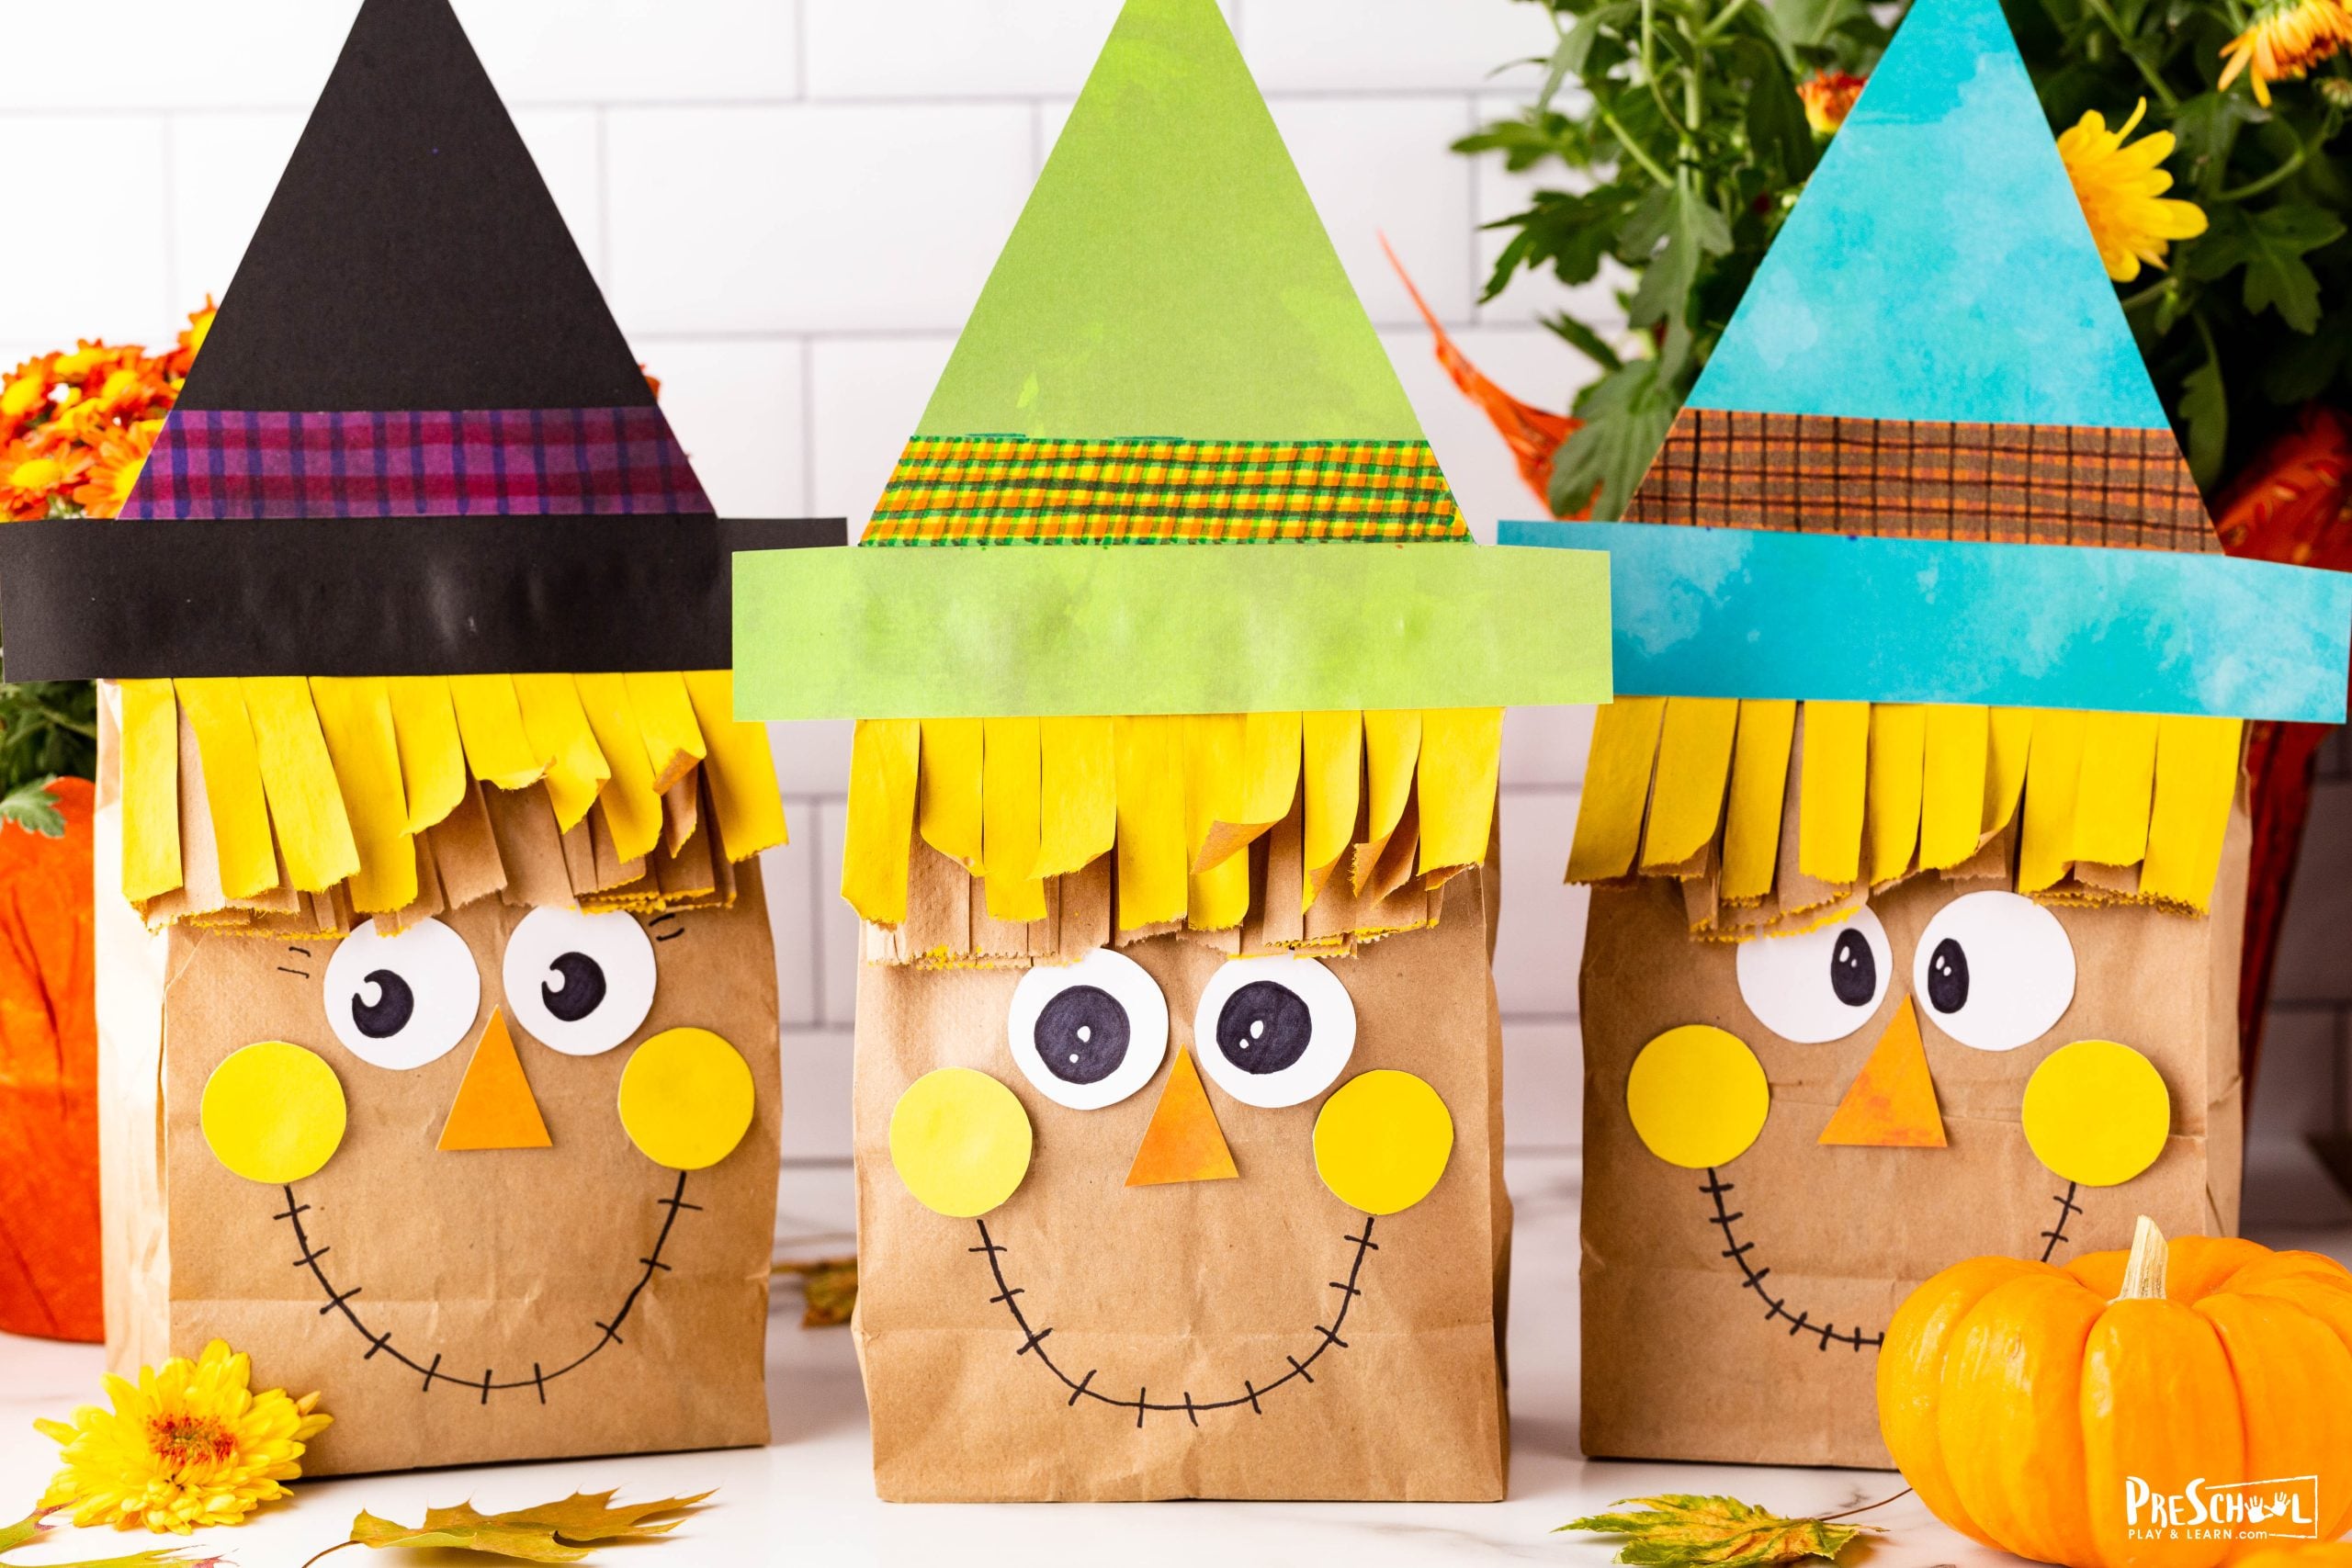
A paper bag, newspaper, scissors, construction or scrapbook paper, yellow paint, markers, and a stapler turn a simple classroom supply into a stand-up decoration. Kids paint the top for hair, cut the fringe, stuff the bag with newspaper, and add the face and hat pieces.The stuffed center gives it more shape, so it feels more like a prop than a flat piece of art.Related: Scarecrow Activity Sheets
Sam is the crafter and founder of Simple Everyday Mom. She has been featured in Oprah Mag, Good Housekeeping, The Spruce Crafts, Country Living, The Bump, and more.