All activities require adult supervision. By using this site, you agree to our terms of use. This post may contain affiliate links, sponsored links, and ads. As an Amazon Associate and participant in other affiliate programs, I earn from qualifying purchases.. Read our disclosure policy.
Looking for ways to keep kids busy while school is out? These spring break crafts for kids offer plenty of colorful ideas that children will enjoy making during the break. From flowers and animals to weather and outdoor activities, there’s something here for every interest.
They’re great for quiet afternoons at home or classroom activities. If your kids enjoy seasonal activities, you can also explore more ideas, such as spring crafts, for even more creative inspiration.
Pin
Flower and Garden Crafts
Pin
thecrafttrain.com
Printable Butterfly Garden
A recycled egg carton becomes a mini 3D scene after kids paint it green and add tissue paper filler to the cups. Printable flowers and leafy pieces glue together quickly, and winged shapes on pipe cleaners pop into skewer holes for a standing display (optional LED tealights wrapped in tissue paper can make it glow).The nightlight option turns a simple recycled art into décor that kids actually want to keep on a shelf.Related: Mother's Day Flower Craft
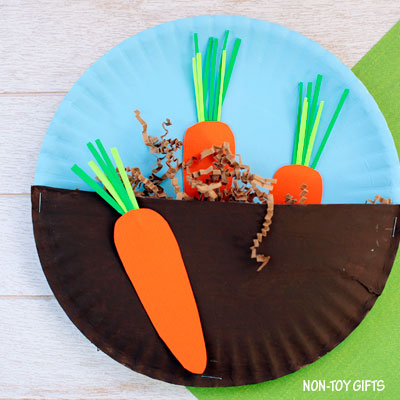
Painting two paper plates blue and brown sets up a simple sky-and-soil pocket that little hands can help assemble with a stapler. Kids cut orange-and-green paper veggies, tuck in brown Easter grass, and slide the pieces into the pocket so the tops stick out.It's an easy way to show how root veggies grow while kids practice painting, cutting, and placing pieces.Also try: Sunflower Mother's Day Card Craft
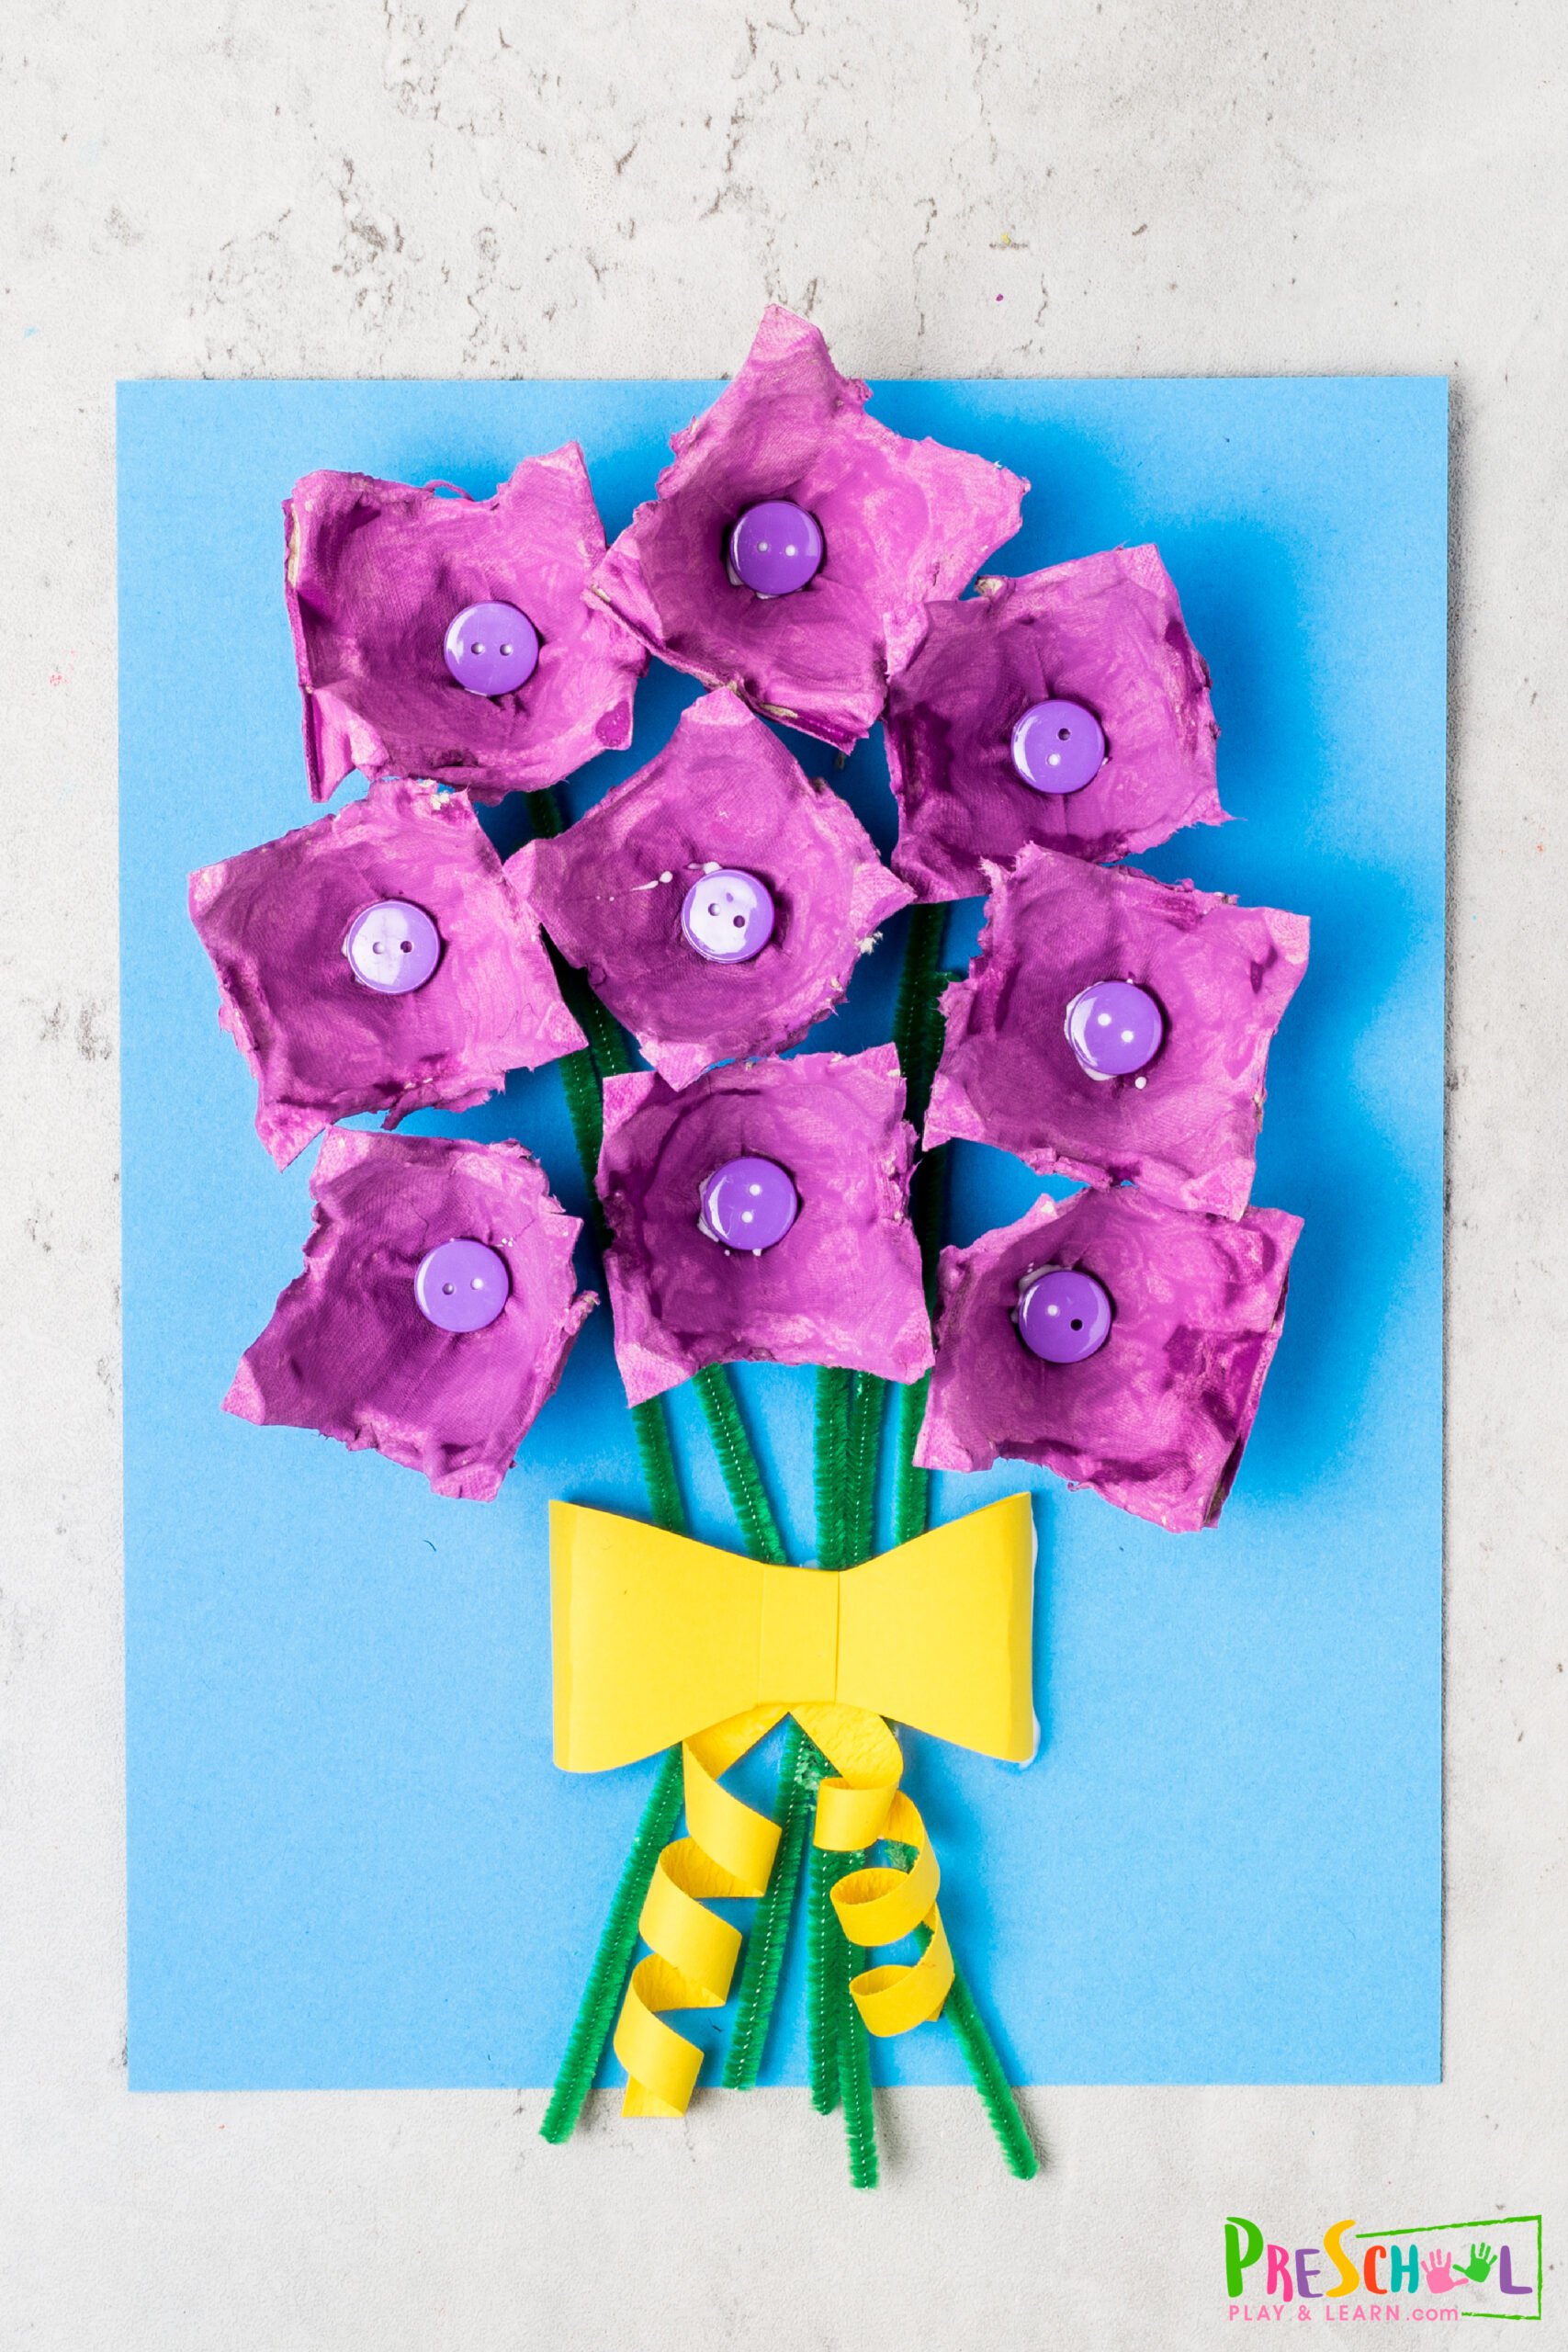
Egg carton cups turn into colorful blooms once they're cut apart, painted, and glued onto cardstock. Buttons create a simple center, and green pipe cleaners poke through the bottoms to form stems (twist an extra pipe cleaner around the stem to make leaves).Grouping several with ribbons makes a sweet bouquet that kids are proud to carry.
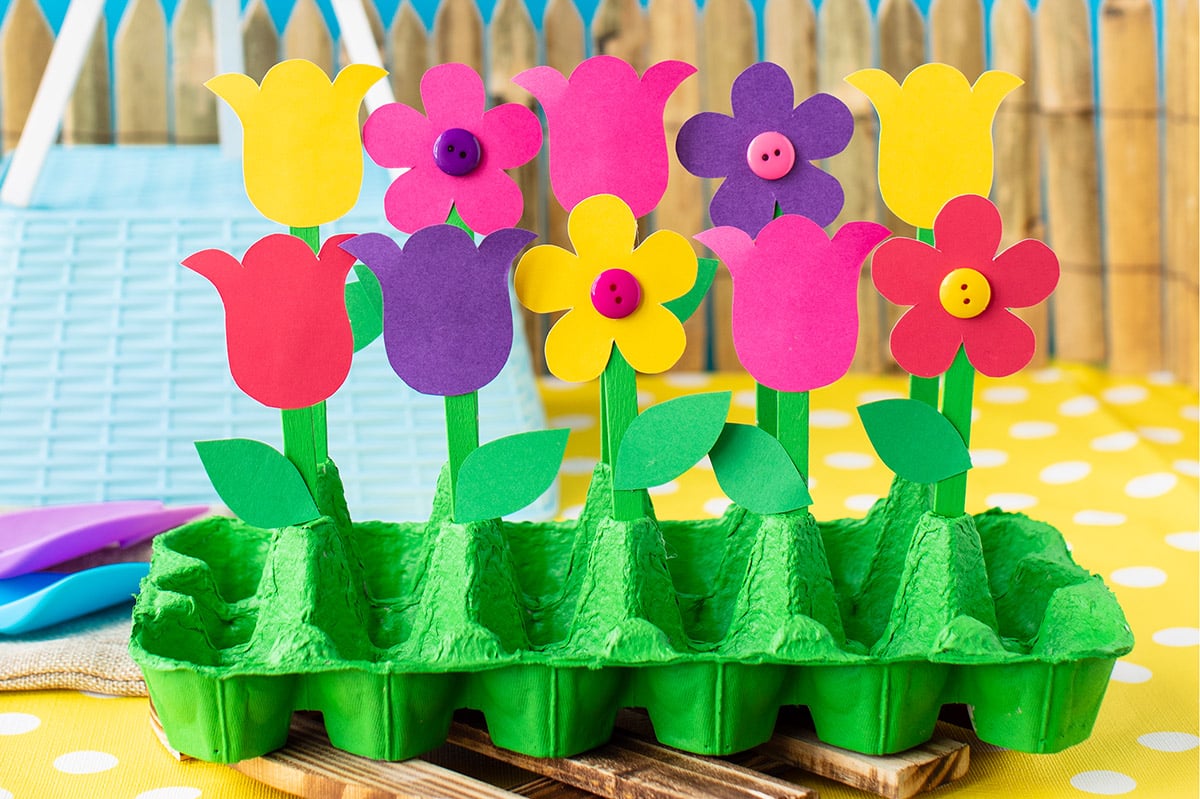
A 12- or 18-count egg carton painted green turns into a sturdy base for removable stems made from popsicle sticks. Kids cut flower shapes from colored cardstock, glue buttons in the centers, and push each stem into holes poked in the carton points.Rearranging the stems is the fun twist, so children keep “planting” and re-planting their designs.Related: Flower Handprint Card Craft
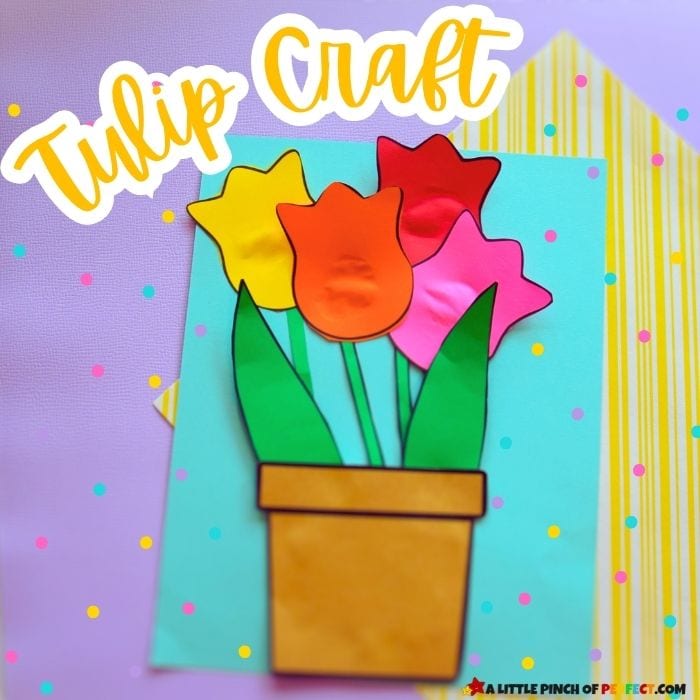
A free printable makes it easy to cut out stems, leaves, and a pot from paper or cardstock. The pot gets glued down like a pocket, then the stems and blooms layer on top so the pieces look “planted.”Printing extra copies lets kids build a whole bunch in a hurry for a bulletin board, gift, or classroom display.
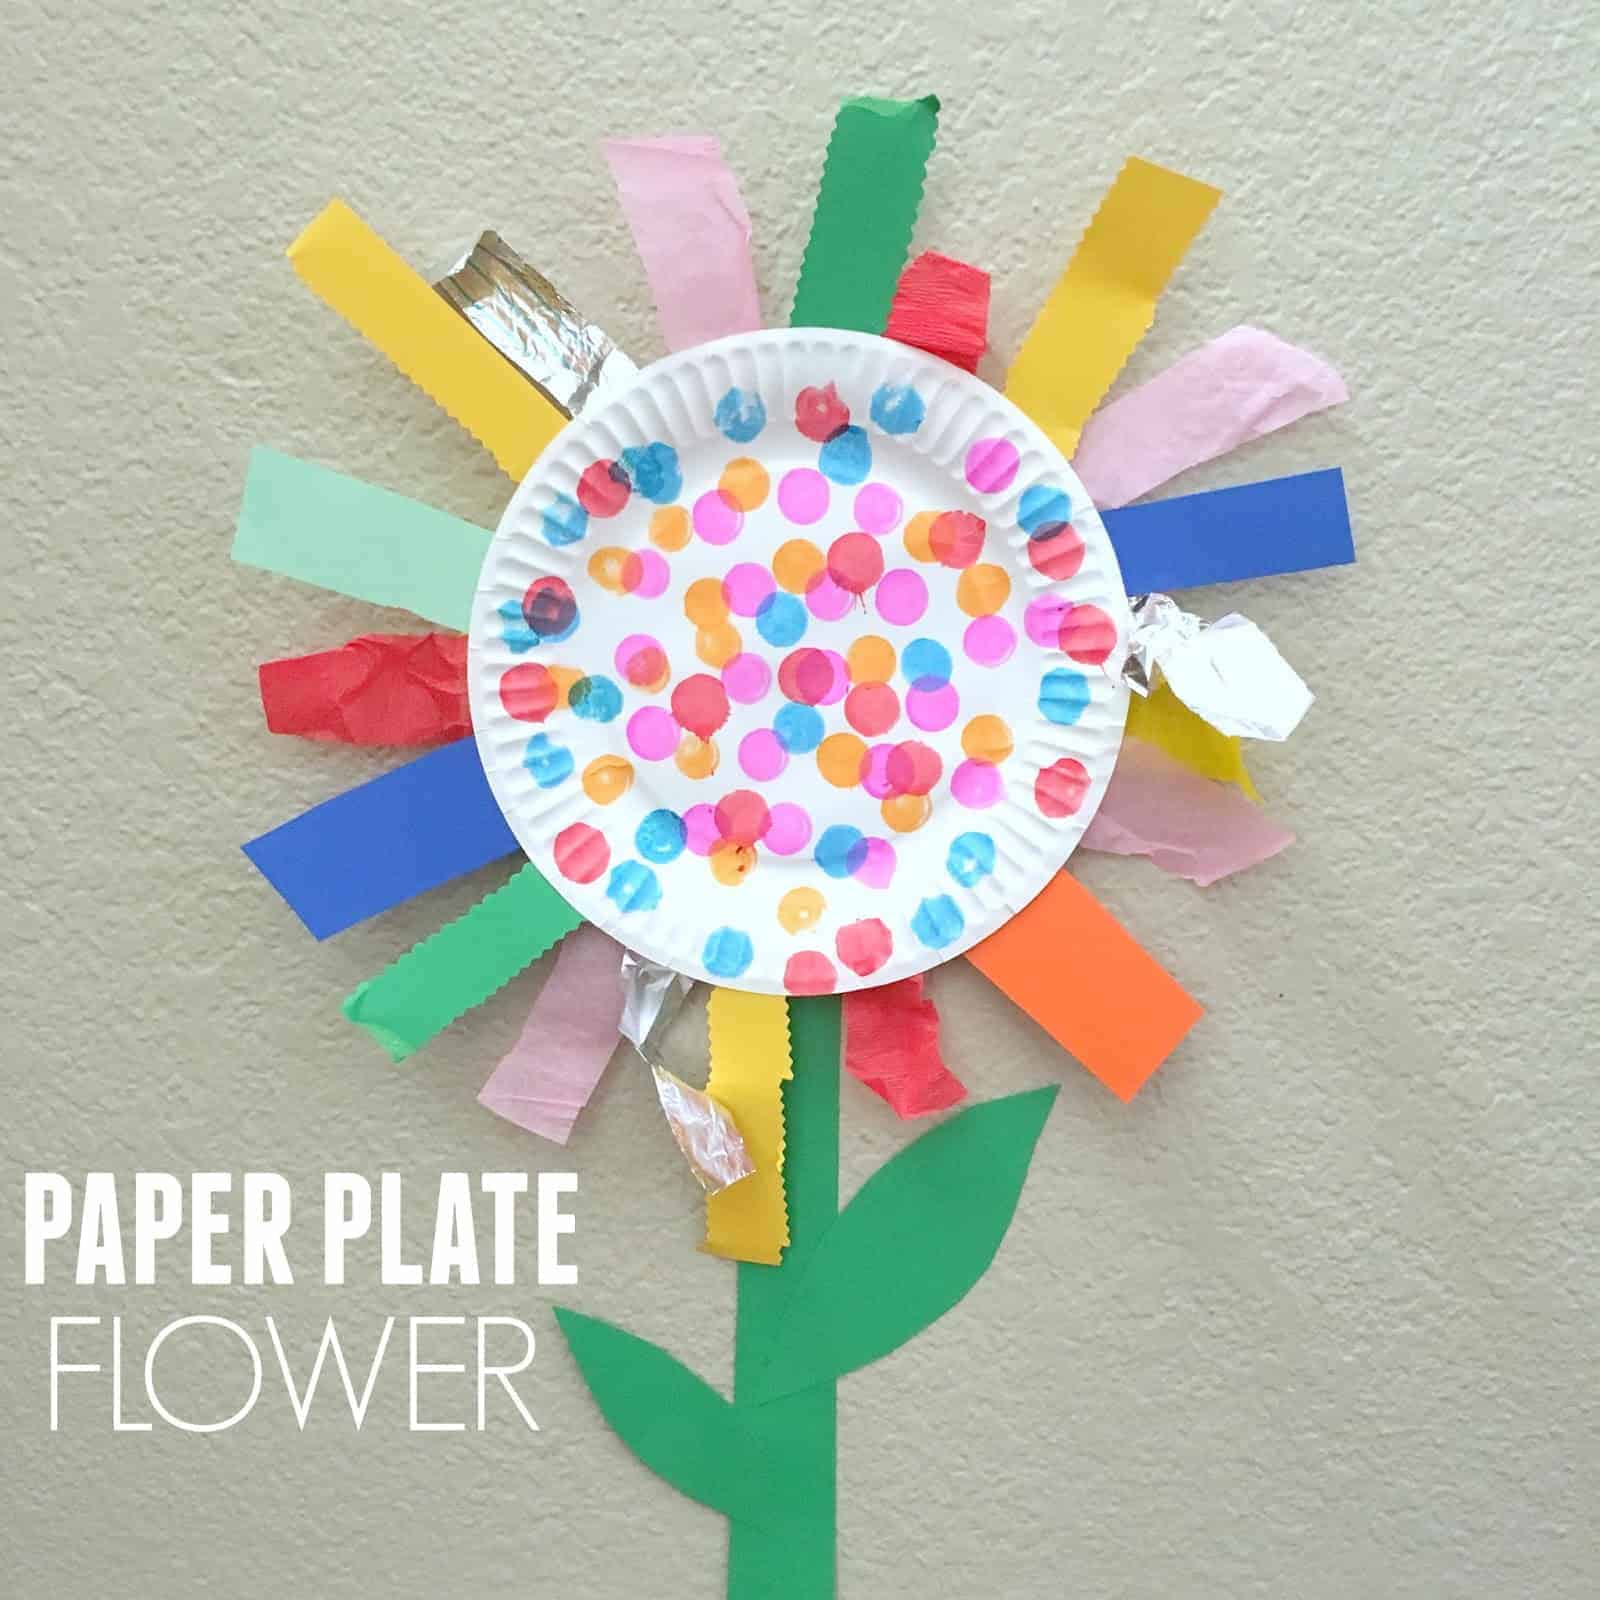
A paper plate “creation station” works best when you set out lots of cuttable materials like foil, tissue paper, streamers, newspaper, and cardstock with kid-friendly scissors.After decorating the plate with markers, children use double-sided tape to attach their cut pieces around the edge, creating big, textured petals. The open-ended setup feels like a mini makerspace, and all that snipping and taping strengthen little hands.Also try: Flower Photo Preschool Craft
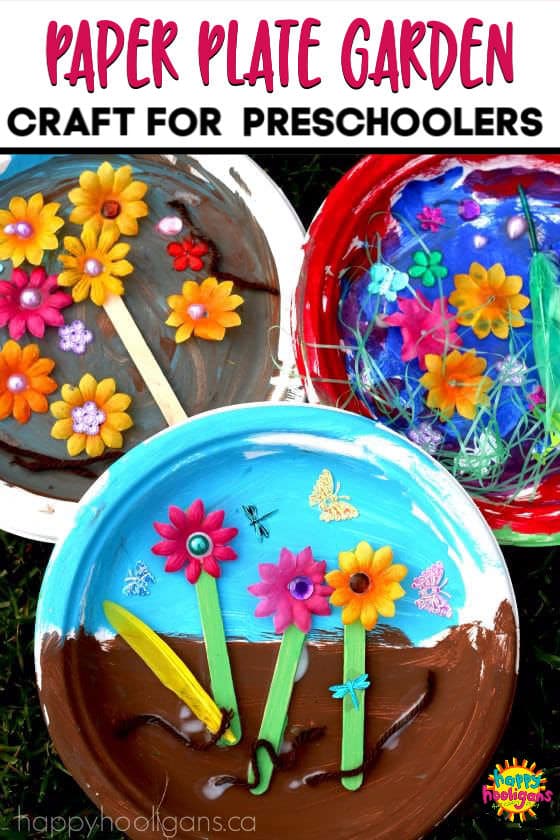
Painted paper plates turn into mixed-media scenes when kids add stick stems, artificial flowers, or stickers, and a layer of green Easter grass. Add extra details with sequins, small gems, and craft feathers, and glue short pieces of brown yarn onto the page to create little “worms.”The grab-bag supply style keeps it creative and different every time, which preschoolers love.
Cardboard ovals become sturdy bases after a green popsicle stick gets glued on the back as a stem. Tissue paper in purple, blue, or pink gets cut into small squares and glued on (scrunching the pieces adds that clustered look).Preschoolers usually love the repetitive cut-and-glue rhythm, and the finished texture looks great on display.Related: Paper Plate Sunflower Craft
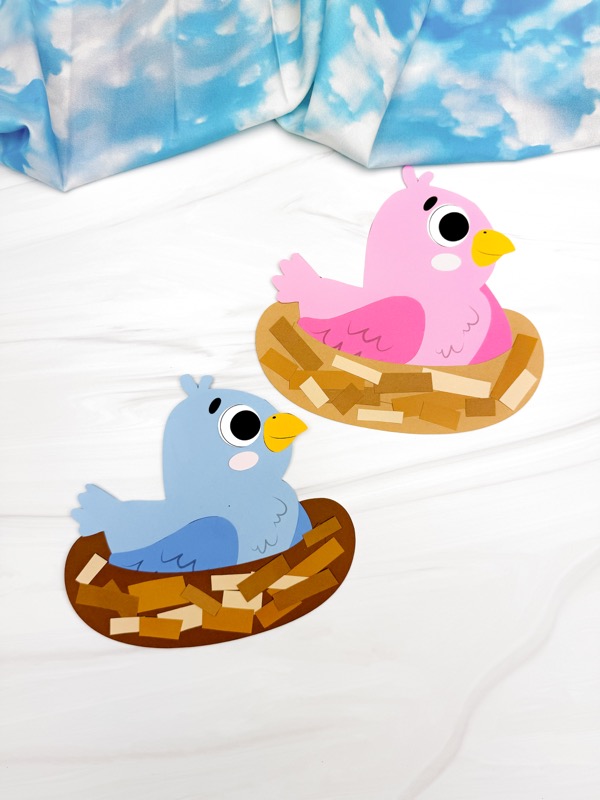
Colored cardstock pieces from a template layer into a perched character with a cozy background base. Kids glue the face and wings together, then cover the lower half with the front base and sprinkle on tiny brown paper rectangles to resemble twigs.The layered layout looks surprisingly 3D, making it a great classroom display piece.
A puffy felt body comes together when kids glue two matching oval shapes, leaving a small opening to add a bit of fiberfill stuffing. Pom‑pom eyes with big googly circles pop on top, while pipe cleaners bend into legs and even a tiny red tongue.Soft and three-dimensional, it's the kind of activity kids immediately want to play with afterward.Related: Frog Paper Cup Craft
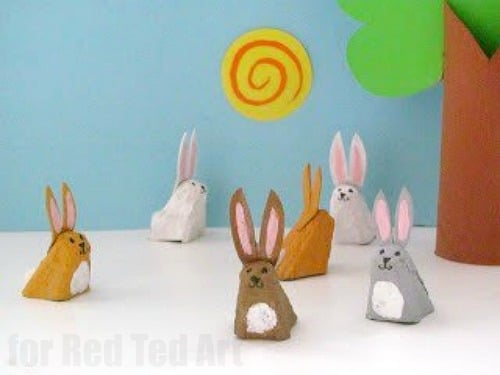
One egg-carton cone becomes a sturdy little creature once kids cut it down, glue on carton-lid ears, and paint it in any color they like. A cotton wool ball makes an instant tail, and a fine black pen adds the face after the paint dries.The recycled base is quick to prep for a group, yet every finished piece looks unique thanks to the paint and hand-drawn details.Also try: Easter Bunny Letter Maze
Half a paper plate becomes the body once it's painted a soft color, then patterned with dots or swirls using a cotton bud or cotton ball. Children cut the template pieces from construction paper, glue the head, legs, and tail behind the plate, and use gel pens to draw the face.The optional patterning step is the standout, since kids love experimenting with repeating designs.Related: Paper Bag Bunny Craft
Glue the printed cardstock pieces together to create a cute character peeking out of a broken shell for a fun surprise reveal. Kids layer the body behind the top shell, tuck the feet inside the bottom shell, then add a beak and eyes, and draw eyebrows with a marker.Simple cut-and-paste steps create a clear “finished look,” perfect for preschool and kindergarten attention spans.
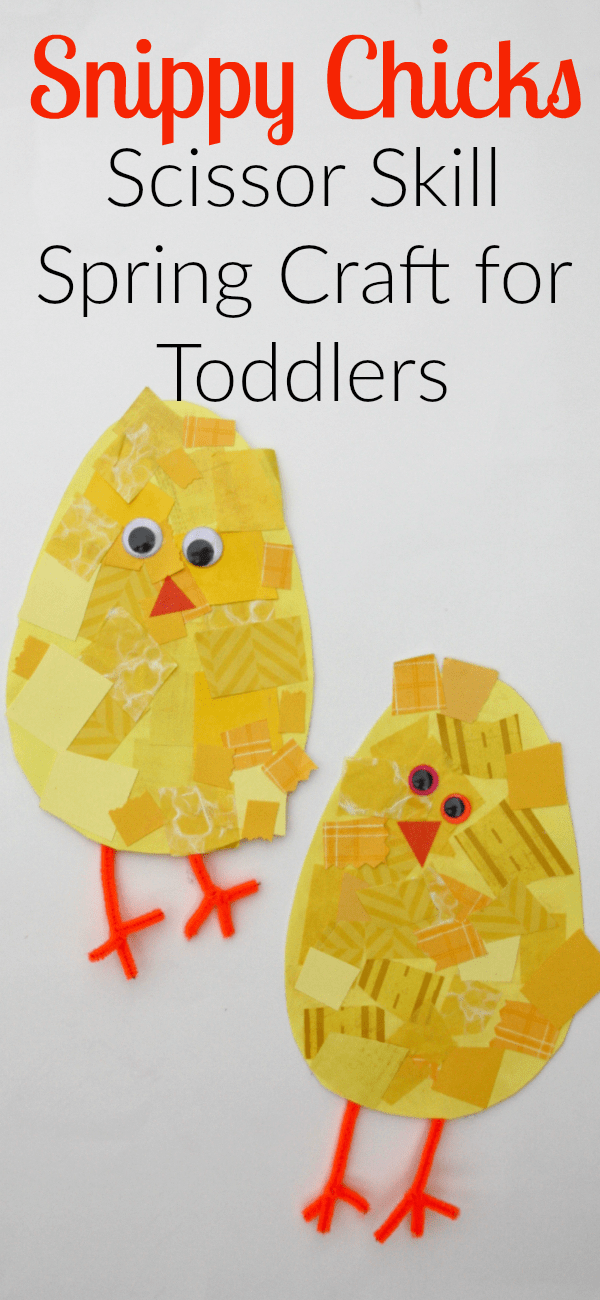
Toddlers get real cutting practice by making an egg-shaped base from solid yellow paper and snipping patterned yellow strips into tiny pieces. Use a glue stick to attach the snippets and create a textured “feather” look, add a small orange paper triangle and eyes to complete the face, then tape on pipe-cleaner feet.It's a low-prep way to practice safe scissor use, and the fluffy texture feels like a big win.Also try: Chick Easter Basket Craft
Cotton balls glued around a paper cup instantly create a soft, puffy texture that kids love to touch. A black paper head and legs attach next, then wiggle eyes, and a white paint pen draws in the nose and smile, with a snipped green paper circle forming grass.Mini pom poms turn into tiny “meadow flowers,” making the final scene feel like a little table-top diorama.Related: Pom Pom Sheep Craft
Painting a paper plate gives kids a chance to mix colors freely, and then transforming the plate into separate pieces adds a fun construction twist. The inner circle becomes the body, three-ring pieces become wings, a tail, and feathers, plus googly eyes and a foam beak finish the look.It's a great balance of process art and scissor practice, and the feathered parts make it extra playful.Also try: Bird Paper Bag Puppet Craft
A plain cardboard tube turns into a bright 3D insect when kids wrap a printable body piece around it and secure it with tape. Tape the cutout wings to the sides, then add simple cardstock decorations along with the head and antennae to finish the details.Because it stands upright, it works well for shelf décor or pretend play once the glue dries.
A paper plate becomes a little scene when kids paint grass and sky, then cut a slit so a puppet can slide back and forth. Template pieces are traced onto black paper, then assembled with googly eyes and marker details, and the finished piece is attached to a popsicle stick to create the handle.The movement element is the fun hook that turns the project into an instant storytelling toy.Related: Ladybug Paper Craft
Paper towel tubes and smaller cardboard tubes get cut, flattened, and stapled into a chunky body shape with a rounded face. Pipe cleaners are threaded through poked holes to form bendable legs and antennae, and paint and googly eyes finish the character.Poseable legs are the best part, since kids can bend them into different stances and keep playing after art time.Also try: Preschool Bug Activities
A printable insect body comes with simple cut-and-glue pieces, and two traced handprints on light gray paper become layered wings. Kids attach the head and antennae, add the “light” abdomen piece, and glue one handprint behind and one in front for a 3D effect.Using a child's handprint makes it feel like a keepsake while still being classroom-friendly.
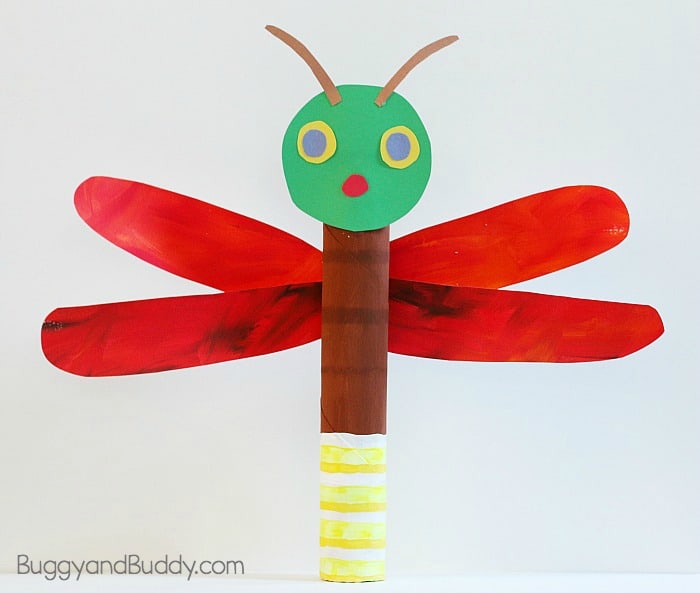
An empty paper towel roll serves as the base, and kids paint it in browns and yellows before adding paper details. Construction paper pieces build wings and a nighttime-style background scene on art paper, so the finished project feels like a little story picture.Painting and assembly keep it interesting, with brushwork, cutting, and gluing in one project.Related: Firefly Name Craft
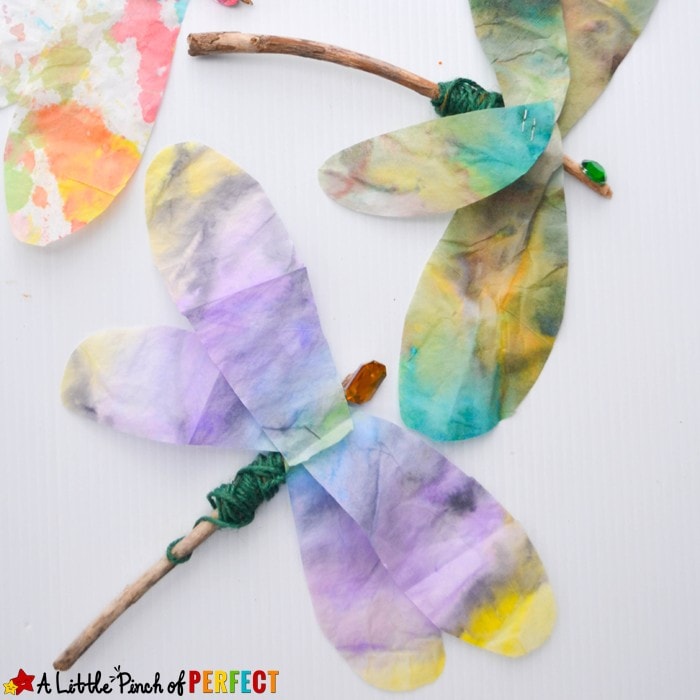
Two coffee filters painted with watercolors turn into light, fluttery wings once they're dry and cut to shape. Kids attach the wings to a small stick with glue or Glue Dots, then add yarn or twine for hanging and optional gems for sparkle.The wings move easily in the breeze, so it's great as both décor and play.Also try: Dragonfly Tissue Paper Craft
A printable set of cutouts lets kids build a bright paper flower, then layer a striped insect on top, as if it's landing. Colored cardstock (or construction paper), scissors, and glue are all that's needed to assemble the wings and attach everything.It's quick enough for preschoolers but still looks polished for spring bulletin boards or fridge art.
Rolling and gluing paper rectangles into chunky tubes creates a 3D body that's sturdy enough for little hands. Kids add wiggle eyes, marker details, six folded legs, and a jumbo stick handle so it can be “walked” along the table.The simple wrist-twist motion is the unique hook that turns a paper art into a puppet.Related: 3D Ladybug Craft
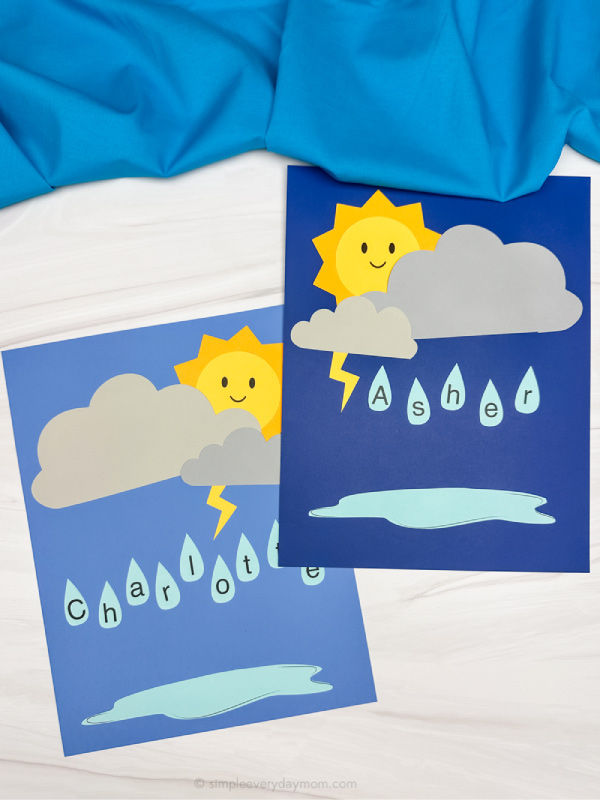
An editable template turns a weather scene into a name activity by letting you print each child's letters on raindrop cutouts. Kids glue the sun, clouds, lightning, and water pieces onto construction paper, then place the raindrops to spell their name.It sneaks in letter recognition practice while still feeling like a project instead of a worksheet.
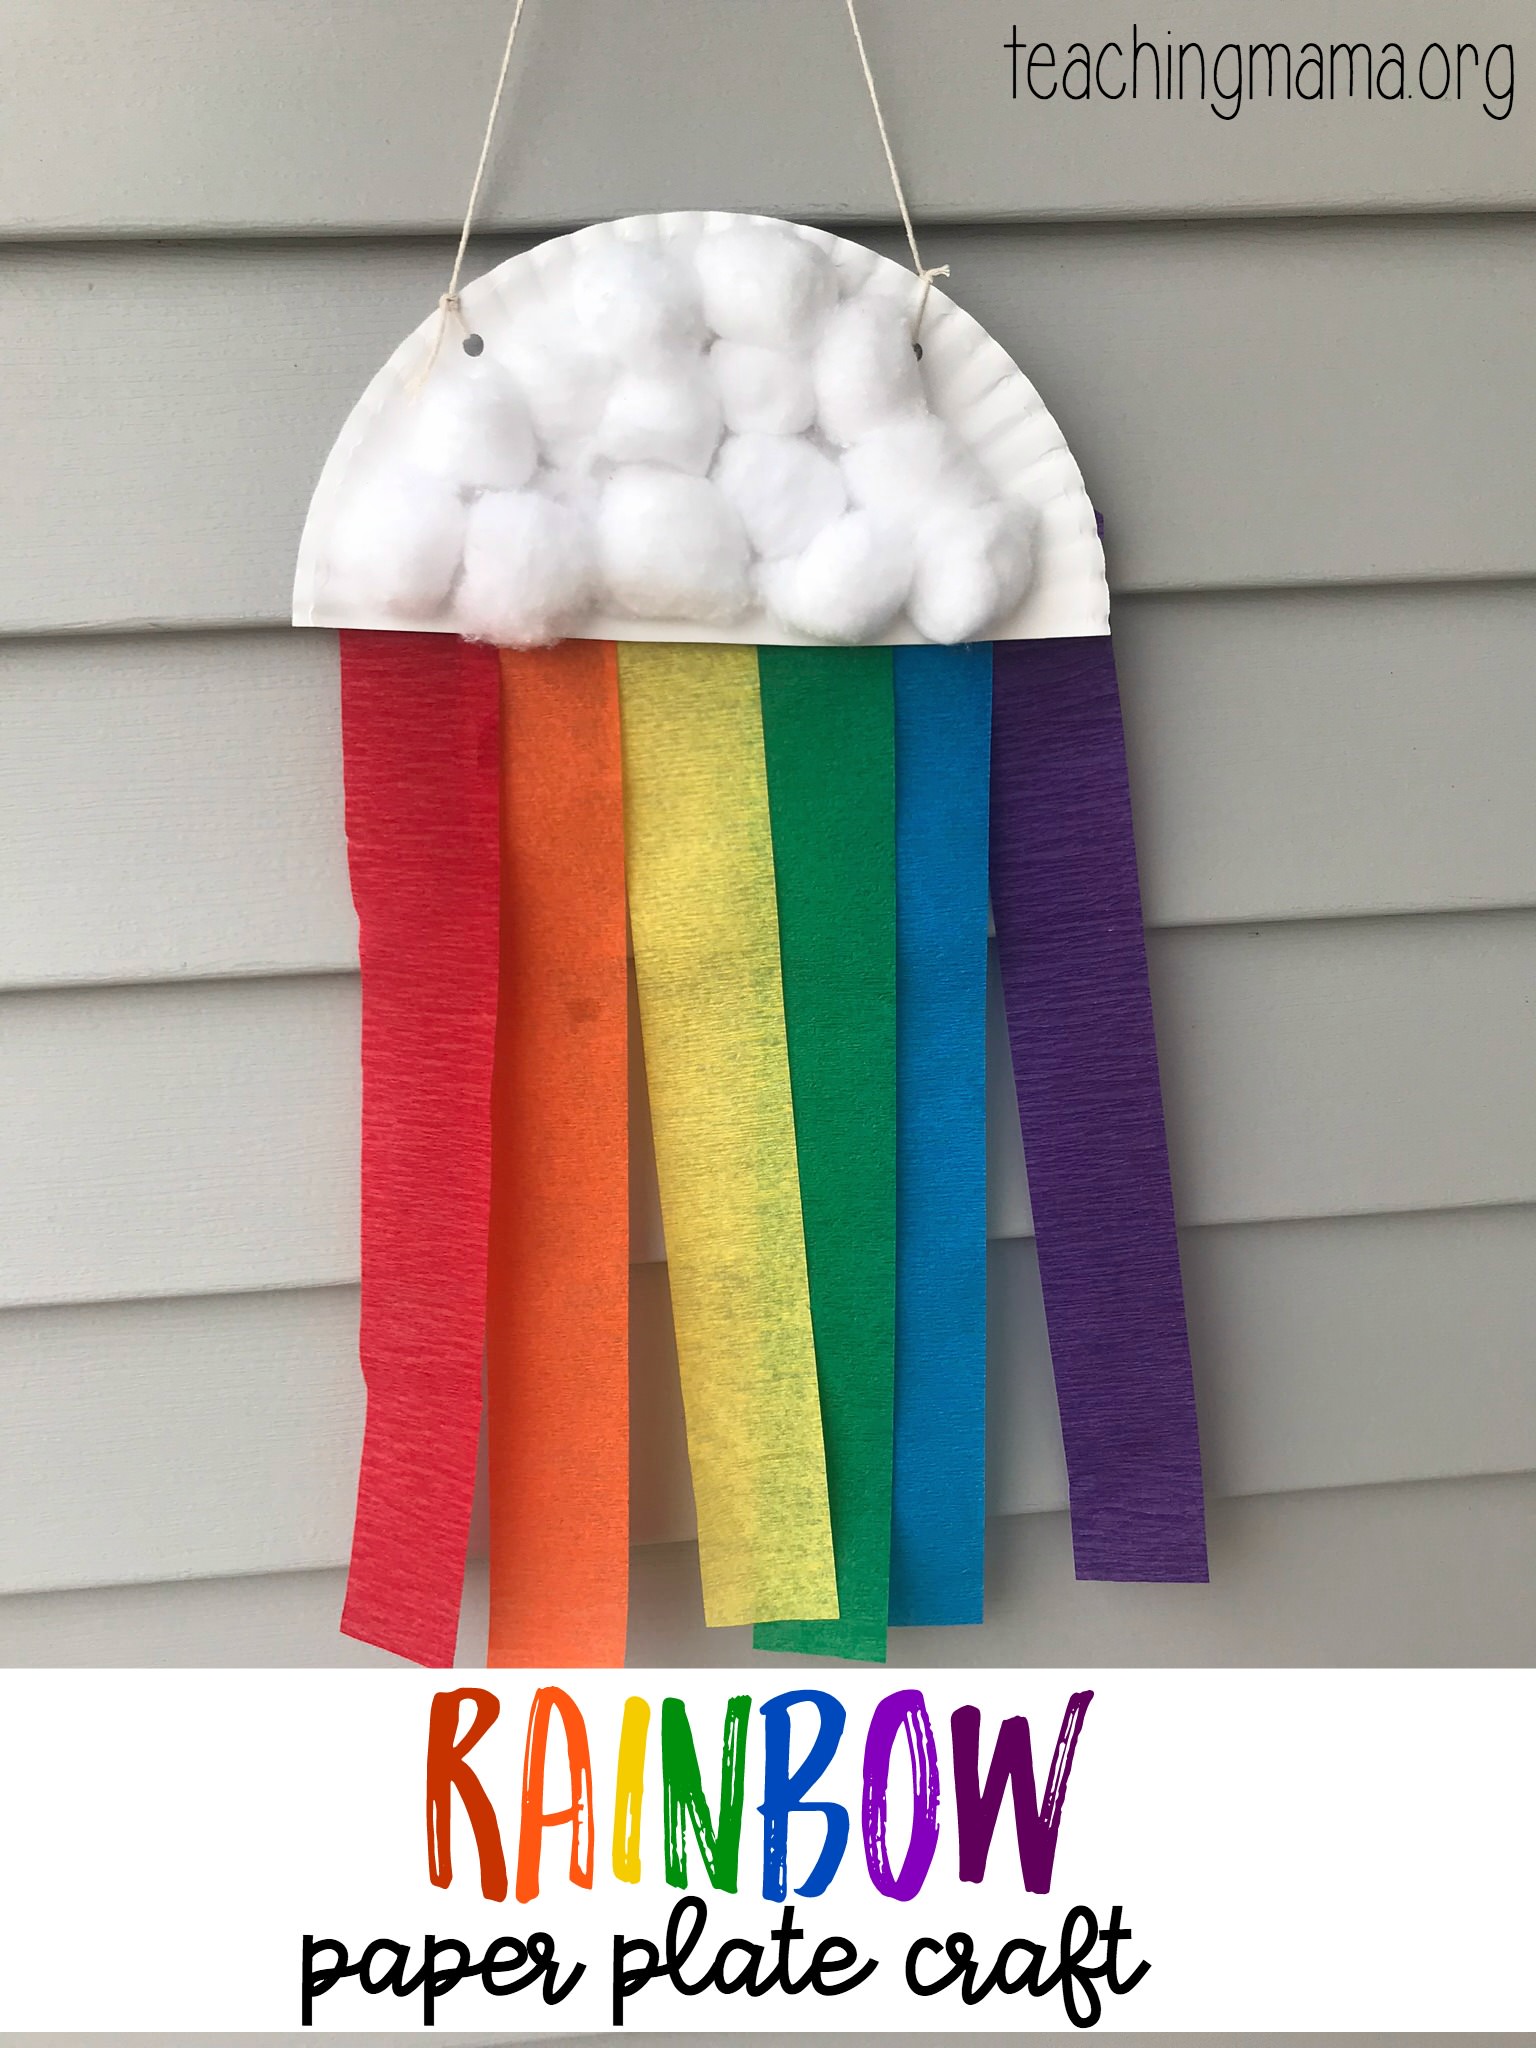
Half a paper plate becomes a simple hanging decoration when kids glue party streamers across the back in any color order. Cotton balls make fluffy clouds on the front, and a hole punch plus a string turns it into something you can hang up.It's realistic for toddlers because most of the work is gluing, and the streamers look great in motion.Related: Rainbow Card Craft
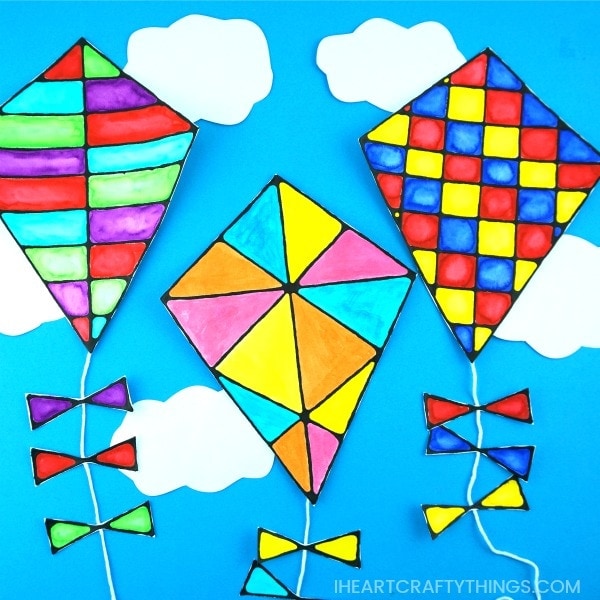
Mixing black acrylic paint into school glue creates a raised outline that dries like dimensional “leading.” Kids print the (shop) template on mixed-media paper, trace it with black glue, then add color with watercolor brush pens, and finish with a taped-on string tail.The contrast of crisp black lines and watery color gives a stained-glass feel that looks impressively “artsy.”
Printing the free template on legal-size white cardstock creates a ready-made card with faint guidelines that won't show through buttons. Kids shade the arcs with chalk pastels, liquid watercolors, or markers, then follow the lines with a precision-tip glue bottle and press on assorted buttons.Cotton-ball clouds at the ends finish the look, and it's a satisfying stash-buster for mismatched button jars.
A paper plate cut into a fluffy shape serves as the base, and a hole punch creates easy threading spots along the bottom edge. Kids lace white yarn through the holes, glue cotton balls around the rim for texture, then add googly eyes and a marker smile.Light blue paper raindrops hanging from the yarn add movement, making it a cute activity that's also fine-motor practice.
A free, editable template lets you print cloud-shaped letters so each child can spell their name beneath a smiling weather icon. Kids cut slits around an orange circle, glue the yellow face in the center, then fold every other strip upward to make 3D rays before assembling the rest.The popping rays are the fun surprise, and the personalized name piece makes early learners extra proud.
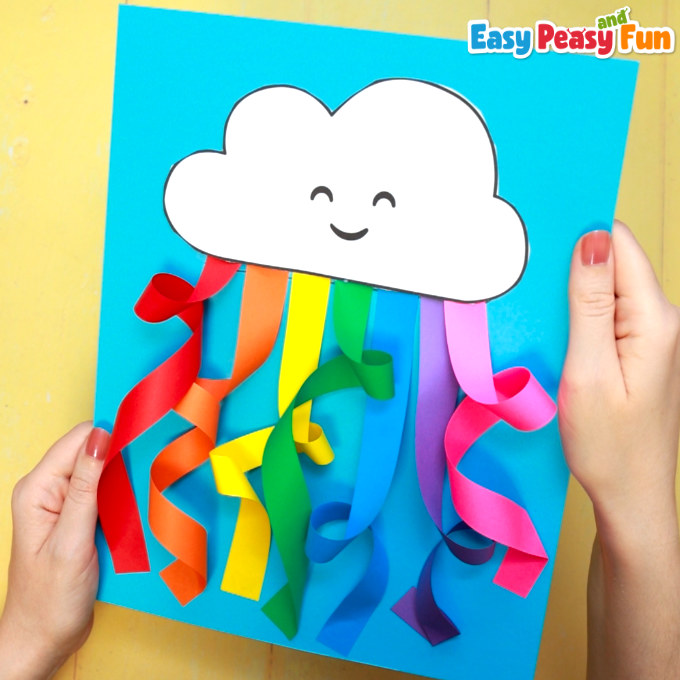
Colorful paper strips curl into spirals when kids twist them and glue the ends down. A cloud shape (from the optional template or hand-drawn) gets glued on last, with a cardstock background holding all the curls in place.The twisting motion is oddly satisfying, and the finished piece makes a bold bulletin-board display without messy paint.
A free printable template gives kids a clear shape to cut out and paint with any colors they like. After cutting, they glue a strip of crepe or tissue paper to the back for the tail and add small paper shapes along the tail as decorations.The dangling tail makes it feel like a toy even when it's just hanging up as art.
Using a free template, kids cut and glue simple tower pieces, doors, windows, and a tiny flag to build a beach scene without any messy sand. A wavy tan strip and white clouds are glued onto a blue background first, then the finished castle is mounted on top.Basic shapes keep it classroom-friendly while still looking detailed when finished.
Regular and jumbo sticks glue together to form a sturdy little wooden toy with a wooden bead on the front as the nose. Short pieces of paper straw act as spacers between the wings, and acrylic paint adds the final color (a decoupage coat is optional for durability).It's satisfying because it's not just art—the finished build is sturdy enough to hold and play with.Related: Camping Tracing Worksheets
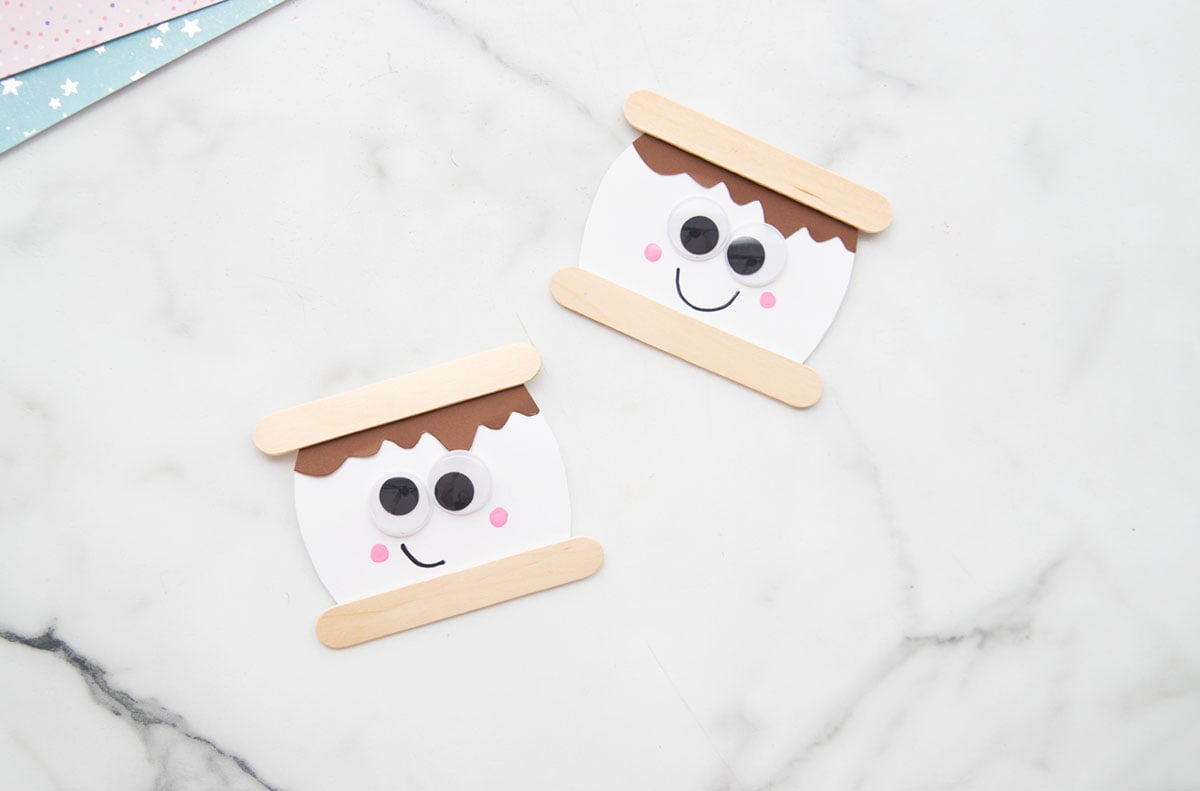
A free printable template helps kids cut a fold-over card shape from white cardstock and add a brown “drip” piece on top. Popsicle sticks glue to the top and bottom like crackers, then googly eyes, a black marker smile, and pink-painted cheeks finish the face.It's a cute card combo that's easy to personalize with a message inside.Also try: Smores Name Craft
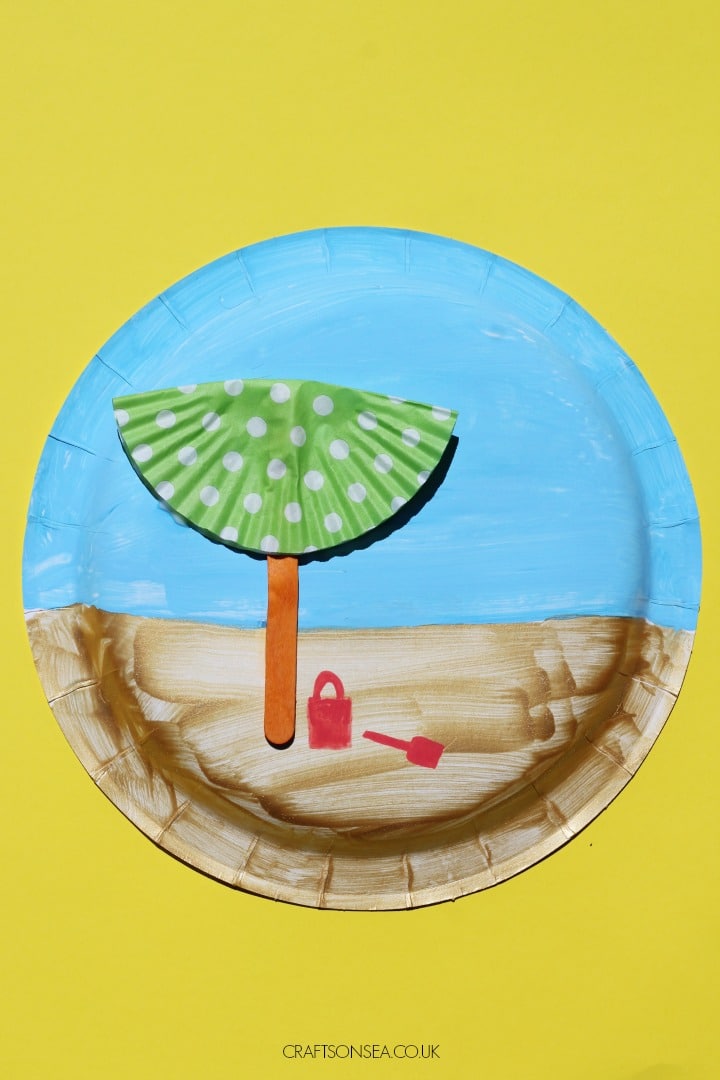
A single paper plate becomes a simple shore scene when kids paint the top half blue and the bottom half yellow/gold. A folded cupcake liner becomes an umbrella canopy when glued to a stick, and a pen adds extra details after the paint dries.It's quick, uses readily available supplies, and leaves plenty of room for kids to add their own doodles or stickers.Related: Beach Color By Numbers
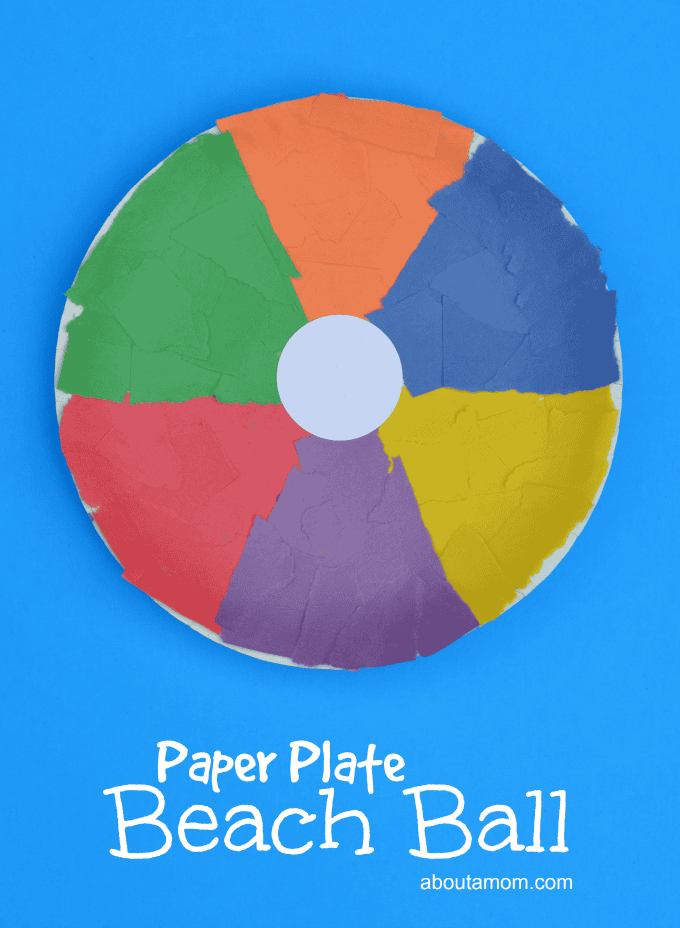
Lightly draw pencil lines on a paper plate to divide it into six sections, then fill each section with torn pieces of construction paper. The tearing is the main skill-builder, and gluing the pieces down creates a textured, mosaic-like look.Adding a small white circle in the center gives it the classic ball detail, so the finished project feels instantly recognizable.Also try: Reindeer Beach Craft
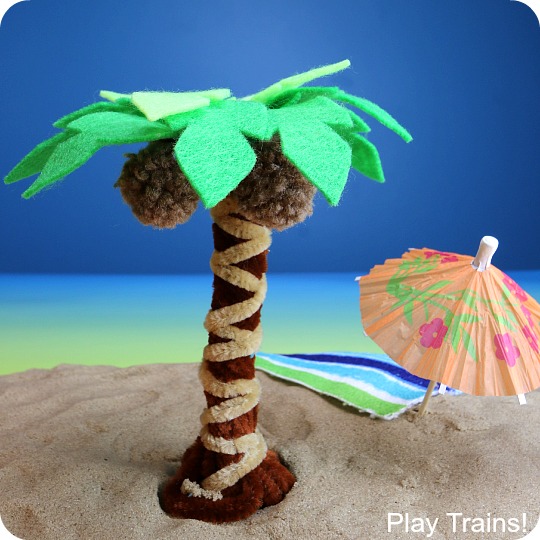
A bundle of brown pipe cleaners twists into a sturdy standing trunk, with two beige pipe cleaners adding extra support near the base. Kids cut fronds from green art felt and press them into the top, then add brown pom‑pom “coconuts” using velcro dots for removable play or hot glue for a permanent version.It works especially well as small-world scenery because kids can attach and rearrange parts.Related: Camping Tent Craft
Sandpaper shapes glued onto a painted sky-and-sand cardstock background give this project a gritty, realistic texture kids love. A sponge paints the blue-and-tan background, then brown paper cutouts add windows and doors, while short straw pieces become flagpoles with tiny paper flags.It's a great sensory twist on a classic summer art, especially for toddlers who enjoy feeling different surfaces.
Painter's tape strips placed on a cardstock cutout create clean negative-space stripes with almost no planning. Kids color over the whole shape using dot markers or washable paint, then peel the tape once it's dry to reveal crisp lines.The peel-off “reveal” is what makes it fun, and it's simple enough for toddlers with adult help cutting the base.
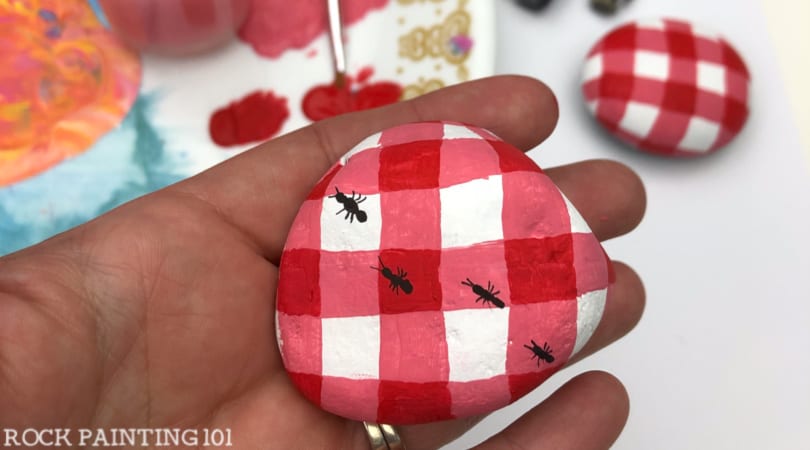
A smooth, flat rock becomes a picnic-style pattern when you paint straight, intersecting lines with acrylic paint. Fill in the red-and-white blocks step by step, then use a black Posca paint pen and Micron pen to add tiny accent details if desired.It's a good patience-and-precision project, but the pattern still looks adorable even if the lines aren't perfect.
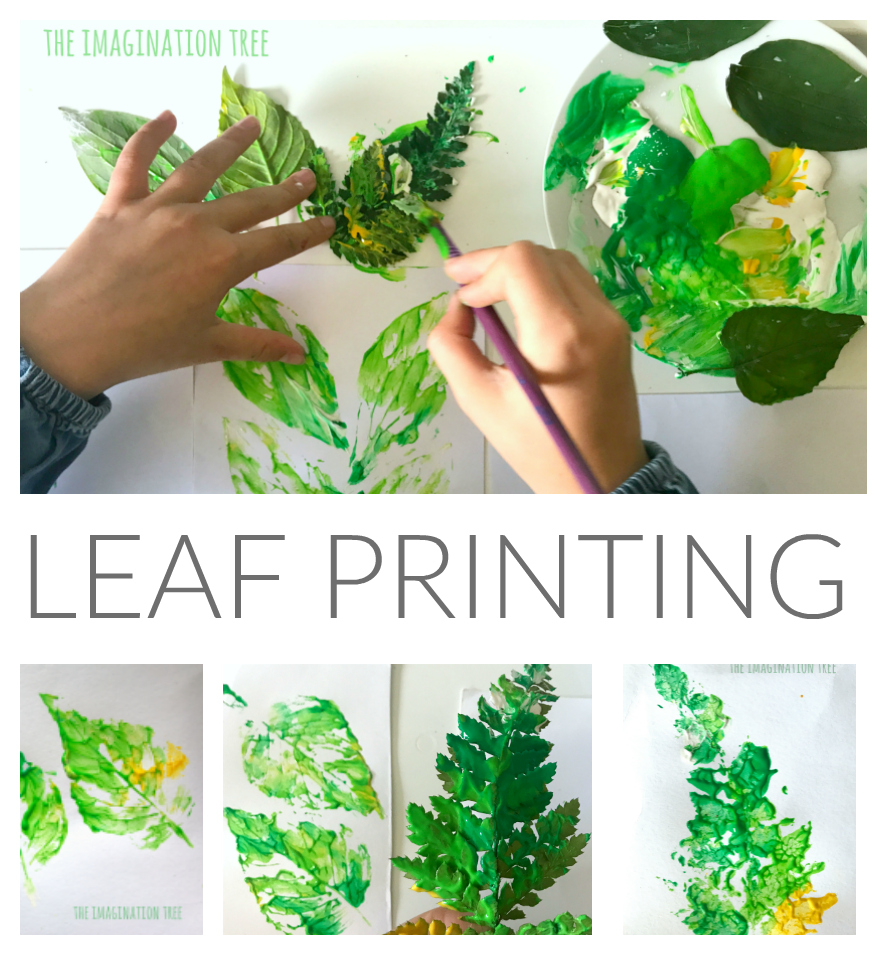
Collected leaves become instant stamps when kids brush paint onto the veined side and press them onto cartridge paper. Lifting the leaf off reveals a crisp print, and layering similar colors can create surprisingly rich patterns.It's an easy nature-walk follow-up that works for any age, from toddlers with help to older kids experimenting with composition.
Painted sticks become the top bar for a hanging sound project once pipe cleaners wrap around each end for a hanger. Kids thread pony beads, jingle bells, washers, or bottle tops onto pipe cleaners and then wrap the decorated strands back onto the stick.Substituting whatever you already have in the bin makes each one look and sound different.
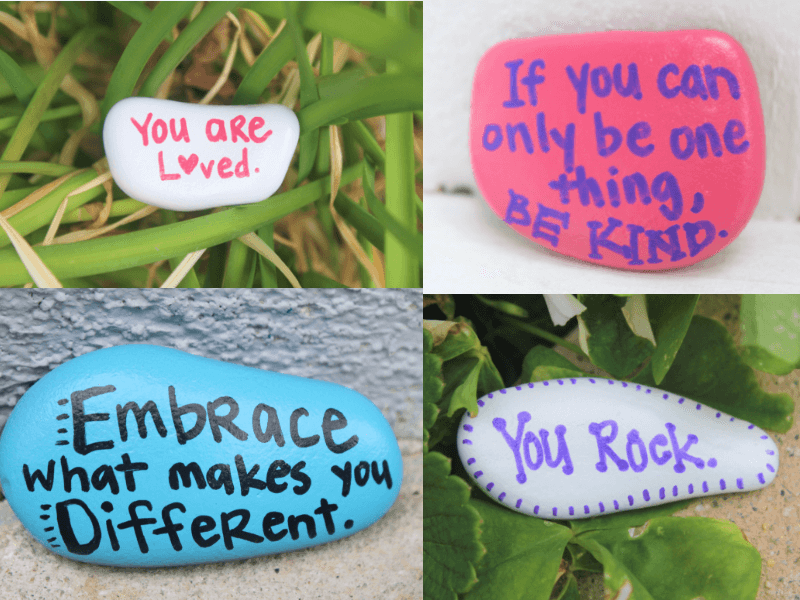
Flat rocks get a quick makeover when you spray paint them a base color, creating a smooth surface that dries fast. Paint pens make it easy for kids to add short, uplifting messages or simple drawings, and a clear acrylic coat seals everything for outdoor use.Hiding the finished rocks for someone else to find adds a fun treasure-hunt element that encourages kids to spread positivity.
Torn construction paper gets soaked in water, then blended into a pulp, then mixed with flower seeds before shaping. A piece of screen stretched over an old can serves as a mold, a cookie cutter helps press the pulp into neat shapes, and a towel absorbs excess water.Once dry, kids can plant the paper and watch it sprout, making it a hands-on way to talk about recycling and growth.Related: Johnny Appleseed Craft
A paper bowl becomes a simple backyard feeder when kids paint it, punch holes around the rim, and add strings for hanging. Sliding Cheerios onto the strings creates extra texture (and a fine-motor challenge), then filling the bowl with birdseed finishes it.Hanging it outside turns the art into something kids can check daily, which makes it feel extra rewarding.Also try: Handprint Hummingbird Craft
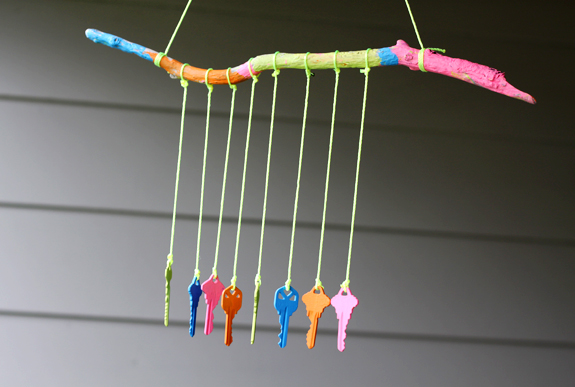
A handful of old keys and a piece of driftwood (or any sturdy stick) can turn into a simple recycled outdoor decoration. Kids paint the keys if they want, then tie each key to the stick with string or fishing line, spacing them so they clink together in the breeze.It's a great “trash to treasure” project, and the gentle chime makes it feel like a special gift or porch decoration.
Upside-down mini terra-cotta pots become abstract art when kids squeeze tubes of acrylic paint on top and let it ooze down the sides. Painter's tape covers the drainage hole from the inside, and a cardboard sheet underneath keeps cleanup easy.There's no “wrong” pattern, so kids love experimenting with layered colors while they watch the paint drip and dry.
Sam is the crafter and founder of Simple Everyday Mom. She has been featured in Oprah Mag, Good Housekeeping, The Spruce Crafts, Country Living, The Bump, and more.